1999 FORD EXPEDITION service
[x] Cancel search: servicePage 109 of 216

Speed sensitive steering
The steering in your vehicle is speed sensitive. At high speeds, steering
assist will decrease to improve steering feel. At lower speeds,
maneuverability will be increased.
If the amount of effort required to steer your vehicle changes at a
constant vehicle speed, have the power steering system checked by your
dealer or a qualified service technician.
AIR SUSPENSION SYSTEM (IF EQUIPPED)
The air suspension system is designed to improve ride, handling and
general vehicle performance for static, on and off-road driving conditions.
²The load leveling feature of the air suspension automatically keeps the
vehicle at a constant level if a load is added or removed from the
vehicle.
²The height adjustment feature automatically controls the vehicle
height over a range of approximately 5 cm (2 inches) based on vehicle
speed, ignition position and selection of two or four-wheel drive
modes.
²The air suspension automatically puts the vehicle at its lowest height
when ignition if OFF to provide easy entry and exit. When ever a door
is opened (including the liftgate) the system memorizes and maintains
the height of the vehicle until all doors are closed or until vehicle
exceeds 16km/h (10mph).
²The air suspension system raises the vehicle to its normal ride
position when the ignition is turned on, all doors are closed and the
transmission is shifted into gear.
²In 4WD Low the air suspension system will not move to it's lowest
height. In 4WD Low, the air suspension system raises the vehicle
above the normal ride height at speeds below 40 km/h (25 mph) to
improve ground clearance. In 4WD Low, do not exceed 56 km/h
(35 mph).
²When the vehicle is in motion, the air suspension system will adjust
the vehicle's height according to ground clearance and speed to
maximize ride comfort.
²It is normal to occasionally hear a buzz or clicking from the vehicle's
air suspension system when the ignition is turned off. The system
stays energized for 40 minutes after the ignition is turned off to
compensate for any load changes made after the vehicle is parked.
Driving
109
Page 110 of 216
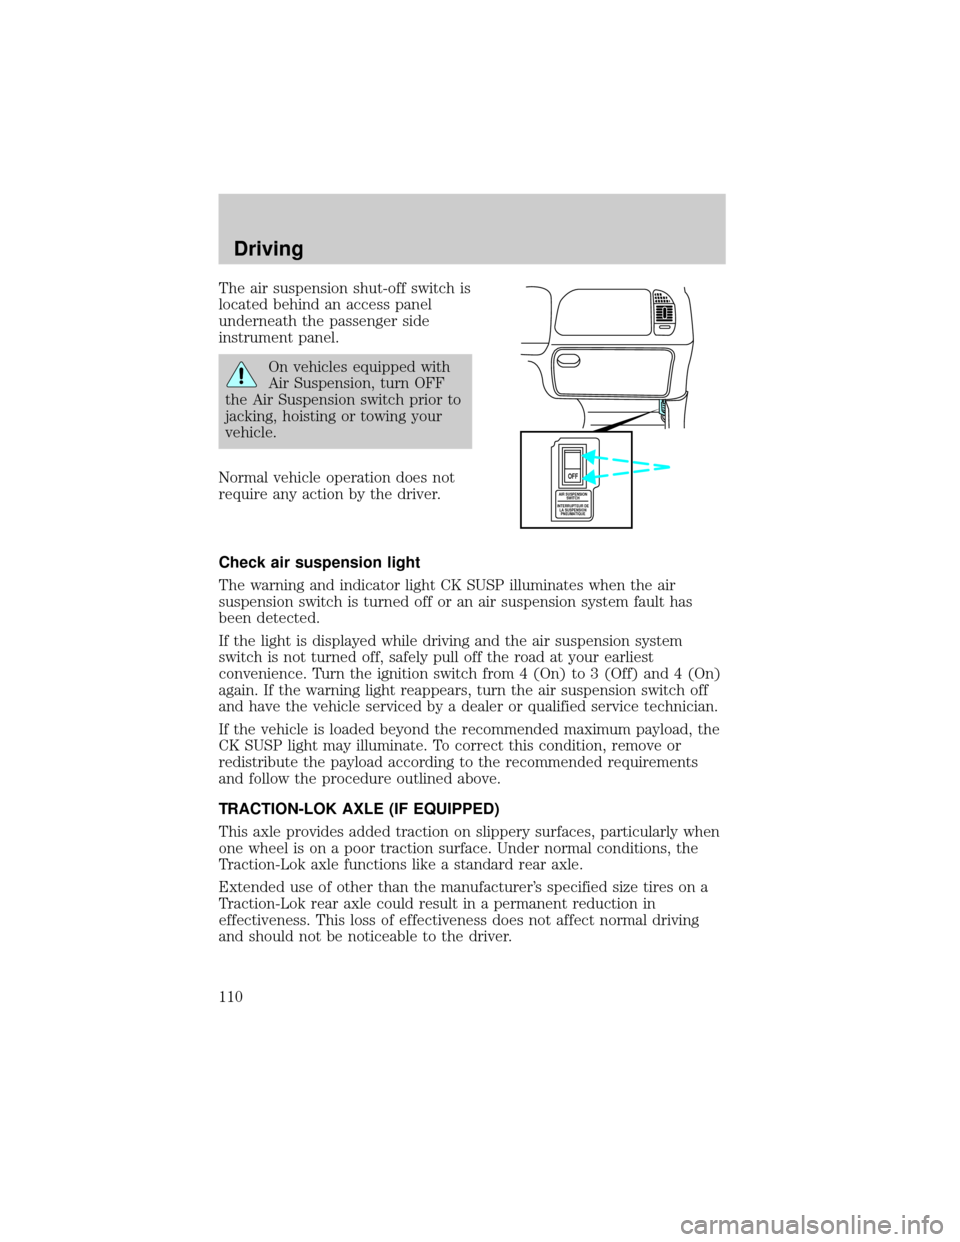
The air suspension shut-off switch is
located behind an access panel
underneath the passenger side
instrument panel.
On vehicles equipped with
Air Suspension, turn OFF
the Air Suspension switch prior to
jacking, hoisting or towing your
vehicle.
Normal vehicle operation does not
require any action by the driver.
Check air suspension light
The warning and indicator light CK SUSP illuminates when the air
suspension switch is turned off or an air suspension system fault has
been detected.
If the light is displayed while driving and the air suspension system
switch is not turned off, safely pull off the road at your earliest
convenience. Turn the ignition switch from 4 (On) to 3 (Off) and 4 (On)
again. If the warning light reappears, turn the air suspension switch off
and have the vehicle serviced by a dealer or qualified service technician.
If the vehicle is loaded beyond the recommended maximum payload, the
CK SUSP light may illuminate. To correct this condition, remove or
redistribute the payload according to the recommended requirements
and follow the procedure outlined above.
TRACTION-LOK AXLE (IF EQUIPPED)
This axle provides added traction on slippery surfaces, particularly when
one wheel is on a poor traction surface. Under normal conditions, the
Traction-Lok axle functions like a standard rear axle.
Extended use of other than the manufacturer's specified size tires on a
Traction-Lok rear axle could result in a permanent reduction in
effectiveness. This loss of effectiveness does not affect normal driving
and should not be noticeable to the driver.
AIR SUSPENSION
SWITCH
INTERRUPTEUR DE
LA SUSPENSION
PNEUMATIQUE
OFF
Driving
110
Page 112 of 216
If the parking brake is fully released, but the brake warning lamp
remains illuminated, the brakes may not be working properly.
See your dealer or a qualified service technician.
Driving with a 4±speed automatic transmission
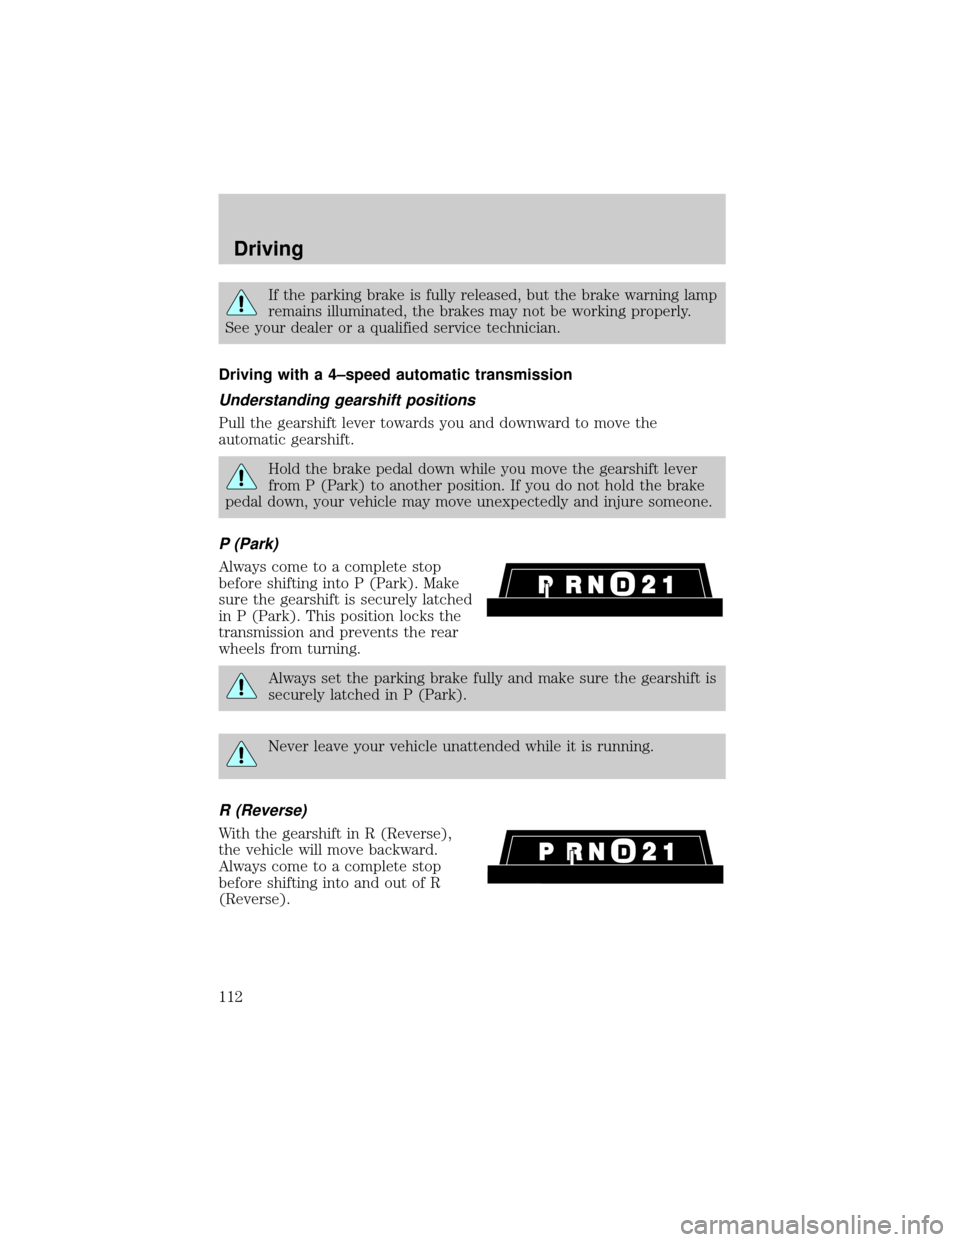
Understanding gearshift positions
Pull the gearshift lever towards you and downward to move the
automatic gearshift.
Hold the brake pedal down while you move the gearshift lever
from P (Park) to another position. If you do not hold the brake
pedal down, your vehicle may move unexpectedly and injure someone.
P (Park)
Always come to a complete stop
before shifting into P (Park). Make
sure the gearshift is securely latched
in P (Park). This position locks the
transmission and prevents the rear
wheels from turning.
Always set the parking brake fully and make sure the gearshift is
securely latched in P (Park).
Never leave your vehicle unattended while it is running.
R (Reverse)
With the gearshift in R (Reverse),
the vehicle will move backward.
Always come to a complete stop
before shifting into and out of R
(Reverse).
Driving
112
Page 122 of 216
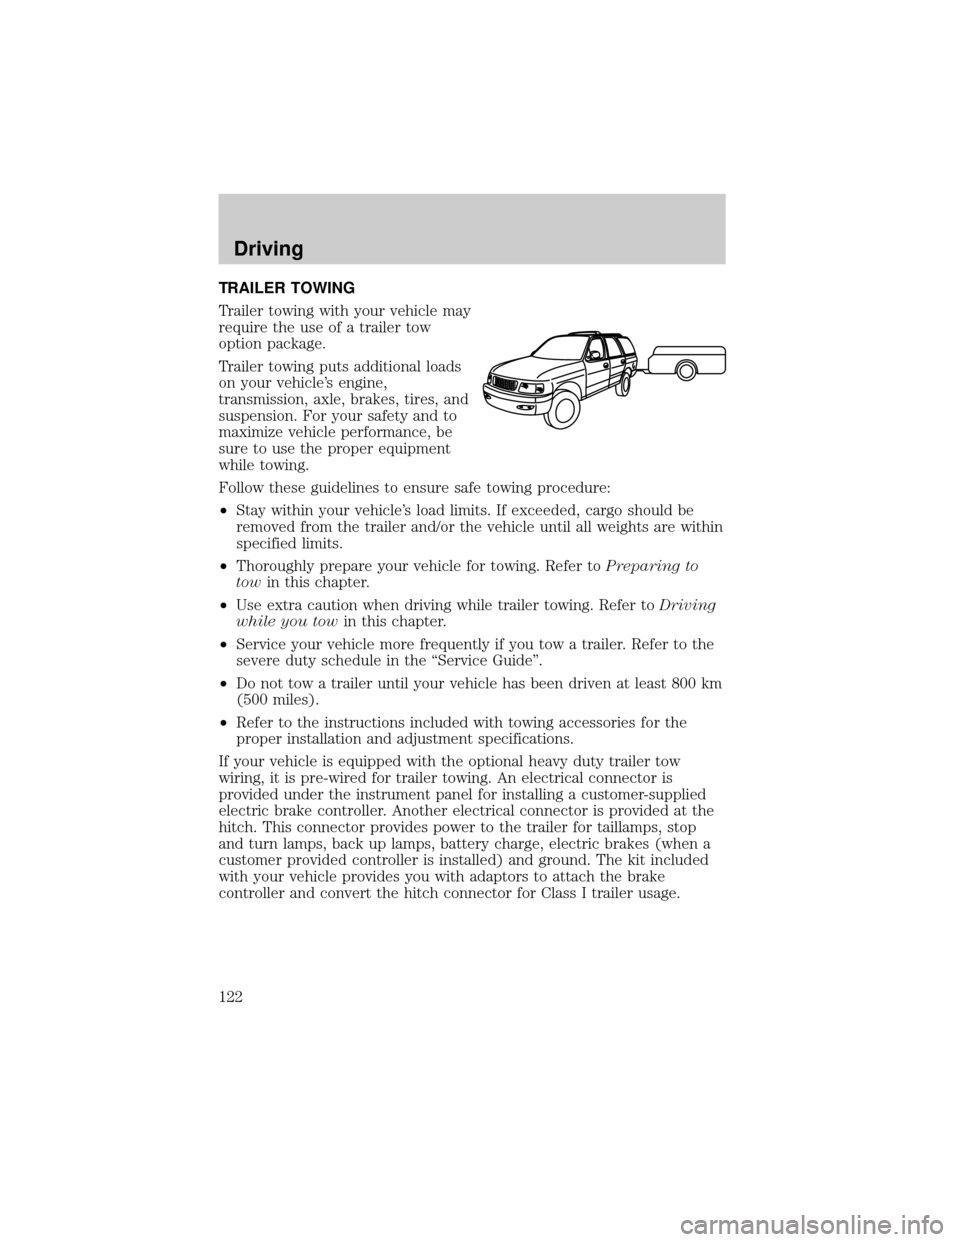
TRAILER TOWING
Trailer towing with your vehicle may
require the use of a trailer tow
option package.
Trailer towing puts additional loads
on your vehicle's engine,
transmission, axle, brakes, tires, and
suspension. For your safety and to
maximize vehicle performance, be
sure to use the proper equipment
while towing.
Follow these guidelines to ensure safe towing procedure:
²Stay within your vehicle's load limits. If exceeded, cargo should be
removed from the trailer and/or the vehicle until all weights are within
specified limits.
²Thoroughly prepare your vehicle for towing. Refer toPreparing to
towin this chapter.
²Use extra caution when driving while trailer towing. Refer toDriving
while you towin this chapter.
²Service your vehicle more frequently if you tow a trailer. Refer to the
severe duty schedule in the ªService Guideº.
²Do not tow a trailer until your vehicle has been driven at least 800 km
(500 miles).
²Refer to the instructions included with towing accessories for the
proper installation and adjustment specifications.
If your vehicle is equipped with the optional heavy duty trailer tow
wiring, it is pre-wired for trailer towing. An electrical connector is
provided under the instrument panel for installing a customer-supplied
electric brake controller. Another electrical connector is provided at the
hitch. This connector provides power to the trailer for taillamps, stop
and turn lamps, back up lamps, battery charge, electric brakes (when a
customer provided controller is installed) and ground. The kit included
with your vehicle provides you with adaptors to attach the brake
controller and convert the hitch connector for Class I trailer usage.
Driving
122
Page 126 of 216

Driving while you tow
Do not drive faster than 88 km/h (55 mph) when towing a trailer.
Speed control may shut off if you are towing on long, steep grades.
When towing a trailer:
²Use a lower gear when towing up or down steep hills. This will
eliminate excessive downshifting and upshifting for optimum fuel
economy and transmission cooling.
²Anticipate stops and brake gradually.
Exceeding the GCWR rating may cause internal transmission
damage and void your warranty coverage.
Servicing after towing
If you tow a trailer for long distances, your vehicle will require more
frequent service intervals. Refer to your Scheduled Maintenance guide
for more information.
Towing behind another vehicle
Do not tow your vehicle behind another vehicle, such as an RV.
Your vehicle cannot be flat-towed with all wheels on the ground.
Trailer towing tips
²Practice turning, stopping and backing up in an area before starting on
a trip to get the feel of the vehicle trailer combination. When turning,
make wider turns so the trailer wheels will clear curbs and other
obstacles.
²Allow more distance for stopping with a trailer attached.
²The trailer tongue weight should be 10% of the loaded trailer weight.
²After you have traveled 80 km (50 miles), thoroughly check your
hitch, electrical connections and trailer wheel lug nuts.
²When stopped in traffic for long periods of time in hot weather, place
the gearshift in P (Park) and increase idle speed. This aids engine
cooling and air conditioner efficiency.
²Vehicles with trailers should not be parked on a grade. If you must
park on a grade, place wheel chocks under the trailer's wheels.
Driving
126
Page 147 of 216
WRECKER TOWING
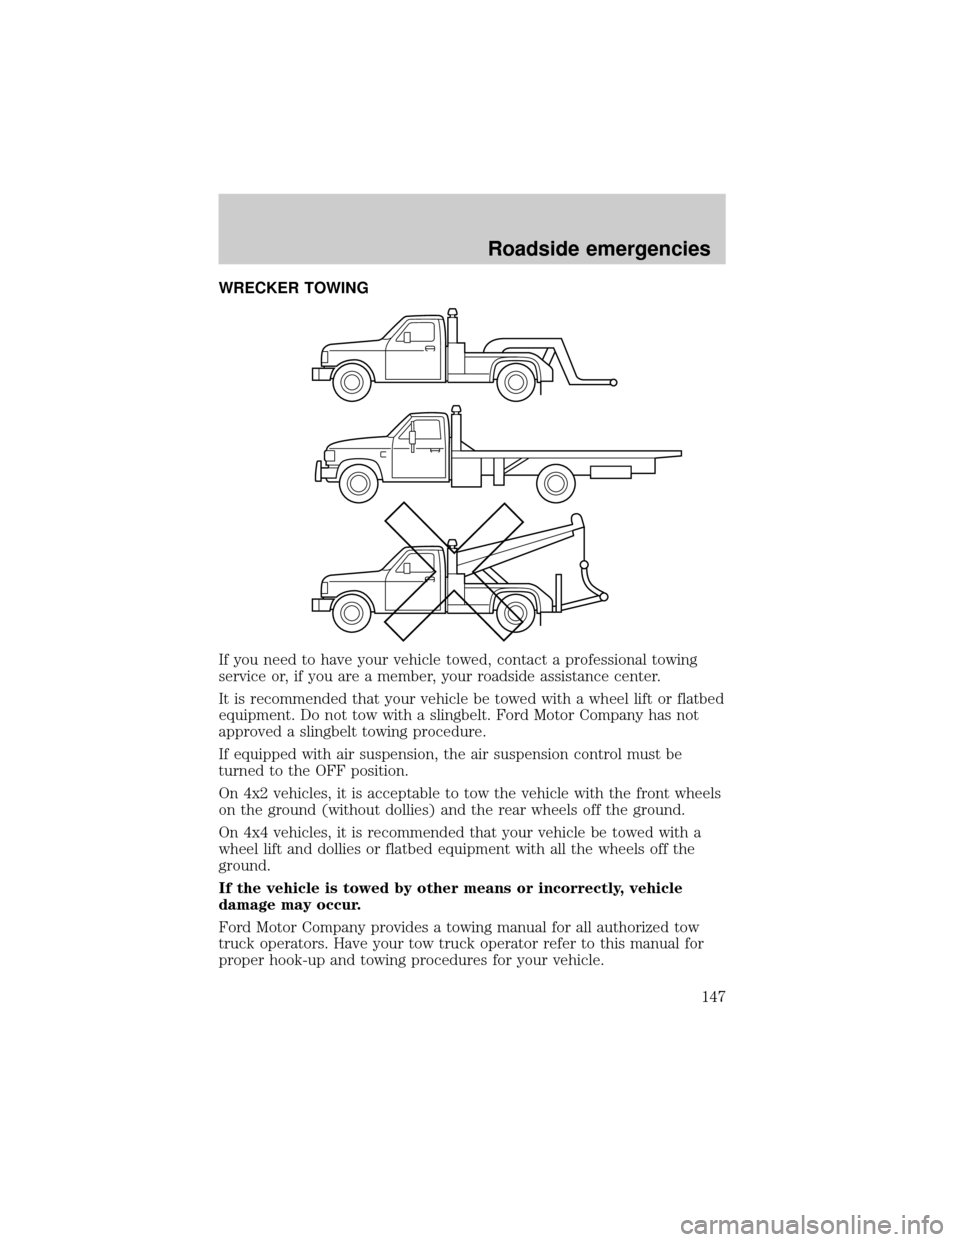
If you need to have your vehicle towed, contact a professional towing
service or, if you are a member, your roadside assistance center.
It is recommended that your vehicle be towed with a wheel lift or flatbed
equipment. Do not tow with a slingbelt. Ford Motor Company has not
approved a slingbelt towing procedure.
If equipped with air suspension, the air suspension control must be
turned to the OFF position.
On 4x2 vehicles, it is acceptable to tow the vehicle with the front wheels
on the ground (without dollies) and the rear wheels off the ground.
On 4x4 vehicles, it is recommended that your vehicle be towed with a
wheel lift and dollies or flatbed equipment with all the wheels off the
ground.
If the vehicle is towed by other means or incorrectly, vehicle
damage may occur.
Ford Motor Company provides a towing manual for all authorized tow
truck operators. Have your tow truck operator refer to this manual for
proper hook-up and towing procedures for your vehicle.
Roadside emergencies
147
Page 148 of 216

SERVICE RECOMMENDATIONS
To help you service your vehicle:
²We highlight do-it-yourself items in the engine compartment for easy
location.
²We provide a Scheduled Maintenance Guide which makes tracking
routine service easy.
If your vehicle requires professional service, your dealership can provide
necessary parts and service. Check your ªWarranty Guideº to find out
which parts and services are covered.
Use only recommended fuels, lubricants, fluids and service parts
conforming to specifications. Motorcraft parts are designed and built to
provide the best performance in your vehicle.
PRECAUTIONS WHEN SERVICING YOUR VEHICLE
Be especially careful when inspecting or servicing your vehicle.
²Do not work on a hot engine.
²When the engine is running, make sure that loose clothing, jewelry or
long hair does not get caught up in moving parts.
²Do not work on a vehicle with the engine running in an enclosed
space, unless you are sure you have enough ventilation.
²Keep all lit cigarettes, open flames and other lit material away from
the battery and all fuel related parts.
If you disconnect the battery, the engine must ªrelearnº its idle
conditions before your vehicle will drive properly, as explained inBattery
in this chapter.
Working with the engine off
1. Set the parking brake and ensure the gearshift is securely latched in P
(Park).
2. Turn off the engine and remove the key.
3. Block the wheels to prevent the vehicle from moving unexpectedly.
Working with the engine on
1. Set the parking brake and ensure the gearshift is securely latched in P
(Park).
2. Block the wheels to prevent the vehicle from moving unexpectedly.
Maintenance and care
148
Page 151 of 216
2. Turn the engine off and wait a few minutes for the oil to drain into the
oil pan.
3. Set the parking brake and ensure the gearshift is securely latched in P
(Park).
4. Open the hood. Protect yourself from engine heat.
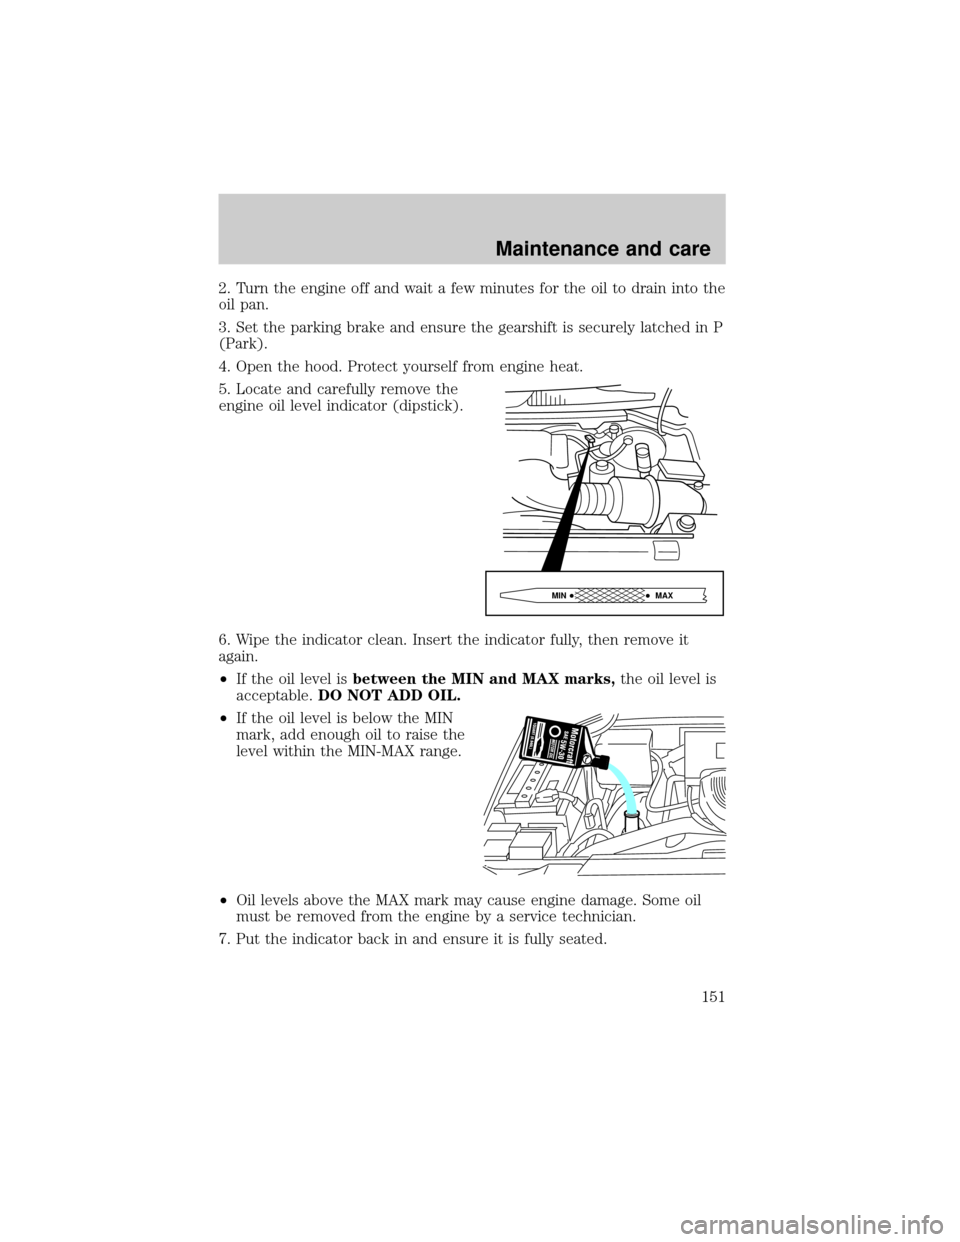
5. Locate and carefully remove the
engine oil level indicator (dipstick).
6. Wipe the indicator clean. Insert the indicator fully, then remove it
again.
²If the oil level isbetween the MIN and MAX marks,the oil level is
acceptable.DO NOT ADD OIL.
²If the oil level is below the MIN
mark, add enough oil to raise the
level within the MIN-MAX range.
²Oil levels above the MAX mark may cause engine damage. Some oil
must be removed from the engine by a service technician.
7. Put the indicator back in and ensure it is fully seated.
MAX MIN
Maintenance and care
151