1999 FORD EXPEDITION service
[x] Cancel search: servicePage 66 of 216

Theft indicator
The theft indicator on top of the instrument panel will operate as
follows:
²When the ignition is OFF, the theft indicator will flash briefly every 2
seconds to indicate the SecuriLockysystem is protecting your
vehicle.
²When the ignition is turned to ON or START, the theft indicator will
light for 3 seconds and then go out. If the theft indicator stays on for
an extended period of time or flashes rapidly, have the system
serviced by your dealership or a qualified technician.
Programming spare SecuriLockYkeys
Spare SecuriLockykeys can be purchased from your dealership and
programmed to your SecuriLockyanti-theft system (up to a total of 8
keys). Your dealership can program your new SecuriLockykey(s) to
your vehicle or you can do it yourself using the following simple
procedure. To program a new SecuriLockykey yourself, you will need
two previously programmed SecuriLockykeys (keys that already
operate your vehicle's engine). If two previously programmed
SecuriLockykeys are not available (one or both of your original keys
were lost or stolen), you must bring your vehicle to your dealership to
have the spare SecuriLockykey(s) programmed.
Procedure to program spare SecuriLockYkeys to your vehicle
New SecuriLockykeys must have the correct mechanical key cut for
your vehicle.
Conventional (non-SecuriLocky) keyscannotbe programmed to your
vehicle.
You will need to have two previously programmed SecuriLockykeys and
the new unprogrammed SecuriLockykey readily accessible for timely
implementation of each step in the procedure. Please read and
understand the entire procedure before you begin.
1. Insert the first previously programmed SecuriLockykey into the
ignition and turn the ignition from OFF to RUN (maintain ignition in
RUN for at least one second).
2. Turn ignition to OFF and remove the first SecuriLockykey from the
ignition.
Controls and features
66
Page 70 of 216

Replacing lost transmitters
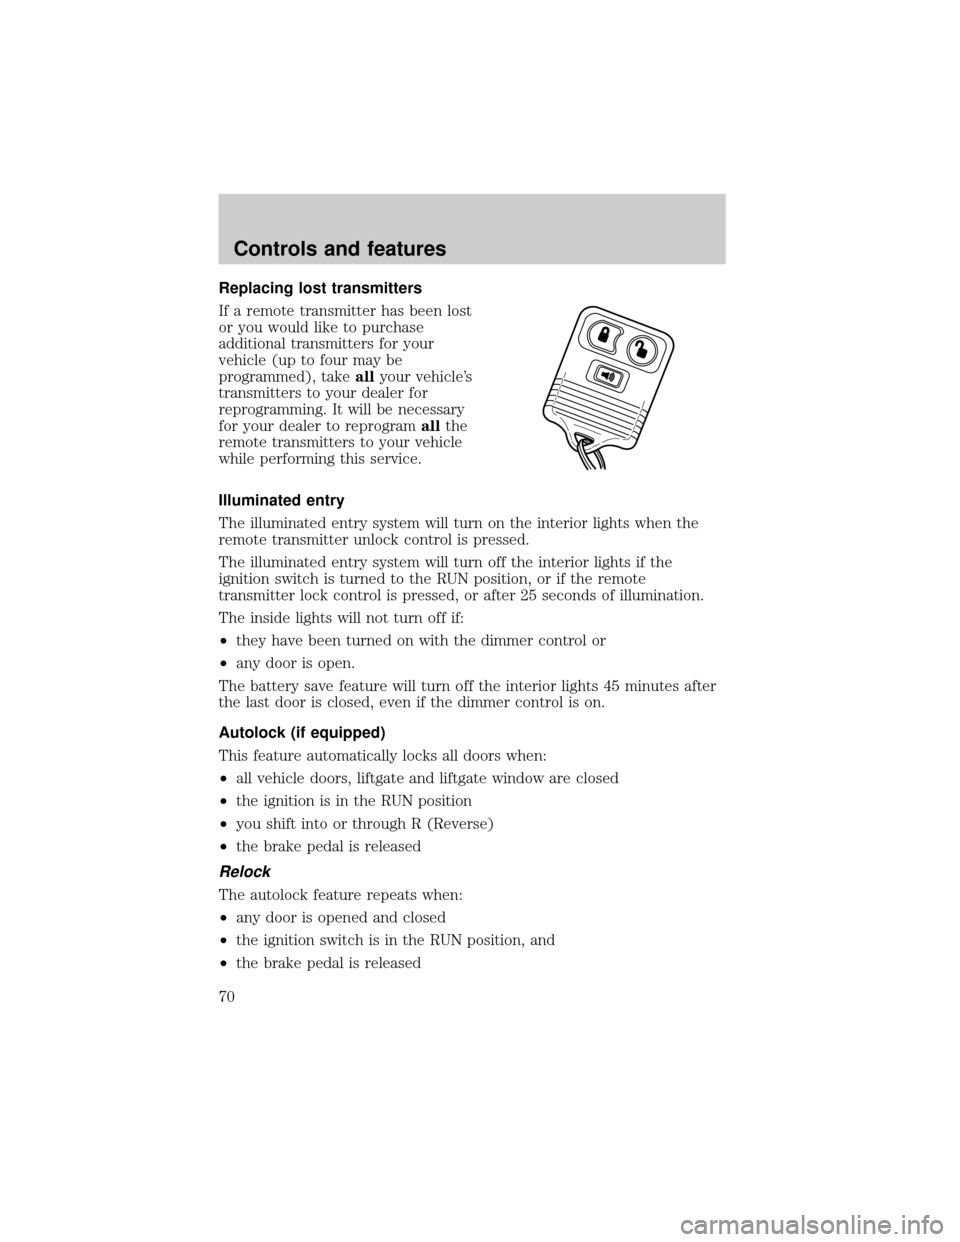
If a remote transmitter has been lost
or you would like to purchase
additional transmitters for your
vehicle (up to four may be
programmed), takeallyour vehicle's
transmitters to your dealer for
reprogramming. It will be necessary
for your dealer to reprogramallthe
remote transmitters to your vehicle
while performing this service.
Illuminated entry
The illuminated entry system will turn on the interior lights when the
remote transmitter unlock control is pressed.
The illuminated entry system will turn off the interior lights if the
ignition switch is turned to the RUN position, or if the remote
transmitter lock control is pressed, or after 25 seconds of illumination.
The inside lights will not turn off if:
²they have been turned on with the dimmer control or
²any door is open.
The battery save feature will turn off the interior lights 45 minutes after
the last door is closed, even if the dimmer control is on.
Autolock (if equipped)
This feature automatically locks all doors when:
²all vehicle doors, liftgate and liftgate window are closed
²the ignition is in the RUN position
²you shift into or through R (Reverse)
²the brake pedal is released
Relock
The autolock feature repeats when:
²any door is opened and closed
²the ignition switch is in the RUN position, and
²the brake pedal is released
Controls and features
70
Page 90 of 216

Steps you can take to properly position yourself away from the airbag:
²Move your seat to the rear as far as you can while still reaching the
pedals comfortably.
²Recline the seat slightly (one or two degrees) from the upright
position.
Do not put anything on or over the air bag module. Placing
objects on or over the air bag inflation area may cause those
objects to be propelled by the air bag into your face and torso causing
serious injury.
Do not attempt to service, repair, or modify the Air Bag
Supplemental Restraint System or its fuses. See your Ford or
Lincoln-Mercury dealer.
Children and air bags
For additional important safety
information, read all information on
safety restraints in this guide.
Children must always be properly
restrained. Accident statistics
suggest that children are safer when
properly restrained in the rear
seating positions than in the front
seating position. Failure to follow
these instructions may increase the
risk of injury in a collision.
Air bags can kill or injure a
child in a child seat.
NEVERplace a rear-facing child
seat in front of an active air bag. If
you must use a forward-facing
child seat in the front seat, move
the seat all the way back.
Seating and safety restraints
90
Page 92 of 216

Several air bag system components get hot after inflation. Do not
touch them after inflation.
If the air bag is deployed,the air bag will not function again
and must be replaced immediately.If the air bag is not
replaced, the unrepaired area will increase the risk of injury in a
collision.
The SRS consists of:
²driver and passenger air bag modules (which include the inflators and
air bags),
²one or more impact and safing sensors,
²a readiness light and tone
²and the electrical wiring which connects the components.
The diagnostic module monitors its own internal circuits and the
supplemental air bag electrical system warning (including the impact
sensors), the system wiring, the air bag system readiness light, the air
bag back up power and the air bag ignitors.
Determining if the system is operational
The SRS uses a readiness light in the instrument cluster or a tone to
indicate the condition of the system. Refer to theAir bag readiness
section in theInstrumentationchapter. Routine maintenance of the air
bag is not required.
A difficulty with the system is indicated by one or more of the following:
²The readiness light will either
flash or stay lit.
²The readiness light will not
illuminate immediately after ignition is turned on.
²A series of five beeps will be heard. The tone pattern will repeat
periodically until the problem and light are repaired.
If any of these things happen, even intermittently, have the SRS serviced
at your dealership or by a qualified technician immediately. Unless
serviced, the system may not function properly in the event of a
collision.
Seating and safety restraints
92
Page 102 of 216

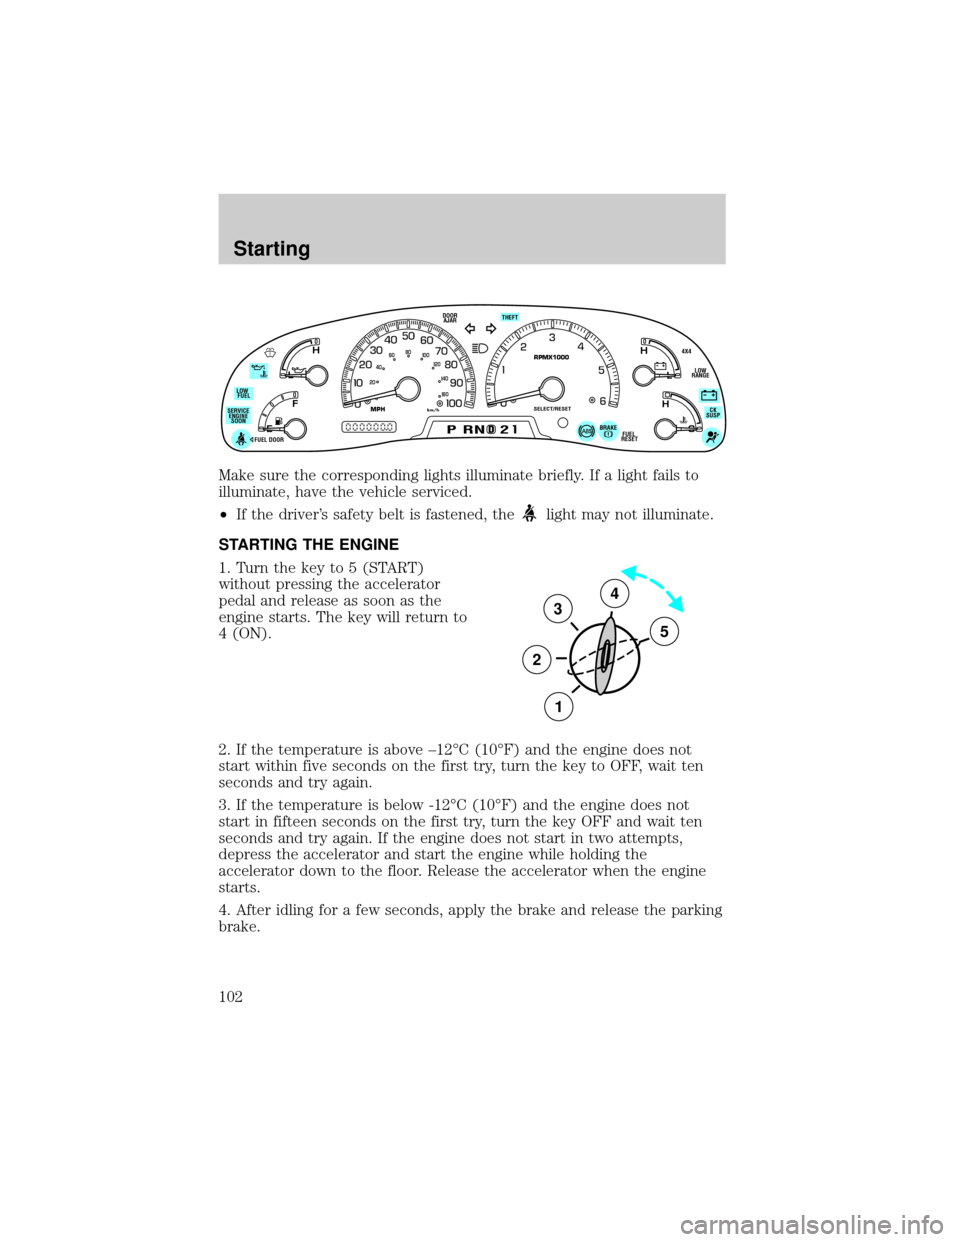
Make sure the corresponding lights illuminate briefly. If a light fails to
illuminate, have the vehicle serviced.
²If the driver's safety belt is fastened, the
light may not illuminate.
STARTING THE ENGINE
1. Turn the key to 5 (START)
without pressing the accelerator
pedal and release as soon as the
engine starts. The key will return to
4 (ON).
2. If the temperature is above ±12ÉC (10ÉF) and the engine does not
start within five seconds on the first try, turn the key to OFF, wait ten
seconds and try again.
3. If the temperature is below -12ÉC (10ÉF) and the engine does not
start in fifteen seconds on the first try, turn the key OFF and wait ten
seconds and try again. If the engine does not start in two attempts,
depress the accelerator and start the engine while holding the
accelerator down to the floor. Release the accelerator when the engine
starts.
4. After idling for a few seconds, apply the brake and release the parking
brake.
D
L
H
L
H
E
F
C
H
BRAKEPRND2FUEL
RESET DOOR
AJAR
SELECT/RESET
4X4
LOW
RANGE
CK
SUSP THEFT
FUEL DOOR SERVICE
ENGINE
SOONLOW
FUEL
0MPHRPMX1000km/h
20406080
00
20
40
60
3
2
1
5
4
Starting
102
Page 103 of 216

Using the engine block heater (if equipped)
An engine block heater warms the engine coolant, which improves
starting, warms up the engine faster and allows the heater-defroster
system to respond quickly. Use of an engine block heater is strongly
recommended if you live in a region where temperatures reach -23ÉC
(-10ÉF) or below.
For best results, plug the heater in at least three hours before starting
the vehicle. Using the heater for longer than three hours will not harm
the engine, so the heater can be plugged in the night before starting the
vehicle.
To prevent electrical shock, do not use your heater with
ungrounded electrical systems or two-pronged (cheater)
adapters.
Guarding against exhaust fumes
Although odorless and colorless, carbon monoxide is present in exhaust
fumes. Take precautions to avoid its dangerous effects.
If you ever smell exhaust fumes of any kind inside your vehicle,
have your dealer inspect and fix your vehicle immediately. Do
not drive if you smell exhaust fumes. These fumes are harmful and
could kill you.
Have the exhaust and body ventilation systems checked whenever:
²the vehicle is raised for service.
²the sound of the exhaust system changes.
²the vehicle has been damaged in a collision.
Engine exhaust, some of its constituents, and certain vehicle
components contain or emit chemicals known to the State of
California to cause cancer, and birth defects or other reproductive
harm.
Starting
103
Page 105 of 216

BRAKES
Your service brakes are self-adjusting. Refer to the scheduled
maintenance guide for scheduled maintenance.
Occasional brake noise is normal and often does not indicate a
performance concern with the vehicle's brake system. In normal
operation, automotive brake systems may emit occasional or intermittent
squeal or groan noises when the brakes are applied. Such noises are
usually heard during the first few brake applications in the morning;
however, they may be heard at any time while braking and can be
aggravated by environmental conditions such as cold, heat, moisture,
road dust, salt or mud. If a ªmetal-to-metal,º ªcontinuous grindingº or
ªcontinuous squealº sound is present while braking, the brake linings
may be worn-out and should be inspected by a qualified service
technician.
Anti-lock brake system (ABS)
On vehicles equipped with an anti-lock braking system (ABS), a noise
from the hydraulic pump motor and pulsation in the pedal may be
observed during ABS braking events. Pedal pulsation coupled with noise
while braking under panic conditions or on loose gravel, bumps, wet or
snowy roads is normal and indicates proper functioning of the vehicle's
anti-lock brake system. The ABS performs a self-check at 17 km/h (10
mph) after you start the engine and begin to drive away. A brief
mechanical noise may be heard during this test. This is normal. If a
malfunction is found, the ABS warning light will come on. If the vehicle
has continuous vibration or shudder in the steering wheel while braking,
the vehicle should be inspected by a qualified service technician.
The ABS operates by detecting the
onset of wheel lockup during brake
applications and compensating for
this tendency. The wheels are
prevented from locking even when
the brakes are firmly applied. The
accompanying illustration depicts
the advantage of an ABS equipped
vehicle (on bottom) to a non-ABS
equipped vehicle (on top) during
hard braking with loss of front braking traction.
Driving
105
Page 106 of 216

ABS warning lamp
The
ABSwarning lamp in the instrument cluster momentarily illuminates
when the ignition is turned on and the engine is off. If the light does not
illuminate momentarily at start up, remains on or continues to flash, the
ABS needs to be serviced.
With the ABS light on, the anti-lock
brake system is disabled and normal
braking is still effective unless the
brake warning light also remains
illuminated with parking brake
released. (If your brake warning lamp illuminates, have your vehicle
serviced immediately).
Using ABS
²In an emergency or when maximum efficiency from the ABS is
required, apply continuous full force on the brake. The ABS will be
activated immediately, thus allowing you to retain full steering control
of your vehicle and, providing there is sufficient space, will enable you
to avoid obstacles and bring the vehicle to a controlled stop.
²The Anti-Lock system does not decrease the time necessary to apply
the brakes or always reduce stopping distance. Always leave enough
room between your vehicle and the vehicle in front of you to stop.
²We recommend that you familiarize yourself with this braking
technique. However, avoid taking any unnecessary risks.
!
BRAKE
Driving
106