Page 5 of 208
SCAN
BASS TREB BAL FADE
SIDE
EJ
REW FF1 - 2TAPE
AMSVOL - PUSH ON
SEEK
TUNE
AM
FMCLK
12 3456
FM1ST
L
NORM A/CVENT FLOORFLR • DEFDEF
HI
LO
MAX A/C
OUTSIDE TEMPAUTOMATICOFFFAUTO
HM
OILH
L
RSM
SET
ACC
COAST
Electronic sound system
(pg. 34)
Climate control systems
(pg. 25)
Clock
(pg. 33)Traction control switch*
(pg. 120) Gearshift
(w/overdrive button)
(pg. 125)
Instrumentation
5
Page 8 of 208
Under engine misfire conditions, excessive exhaust temperatures
could damage the catalytic converter, the fuel system, interior
floor coverings or other vehicle components, possibly causing a fire.
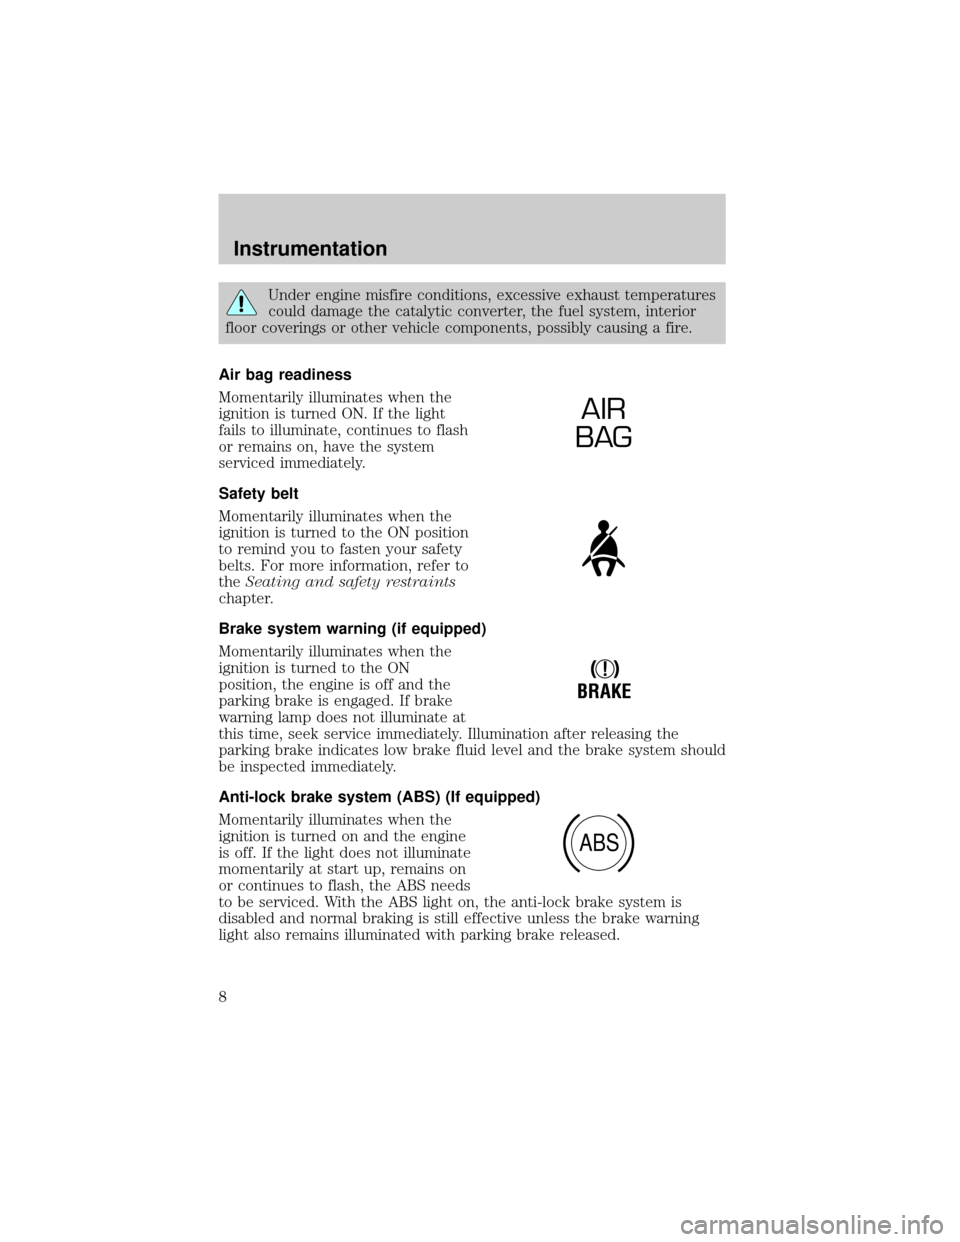
Air bag readiness
Momentarily illuminates when the
ignition is turned ON. If the light
fails to illuminate, continues to flash
or remains on, have the system
serviced immediately.
Safety belt
Momentarily illuminates when the
ignition is turned to the ON position
to remind you to fasten your safety
belts. For more information, refer to
theSeating and safety restraints
chapter.
Brake system warning (if equipped)
Momentarily illuminates when the
ignition is turned to the ON
position, the engine is off and the
parking brake is engaged. If brake
warning lamp does not illuminate at
this time, seek service immediately. Illumination after releasing the
parking brake indicates low brake fluid level and the brake system should
be inspected immediately.
Anti-lock brake system (ABS) (If equipped)
Momentarily illuminates when the
ignition is turned on and the engine
is off. If the light does not illuminate
momentarily at start up, remains on
or continues to flash, the ABS needs
to be serviced. With the ABS light on, the anti-lock brake system is
disabled and normal braking is still effective unless the brake warning
light also remains illuminated with parking brake released.
AIR
BAG
!
BRAKE
ABS
Instrumentation
8
Page 11 of 208
²the customer has disabled the system using the traction control
switch.
For more information, refer to theDrivingchapter.
Safety belt warning chime
Chimes to remind you to fasten your safety belts.
For information on the safety belt warning chime, refer to theSeating
and safety restraintschapter.
Supplemental restraint system (SRS) warning chime
For information on the SRS warning chime, refer to theSeating and
safety restraintschapter.
Key-in-ignition warning chime
Sounds when the key is left in the ignition in the OFF/LOCK or ACC
position and the driver's door is opened.
Headlamps on warning chime
Sounds when the headlamps or parking lamps are on, the ignition is off
(and the key is not in the ignition) and the driver's door is opened.
Turn signal chime
Sounds when the turn signal lever has been activated to signal a turn
and the vehicle is driven more than 0.8 km (1/2 mile).
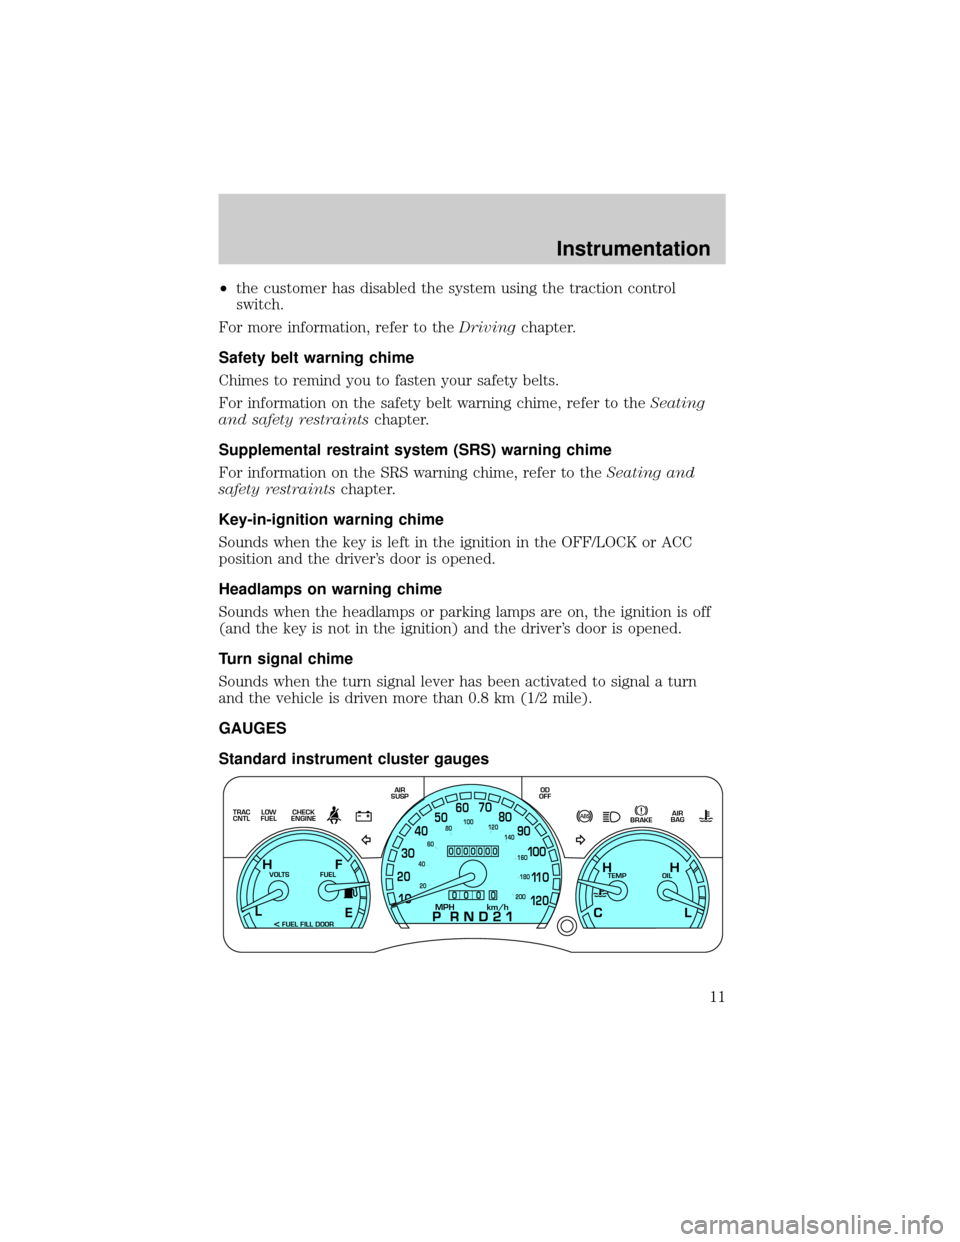
GAUGES
Standard instrument cluster gauges
E
LOW
FUEL TRAC
CNTLCHECK
ENGINEAIR
SUSPOD
OFF
BRAKEAIR
BAG
TEMP OIL VOLTS FUEL
MPH km/h10 203040506070
80
90
10 0
11 0
12 020 406080100
120
140
160
180
200
H H
L C F H
L
< FUEL FILL DOOR
0000000
0
0 0 0
Instrumentation
11
Page 22 of 208
If the Traction Controlyindicator comes on or stays lit, either:
²the Traction Controlysystem needs service, or
²the customer has disabled the system using the traction control
switch.
For more information, refer to theDrivingchapter.
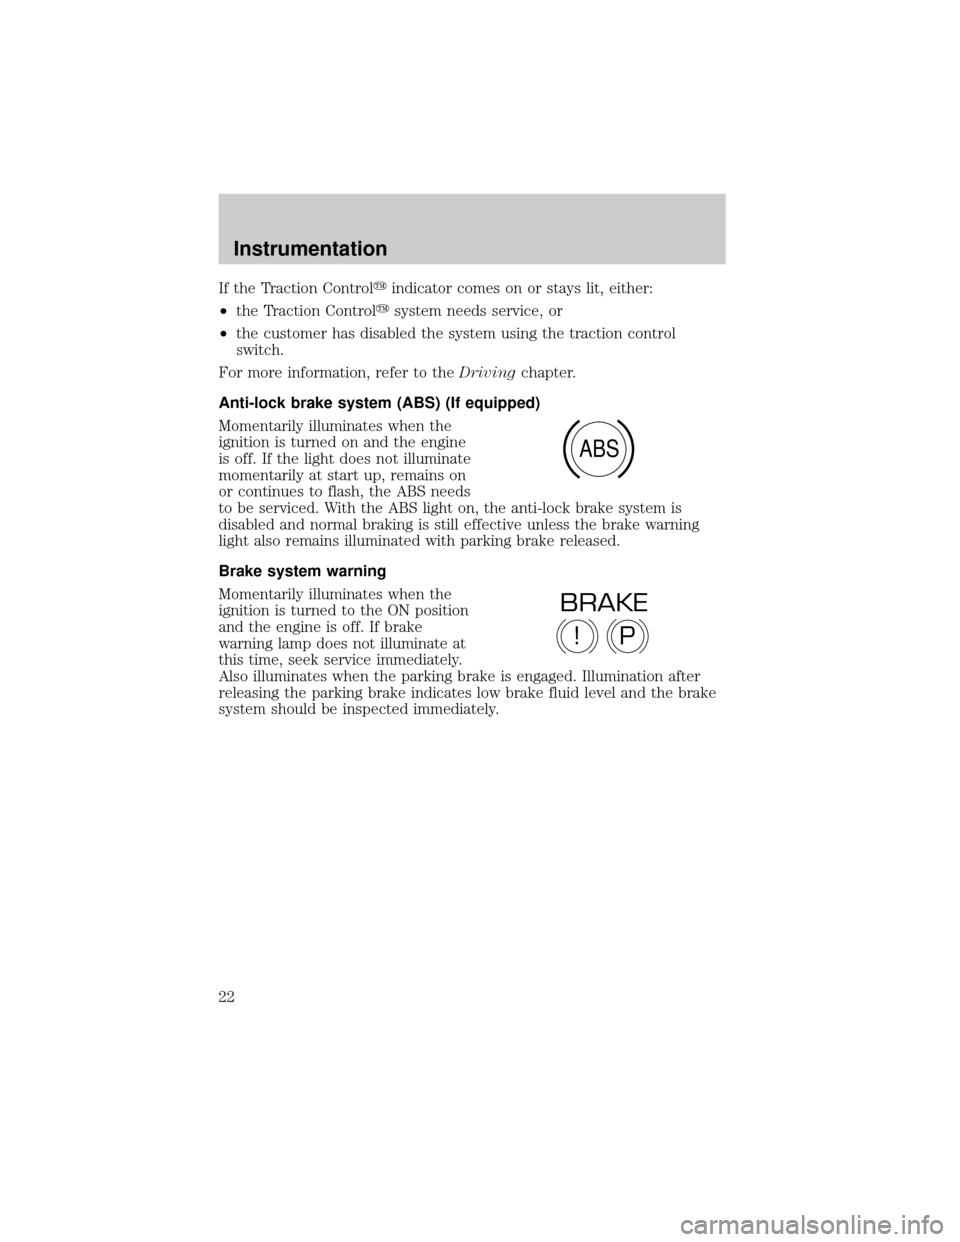
Anti-lock brake system (ABS) (If equipped)
Momentarily illuminates when the
ignition is turned on and the engine
is off. If the light does not illuminate
momentarily at start up, remains on
or continues to flash, the ABS needs
to be serviced. With the ABS light on, the anti-lock brake system is
disabled and normal braking is still effective unless the brake warning
light also remains illuminated with parking brake released.
Brake system warning
Momentarily illuminates when the
ignition is turned to the ON position
and the engine is off. If brake
warning lamp does not illuminate at
this time, seek service immediately.
Also illuminates when the parking brake is engaged. Illumination after
releasing the parking brake indicates low brake fluid level and the brake
system should be inspected immediately.
ABS
P!
BRAKE
Instrumentation
22
Page 24 of 208
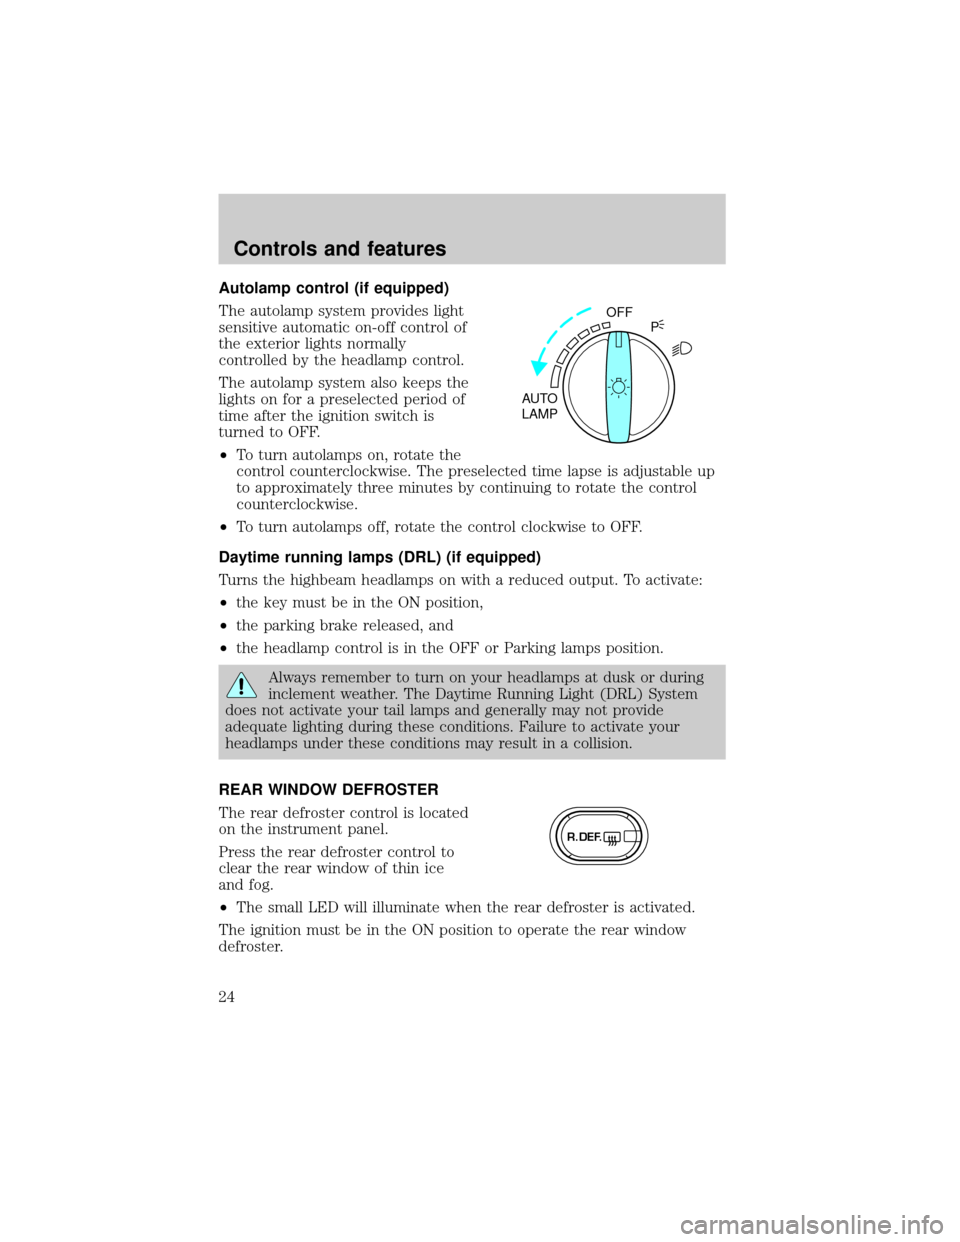
Autolamp control (if equipped)
The autolamp system provides light
sensitive automatic on-off control of
the exterior lights normally
controlled by the headlamp control.
The autolamp system also keeps the
lights on for a preselected period of
time after the ignition switch is
turned to OFF.
²To turn autolamps on, rotate the
control counterclockwise. The preselected time lapse is adjustable up
to approximately three minutes by continuing to rotate the control
counterclockwise.
²To turn autolamps off, rotate the control clockwise to OFF.
Daytime running lamps (DRL) (if equipped)
Turns the highbeam headlamps on with a reduced output. To activate:
²the key must be in the ON position,
²the parking brake released, and
²the headlamp control is in the OFF or Parking lamps position.
Always remember to turn on your headlamps at dusk or during
inclement weather. The Daytime Running Light (DRL) System
does not activate your tail lamps and generally may not provide
adequate lighting during these conditions. Failure to activate your
headlamps under these conditions may result in a collision.
REAR WINDOW DEFROSTER
The rear defroster control is located
on the instrument panel.
Press the rear defroster control to
clear the rear window of thin ice
and fog.
²The small LED will illuminate when the rear defroster is activated.
The ignition must be in the ON position to operate the rear window
defroster.
OFF
AUTO
LAMPP
R.DEF.
Controls and features
24
Page 27 of 208
Operating tips
²In humid weather, selectbefore driving. This will prevent your
windshield from fogging. After a few minutes, select any desired
position.
²To prevent humidity buildup inside the vehicle, don't drive with the
climate control system in the OFF position.
²Don't put objects under the front seat that will interfere with the
airflow to the back seats.
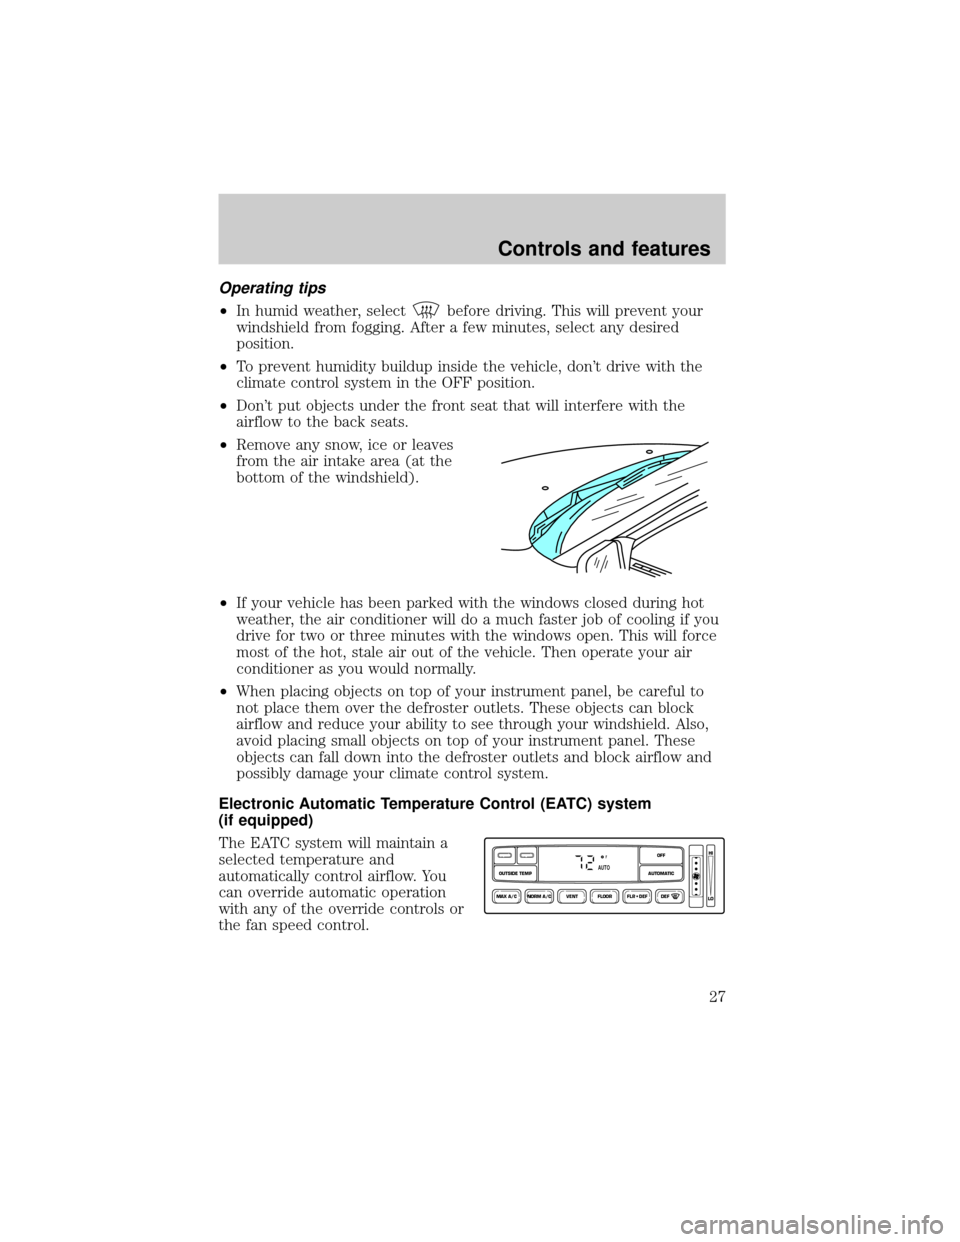
²Remove any snow, ice or leaves
from the air intake area (at the
bottom of the windshield).
²If your vehicle has been parked with the windows closed during hot
weather, the air conditioner will do a much faster job of cooling if you
drive for two or three minutes with the windows open. This will force
most of the hot, stale air out of the vehicle. Then operate your air
conditioner as you would normally.
²When placing objects on top of your instrument panel, be careful to
not place them over the defroster outlets. These objects can block
airflow and reduce your ability to see through your windshield. Also,
avoid placing small objects on top of your instrument panel. These
objects can fall down into the defroster outlets and block airflow and
possibly damage your climate control system.
Electronic Automatic Temperature Control (EATC) system
(if equipped)
The EATC system will maintain a
selected temperature and
automatically control airflow. You
can override automatic operation
with any of the override controls or
the fan speed control.
NORM A/CVENT FLOOR FLR • DEF DEF
HI
LO
MAX A/C
OUTSIDE TEMP AUTOMATICOFF
FAUTO
Controls and features
27
Page 33 of 208
²Remove any snow, ice or leaves
from the air intake area (at the
bottom of the windshield).
²If your vehicle has been parked with the windows closed during hot
weather, the air conditioner will do a much faster job of cooling if you
drive for two or three minutes with the windows open. This will force
most of the hot, stale air out of the vehicle. Then operate the air
conditioner as you would normally.
²When placing objects on top of your instrument panel, be careful to
not place them over the defroster outlets. These objects can block
airflow and reduce your ability to see through your windshield. Also,
avoid placing small objects on top of your instrument panel. These
objects can fall down into the defroster outlets and block airflow and
possibly damage your climate control system.
CLOCK
Press H to set the hour.
Press M to set the minute.
HM
HM
Controls and features
33
Page 37 of 208
Speaker fade adjust (if equipped)
Speaker sound can be adjusted
between the front and rear
speakers.
With the electronic AM/FM stereo,
press the TONE control four times,
then use the volume knob to adjust
the level.
Setting the clock
Press CLK to toggle between
listening frequencies and clock
mode.
To set the hour, press and hold the
CLK control and press:
²
to decrease hours and
²
to increase hours.
To set the minute, press and hold
the CLK control and press:
TONE
CLK
VOL
PUSH
ON
TONE
CLK
SEEKSEEK
TUNE TUNE
TONE
CLK
Controls and features
37