Page 157 of 424
yellowblue
3-5
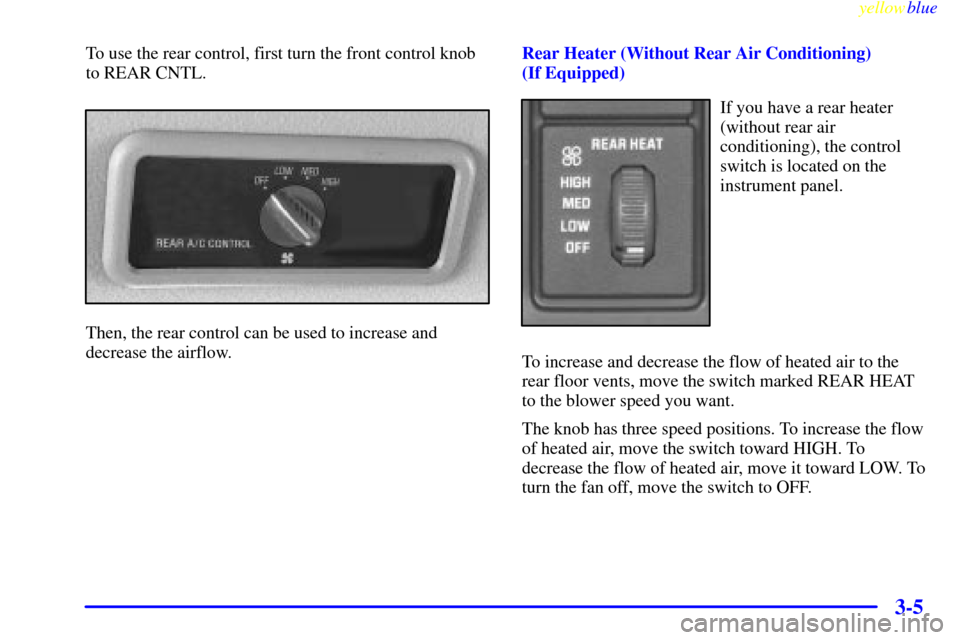
To use the rear control, first turn the front control knob
to REAR CNTL.
Then, the rear control can be used to increase and
decrease the airflow.Rear Heater (Without Rear Air Conditioning)
(If Equipped)
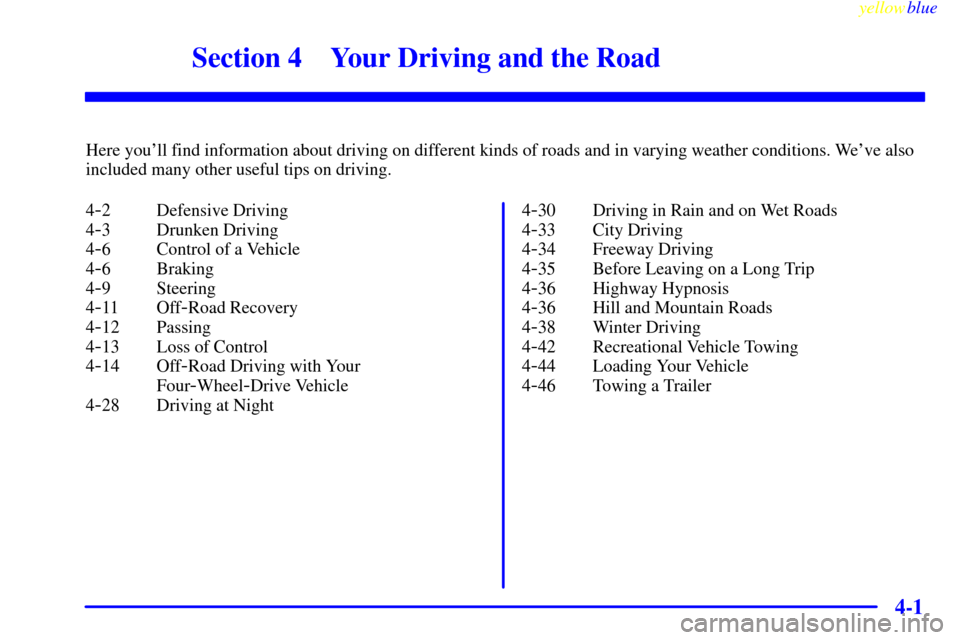
If you have a rear heater
(without rear air
conditioning), the control
switch is located on the
instrument panel.
To increase and decrease the flow of heated air to the
rear floor vents, move the switch marked REAR HEAT
to the blower speed you want.
The knob has three speed positions. To increase the flow
of heated air, move the switch toward HIGH. To
decrease the flow of heated air, move it toward LOW. To
turn the fan off, move the switch to OFF.
Page 161 of 424
yellowblue
3-9
Ventilation Tips
�Keep the hood and front air inlet free of ice, snow or
any other obstruction (such as leaves). The heater
and defroster will work far better, reducing the
chance of fogging the inside of your windows.
�When you enter a vehicle in cold weather, turn the
blower fan to high for a few moments before driving.
This helps clear the intake ducts of snow and
moisture, and reduces the chance of fogging the
inside of your windows.
�Keep the air path under the front seats clear of
objects. This helps air to circulate throughout
your vehicle.
�The use of hood air deflectors may adversely
affect the performance of the heating and air
conditioning system.
Defogging and Defrosting
On cool, humid days, use DEFOG to keep the
windshield and side windows clear. Use DEFROST to
remove fog or ice from the windshield in extremely
humid or cold conditions. Use DEFROST with the
temperature knob toward the red area and the fan control
toward HI.
Rear Window Defogger (If Equipped)
If you see lines running across the rear window, you
have a rear window defogger. The lines warm the glass.
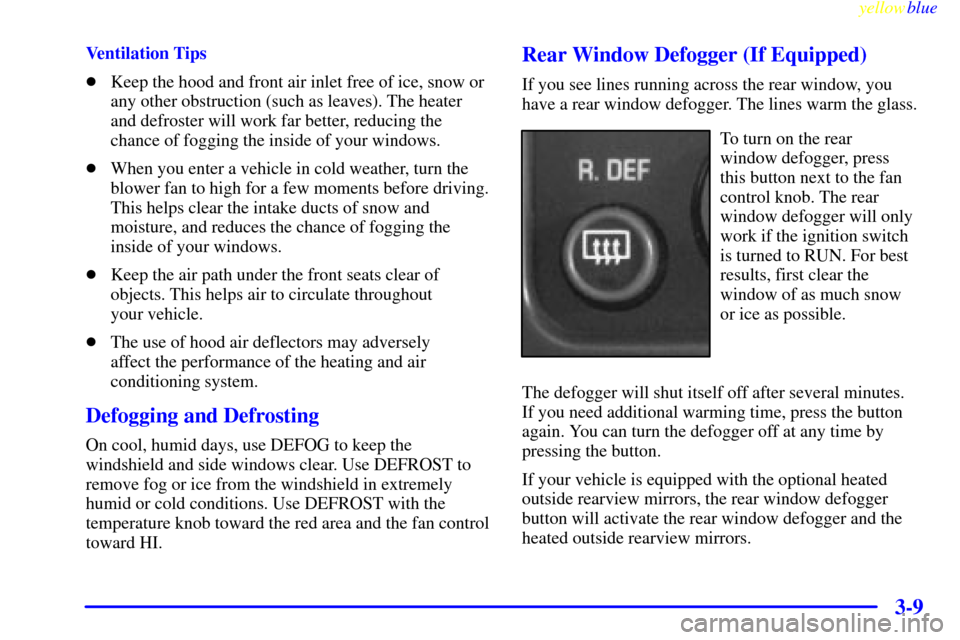
To turn on the rear
window defogger, press
this button next to the fan
control knob. The rear
window defogger will only
work if the ignition switch
is turned to RUN. For best
results, first clear the
window of as much snow
or ice as possible.
The defogger will shut itself off after several minutes.
If you need additional warming time, press the button
again. You can turn the defogger off at any time by
pressing the button.
If your vehicle is equipped with the optional heated
outside rearview mirrors, the rear window defogger
button will activate the rear window defogger and the
heated outside rearview mirrors.
Page 183 of 424
4-
yellowblue
4-1
Section 4 Your Driving and the Road
Here you'll find information about driving on different kinds of roads and in varying weather conditions. We've also
included many other useful tips on driving.
4
-2 Defensive Driving
4
-3 Drunken Driving
4
-6 Control of a Vehicle
4
-6 Braking
4
-9 Steering
4
-11 Off-Road Recovery
4
-12 Passing
4
-13 Loss of Control
4
-14 Off-Road Driving with Your
Four
-Wheel-Drive Vehicle
4
-28 Driving at Night4
-30 Driving in Rain and on Wet Roads
4
-33 City Driving
4
-34 Freeway Driving
4
-35 Before Leaving on a Long Trip
4
-36 Highway Hypnosis
4
-36 Hill and Mountain Roads
4
-38 Winter Driving
4
-42 Recreational Vehicle Towing
4
-44 Loading Your Vehicle
4
-46 Towing a Trailer
Page 224 of 424
yellowblue
4-42
Recreational Vehicle Towing
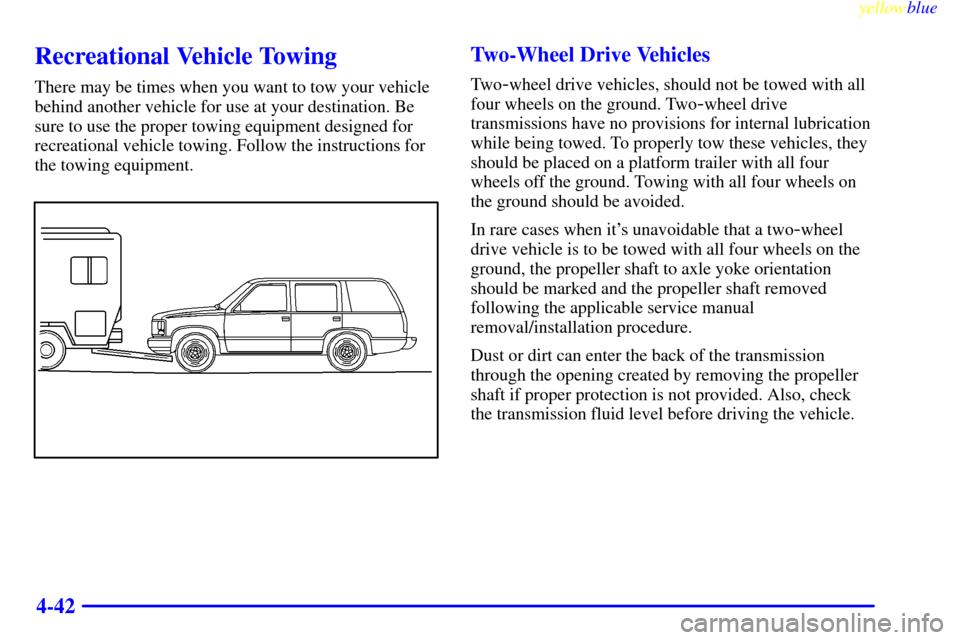
There may be times when you want to tow your vehicle
behind another vehicle for use at your destination. Be
sure to use the proper towing equipment designed for
recreational vehicle towing. Follow the instructions for
the towing equipment.
Two-Wheel Drive Vehicles
Tw o-wheel drive vehicles, should not be towed with all
four wheels on the ground. Two
-wheel drive
transmissions have no provisions for internal lubrication
while being towed. To properly tow these vehicles, they
should be placed on a platform trailer with all four
wheels off the ground. Towing with all four wheels on
the ground should be avoided.
In rare cases when it's unavoidable that a two
-wheel
drive vehicle is to be towed with all four wheels on the
ground, the propeller shaft to axle yoke orientation
should be marked and the propeller shaft removed
following the applicable service manual
removal/installation procedure.
Dust or dirt can enter the back of the transmission
through the opening created by removing the propeller
shaft if proper protection is not provided. Also, check
the transmission fluid level before driving the vehicle.
Page 225 of 424
yellowblue
4-43 Four-Wheel Drive Vehicles
CAUTION:
Shifting the transfer case into NEUTRAL (N) can
cause your vehicle to roll even if the transmission
is in PARK (P), for an automatic transmission.
You or others could be injured. Make sure the
parking brake is firmly set before you shift the
transfer case into NEUTRAL (N).
Use the following procedure to correctly tow your
vehicle on all four wheels:
1. Firmly set the parking brake.
2. Place the transmission in PARK (P).
3. Securely attach the vehicle being towed to the
tow vehicle.
4. With the engine running, shift the transfer case to
NEUTRAL (N). See ªFour
-Wheel Driveº in the
Index for the proper procedure to select the neutral
position for your vehicle.
5. Release the parking brake only after the vehicle
being towed is firmly attached to the towing vehicle.
6. Turn the ignition to OFF. The OFF position unlocks
the steering column and reduces battery drain.
Unlocking the steering column will allow the proper
movement of the front wheels and tires during towing.
Page 228 of 424
yellowblue
4-46
Towing a Trailer
CAUTION:
If you don't use the correct equipment and drive
properly, you can lose control when you pull a
trailer. For example, if the trailer is too heavy, the
brakes may not work well
-- or even at all. You
and your passengers could be seriously injured.
Pull a trailer only if you have followed all the
steps in this section. Ask your dealer for advice
and information about towing a trailer with
your vehicle.
NOTICE:
Pulling a trailer improperly can damage your
vehicle and result in costly repairs not covered by
your warranty. To pull a trailer correctly, follow
the advice in this part, and see your dealer for
important information about towing a trailer
with your vehicle.
Every vehicle is ready for some trailer towing. If yours
was built with trailering options, as many are, it's ready
for heavier trailers. But trailering is different than just
driving your vehicle by itself. Trailering means changes
in handling, durability and fuel economy. Successful,
safe trailering takes correct equipment, and it has to be
used properly.
That's the reason for this part. In it are many
time
-tested, important trailering tips and safety rules.
Many of these are important for your safety and that of
your passengers. So please read this section carefully
before you pull a trailer.
Page 229 of 424
yellowblue
4-47
If You Do Decide To Pull A Trailer
If you do, here are some important points:
�There are many different laws, including speed limit
restrictions, having to do with trailering. Make sure
your rig will be legal, not only where you live but
also where you'll be driving. A good source for this
information can be state or provincial police.
�Consider using a sway control if your trailer will
weigh less than the capacity stamped on your step
bumper. You should always use a sway control if
your trailer will weigh more than the capacity
stamped on your step bumper. You can ask a hitch
dealer about sway controls.
�Don't tow a trailer at all during the first 500 miles
(800 km) your new vehicle is driven. Your engine,
axle or other parts could be damaged.
�Then, during the first 500 miles (800 km) that you
tow a trailer, don't drive over 50 mph (80 km/h) and
don't make starts at full throttle. This helps your
engine and other parts of your vehicle wear in at the
heavier loads.
�You should tow in OVERDRIVE (�). You may want
to shift the transmission to THIRD (3) or, if necessary,
a lower gear selection if the transmission shifts too
often (e.g., under heavy loads and/or hilly conditions).Three important considerations have to do with weight:
�the weight of the trailer,
�the weight of the trailer tongue
�and the weight on your vehicle's tires.
Weight of the Trailer
How heavy can a trailer safely be?
It depends on how you plan to use your rig. For
example, speed, altitude, road grades, outside
temperature and how much your vehicle is used to pull a
trailer are all important. And, it can also depend on any
special equipment that you have on your vehicle.
Use the following chart to determine how much your vehicle
can weigh, based upon your vehicle model and options.
Maximum trailer weight is calculated assuming the
driver and one passenger are in the tow vehicle and it
has all the required trailering equipment. The weight of
additional optional equipment, passengers and cargo in
the tow vehicle must be subtracted from the maximum
trailer weight.
Above the 2,000 lbs. (908 kg) trailer rating, the
engine oil cooler is required on C/K
-1500 and
C/K
-2500 models. Refer to the Trailering Guide for
oil cooler recommendations.
Page 232 of 424
yellowblue
4-50
You can ask your dealer for our trailering information or
advice, or you can write us at the address listed in your
Warranty and Owner Assistance Information Booklet.
In Canada, write to:
General Motors of Canada Limited
Customer Communication Centre
1908 Colonel Sam Drive
Oshawa, Ontario L1H 8P7
Weight of the Trailer Tongue
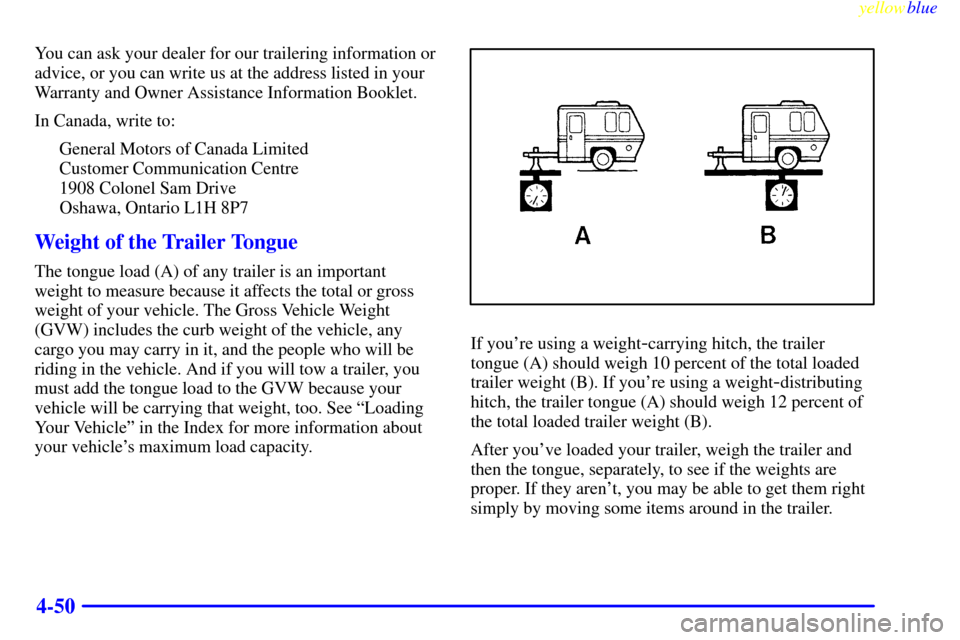
The tongue load (A) of any trailer is an important
weight to measure because it affects the total or gross
weight of your vehicle. The Gross Vehicle Weight
(GVW) includes the curb weight of the vehicle, any
cargo you may carry in it, and the people who will be
riding in the vehicle. And if you will tow a trailer, you
must add the tongue load to the GVW because your
vehicle will be carrying that weight, too. See ªLoading
Your Vehicleº in the Index for more information about
your vehicle's maximum load capacity.
If you're using a weight-carrying hitch, the trailer
tongue (A) should weigh 10 percent of the total loaded
trailer weight (B). If you're using a weight
-distributing
hitch, the trailer tongue (A) should weigh 12 percent of
the total loaded trailer weight (B).
After you've loaded your trailer, weigh the trailer and
then the tongue, separately, to see if the weights are
proper. If they aren't, you may be able to get them right
simply by moving some items around in the trailer.