Page 1 of 432

yellowblue
i
The 1999 Chevrolet Silverado Owner's Manual
1-1 Seats and Restraint SystemsThis section tells you how to use your seats and safety belts properly. It also explains the air bag system.
2-1 Features and ControlsThis section explains how to start and operate your vehicle.
3-1 Comfort Controls and Audio SystemsThis section tells you how to adjust the ventilation and comfort controls and how to operate your audio system.
4-1 Your Driving and the RoadHere you'll find helpful information and tips about the road and how to drive under different conditions.
5-1 Problems on the RoadThis section tells you what to do if you have a problem while driving, such as a flat tire or overheated engine, etc.
6-1 Service and Appearance CareHere the manual tells you how to keep your vehicle running properly and looking good.
7-1 Maintenance ScheduleThis section tells you when to perform vehicle maintenance and what fluids and lubricants to use.
8-1 Customer Assistance InformationThis section tells you how to contact Chevrolet for assistance and how to get service and owner publications.
It also gives you information on ªReporting Safety Defectsº on page 8-10.
9-1 IndexHere's an alphabetical listing of almost every subject in this manual. You can use it to quickly find
something you want to read.
Page 156 of 432

yellowblue
2-84
NOTICE:
If you keep driving your vehicle with the
transmission TRANS HOT...IDLE ENGINE
message displayed, you can damage the
transmission. This could lead to costly repairs
that may not be covered under your warranty.
The following situations can cause the transmission to
operate at higher temperatures:
�Towing a trailer
�Hot outside air temperatures
�Hauling a heavy load
�Low transmission fluid level
�High transmission fluid level
�Restricted air flow to the radiator and the auxiliary
transmission oil cooler (if equipped).
A temporary solution to hotter transmission operating
temperatures may be to let the transmission cool down.
If the transmission is operated at higher temperatures on
a frequent basis, see ªScheduled Maintenanceº in the
Index for the proper transmission maintenance intervals.
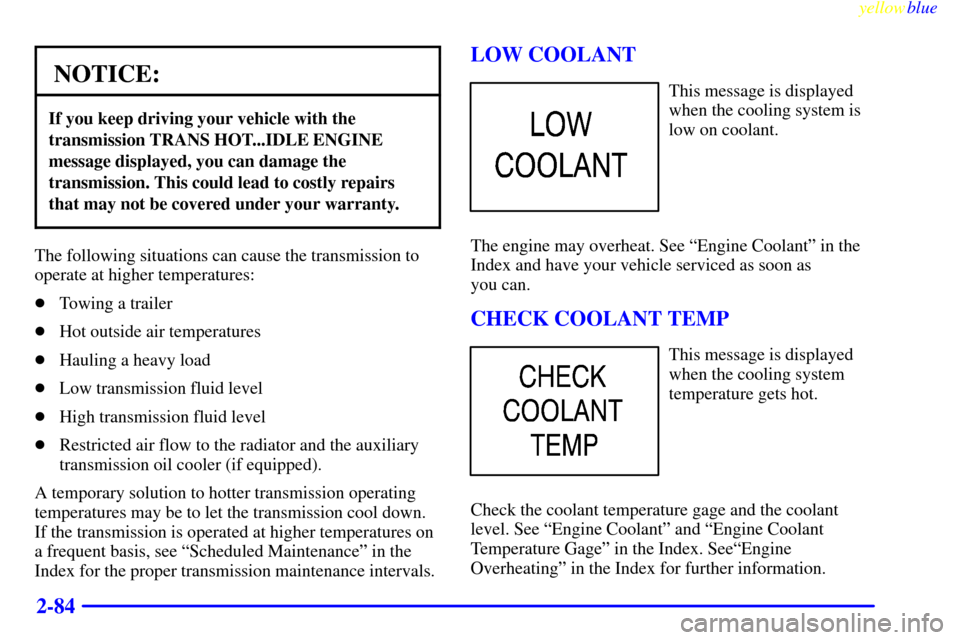
LOW COOLANT
This message is displayed
when the cooling system is
low on coolant.
The engine may overheat. See ªEngine Coolantº in the
Index and have your vehicle serviced as soon as
you can.
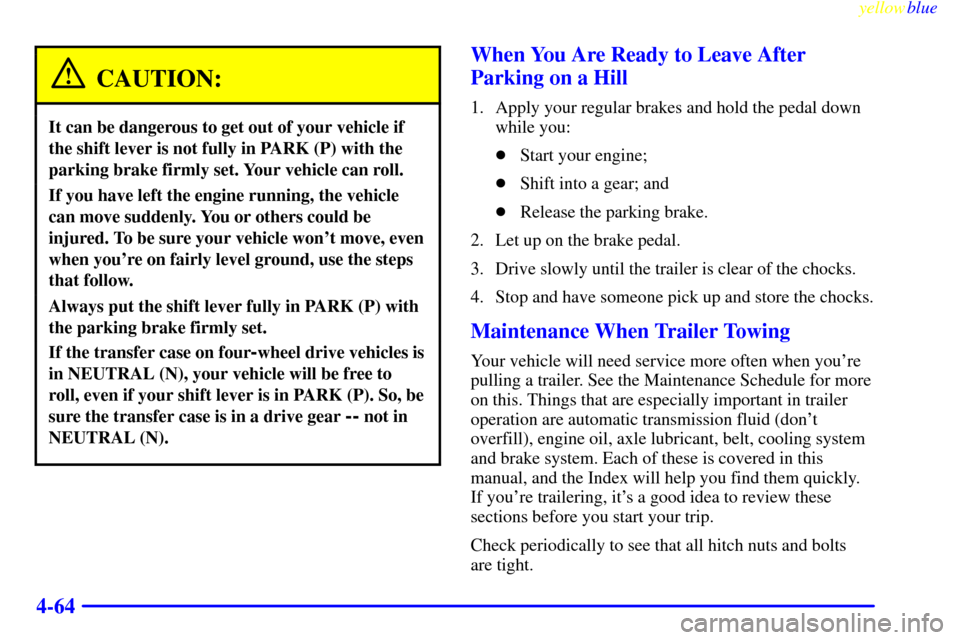
CHECK COOLANT TEMP
This message is displayed
when the cooling system
temperature gets hot.
Check the coolant temperature gage and the coolant
level. See ªEngine Coolantº and ªEngine Coolant
Temperature Gageº in the Index. SeeªEngine
Overheatingº in the Index for further information.
Page 220 of 432
yellowblue
4-30 After Off-Road Driving
Remove any brush or debris that has collected on the
underbody, chassis or under the hood. These
accumulations can be a fire hazard.
After operation in mud or sand, have the brake linings
cleaned and checked. These substances can cause
glazing and uneven braking. Check the body structure,
steering, suspension, wheels, tires and exhaust system
for damage. Also, check the fuel lines and cooling
system for any leakage.
Your vehicle will require more frequent service due to
off
-road use. Refer to the Maintenance Schedule for
additional information.
Driving at Night
Night driving is more dangerous than day driving. One
reason is that some drivers are likely to be impaired
-- by
alcohol or drugs, with night vision problems, or by fatigue.
Page 254 of 432

yellowblue
4-64
CAUTION:
It can be dangerous to get out of your vehicle if
the shift lever is not fully in PARK (P) with the
parking brake firmly set. Your vehicle can roll.
If you have left the engine running, the vehicle
can move suddenly. You or others could be
injured. To be sure your vehicle won't move, even
when you're on fairly level ground, use the steps
that follow.
Always put the shift lever fully in PARK (P) with
the parking brake firmly set.
If the transfer case on four-wheel drive vehicles is
in NEUTRAL (N), your vehicle will be free to
roll, even if your shift lever is in PARK (P). So, be
sure the transfer case is in a drive gear
-- not in
NEUTRAL (N).
When You Are Ready to Leave After
Parking on a Hill
1. Apply your regular brakes and hold the pedal down
while you:
�Start your engine;
�Shift into a gear; and
�Release the parking brake.
2. Let up on the brake pedal.
3. Drive slowly until the trailer is clear of the chocks.
4. Stop and have someone pick up and store the chocks.
Maintenance When Trailer Towing
Your vehicle will need service more often when you're
pulling a trailer. See the Maintenance Schedule for more
on this. Things that are especially important in trailer
operation are automatic transmission fluid (don't
overfill), engine oil, axle lubricant, belt, cooling system
and brake system. Each of these is covered in this
manual, and the Index will help you find them quickly.
If you're trailering, it's a good idea to review these
sections before you start your trip.
Check periodically to see that all hitch nuts and bolts
are tight.
Page 315 of 432
yellowblue
6-17
Your air cleaner is located in the passenger's side front
corner of the engine compartment.1. To remove the air filter, loosen the screws on the
cover. Lift the cover upward. Lift the filter out of the
air cleaner housing. Care should be taken to dislodge
as little dirt as possible.
2. Clean the filter sealing surface and the filter housing.
3. Install the new filter.
4. Install the cover and tighten the screws on the air
cleaner cover.
Refer to the Maintenance Schedule to determine when to
replace the air filter. See ªOwner Checks and Servicesº
in the Index.
Page 317 of 432

yellowblue
6-19
3. Remove the air filter by pulling downward on the
element. Remove the second portion of the air filter
by sliding it towards the rear of the vehicle and then
pulling downward.
4. Install the new filter by reversing the steps listed
previously. Be sure to follow any instructions that
may be included in the replacement filter package.
Refer to the Maintenance Schedule to determine when to
replace the passenger compartment air filter. See
ªScheduled Maintenanceº in the Index.
Automatic Transmission Fluid
If your vehicle has a diesel engine, see ªAutomatic
Transmission Fluidº in the Diesel Supplement.
When to Check and Change
A good time to check your automatic transmission fluid
level is when the engine oil is changed.
Change both the fluid and filter every 50,000 miles
(83 000 km) if the vehicle is mainly driven under one or
more of these conditions:
�In heavy city traffic where the outside temperature
regularly reaches 90�F (32�C) or higher.
�In hilly or mountainous terrain.�When doing frequent trailer towing.
�Uses such as found in taxi, police or delivery service.
If you do not use your vehicle under any of these
conditions, change the fluid and filter every
100,000 miles (166 000 km).
See ªScheduled Maintenance Servicesº in the Index.
How to Check
Because this operation can be a little difficult, you may
choose to have this done at the dealership service
department.
If you do it yourself, be sure to follow all the
instructions here, or you could get a false reading on
the dipstick.
NOTICE:
Too much or too little fluid can damage your
transmission. Too much can mean that some of
the fluid could come out and fall on hot engine
parts or exhaust system parts, starting a fire.
Be sure to get an accurate reading if you check
your transmission fluid.
Page 322 of 432

yellowblue
6-24 How to Add Fluid
Here's how to add fluid. Refer to the Maintenance
Schedule to determine what kind of fluid to use. See
ªRecommended Fluids and Lubricantsº in the Index.
1. Remove the filler plug.
2. Add fluid at the filler plug hole. Add only enough
fluid to bring the fluid level up to the bottom of the
filler plug hole.
3. Install the filler plug. Be sure the plug is fully seated.
Hydraulic Clutch
The hydraulic clutch system in your vehicle is
self
-adjusting. A slight amount of play (1/4 inch to
1/2 inch or 6 mm to 12 mm) in the pedal is normal.
It isn't a good idea to ªtop offº your clutch fluid.
Adding fluid won't correct a leak. A fluid loss in this
system could indicate a problem. Have the system
inspected and repaired.
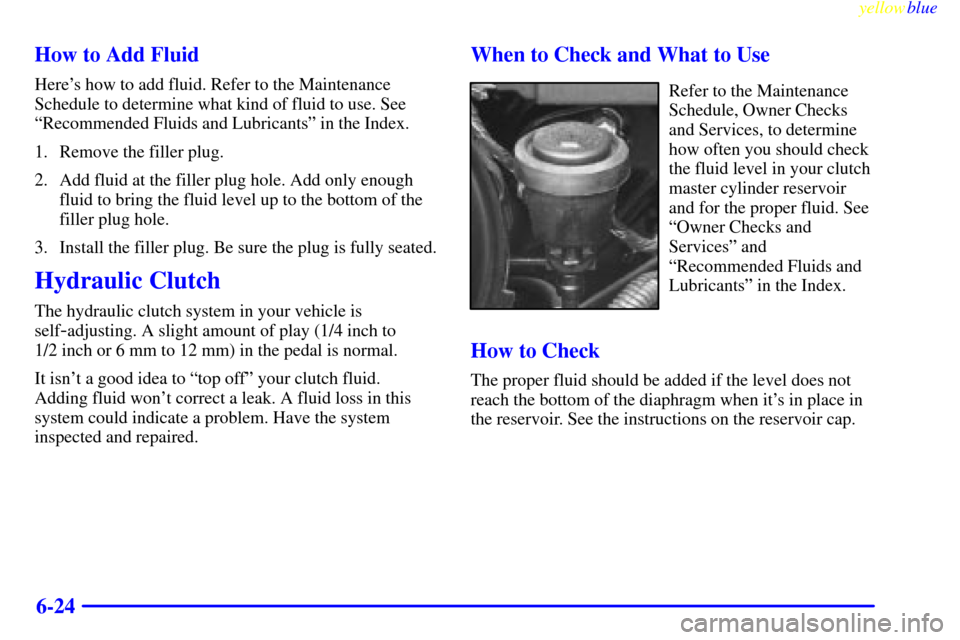
When to Check and What to Use
Refer to the Maintenance
Schedule, Owner Checks
and Services, to determine
how often you should check
the fluid level in your clutch
master cylinder reservoir
and for the proper fluid. See
ªOwner Checks and
Servicesº and
ªRecommended Fluids and
Lubricantsº in the Index.
How to Check
The proper fluid should be added if the level does not
reach the bottom of the diaphragm when it's in place in
the reservoir. See the instructions on the reservoir cap.
Page 323 of 432
yellowblue
6-25
Rear Axle
When to Check Lubricant
Refer to the Maintenance Schedule to determine how
often to check the lubricant. See ªScheduled
Maintenance Servicesº in the Index.
How to Check Lubricant
1500 Series shown, 2500 Series similarThe proper level for the 1500 Series is from 5/8 inch
to 1 5/8 inch (15 mm to 40 mm) below the filler plug.
The proper level for the 2500 Series is from 0 to
3/8 inch (0 to 10 mm) below the filler plug. Add only
enough fluid to reach the proper level.
What to Use
Refer to the Maintenance Schedule to determine what
kind of lubricant to use. See ªRecommended Fluids and
Lubricantsº in the Index.
Four-Wheel Drive
Most lubricant checks in this section also apply to
four
-wheel-drive vehicles. However, they have two
additional systems that need lubrication.