Page 1 of 328

yellowblue
i
The 1999 Chevrolet Metro Owner's Manual
1-1 Seats and Restraint SystemsThis section tells you how to use your seats and safety belts properly. It also explains the air bag system.
2-1 Features and ControlsThis section explains how to start and operate your vehicle.
3-1 Comfort Controls and Audio SystemsThis section tells you how to adjust the ventilation and comfort controls and how to operate your audio system.
4-1 Your Driving and the RoadHere you'll find helpful information and tips about the road and how to drive under different conditions.
5-1 Problems on the RoadThis section tells you what to do if you have a problem while driving, such as a flat tire or overheated engine, etc.
6-1 Service and Appearance CareHere the manual tells you how to keep your vehicle running properly and looking good.
7-1 Maintenance ScheduleThis section tells you when to perform vehicle maintenance and what fluids and lubricants to use.
8-1 Customer Assistance InformationThis section tells you how to contact Chevrolet for assistance and how to get service and owner publications.
It also gives you information on ªReporting Safety Defectsº on page 8-10.
9-1 IndexHere's an alphabetical listing of almost every subject in this manual. You can use it to quickly find
something you want to read.
Page 146 of 328

yellowblue
4-22
The exit speed is usually posted.
Reduce your speed according to your speedometer, not
to your sense of motion. After driving for any distance
at higher speeds, you may tend to think you are going
slower than you actually are.
Before Leaving on a Long Trip
Make sure you're ready. Try to be well rested. If you
must start when you're not fresh
-- such as after a day's
work
-- don't plan to make too many miles that first part
of the journey. Wear comfortable clothing and shoes you
can easily drive in.
Is your vehicle ready for a long trip? If you keep it
serviced and maintained, it's ready to go. If it needs
service, have it done before starting out. Of course,
you'll find experienced and able service experts in
Chevrolet dealerships all across North America. They'll
be ready and willing to help if you need it.Here are some things you can check before a trip:
�Windshield Washer Fluid: Is the reservoir full? Are
all windows clean inside and outside?
�Wiper Blades: Are they in good shape?
�Fuel, Engine Oil, Other Fluids: Have you checked
all levels?
�Lamps: Are they all working? Are the lenses clean?
�Tires: They are vitally important to a safe,
trouble-free trip. Is the tread good enough for
long
-distance driving? Are the tires all inflated to the
recommended pressure?
�Weather Forecasts: What's the weather outlook
along your route? Should you delay your trip a short
time to avoid a major storm system?
�Maps: Do you have up
-to-date maps?
Page 147 of 328

yellowblue
4-23
Highway Hypnosis
Is there actually such a condition as ªhighway hypnosisº?
Or is it just plain falling asleep at the wheel? Call it
highway hypnosis, lack of awareness, or whatever.
There is something about an easy stretch of road with
the same scenery, along with the hum of the tires on the
road, the drone of the engine, and the rush of the wind
against the vehicle that can make you sleepy. Don't let it
happen to you! If it does, your vehicle can leave the
road in less than a second, and you could crash and
be injured.
What can you do about highway hypnosis? First, be
aware that it can happen.
Then here are some tips:
�Make sure your vehicle is well ventilated, with a
comfortably cool interior.
�Keep your eyes moving. Scan the road ahead and to
the sides. Check your rearview mirrors and your
instruments frequently.
�If you get sleepy, pull off the road into a rest, service
or parking area and take a nap, get some exercise, or
both. For safety, treat drowsiness on the highway as
an emergency.
Hill and Mountain Roads
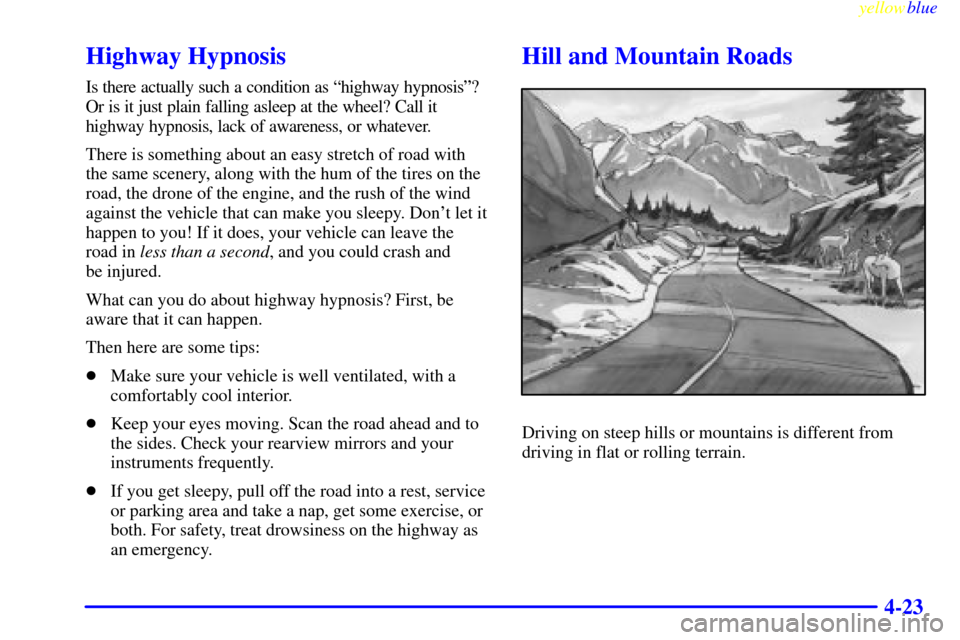
Driving on steep hills or mountains is different from
driving in flat or rolling terrain.
Page 157 of 328
yellowblue
4-33
Loading Your Vehicle
Two labels on your vehicle show how much weight it
may properly carry. The Tire
-Loading Information label
found on the driver's door lock pillar tells you the
proper size, speed rating and recommended inflation
pressures for the tires on your vehicle. It also gives you
important information about the number of people that
can be in your vehicle and the total weight that you can
carry. This weight is called the Vehicle Capacity Weight
and includes the weight of all occupants, cargo, and all
nonfactory
-installed options.
The other label is the Certification label, also found on
the driver's door lock pillar. It tells you the gross weight
capacity of your vehicle, called the Gross Vehicle
Weight Rating (GVWR). The GVWR includes the
weight of the vehicle, all occupants, fuel and cargo.
Never exceed the GVWR for your vehicle, or the Gross
Axle Weight Rating (GAWR) for either the front or
rear axle.
Page 161 of 328
5-
yellowblue
5-1
Section 5 Problems on the Road
Here you'll find what to do about some problems that can occur on the road.
5
-2 Hazard Warning Flashers
5
-3 Other Warning Devices
5
-3 Jump Starting
5
-8 Towing Your Vehicle
5
-8 Engine Overheating5
-11 Cooling System
5
-18 If a Tire Goes Flat
5
-19 Changing a Flat Tire
5
-30 Compact Spare Tire
5
-31 If You're Stuck: In Sand, Mud, Ice or Snow
Page 178 of 328

yellowblue
5-18
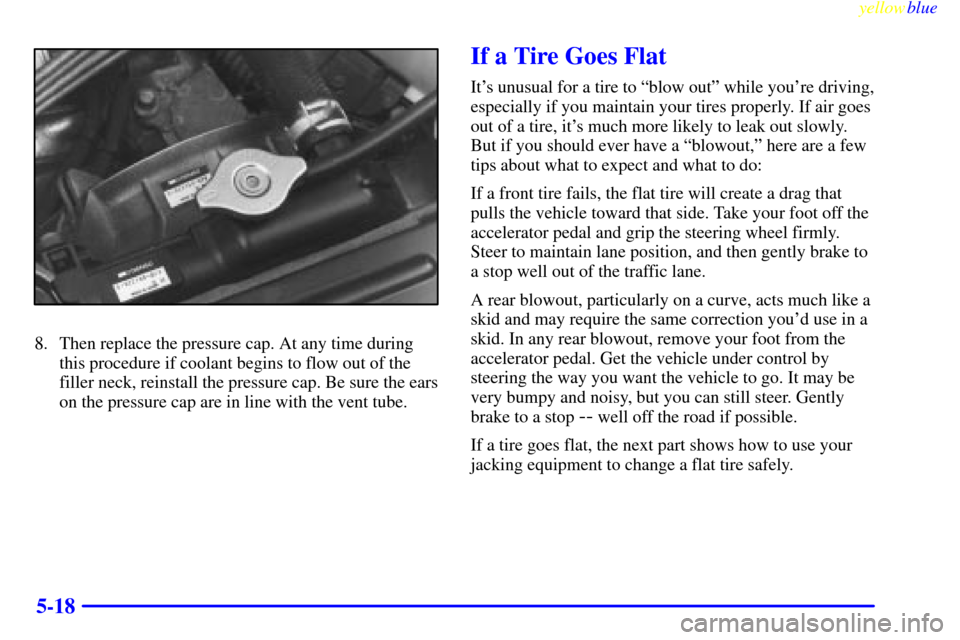
8. Then replace the pressure cap. At any time during
this procedure if coolant begins to flow out of the
filler neck, reinstall the pressure cap. Be sure the ears
on the pressure cap are in line with the vent tube.
If a Tire Goes Flat
It's unusual for a tire to ªblow outº while you're driving,
especially if you maintain your tires properly. If air goes
out of a tire, it's much more likely to leak out slowly.
But if you should ever have a ªblowout,º here are a few
tips about what to expect and what to do:
If a front tire fails, the flat tire will create a drag that
pulls the vehicle toward that side. Take your foot off the
accelerator pedal and grip the steering wheel firmly.
Steer to maintain lane position, and then gently brake to
a stop well out of the traffic lane.
A rear blowout, particularly on a curve, acts much like a
skid and may require the same correction you'd use in a
skid. In any rear blowout, remove your foot from the
accelerator pedal. Get the vehicle under control by
steering the way you want the vehicle to go. It may be
very bumpy and noisy, but you can still steer. Gently
brake to a stop
-- well off the road if possible.
If a tire goes flat, the next part shows how to use your
jacking equipment to change a flat tire safely.
Page 179 of 328
yellowblue
5-19
Changing a Flat Tire
If a tire goes flat, avoid further tire and wheel damage
by driving slowly to a level place. Turn on your hazard
warning flashers.
CAUTION:
Changing a tire can cause an injury. The vehicle
can slip off the jack and roll over you or other
people. You and they could be badly injured.
Find a level place to change your tire. To help
prevent the vehicle from moving:
1. Set the parking brake firmly.
2. Put an automatic transaxle shift lever in
PARK (P), or shift a manual transaxle to
FIRST (1) or REVERSE (R).
3. Turn off the engine.
To be even more certain the vehicle won't move,
you can put blocks at the front and rear of the
tire farthest away from the one being changed.
That would be the tire on the other side of the
vehicle, at the opposite end.
The following steps will tell you how to use the jack and
change a tire.
Page 182 of 328
yellowblue
5-22
If you have a wheel cover, remove it using the flat end
of the jack handle. Pry along the edge of the wheel
cover (as shown) and pull toward you until it comes off.
Removing the Flat Tire and Installing the
Spare Tire
1. Using the wheel wrench,
loosen all the wheel
nuts. Don't remove
them yet.