Page 98 of 344
yellowblue
2-36
Passing Another Vehicle While Using Cruise Control
Use the accelerator pedal to increase your speed. When
you take your foot off the pedal, your vehicle will slow
down to the cruise control speed you set earlier.
Using Cruise Control on Hills
How well your cruise control will work on hills depends
upon your speed, load and the steepness of the hills.
When going up steep hills, you may have to step on the
accelerator pedal to maintain your speed. When going
downhill, you may have to brake or shift to a lower gear
to keep your speed down. Of course, applying the brake
takes you out of cruise control. Many drivers find this to
be too much trouble and don't use cruise control on
steep hills.
Ending Out of Cruise Control
There are two ways to turn off the cruise control:
�Step lightly on the brake pedal;
�Press the cruise control OFF/ON button.
Erasing the Cruise Speed Memory
When you turn off the cruise control or the ignition,
your cruise control set speed memory is erased.Exterior Lamps
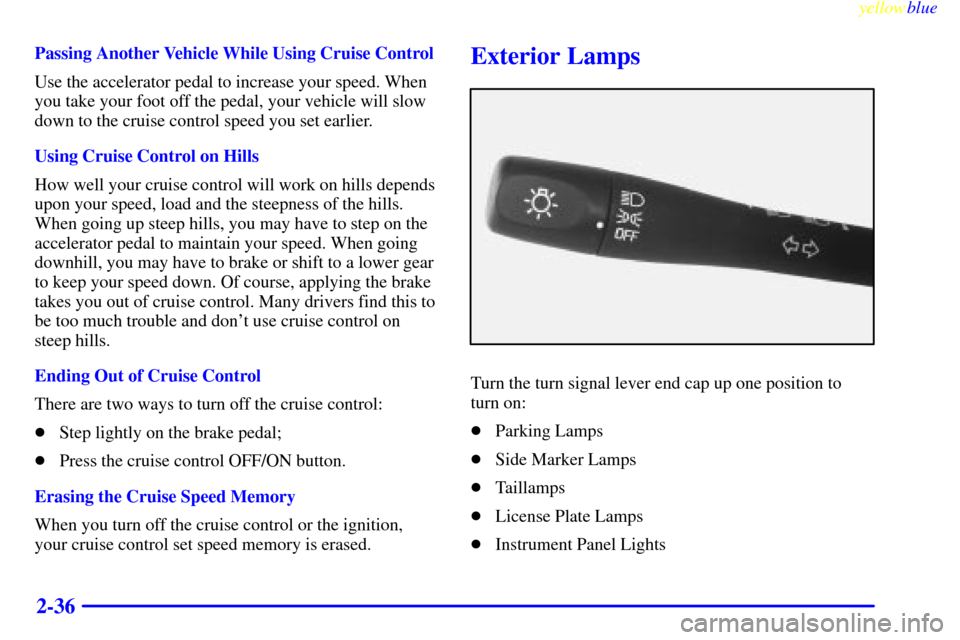
Turn the turn signal lever end cap up one position to
turn on:
�Parking Lamps
�Side Marker Lamps
�Taillamps
�License Plate Lamps
�Instrument Panel Lights
Page 99 of 344
yellowblue
2-37
Turn the turn signal lever end cap up two positions to
turn on:
�Headlamps
�Parking Lamps
�Sidemarker Lamps
�Taillamps
�License Plate Lamps
�Instrument Panel Lights
Turn the switch to OFF to turn all of the lamps off.
Lamps On Reminder
If you open the driver's door and turn off the ignition
while leaving the lamps on, you will hear a
warning chime.
Daytime Running Lamps
Daytime Running Lamps (DRL) can make it easier for
others to see the front of your vehicle during the day.
DRL can be helpful in many different driving
conditions, but they can be especially helpful in the
short periods after dawn and before sunset.The DRL system will make your low
-beam headlamps
come on at a reduced brightness when:
�the ignition is on,
�the headlamp switch is to OFF or you have turned on
your parking lamps,
�the light sensor detects daytime light,
�the parking brake is released and
�the shift lever is not in PARK (P).
When the DRL system is on, the taillamps, sidemarker,
park lamps and instrument panel lights will not
be illuminated.
The DRL system will remain off any time your vehicle
is in PARK (P) or the parking brake is engaged.
As with any vehicle, you should turn on the regular
headlamp system when you need it.
Page 100 of 344
yellowblue
2-38 Automatic Light Control (ALC)
When it is dark enough outside, your Automatic Light
Control (ALC) will turn on your headlamps at the
normal brightness along with other lamps such as the
taillamps, sidemarker, park lamps and the instrument
panel lights. The radio lights will also be dim.
Your vehicle is equipped with a light sensor on the top
of the instrument panel under the defroster grill, so be
sure it is not covered which will cause the ALC system
to be on whenever the ignition is on.
The ALC system may also be on when driving through
a parking garage, heavy overcast weather, a tunnel.
This is normal.
There is a delay in the transition between the daytime
and nighttime operation of the DRL and the ALC
systems so that driving under bridges or bright overhead
street lights does not affect the system. The DRL and
ALC systems will only be affected when the light sensor
sees a change in lighting lasting longer than this delay.
To idle your vehicle with the ALC system off, set the
park brake while the ignition is off. Then start the
vehicle. The ALC system will stay off until you release
the park brake.
As with any vehicle, you should turn on the regular
headlamp system when you need it.
Fog Lamps (If Equipped)
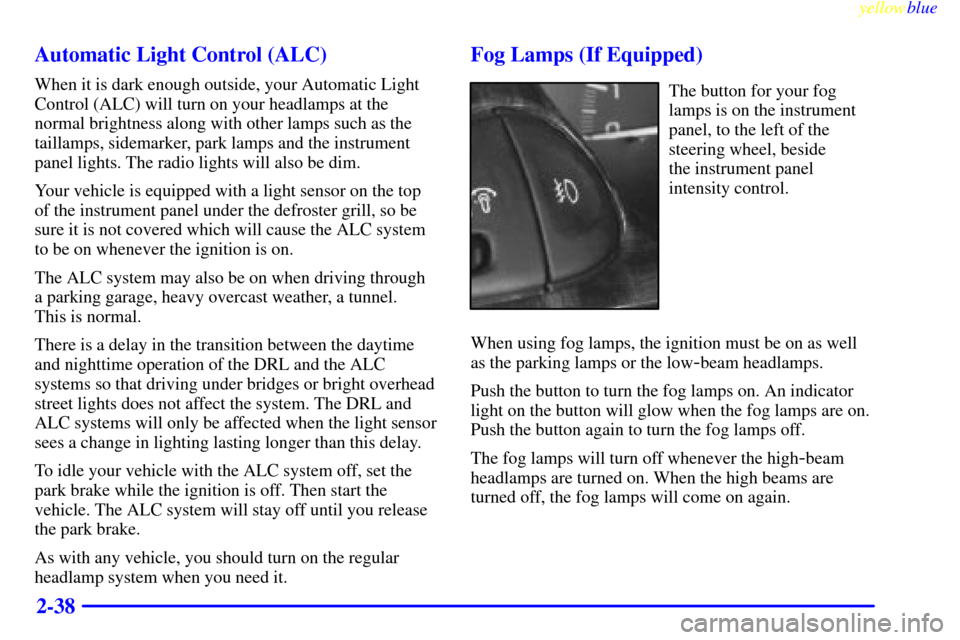
The button for your fog
lamps is on the instrument
panel, to the left of the
steering wheel, beside
the instrument panel
intensity control.
When using fog lamps, the ignition must be on as well
as the parking lamps or the low
-beam headlamps.
Push the button to turn the fog lamps on. An indicator
light on the button will glow when the fog lamps are on.
Push the button again to turn the fog lamps off.
The fog lamps will turn off whenever the high
-beam
headlamps are turned on. When the high beams are
turned off, the fog lamps will come on again.
Page 109 of 344
yellowblue
2-47
The main components of your instrument panel are:
A. Instrument Panel Brightness Control
B. Fog Lamp Switch (If Equipped)
C. Turn Signal Multifunction Lever
D. Cruise Control Switches (If Equipped)
E. Instrument Cluster
F. Windshield Wiper/Washer Lever
G. Ignition Switch
H. Hazard Switch
I. Fuse Panels
J. Climate Control SystemK. Accessory Power Outlet
L. Ashtray
M. Lighter
N. Audio System
O. Horn
P. Parking Brake
Q. Tilt Wheel Lever
R. Hood Release
S. Remote Trunk Release Switch
T. Instrument Panel Cupholder
Page 115 of 344
yellowblue
2-53
CAUTION:
Your brake system may not be working properly
if the brake system warning light is on. Driving
with the brake system warning light on can lead
to an accident. If the light is still on after you've
pulled off the road and stopped carefully, have
the vehicle towed for service.
When the ignition is on, the brake system warning light
will also come on when you set your parking brake. The
light will stay on if your parking brake doesn't release
fully. If it stays on after your parking brake is fully
released, it means you have a brake problem.
Anti-Lock Brake System Warning Light
With the anti-lock brake
system, this light will come
on when you turn your
ignition on or start your
engine and it will stay on
for three seconds.
That's normal.
If the light stays on, turn the ignition to OFF. Or, if the
light comes on and the chime sounds when you're driving,
stop as soon as possible and turn the ignition off. Then
start the engine again to reset the system. If the light still
stays on, or comes on again while you're driving, your
vehicle needs service. If the regular brake system warning
light isn't on, you still have brakes, but you don't have
anti
-lock brakes. If the regular brake system warning light
is also on, you don't have anti
-lock brakes and there's a
problem with your regular brakes. See ªBrake System
Warning Lightº earlier in this section.
The anti
-lock brake system warning light should come
on briefly when you turn the ignition key to ON. If the
light doesn't come on then, have it fixed so it will be
ready to warn you if there is a problem.
Page 179 of 344
yellowblue
4-29
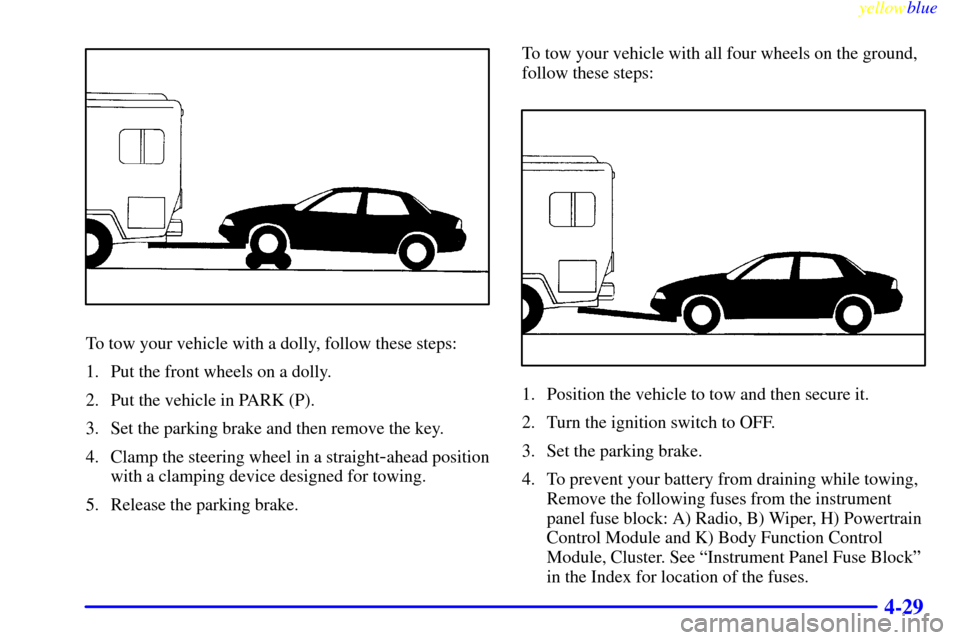
To tow your vehicle with a dolly, follow these steps:
1. Put the front wheels on a dolly.
2. Put the vehicle in PARK (P).
3. Set the parking brake and then remove the key.
4. Clamp the steering wheel in a straight
-ahead position
with a clamping device designed for towing.
5. Release the parking brake.To tow your vehicle with all four wheels on the ground,
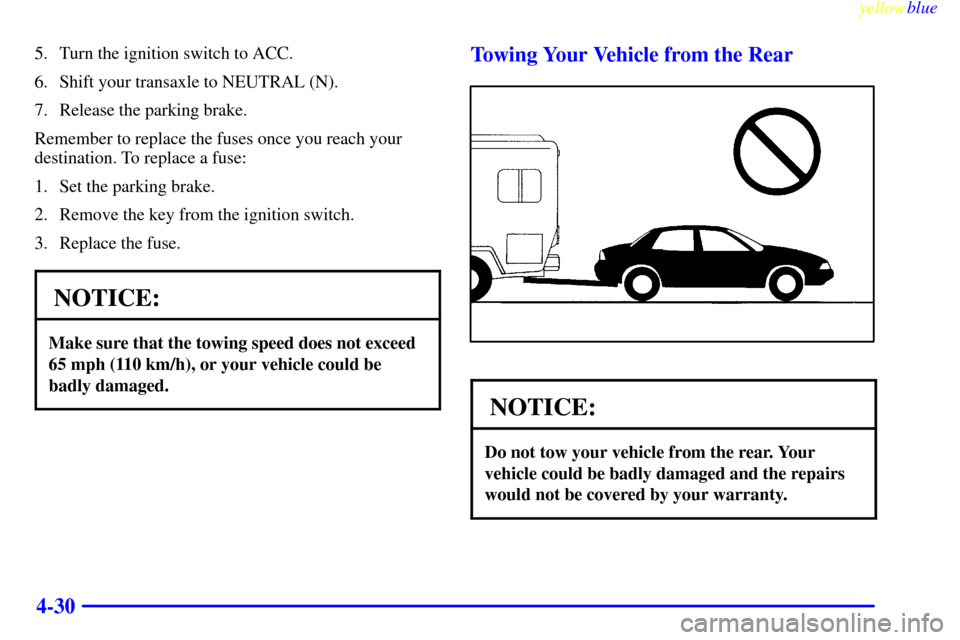
follow these steps:
1. Position the vehicle to tow and then secure it.
2. Turn the ignition switch to OFF.
3. Set the parking brake.
4. To prevent your battery from draining while towing,
Remove the following fuses from the instrument
panel fuse block: A) Radio, B) Wiper, H) Powertrain
Control Module and K) Body Function Control
Module, Cluster. See ªInstrument Panel Fuse Blockº
in the Index for location of the fuses.
Page 180 of 344
yellowblue
4-30
5. Turn the ignition switch to ACC.
6. Shift your transaxle to NEUTRAL (N).
7. Release the parking brake.
Remember to replace the fuses once you reach your
destination. To replace a fuse:
1. Set the parking brake.
2. Remove the key from the ignition switch.
3. Replace the fuse.
NOTICE:
Make sure that the towing speed does not exceed
65 mph (110 km/h), or your vehicle could be
badly damaged.
Towing Your Vehicle from the Rear
NOTICE:
Do not tow your vehicle from the rear. Your
vehicle could be badly damaged and the repairs
would not be covered by your warranty.
Page 189 of 344
yellowblue
4-39 Parking on Hills
CAUTION:
You really should not park your vehicle, with a
trailer attached, on a hill. If something goes
wrong, your rig could start to move. People can
be injured, and both your vehicle and the trailer
can be damaged.
But if you ever have to park your rig on a hill, here's
how to do it:
1. Apply your regular brakes, but don't shift into
PARK (P) yet.
2. Have someone place chocks under the trailer wheels.
3. When the wheel chocks are in place, release the
regular brakes until the chocks absorb the load.
4. Reapply the regular brakes. Then apply your parking
brake and shift into PARK (P).
5. Release the regular brakes.
When You Are Ready to Leave After
Parking on a Hill
1. Apply your regular brakes and hold the pedal down
while you:
�Start your engine;
�Shift into a gear; and
�Release the parking brake.
2. Let up on the brake pedal.
3. Drive slowly until the trailer is clear of the chocks.
4. Stop and have someone pick up and store the chocks.