Page 100 of 368

yellowblue
2-36 Turn Signal and Lane Change Indicator
The turn signal has two upward (for right) and two
downward (for left) positions. These positions allow you
to signal a turn or a lane change.
To signal a turn, move the lever all the way up or down.
When the turn is finished, the lever will return automatically.
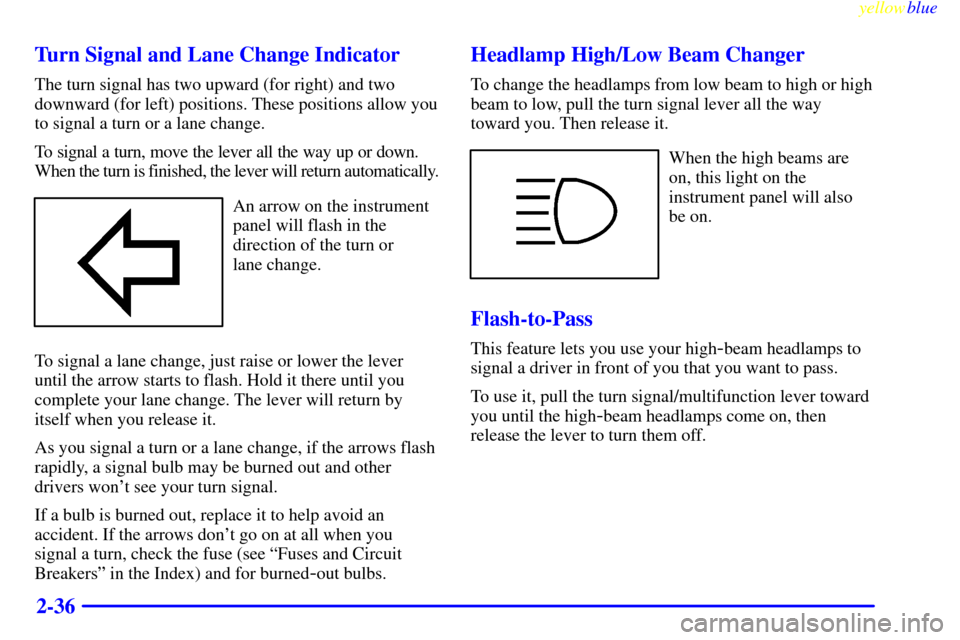
An arrow on the instrument
panel will flash in the
direction of the turn or
lane change.
To signal a lane change, just raise or lower the lever
until the arrow starts to flash. Hold it there until you
complete your lane change. The lever will return by
itself when you release it.
As you signal a turn or a lane change, if the arrows flash
rapidly, a signal bulb may be burned out and other
drivers won't see your turn signal.
If a bulb is burned out, replace it to help avoid an
accident. If the arrows don't go on at all when you
signal a turn, check the fuse (see ªFuses and Circuit
Breakersº in the Index) and for burned
-out bulbs.
Headlamp High/Low Beam Changer
To change the headlamps from low beam to high or high
beam to low, pull the turn signal lever all the way
toward you. Then release it.
When the high beams are
on, this light on the
instrument panel will also
be on.
Flash-to-Pass
This feature lets you use your high-beam headlamps to
signal a driver in front of you that you want to pass.
To use it, pull the turn signal/multifunction lever toward
you until the high
-beam headlamps come on, then
release the lever to turn them off.
Page 137 of 368

yellowblue
2-73
If so, your electrical system may be wet. The condition
will usually be corrected when the electrical system
dries out. A few driving trips should turn the light off.
Have you recently changed brands of fuel?
If so, be sure to fuel your vehicle with quality fuel (see
ªFuelº in the Index). Poor fuel quality will cause your
engine not to run as efficiently as designed. You may
notice this as stalling after start
-up, stalling when you
put the vehicle into gear, misfiring, hesitation on
acceleration or stumbling on acceleration. (These
conditions may go away once the engine is warmed up.)
This will be detected by the system and cause the light
to turn on.
If you experience one or more of these conditions,
change the fuel brand you use. It will require at least one
full tank of the proper fuel to turn the light off.
If none of the above steps have made the light turn off,
have your dealer or qualified service center check the
vehicle. Your dealer has the proper test equipment and
diagnostic tools to fix any mechanical or electrical
problems that may have developed.
Oil Pressure Light
If you have a low engine oil
pressure problem, this light
will stay on after you start
your engine, or come on
when you are driving. This
indicates that your engine is
not receiving enough oil.
The engine could be low on oil, or could have some
other oil problem. Have it fixed immediately.
The oil light could also come on in three
other situations:
�When the ignition is on but the engine is not running,
the light will come on as a test to show you it is
working, but the light will go out when you turn the
ignition to START. If it doesn't come on with the
ignition on, you may have a problem with the fuse or
bulb. Have it fixed right away.
�If you're idling at a stop sign, the light may blink on
and then off.
�If you make a hard stop, the light may come on for a
moment. This is normal.
Page 203 of 368

yellowblue
4-39 Passing
You'll need more passing distance up ahead when
you're towing a trailer. And, because you're a good deal
longer, you'll need to go much farther beyond the
passed vehicle before you can return to your lane.
Backing Up
Hold the bottom of the steering wheel with one hand.
Then, to move the trailer to the left, just move that hand
to the left. To move the trailer to the right, move your
hand to the right. Always back up slowly and, if
possible, have someone guide you.
Making Turns
NOTICE:
Making very sharp turns while trailering could
cause the trailer to come in contact with the
vehicle. Your vehicle could be damaged. Avoid
making very sharp turns while trailering.
When you're turning with a trailer, make wider turns
than normal. Do this so your trailer won't strike soft
shoulders, curbs, road signs, trees or other objects.
Avoid jerky or sudden maneuvers. Signal well
in advance.
Turn Signals When Towing a Trailer
When you tow a trailer, your vehicle may need a
different turn signal flasher and/or extra wiring. Check
with your dealer. The arrows on your instrument panel
will flash whenever you signal a turn or lane change.
Properly hooked up, the trailer lamps will also flash,
telling other drivers you're about to turn, change lanes
or stop.
When towing a trailer, the arrows on your instrument
panel will flash for turns even if the bulbs on the trailer
are burned out. Thus, you may think drivers behind you
are seeing your signal when they are not. It's important
to check occasionally to be sure the trailer bulbs are
still working.
Page 239 of 368

6-
yellowblue
6-1
Section 6 Service and Appearance Care
Here you will find information about the care of your vehicle. This section begins with service and fuel information,
and then it shows how to check important fluid and lubricant levels. There is also technical information about your
vehicle, and a part devoted to its appearance care.
6
-2 Service
6
-3 Fuel
6
-5 Fuels in Foreign Countries
6
-5 Filling Your Tank
6
-7 Filling a Portable Fuel Container
6
-8 Checking Things Under the Hood
6
-12 Engine Oil
6
-17 Engine Air Cleaner/Filter
6
-18 Automatic Transaxle Fluid
(Three
-Speed Only)
6
-21 Automatic Transaxle Fluid (Four-Speed Only)
6
-22 Manual Transaxle Fluid
6
-24 Hydraulic Clutch
6
-25 Surge Tank Pressure Cap
6
-25 Thermostat
6
-25 Engine Coolant
6
-29 Power Steering Fluid6
-29 Windshield Washer Fluid
6
-31 Brakes
6
-34 Battery
6
-35 Bulb Replacement
6
-40 Tires
6
-48 Appearance Care
6
-49 Cleaning the Inside of Your Vehicle
6
-51 Care of Safety Belts
6
-52 Cleaning the Outside of Your Vehicle
6
-53 Cleaning Your Convertible Top
6
-57 Vehicle Identification Number (VIN)
6
-57 Electrical System
6
-62 Replacement Bulbs
6
-62 Capacities and Specifications
6
-63 Air Conditioning Refrigerants
6
-63 Normal Maintenance Replacement Parts
Page 273 of 368
yellowblue
6-35
CAUTION:
Batteries have acid that can burn you and gas
that can explode. You can be badly hurt if you
aren't careful. See ªJump Startingº in the Index
for tips on working around a battery without
getting hurt.
Contact your dealer to learn how to prepare your vehicle
for longer storage periods.
Also, for your audio system, see ªTheft
-Deterrent
Featureº in the Index.
Bulb Replacement
The following procedures tell you how to replace the
bulbs for your vehicle.
For the type of bulb to use, see ªReplacement Bulbsº in
the Index.
For any bulb changing procedure not listed in this
section, contact your Chevrolet dealer's
service department.
Halogen Bulbs
CAUTION:
Halogen bulbs have pressurized gas inside and
can burst if you drop or scratch the bulb. You or
others could be injured. Be sure to read and
follow the instructions on the bulb package.
Page 274 of 368
yellowblue
6-36 Headlamps
1. Remove the first bolt. Then remove the remaining
plastic fasteners holding the shield. Use the end of a
flat
-head screwdriver to pull up the center of the
fastener. Be careful not to break the fasteners that
hold the shield in place.
2. Remove the other bolt that anchors the headlamp
assembly. Pull the headlamp assembly toward the
front of the vehicle to access the bulb assembly.
When replacing the driver's side headlamp, twist the
bulb assembly one
-eighth of a turn counterclockwise
and remove it from the headlamp assembly.
When replacing the passenger's side headlamp, twist
the bulb assembly one
-eighth of a turn clockwise
and remove it from the headlamp assembly.
Page 275 of 368
yellowblue
6-37
3. Disconnect the bulb base from the socket by lifting
the plastic locking tab.
4. Snap a new bulb into the socket.
5. Replace the bulb assembly by reversing Steps 1
through 3, making sure the lower leg of the
headlamp bracket is properly seated into the
wedge
-shaped retainer.
Center High-Mounted Stoplamp
(Models Without a Spoiler)
To change the bulb, do the following:
1. Open the trunk and view the access hole under the
rear shelf.
2. Remove the bulb sockets by turning and pull down.
3. Remove the bulb and replace.
4. Re
-install the new bulb and socket into the CHMSL.
Center High-Mounted Stoplamp
(Models With a Spoiler)
To change the bulb, do the following:
1. Use a TORX
� screwdriver to unscrew the bulb
assembly from the spoiler.
2. Gently pull out the bulb assembly.
3. Remove the bulb(s) by gently wiggling the bulb
from the assembly.
4. Replace the bulb(s) and reverse these steps to replace
the bulb assembly.
Page 276 of 368
yellowblue
6-38 Taillamps and Rear Turn Signal Lamps
To replace a bulb, do the following:
1. Remove the fastener which holds down the trunk
trim. On vehicles without a convenience net, pry the
fastener loose. On vehicles with a convenience net,
remove the net and unscrew the fastener. Then pull
down the trunk trim.
2. Remove the assembly by turning it one
-quarter of a
turn counterclockwise.
3. To remove the bulb, pull it out.
4. Push in a new bulb.
5. Reverse all steps to replace the taillamp assembly.