Page 189 of 368

yellowblue
4-25
CAUTION:
Coasting downhill in NEUTRAL (N) or with the
ignition off is dangerous. Your brakes will have to
do all the work of slowing down. They could get so
hot that they wouldn't work well. You would then
have poor braking or even none going down a hill.
You could crash. Always have your engine running
and your vehicle in gear when you go downhill.
�Know how to go uphill. You may want to shift down
to a lower gear. The lower gears help cool your engine
and transaxle, and you can climb the hill better.
�Stay in your own lane when driving on two
-lane
roads in hills or mountains. Don't swing wide or cut
across the center of the road. Drive at speeds that let
you stay in your own lane.
�As you go over the top of a hill, be alert. There could be
something in your lane, like a stalled car or an accident.
�You may see highway signs on mountains that warn of
special problems. Examples are long grades, passing or
no
-passing zones, a falling rocks area or winding
roads. Be alert to these and take appropriate action.
Winter Driving
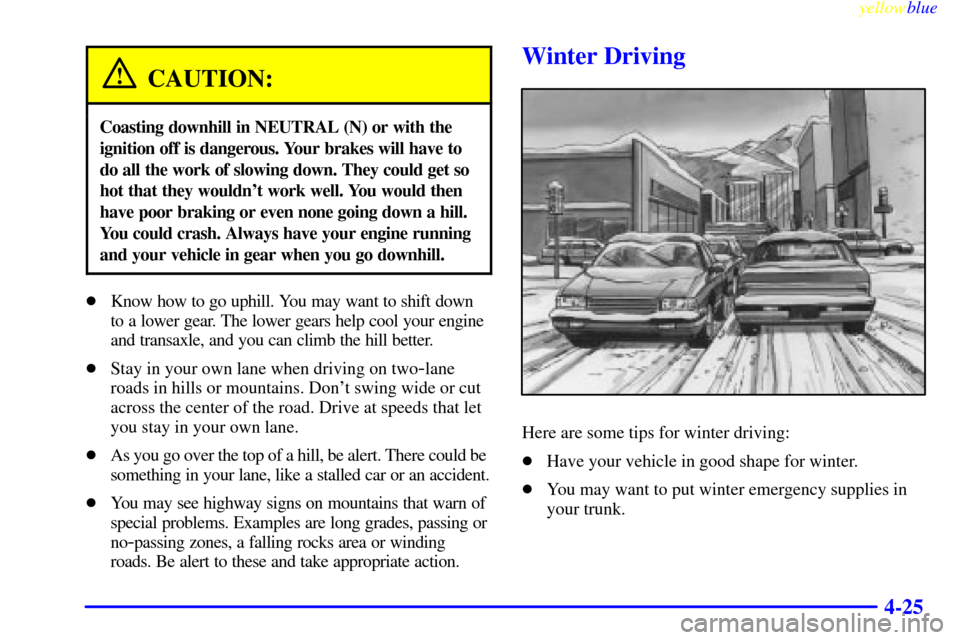
Here are some tips for winter driving:
�Have your vehicle in good shape for winter.
�You may want to put winter emergency supplies in
your trunk.
Page 197 of 368

yellowblue
4-33
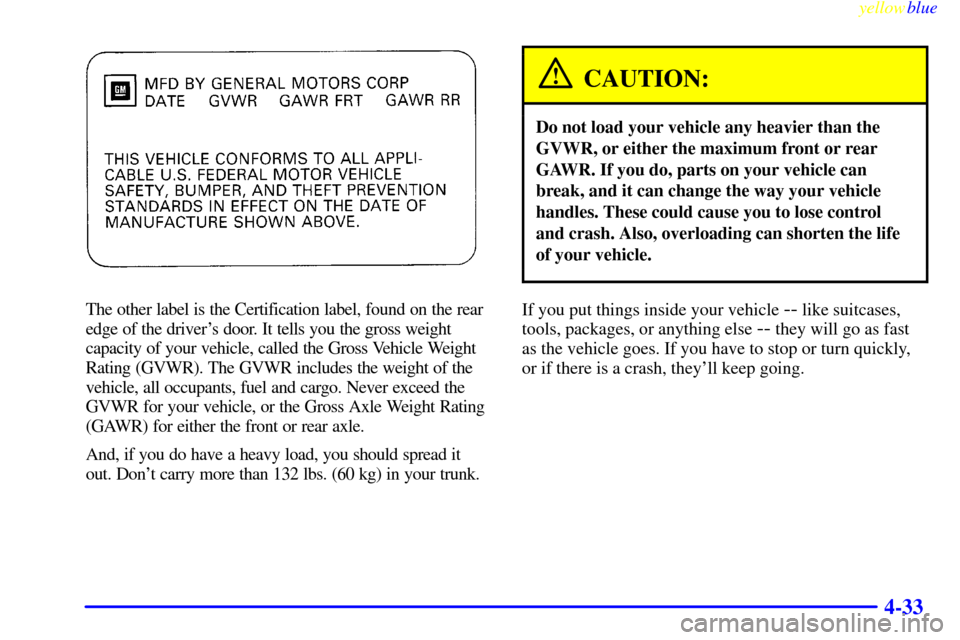
The other label is the Certification label, found on the rear
edge of the driver's door. It tells you the gross weight
capacity of your vehicle, called the Gross Vehicle Weight
Rating (GVWR). The GVWR includes the weight of the
vehicle, all occupants, fuel and cargo. Never exceed the
GVWR for your vehicle, or the Gross Axle Weight Rating
(GAWR) for either the front or rear axle.
And, if you do have a heavy load, you should spread it
out. Don't carry more than 132 lbs. (60 kg) in your trunk.
CAUTION:
Do not load your vehicle any heavier than the
GVWR, or either the maximum front or rear
GAWR. If you do, parts on your vehicle can
break, and it can change the way your vehicle
handles. These could cause you to lose control
and crash. Also, overloading can shorten the life
of your vehicle.
If you put things inside your vehicle -- like suitcases,
tools, packages, or anything else
-- they will go as fast
as the vehicle goes. If you have to stop or turn quickly,
or if there is a crash, they'll keep going.
Page 198 of 368

yellowblue
4-34
CAUTION:
Things you put inside your vehicle can strike and
injure people in a sudden stop or turn, or in a crash.
�Put things in the trunk or rear area of your
vehicle. In a trunk, put them as far forward
as you can. Try to spread the weight evenly.
If you have fold
-down rear seats, you'll
find four anchors on the back wall of your
trunk. You can use these anchors to tie
down lighter loads. They're not strong
enough for heavy things, however, so put
them as far forward as you can in the trunk
or rear area.
�Never stack heavier things, like suitcases,
inside the vehicle so that some of them are
above the tops of the seats.
�Don't leave an unsecured child restraint in
your vehicle.
�When you carry something inside the
vehicle, secure it whenever you can.
�Don't leave a seat folded down unless you
need to.
Towing a Trailer (Models with
2.4L L4 Engine and 4
-Speed
Automatic Transaxle)
CAUTION:
If you don't use the correct equipment and drive
properly, you can lose control when you pull a trailer.
For example, if the trailer is too heavy, the brakes
may not work well
-- or even at all. You and your
passengers could be seriously injured. You may also
damage your vehicle; the resulting repairs would not
be covered by your warranty. Pull a trailer only if you
have followed all the steps in this section. Ask your
dealer for advice and information about towing a
trailer with your vehicle.
Do not tow a trailer if your vehicle is equipped with a
2.2L L4 (Code 4) engine. You also cannot tow a trailer if
your vehicle is equipped with a manual or a three
-speed
automatic transaxle, or is a convertible model.
Page 226 of 368
yellowblue
5-20 Removing the Spare Tire and Tools
The equipment you'll need
is in the trunk. Turn the
center retainer nut on the
compact spare cover
counterclockwise to
remove it.
Lift and remove the cover. See ªCompact Spare Tireº
later in this section for more information about the
compact spare.
Turn the wing bolt
counterclockwise and
remove it. Then lift off the
adapter and remove the
spare tire.
Remove the jack and wheel wrench from the trunk. Your
vehicle's jack and wheel wrench are stored in a foam
tray. Remove the band around the jack.
Page 233 of 368
yellowblue
5-27
NOTICE:
Improperly tightened wheel nuts can lead to
brake pulsation and rotor damage. To avoid
expensive brake repairs, evenly tighten the wheel
nuts in the proper sequence and to the proper
torque specification.
Don't try to put a wheel cover on your compact spare
tire. It won't fit.
Store the wheel cover and wheel nut caps in the trunk
until you have the flat tire repaired or replaced.
NOTICE:
Wheel covers won't fit on your compact spare. If
you try to put a wheel cover on your compact
spare, you could damage the cover or the spare.
Storing the Flat Tire and Tools
CAUTION:
Storing a jack, a tire or other equipment in the
passenger compartment of the vehicle could
cause injury. In a sudden stop or collision, loose
equipment could strike someone. Store all these
in the proper place.
Page 234 of 368
yellowblue
5-28
A. Wrench
B. Jack
C. Flat Road Tire
D. AdapterE. Extension
F. Wing Bolt
(Extension Installed)
G. Cover
H. Nut
Store the flat tire in the compact spare tire compartment
and secure the adapter, extension (aluminum wheel
only) and wing bolt. Store the jack and wheel wrench in
the foam tray.
Storing the Spare Tire and Tools
CAUTION:
Storing a jack, a tire or other equipment in the
passenger compartment of the vehicle could
cause injury. In a sudden stop or collision, loose
equipment could strike someone. Store all these
in the proper place.
The compact spare is for temporary use only. Replace
the compact spare tire with a full
-size tire as soon as you
can. See ªCompact Spare Tireº in the Index. See the
storage instructions label to replace your compact spare
into your trunk properly.
Page 245 of 368

yellowblue
6-7
When you put the cap back on, turn it to the right
(clockwise) until you hear a clicking sound. Make sure
you fully install the cap. The diagnostic system can
determine if the fuel cap has been left off or improperly
installed. This would allow fuel to evaporate into the
atmosphere. See ªMalfunction Indicator Lampº in
the Index.
NOTICE:
If you need a new cap, be sure to get the right
type. Your dealer can get one for you. If you get
the wrong type, it may not fit properly. This may
cause your malfunction indicator lamp to light
and your fuel tank and emissions system may be
damaged. See ªMalfunction Indicator Lampº in
the Index.
Filling a Portable Fuel Container
CAUTION:
Never fill a portable fuel container while it is in
your vehicle. Static electricity discharge from the
container can ignite the gasoline vapor. You can
be badly burned and your vehicle damaged if this
occurs. To help avoid injury to you and others:
�Dispense gasoline only into
approved containers.
�Do not fill a container while it is inside a
vehicle, in a vehicle's trunk, pickup bed or
on any surface other than the ground.
�Bring the fill nozzle in contact with the
inside of the fill opening before operating
the nozzle. Contact should be maintained
until the filling is complete.
�Don't smoke while pumping gasoline.
Page 275 of 368
yellowblue
6-37
3. Disconnect the bulb base from the socket by lifting
the plastic locking tab.
4. Snap a new bulb into the socket.
5. Replace the bulb assembly by reversing Steps 1
through 3, making sure the lower leg of the
headlamp bracket is properly seated into the
wedge
-shaped retainer.
Center High-Mounted Stoplamp
(Models Without a Spoiler)
To change the bulb, do the following:
1. Open the trunk and view the access hole under the
rear shelf.
2. Remove the bulb sockets by turning and pull down.
3. Remove the bulb and replace.
4. Re
-install the new bulb and socket into the CHMSL.
Center High-Mounted Stoplamp
(Models With a Spoiler)
To change the bulb, do the following:
1. Use a TORX
� screwdriver to unscrew the bulb
assembly from the spoiler.
2. Gently pull out the bulb assembly.
3. Remove the bulb(s) by gently wiggling the bulb
from the assembly.
4. Replace the bulb(s) and reverse these steps to replace
the bulb assembly.