Page 102 of 368
yellowblue
2-38 Windshield Washer
To wash your windshield, pull the stalk with the wiper
symbol on it toward you one time. When you release the
stalk, the washers will stop. The wipers continue wiping
for approximately three cycles and will either stop or
will resume the speed you were using before.
CAUTION:
In freezing weather, don't use your washer until
the windshield is warmed. Otherwise the washer
fluid can form ice on the windshield, blocking
your vision.
Cruise Control (If Equipped)
With cruise control, you can maintain a speed of about
25 mph (40 km/h) or more without keeping your foot on
the accelerator. This can really help on long trips.
Cruise control does not work at speeds below about
25 mph (40 km/h).
When you apply your brakes, or the clutch pedal if you
have a manual transaxle, the cruise control shuts off.
Page 104 of 368

yellowblue
2-40
Resuming a Set Speed
Suppose you set your cruise control at a desired speed
and then you apply the brake or clutch pedal. This, of
course, shuts off the cruise control. But you don't need
to reset it. Once you're going about 25 mph (40 km/h)
or more, you can briefly move the cruise control switch
from ON to R/A.
You'll go right back up to your chosen speed and stay there.
If you briefly hold the switch at R/A longer, the vehicle
will keep going faster until you release the switch or
apply the brake or clutch pedal. So unless you want to
go faster, don't hold the switch at R/A.
Increasing Speed While Using Cruise Control
There are two ways to go to a higher speed:
�Use the accelerator pedal to get to a higher speed.
Push the SET button at the end of the lever, then
release the button and the accelerator pedal. You'll
now cruise at the higher speed.
�Move the cruise control switch from ON to R/A.
Hold it there until you get up to the speed you want,
and then release the switch. To increase your speed
in very small amounts, move the switch to R/A then
release it. Each time you do this, your vehicle will go
about 1 mph (1.6 km/h) faster.Reducing Speed While Using Cruise Control
There are two ways to reduce your speed while using
cruise control:
�Push in the button at the end of the lever until you
reach the lower speed you want, then release it.
�To slow down in very small amounts, briefly press
the button. Each time you do this, you'll go about 1
mph (1.6 km/h) slower.
Passing Another Vehicle While Using Cruise Control
Use the accelerator pedal to increase your speed. When
you take your foot off the pedal, your vehicle will slow
down to the cruise control speed you set earlier.
Page 105 of 368
yellowblue
2-41
Using Cruise Control on Hills
How well your cruise control will work on hills depends
upon your speed, load and the steepness of the hills.
When going up a steep hill, you may have to step on the
accelerator pedal to maintain your speed. When going
downhill, you may have to brake or shift to a lower gear
to keep your speed down. Of course, applying the brake
or clutch pedal takes you out of cruise control. Many
drivers find this to be too much trouble and don't use
cruise control on steep hills.
Ending Cruise Control
There are several ways to turn off the cruise control:
�step lightly on the brake pedal, or push the clutch
pedal, if you have a manual transaxle, or
�move the cruise switch to OFF.
Erasing Cruise Speed Memory
When you turn off the cruise control or the ignition,
your cruise control set speed memory is erased.Exterior Lamps
The band on the turn signal/multifunction lever controls
your vehicle's lamps.
Page 106 of 368

yellowblue
2-42 Parking Lamps
This position will turn on the following:
�Parking Lamps
�Sidemarker Lamps
�Taillamps
�Instrument Panel Lights
Headlamps
This position will turn on the following:
�Headlamps
�Parking Lamps
�Sidemarker Lamps
�Taillamps
�Instrument Panel Lights
Turn the band rearward to turn the lamps off.
Lamps On Reminder
If you open the driver's door with the ignition off and
the lamps on, you will hear a warning chime.
Daytime Running Lamps
Daytime Running Lamps (DRL) can make it easier for
others to see the front of your vehicle during the day.
DRL can be helpful in many different driving
conditions, but they can be especially helpful in the
short periods after dawn and before sunset.
The DRL system will make your high
-beam headlamps
come on at reduced brightness in daylight when:
�the ignition is on with the engine running,
�the headlamp switch is OFF,
�the parking brake is released and
�the transaxle is not in PARK (P) on models with an
automatic transaxle only.
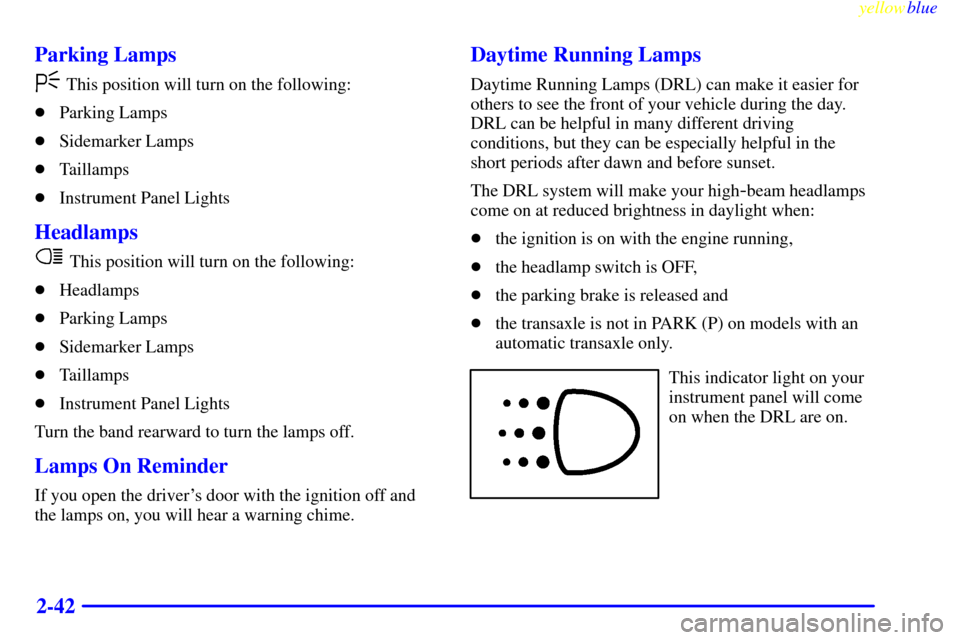
This indicator light on your
instrument panel will come
on when the DRL are on.
Page 107 of 368

yellowblue
2-43
A flashing DRL telltale indicates a possible burned out
headlamp, or that the vehicle may need service to repair
a stuck DRL relay.
When the DRL are on, only your high
-beam headlamps
will be on at reduced brightness. The taillamps,
sidemarker and other lamps won't be on. Your
instrument panel won't be lit up either.
When you turn on the headlamp switch, your high
-beam
headlamps will go out, and your headlamps will come
on. The other lamps that come on with your headlamps
will also come on.
When you turn off the headlamp switch, the regular
lamps will go off, and your high
-beam headlamps will
come on at reduced brightness.
To idle your vehicle with the DRL off, set the parking
brake. The DRL will stay off until you release the
parking brake.
As with any vehicle, you should turn on the regular
headlamp system when you need it.
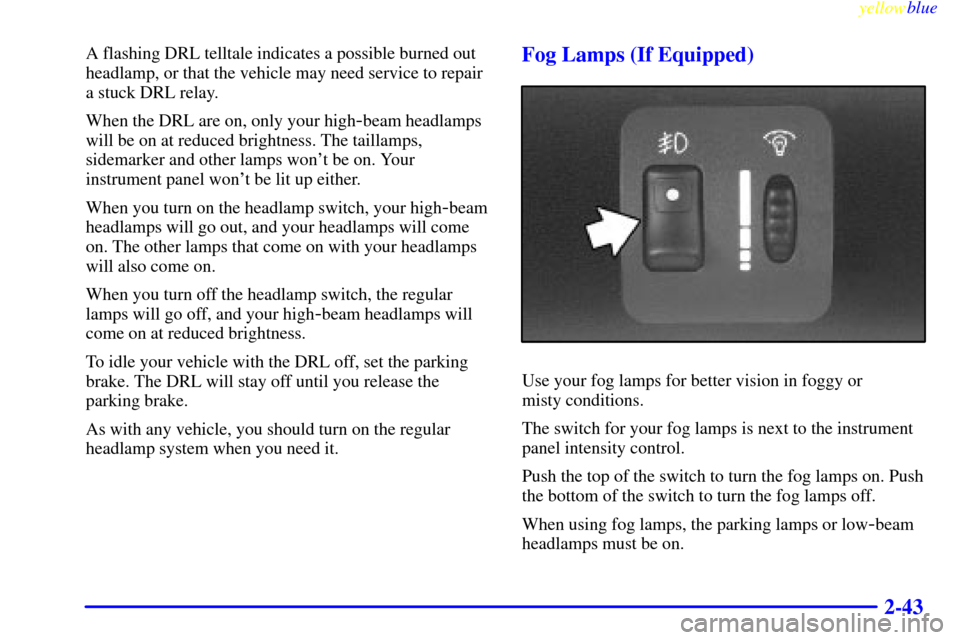
Fog Lamps (If Equipped)
Use your fog lamps for better vision in foggy or
misty conditions.
The switch for your fog lamps is next to the instrument
panel intensity control.
Push the top of the switch to turn the fog lamps on. Push
the bottom of the switch to turn the fog lamps off.
When using fog lamps, the parking lamps or low
-beam
headlamps must be on.
Page 114 of 368
yellowblue
2-50 Lowering Your Convertible Top
1. Set the parking brake and shift your automatic
transaxle to PARK (P) or your manual transaxle to
NEUTRAL (N).
2. Turn the ignition to RUN.
3. Lower the side door windows completely to avoid
wear to the weatherstrips.
4. Push the button in the latch handle and turn the
handle down to unhook the latch pins from the holes
over the windshield.
5. Pull the latch handle rearward away from the
windshield and hold it until the convertible top is
fully lowered.
Page 118 of 368
yellowblue
2-54 Removing the Boot
1. Set the parking brake and shift your automatic
transaxle to PARK (P) or your manual transaxle to
NEUTRAL (N).
2. Open the trunk and leave it open.
3. From inside the vehicle, fold down the rear seatback.
See ªFold
-Down Rear Seatº in the Index.
4. Go to the rear of the vehicle. Pull the snap knobs
rearward to disengage the rear center cover.
Carefully tuck the center boot behind the rear
seatback. Make sure that the center cover is not
covering the rear seatback latch. Tuck the end of the
center boot rearward to keep it away from the rear
seatback hinge.
Page 120 of 368
yellowblue
2-56
7. Store both boot side covers in the trunk.
8. Close the trunk.
9. Raise the rear seatback to the up position. Push the
seat back to make sure it is latched. Ensure that the
rear seatbelts do not become trapped behind the
rear seats.
Raising the Convertible Top
1. Set the parking brake and shift your automatic
transaxle to PARK (P) or your manual transaxle to
NEUTRAL (N).
2. Turn the ignition to RUN.
3. Lower the door windows completely to avoid wear
to the weatherstrips.
4. Push the button in the latch handle and rotate the
handle down.
5. Push the handle forward toward the windshield and
hold it until the convertible top is fully raised, and
the latch pins are all the way in the holes above
the windshield.