Page 99 of 392

yellowblue
2-29
Locking Rear Axle
If your vehicle has this feature, your locking rear axle
can give you additional traction on snow, mud, ice, sand
or gravel. It works like a standard axle most of the time,
but when one of the rear wheels has no traction and the
other does, this feature will allow the wheel with
traction to move the vehicle.
All-Wheel Drive (Option)
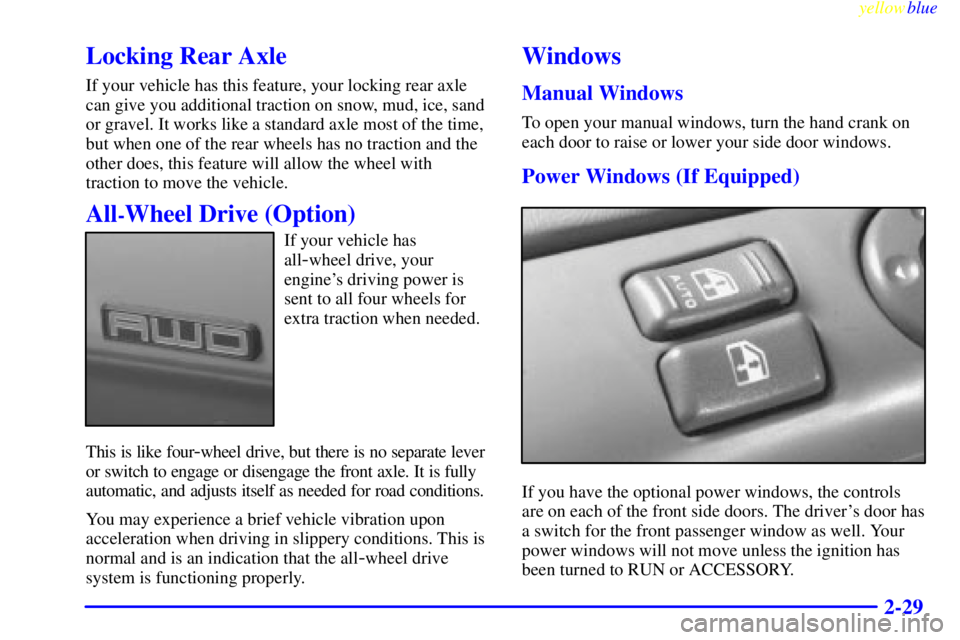
If your vehicle has
all
-wheel drive, your
engine's driving power is
sent to all four wheels for
extra traction when needed.
This is like four
-wheel drive, but there is no separate lever
or switch to engage or disengage the front axle. It is fully
automatic, and adjusts itself as needed for road conditions.
You may experience a brief vehicle vibration upon
acceleration when driving in slippery conditions. This is
normal and is an indication that the all
-wheel drive
system is functioning properly.
Windows
Manual Windows
To open your manual windows, turn the hand crank on
each door to raise or lower your side door windows.
Power Windows (If Equipped)
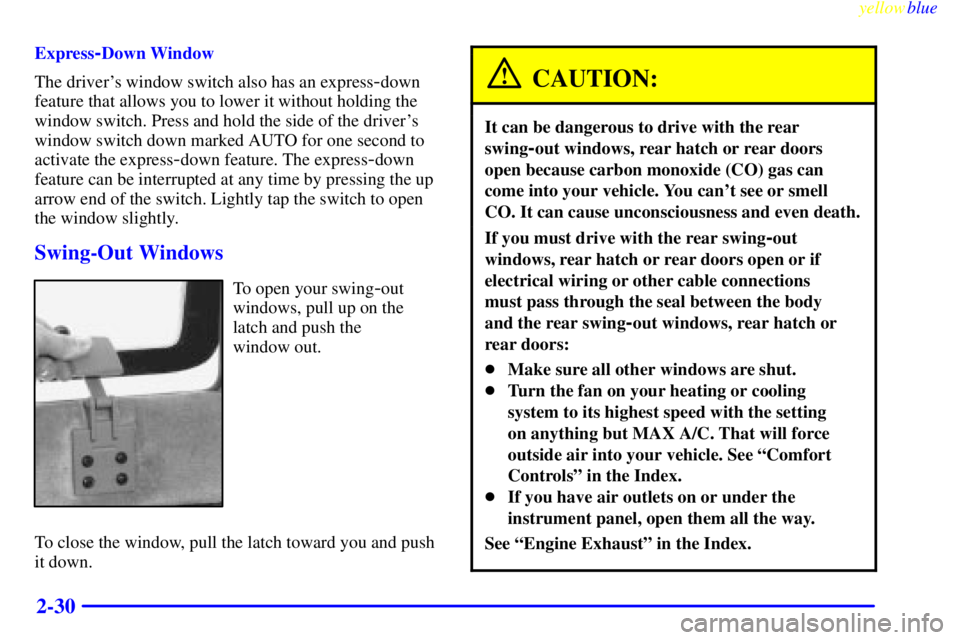
If you have the optional power windows, the controls
are on each of the front side doors. The driver's door has
a switch for the front passenger window as well. Your
power windows will not move unless the ignition has
been turned to RUN or ACCESSORY.
Page 100 of 392

yellowblue
2-30
Express-Down Window
The driver's window switch also has an express
-down
feature that allows you to lower it without holding the
window switch. Press and hold the side of the driver's
window switch down marked AUTO for one second to
activate the express
-down feature. The express-down
feature can be interrupted at any time by pressing the up
arrow end of the switch. Lightly tap the switch to open
the window slightly.
Swing-Out Windows
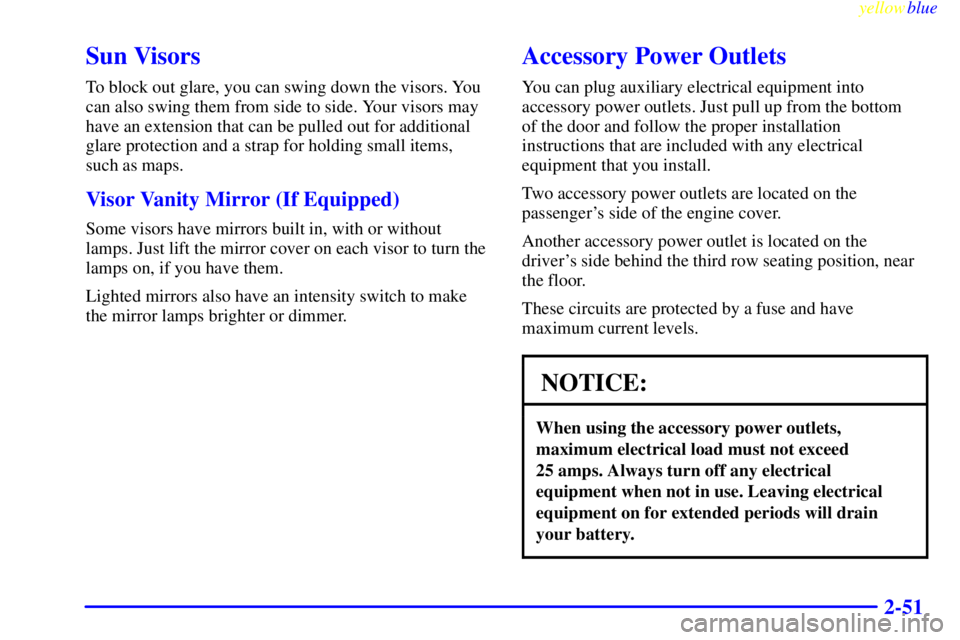
To open your swing-out
windows, pull up on the
latch and push the
window out.
To close the window, pull the latch toward you and push
it down.
CAUTION:
It can be dangerous to drive with the rear
swing
-out windows, rear hatch or rear doors
open because carbon monoxide (CO) gas can
come into your vehicle. You can't see or smell
CO. It can cause unconsciousness and even death.
If you must drive with the rear swing-out
windows, rear hatch or rear doors open or if
electrical wiring or other cable connections
must pass through the seal between the body
and the rear swing
-out windows, rear hatch or
rear doors:
�Make sure all other windows are shut.
�Turn the fan on your heating or cooling
system to its highest speed with the setting
on anything but MAX A/C. That will force
outside air into your vehicle. See ªComfort
Controlsº in the Index.
�If you have air outlets on or under the
instrument panel, open them all the way.
See ªEngine Exhaustº in the Index.
Page 111 of 392
yellowblue
2-41 Convex Outside Mirror
A convex mirror's surface is curved so you can see more
from the driver's seat.
CAUTION:
A convex mirror can make things (like other
vehicles) look farther away than they really are.
If you cut too sharply into the right lane, you
could hit a vehicle on your right. Check your
inside mirror or glance over your shoulder before
changing lanes.
Storage Compartments
Your front storage compartment/glove box is at the
center of the engine cover. To open the compartment,
press the two tabs together and pull.
Page 113 of 392
yellowblue
2-43
There is also a map/storage pocket on the passenger's
side of the engine cover console.
Overhead Console (Option)
The overhead console includes reading lamps, a
compartment for a garage door opener, a temperature
and compass display and a storage compartment
for sunglasses.
Page 119 of 392

yellowblue
2-49
�After moving the crossrails, be sure to tighten all the
slider screws.
�For the purpose of wind noise reduction, locate the front
and rear crossrails in line with the two center supports.
NOTICE:
Loading cargo that weighs more than 200 lbs.
(91 kg) on the luggage carrier may damage your
vehicle. When you carry large things, never let
them hang over the rear or the sides of your
vehicle. Load your cargo so that it rests on the
slats and does not scratch or damage the vehicle.
Put the cargo against the side rails and fasten it
securely to the luggage carrier. Put the main
weight as far forward as you can.
Don't exceed the maximum vehicle capacity when
loading your vehicle. For more information on vehicle
capacity and loading, see ªLoading Your Vehicleº in
the Index.
To prevent damage or loss of cargo as you're driving,
check now and then to make sure the luggage carrier and
cargo are still securely fastened.
Ashtrays and Cigarette Lighter
The cigarette lighter is on the left of the engine
cover console.
To use the lighter, press it in all the way and let go.
When it's done heating, it will pop back by itself.
NOTICE:
Don't hold a cigarette lighter in with your hand
while it is heating. If you do, it won't be able to
back away from the heating element when it's
ready. That can make it overheat, damaging the
lighter and the heating element.
Page 121 of 392

yellowblue
2-51
Sun Visors
To block out glare, you can swing down the visors. You
can also swing them from side to side. Your visors may
have an extension that can be pulled out for additional
glare protection and a strap for holding small items,
such as maps.
Visor Vanity Mirror (If Equipped)
Some visors have mirrors built in, with or without
lamps. Just lift the mirror cover on each visor to turn the
lamps on, if you have them.
Lighted mirrors also have an intensity switch to make
the mirror lamps brighter or dimmer.
Accessory Power Outlets
You can plug auxiliary electrical equipment into
accessory power outlets. Just pull up from the bottom
of the door and follow the proper installation
instructions that are included with any electrical
equipment that you install.
Two accessory power outlets are located on the
passenger's side of the engine cover.
Another accessory power outlet is located on the
driver's side behind the third row seating position, near
the floor.
These circuits are protected by a fuse and have
maximum current levels.
NOTICE:
When using the accessory power outlets,
maximum electrical load must not exceed
25 amps. Always turn off any electrical
equipment when not in use. Leaving electrical
equipment on for extended periods will drain
your battery.
Page 123 of 392

yellowblue
2-53
Your vehicle's engine should be turned off while
programming the transmitter. Follow these steps to
program up to three channels:
1. If you have previously programmed a transmitter
channel, proceed to Step 2. Otherwise, hold down
the two outside buttons on the universal transmitter
until the indicator light begins to flash rapidly (after
20 seconds). Then release the buttons. This
procedure initializes the memory and erases any
previous settings for all three channels.
2. Decide which one of the three channels you want to
program. Hold the end of the hand
-held transmitter
about 2 to 5 inches (5 to 13 cm) away from the
surface of the universal transmitter so that you can
still see the indicator light.
3. Using both hands, press the hand
-held transmitter
button and the desired button on the universal
transmitter. Continue to press both buttons
through Step 4.
4. Hold down both buttons until you see the red light
on the universal transmitter flash rapidly. The rapid
flashing indicates that the universal transmitter has
been programmed. Release both buttons once the
light starts to flash rapidly.If you have trouble programming the universal
transmitter, make sure that you have followed the
directions exactly as described and that the battery in the
hand
-held transmitter is not dead. If you still cannot
program it, rotate the hand
-held transmitter end over end
and try again. The universal transmitter may not work
with older garage door openers that do not meet current
Federal Consumer Safety Standards. If you cannot
program the transmitter after repeated attempts, refer to
ªTraining a Garage Door Opener with Rolling Codesº
later in this section or contact the manufacturer of the
unit at 1
-800-355-3515.
Be sure to keep the original hand
-held transmitter
in case you need to erase and reprogram the
universal transmitter.
Note to Canadian Owners: During programming, the
hand
-held transmitter may automatically stop
transmitting after one or two seconds. In this case, you
should press and re
-press the button on the hand-held
transmitter every two seconds without ever releasing the
button on the universal transmitter. Release both buttons
when the indicator light on the universal transmitter
begins to flash rapidly.
Page 129 of 392

yellowblue
2-59 Speedometer and Odometer
Your speedometer lets you see your speed in both miles
per hour (mph) and kilometers per hour (km/h). Your
odometer shows how far your vehicle has been driven,
in either miles (used in the United States) or kilometers
(used in Canada).
Your odometer is tamper resistant. The digital odometer
will read 999,999 if someone tries to turn it back.
You may wonder what happens if your vehicle needs a
new odometer installed. If the new one can be set to the
mileage total of the old odometer, then it must be. But if
it can't, then it's set at zero, and a label must be put on
the driver's door to show the old mileage reading when
the new odometer was installed.
Trip Odometer
The trip odometer can tell you how far your vehicle has
been driven since you last set the trip odometer to zero.
The trip odometer will appear in place of your regular
odometer when you press the TRIP button.
To reset the trip odometer, press and hold the TRIP
button. To change back to the regular odometer, press
the TRIP button again.
Warning Lights, Gages and Indicators
This part describes the warning lights and gages that
may be on your vehicle. The pictures will help you
locate them.
Warning lights and gages can signal that something is
wrong before it becomes serious enough to cause an
expensive repair or replacement. Paying attention to
your warning lights and gages could also save you or
others from injury.
Warning lights come on when there may be or is a
problem with one of your vehicle's functions. As you
will see in the details on the next few pages, some
warning lights come on briefly when you start the
engine just to let you know they're working. If you are
familiar with this section, you should not be alarmed
when this happens.
Gages can indicate when there may be or is a problem
with one of your vehicle's functions. Often gages and
warning lights work together to let you know when
there's a problem with your vehicle.