Page 5 of 328

yellowblue
v
How to Use this Manual
Many people read their owner's manual from beginning
to end when they first receive their new vehicle. If you
do this, it will help you learn about the features and
controls for your vehicle. In this manual, you'll find
that pictures and words work together to explain
things quickly.
Index
A good place to look for what you need is the Index in
back of the manual. It's an alphabetical list of what's in
the manual, and the page number where you'll find it.
Safety Warnings and Symbols
You will find a number of safety cautions in this book.
We use a box and the word CAUTION to tell you
about things that could hurt you if you were to ignore
the warning.
CAUTION:
These mean there is something that could hurt
you or other people.
In the caution area, we tell you what the hazard is. Then
we tell you what to do to help avoid or reduce the
hazard. Please read these cautions. If you don't, you or
others could be hurt.
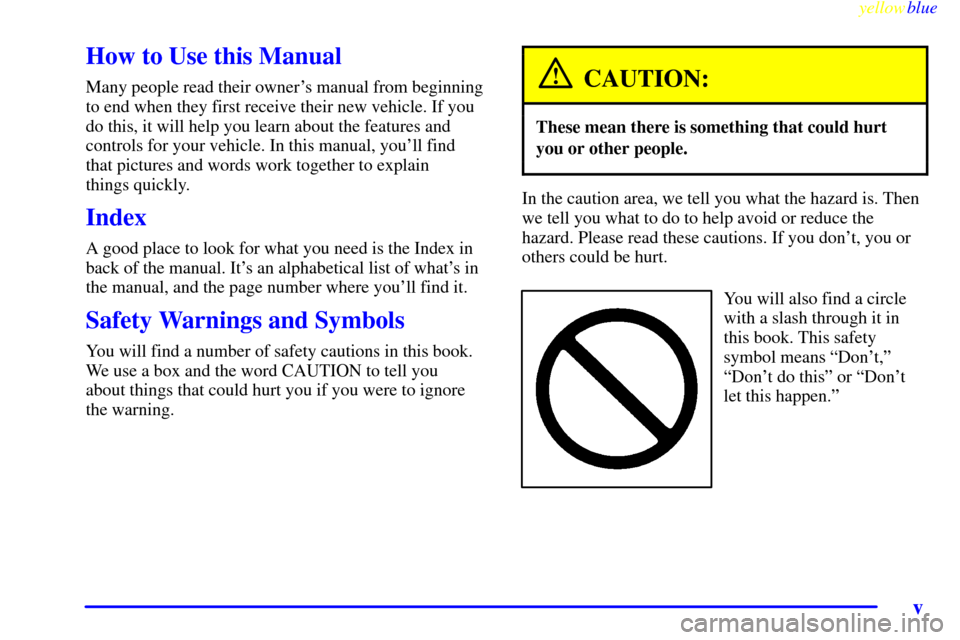
You will also find a circle
with a slash through it in
this book. This safety
symbol means ªDon't,º
ªDon't do thisº or ªDon't
let this happen.º
Page 6 of 328
yellowblue
vi
Vehicle Damage Warnings
Also, in this book you will find these notices:
NOTICE:
These mean there is something that could
damage your vehicle.
In the notice area, we tell you about something that can
damage your vehicle. Many times, this damage would
not be covered by your warranty, and it could be costly.
But the notice will tell you what to do to help avoid
the damage.
When you read other manuals, you might see
CAUTION and NOTICE warnings in different colors or
in different words.
You'll also see warning labels on your vehicle. They use
the same words, CAUTION or NOTICE.
Page 7 of 328
yellowblue
vii
For example,
these symbols
are used on an
original battery:
CAUTION
POSSIBLE
INJURY
PROTECT
EYES BY
SHIELDING
CAUSTIC
BATTERY
ACID COULD
CAUSE
BURNS
AVOID
SPARKS OR
FLAMES
SPARK OR
FLAME
COULD
EXPLODE
BATTERY
These symbols
are important
for you and
your passengers
whenever your
vehicle is
driven:
DOOR LOCK
UNLOCK
FASTEN
SEAT
BELTS
POWER
WINDOW
AIR BAG
These symbols
have to do with
your lamps:
MASTER
LIGHTING
SWITCH
TURN
SIGNALS
PARKING
LAMPS
HAZARD
WARNING
FLASHER
DAYTIME
RUNNING
LAMPS
FOG LAMPS
These symbols
are on some of
your controls:
WINDSHIELD
WIPER
WINDSHIELD
WASHER
WINDSHIELD
DEFROSTER
REAR
WINDOW
DEFOGGER
VENTILATING
FAN
These symbols
are used on
warning and
indicator lights:
ENGINE
COOLANT
TEMP
BATTERY
CHARGING
SYSTEM
BRAKE
COOLANT
ENGINE OIL
PRESSURE
ANTI-LOCK
BRAKES
Here are some
other symbols
you may see:
FUSE
LIGHTER
HORN
SPEAKER
FUEL
Vehicle Symbols
These are some of the symbols you may find on your vehicle.
Page 63 of 328

2-
yellowblue
2-1
Section 2 Features and Controls
Here you can learn about the many standard and optional features on your vehicle, and information on starting,
shifting and braking. Also explained are the instrument panel and the warning systems that tell you if everything is
working properly
-- and what to do if you have a problem.
2
-2 Keys
2
-4 Door Locks
2
-7 Remote Keyless Entry System (RKE)
2
-11 Trunk
2
-12 Theft
2
-13 Theft-Deterrent System
2
-15 Immobilizer
2
-16 New VehicleªBreak-Inº
2
-16 Ignition Positions
2
-18 Starting Your Engine
2
-19 Engine Coolant Heater (If Equipped)
2
-21 Automatic Transmission Operation
2
-25 Parking Brake
2
-26 Shifting Into PARK (P)
2
-28 Shifting Out of PARK (P)2
-30 Parking Over Things that Burn
2
-30 Engine Exhaust
2
-31 Running Your Engine While You're Parked
2
-32 Windows
2
-33 Horn
2
-34 Tilt Wheel
2
-34 Turn Signal/Multifunction Lever
2
-40 Exterior Lamps
2
-46 Interior Lamps
2
-47 Mirrors
2
-49 Storage Compartments
2
-52 Sunroof (Option)
2
-56 Universal Transmitter (If Equipped)
2
-60 Instrument Panel
2
-63 Warning Lights, Gages and Indicators
Page 87 of 328
yellowblue
2-25
This feature is for improved traction only when the road
surface is slippery and is not intended for continuous use
or when the vehicle is stuck in sand, mud, ice, snow or
gravel. Drive as usual for normal road conditions.
This feature automatically turns off when any of the
following conditions occur:
�When the ignition is turned off.
�If the shift lever is placed in PARK (P), THIRD (3),
SECOND (2), or FIRST (1).
�If you press and hold the accelerator pedal past its
resistance point for more than two seconds.
�When speed falls below 25 mph (40 km/h).
�Once the vehicle reaches 67 mph (108 km/h).
To turn this feature off, press the button again.
Whenever you start your vehicle, the transmission is in
the normal mode.Parking Brake
To set the parking brake, hold the regular brake pedal
down with your foot and pull up on the parking brake
lever. If the ignition is on, the brake system warning
light will come on.
Page 88 of 328

yellowblue
2-26
If you start to drive with the parking brake set, the
BRAKE warning light stays on. See ªBrake System
Warning Lightº in the Index for more information.
To release the parking brake, hold the brake pedal down
with your foot and pull the parking brake lever up until
you can press the end release button. Hold the release
button in as you move the brake lever all the way down.
NOTICE:
Driving with the parking brake on can cause the
rear brakes to overheat. You may have to replace
them, and you could also damage other parts of
your vehicle.
If you are towing a trailer and are parking on a hill, see
ªTowing a Trailerº in the Index. This section shows
what to do first to keep the trailer from moving.
Shifting Into PARK (P)
CAUTION:
It can be dangerous to get out of your vehicle if
the shift lever is not fully in PARK (P) with the
parking brake firmly set. Your vehicle can roll. If
you have left the engine running, the vehicle can
move suddenly. You or others could be injured.
To be sure your vehicle won't move, even when
you're on fairly level ground, use the steps that
follow. If you're pulling a trailer, see ªTowing a
Trailerº in the Index.
Page 98 of 328

yellowblue
2-36
MIST: Tap the lever up and then release it for a single
wipe cycle. For more cycles, pull and hold the lever.
= (HIGH): Move the lever all the way up for a fast
wiper speed.
- (LOW): The third position up controls the low
wiper speed.
-- (DELAY): This position is for a controlled delay
setting. Rotate the control dial on the lever to increase or
decrease the delay between wipe cycles.
o (OFF): This position turns off the wipers.
Be sure to clear ice and snow from the wiper blades
before using them. If they're frozen to the windshield,
carefully loosen or thaw them. If the blades do become
damaged, replace them with new blades.
SeeªWindshield Wiper Blade Replacementº in
the Index.
Heavy snow or ice can overload the wiper motor. A
circuit breaker will stop the motor until it cools. Clear
away snow or ice to prevent an overload.
Windshield Washer
Pull and hold the washer
lever to wash the
windshield. Release the
lever when you have
enough fluid. The wipers
will clear the windshield
and either stop or return to
your preset speed.
CAUTION:
In freezing weather, don't use your washer until
the windshield is warmed. Otherwise the washer
fluid can form ice on the windshield, blocking
your vision.
A telltale light on the instrument panel will be displayed
when the washer fluid reaches a low level. See ªLow
Washer Fluid Warning Lightº in the Index for
more information.
Page 103 of 328

yellowblue
2-41
Parking lamps, front and rear sidemarker
lamps, taillamps, license plate lamps, ashtray lamps,
backlighting to the radio controls and instrument
panel lights.
Headlamps.
Fog lamps.
Twilight Sentinel.
Turns the Twilight Sentinel system off.
Instrument panel brightness control.
Turn the lamp control dial clockwise (to the first
position) to turn on the parking lamps, front and rear
sidemarker lamps, taillamps, license plate lamps, ashtray
lamps, instrument panel lights and backlighting to the
center console controls. Turn the lamp control dial all
the way clockwise (to the second position) to turn on the
low
-beam headlamps.
Turn the lamp control dial counterclockwise to turn the
lamps off.
Headlamps
Turn the lamp control dial all the way to the right to turn
on the low
-beam headlamps.
To turn on the high
-beam headlamps, the low-beam
headlamps must already be on. Push the turn signal lever
on the left side of the steering wheel away from you to
engage the high
-beam headlamps. Pull the lever toward
you to return to the low
-beam headlamps. For more
information, seeªHeadlamp High/Low Beamº in
the Index.
Turn the lamp control dial all the way to the left to turn
the headlamps off.
Note: If the headlamps are activated while driving and
then you turn your vehicle's ignition off while the lamp
dial is still turned on, the headlamps will turn off. If,
however, you open the driver's door while the lamp dial
is still turned on, a warning chime will sound reminding
you to turn the lamp control dial to OFF. This will stop
the warning chime from sounding. (If you want the
headlamps to remain on, you must manually turn the
lamp control dial off and then back on to the headlamp
position. The headlamps will stay on until manually
turned off again.)