Page 9 of 400
yellowblue
1-3 4-Way Power Lumbar Control (Option)
If you have this option, the
driver's and passenger's
seatback lumbar support
can be adjusted four ways
by moving the single
switch located on the
side of the seat.
To increase or decrease support, hold the switch forward
or rearward. To move the lumbar up or down, hold the
switch upward or downward.
Memory Seat and Mirrors (If Equipped)
If your vehicle has this
feature, the controls on the
driver's door panel are used
to program and recall
previous settings.
You can use this memory function to save your seat
cushion positions (minus the head restraint), optional
lumbar, mirror adjustment, window lockout, HVAC and
radio settings. Save your seat positions in memory by
using the following procedure:
1. You must first program the SEAT RECALL feature
to be active when the SEAT RECALL choice
appears on the DIC. See ªMemory Seat Recallº in
the Index for programming instructions.
ProCarManuals.com
Page 10 of 400

yellowblue
1-4
2. Adjust the driver's seat and lumbar position (if
equipped) to a safe and comfortable driving position.
Adjust both outside mirrors to suit you. See ªOutside
Mirrorsº in the Index.
3. Press one of the two MEMORY buttons
corresponding with your driver number, for longer
than three seconds. You will hear two beeps to
confirm that the mirror and seat positions have been
entered into memory.
4. Press UNLOCK on the transmitter within
five seconds.
When your vehicle is in PARK (P), push and release the
memory button you just stored. The seat and mirrors
will move to the set position. You will hear one beep.To set the seat and mirror positions for a second
driver, follow the previous steps, but use the other
MEMORY button.
If you press the wrong MEMORY button, or if there is a
third driver, use the seat adjuster.
The EXIT button allows for easy exit from the vehicle.
Press and release the EXIT button while in PARK (P)
and the seat will move all the way back. You will hear a
beep when the EXIT button is pressed.
You can also set unique exit positions by moving the
seat to the desired position, and then pressing and
holding the EXIT button for longer than three seconds.
You will hear two beeps to confirm the position has
been set. The exit position will be set for the previously
identified driver.
ProCarManuals.com
Page 11 of 400

yellowblue
1-5
If the ignition is not in RUN, automatic seat and mirror
movement will occur if the UNLOCK button on the
remote keyless entry transmitter is pressed. Automatic
seat and mirror movement is programmed through the
Driver Information Center (DIC) so that the driver can
select whether the seat moves to the programmed
driving position, the programmed exit position, or does
not move at all. For memory seat and mirror recall
programming instructions, see ªDIC Personal Choice
Programmingº in the Index.
Heated Seats (Option)
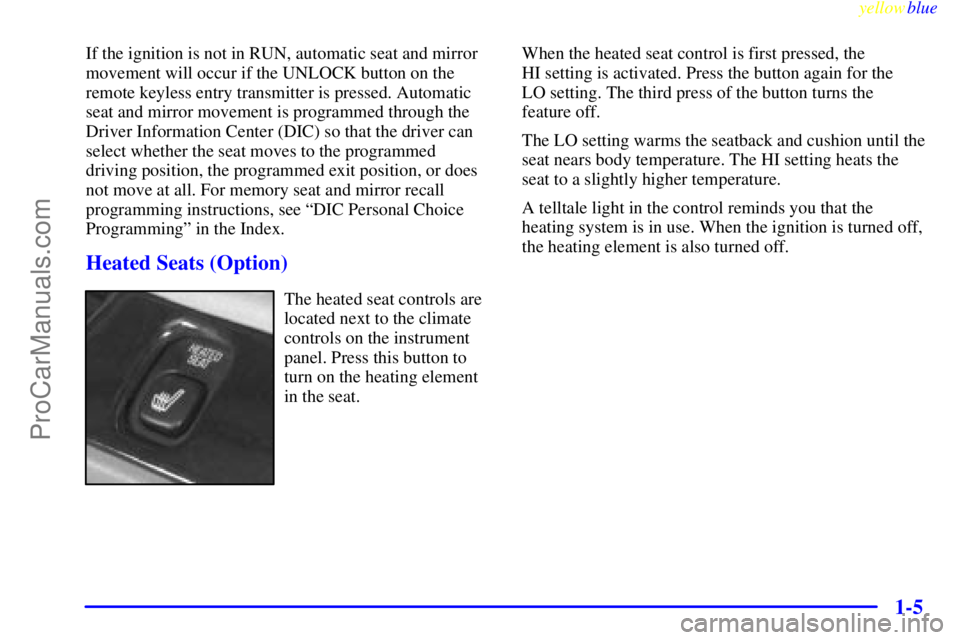
The heated seat controls are
located next to the climate
controls on the instrument
panel. Press this button to
turn on the heating element
in the seat.When the heated seat control is first pressed, the
HI setting is activated. Press the button again for the
LO setting. The third press of the button turns the
feature off.
The LO setting warms the seatback and cushion until the
seat nears body temperature. The HI setting heats the
seat to a slightly higher temperature.
A telltale light in the control reminds you that the
heating system is in use. When the ignition is turned off,
the heating element is also turned off.
ProCarManuals.com
Page 59 of 400

2-
yellowblue
2-1
Section 2 Features and Controls
Here you can learn about the many standard and optional features on your vehicle, and information on starting,
shifting and braking. Also explained are the instrument panel and the warning systems that tell you if everything is
working properly
-- and what to do if you have a problem.
2
-2 Keys
2
-4 Door Locks
2
-9 Remote Keyless Entry System
2
-14 Trunk
2
-15 Theft
2
-16 Content Theft-Deterrent System
2
-18 PASS-Key� III
2
-20 New Vehicle ªBreak-Inº
2
-20 Ignition Positions
2
-22 Starting Your Engine
2
-23 Engine Coolant Heater (If Equipped)
2
-24 Automatic Transaxle Operation
2
-28 Parking Brake
2
-29 Shifting Into PARK (P)
2
-31 Shifting Out of PARK (P)
2
-32 Parking Over Things That Burn
2
-33 Engine Exhaust2
-33 Running Your Engine While You're Parked
2
-34 Windows
2
-35 Tilt Wheel
2
-36 Turn Signal/Multifunction Lever
2
-43 Exterior Lamps
2
-46 Interior Lamps
2
-49 Mirrors
2
-54 Storage Compartments
2
-62 OnStar System (Option)
2
-63 Astroroof (If Equipped)
2
-64 Universal Transmitter (If Equipped)
2
-68 The Instrument Panel - Your Information
System
2
-73 Warning Lights, Gages and Indicators
2
-82 Head-Up Display (HUD) (If Equipped)
2
-84 Driver Information Center (DIC)
(If Equipped)
ProCarManuals.com
Page 69 of 400

yellowblue
2-11
Personal Choice Features (If Equipped)
Each remote keyless entry transmitter can be
programmed to the driver's preference for memory door
locks, security feedback, delayed locking, memory seats,
perimeter lighting, parallel park assist mirror and
window lockout. See each feature in the Index. You can
also personalize your comfort control temperature, mode
and fan settings. See ªComfort Controls, Personal
Choiceº in the Index.
If your vehicle is equipped with the Driver Information
Center (DIC), you can also program these features
through the DIC. See ªDriver Information Centerº in
the Index.Security Feedback
This provides feedback to the driver when the vehicle
receives a command from the remote keyless entry
transmitter. The following modes may be selected:
Mode 0: No feedback when locking or
unlocking vehicle.
Mode 1: No feedback when locking; exterior lamps
flash when unlocking vehicle.
Mode 2: Exterior lamps flash when locking; no
feedback when unlocking vehicle.
Mode 3: Exterior lamps flash when locking and when
unlocking vehicle.
Mode 4: Exterior lamps flash and horn chirps when
locking; no feedback when unlocking vehicle.
Mode 5: Exterior lamps flash and horn chirps when
locking; exterior lamps flash when unlocking vehicle.
ProCarManuals.com
Page 97 of 400

yellowblue
2-39
Moisture-Sensing Delay Windshield Wipers
(If Equipped)
The moisture sensor is mounted on the passenger's interior
side of the windshield behind the rearview mirror and is
used to automatically operate the wipers by monitoring the
amount of moisture on the windshield.The moisture
-sensing system is activated by turning the
wiper control band to one of the five sensitivity levels
within the delay area. The delay position closest to
OFF/MIST is the lowest sensitivity setting. This allows
more water to collect on the windshield between wipes.
You can increase the sensitivity of the system and the
frequency of wipes by turning the wiper control band
away from you to the other delay settings. A single wipe
will occur each time you turn the wiper control band to a
higher sensitivity level.
An initial wipe occurs when you turn the ignition on as a
reminder that the rain sense feature is active.
The moisture
-sensing wipers operate in a delay mode as
well as a continuous low or high speed, depending on the
amount of moisture on the windshield and the sensitivity
setting. The MIST and wash cycles operate as normal and
are not affected by the moisture
-sensing function.
NOTICE:
Turn the wiper band to OFF to avoid wiper
damage when going through an automatic
car wash.
ProCarManuals.com
Page 107 of 400

yellowblue
2-49 Battery Rundown Protection
This feature shuts off all lamps that are left on for more
than 10 minutes when the ignition is off. This will keep
your battery from running down.
Mirrors
Inside Manual Day/Night Rearview Mirror
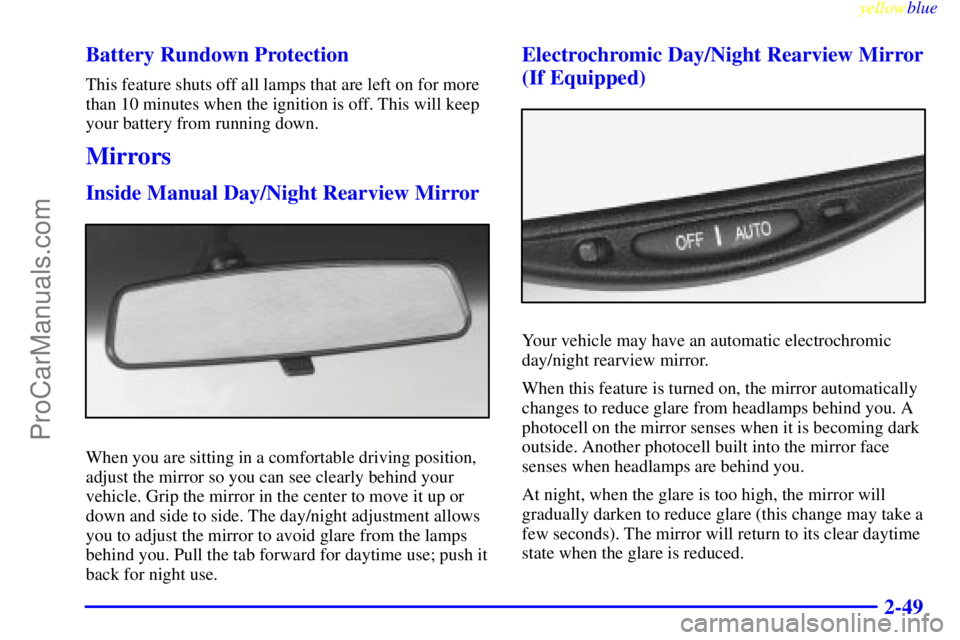
When you are sitting in a comfortable driving position,
adjust the mirror so you can see clearly behind your
vehicle. Grip the mirror in the center to move it up or
down and side to side. The day/night adjustment allows
you to adjust the mirror to avoid glare from the lamps
behind you. Pull the tab forward for daytime use; push it
back for night use.
Electrochromic Day/Night Rearview Mirror
(If Equipped)
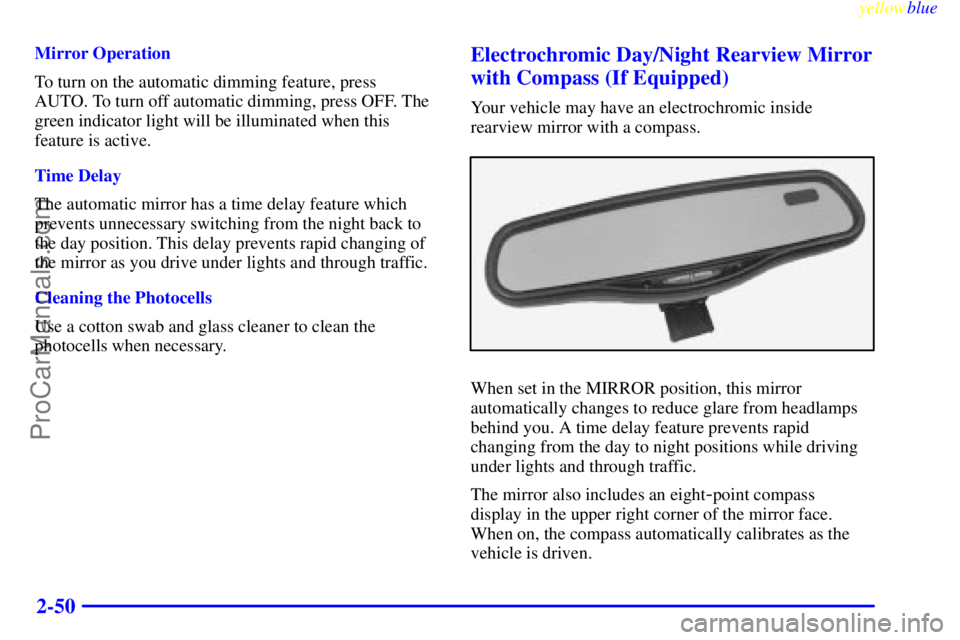
Your vehicle may have an automatic electrochromic
day/night rearview mirror.
When this feature is turned on, the mirror automatically
changes to reduce glare from headlamps behind you. A
photocell on the mirror senses when it is becoming dark
outside. Another photocell built into the mirror face
senses when headlamps are behind you.
At night, when the glare is too high, the mirror will
gradually darken to reduce glare (this change may take a
few seconds). The mirror will return to its clear daytime
state when the glare is reduced.
ProCarManuals.com
Page 108 of 400

yellowblue
2-50
Mirror Operation
To turn on the automatic dimming feature, press
AUTO. To turn off automatic dimming, press OFF. The
green indicator light will be illuminated when this
feature is active.
Time Delay
The automatic mirror has a time delay feature which
prevents unnecessary switching from the night back to
the day position. This delay prevents rapid changing of
the mirror as you drive under lights and through traffic.
Cleaning the Photocells
Use a cotton swab and glass cleaner to clean the
photocells when necessary.Electrochromic Day/Night Rearview Mirror
with Compass (If Equipped)
Your vehicle may have an electrochromic inside
rearview mirror with a compass.
When set in the MIRROR position, this mirror
automatically changes to reduce glare from headlamps
behind you. A time delay feature prevents rapid
changing from the day to night positions while driving
under lights and through traffic.
The mirror also includes an eight
-point compass
display in the upper right corner of the mirror face.
When on, the compass automatically calibrates as the
vehicle is driven.
ProCarManuals.com