Page 183 of 344
yellowblue
4-25
Winter Driving
Here are some tips for winter driving:
�Have your vehicle in good shape for winter.
�You may want to put winter emergency supplies in
your trunk.
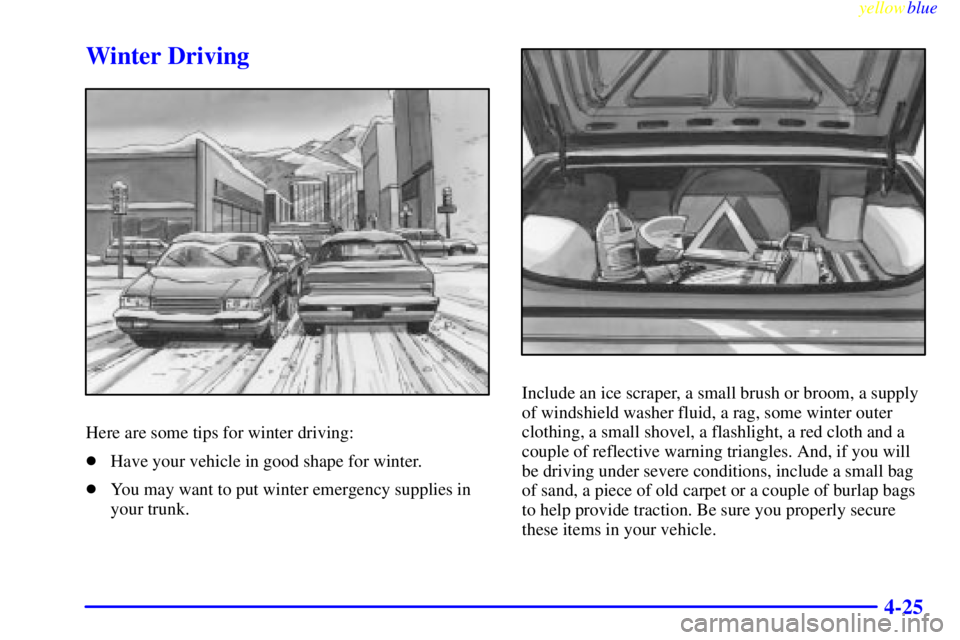
Include an ice scraper, a small brush or broom, a supply
of windshield washer fluid, a rag, some winter outer
clothing, a small shovel, a flashlight, a red cloth and a
couple of reflective warning triangles. And, if you will
be driving under severe conditions, include a small bag
of sand, a piece of old carpet or a couple of burlap bags
to help provide traction. Be sure you properly secure
these items in your vehicle.
Page 188 of 344

yellowblue
4-30
Loading Your Vehicle
Two labels on your vehicle show how much weight it
may properly carry. The Tire
-Loading Information label
is inside the trunk lid. The label tells you the proper size,
speed rating and recommended inflation pressures for
the tires on your vehicle. It also gives you important
information about the number of people that can be in
your vehicle and the total weight you can carry. This
weight is called the vehicle capacity weight and includes
the weight of all occupants, cargo and all
nonfactory
-installed options.
The other label is the Certification label, found on the
rear edge of the driver's door. It tells you the gross
weight capacity of your vehicle, called the Gross
Vehicle Weight Rating (GVWR). The GVWR includes
the weight of the vehicle, all occupants, fuel and cargo.
Never exceed the GVWR for your vehicle or the Gross
Axle Weight Rating (GAWR) for either the front or
rear axle.
If you do have a heavy load, spread it out. Don't carry
more than 167 lbs. (75 kg) in your trunk.
Page 189 of 344

yellowblue
4-31
CAUTION:
Do not load your vehicle any heavier than the
GVWR, or either the maximum front or rear
GAWR. If you do, parts on your vehicle can
break, and it can change the way your vehicle
handles. These could cause you to lose control
and crash. Also, overloading can shorten the life
of your vehicle.
NOTICE:
Your warranty does not cover parts or
components that fail because of overloading.
If you put things inside your vehicle -- like suitcases,
tools, packages or anything else
-- they will go as fast as
the vehicle goes. If you have to stop or turn quickly, or
if there is a crash, they'll keep going.
CAUTION:
Things you put inside your vehicle can strike and
injure people in a sudden stop or turn, or in
a crash.
�Put things in the trunk of your vehicle. In a
trunk, put them as far forward as you can.
Try to spread the weight evenly.
�Never stack heavier things, like suitcases,
inside the vehicle so that some of them are
above the tops of the seats.
�Don't leave an unsecured child restraint in
your vehicle.
�When you carry something inside the
vehicle, secure it whenever you can.
Page 193 of 344

yellowblue
4-35 Total Weight on Your Vehicle's Tires
Be sure your vehicle's tires are inflated to the upper
limit for cold tires. You'll find these numbers on the
Tire
-Loading Information label (found inside the trunk
lid) or see ªLoading Your Vehicleº in the Index. Then be
sure you don't go over the GVW limit for your vehicle,
including the weight of the trailer tongue.
Hitches
It's important to have the correct hitch equipment.
Crosswinds, large trucks going by and rough roads are a
few reasons why you'll need the right hitch. Here are
some rules to follow:
�The rear bumper on your vehicle is not intended for
hitches. Do not attach rental hitches or other
bumper
-type hitches to it. Use only a frame-mounted
hitch that does not attach to the bumper.
�Will you have to make any holes in the body of your
vehicle when you install a trailer hitch? If you do,
then be sure to seal the holes later when you remove
the hitch. If you don't seal them, deadly carbon
monoxide (CO) from your exhaust can get into your
vehicle (see ªCarbon Monoxideº in the Index). Dirt
and water can, too.
Safety Chains
You should always attach chains between your vehicle
and your trailer. Cross the safety chains under the tongue
of the trailer so that the tongue will not drop to the road
if it becomes separated from the hitch. Instructions
about safety chains may be provided by the hitch
manufacturer or by the trailer manufacturer. Follow the
manufacturer's recommendation for attaching safety
chains and do not attach them to the bumper. Always
leave just enough slack so you can turn with your rig.
And, never allow safety chains to drag on the ground.
Trailer Brakes
Because you have anti-lock brakes, do not try to tap into
your vehicle's brake system. If you do, both brake
systems won't work well, or at all.
Driving with a Trailer
Towing a trailer requires a certain amount of experience.
Before setting out for the open road, you'll want to get
to know your rig. Acquaint yourself with the feel of
handling and braking with the added weight of the
trailer. And always keep in mind that the vehicle you are
driving is now a good deal longer and not nearly as
responsive as your vehicle is by itself.
Page 218 of 344
yellowblue
5-22 Removing the Spare Tire and Tools
(See ªCompact Spare Tireº in the Index for more
information about the compact spare.)
1. The equipment you'll
need is in the trunk.
Pull the carpeted mat up
from the floor of the
trunk. Turn the center
nut on the compact spare
cover counterclockwise
to remove it. Then lift
and remove the cover.
2. Remove the spare tire.
Page 225 of 344

yellowblue
5-29
11. Tighten the wheel nuts
firmly in a crisscross
sequence as shown.
CAUTION:
Incorrect wheel nuts or improperly tightened
wheel nuts can cause the wheel to become loose
and even come off. This could lead to an accident.
Be sure to use the correct wheel nuts. If you have
to replace them, be sure to get new GM original
equipment wheel nuts.
Stop somewhere as soon as you can and have
the nuts tightened with a torque wrench to
100 lb
-ft (140 N´m).
NOTICE:
Improperly tightened wheel nuts can lead to
brake pulsation and rotor damage. To avoid
expensive brake repairs, evenly tighten the wheel
nuts in the proper sequence and to the proper
torque specification.
Don't try to put the wheel cover on your compact
spare tire. It won't fit. Store the wheel cover in the
trunk until you have the flat tire repaired or replaced.
NOTICE:
Wheel covers won't fit on your compact spare.
If you try to put a wheel cover on your compact
spare, you could damage the cover or the spare.
Page 226 of 344
yellowblue
5-30 Storing the Flat Tire and Tools
CAUTION:
Storing a jack, a tire or other equipment in the
passenger compartment of the vehicle could
cause injury. In a sudden stop or collision, loose
equipment could strike someone. Store all these
in the proper place.
After you've put the compact spare tire on your vehicle,
you'll need to store the flat tire in your trunk. Use the
following procedure to secure the flat tire in the trunk.
When storing a full
-size tire you must use the extension
with the protector/guide to help avoid wheel surface
damage. Use the extension and protector/guide located
in the foam holder. To store a full
-size tire, place the tire
valve stem facing down, and then remove the
protector/guide and attach the retainer securely. Store
the cover as far forward as possible.
When reinstalling a compact spare tire, put the
protector/guide back in the foam holder.
Page 227 of 344
yellowblue
5-31 Storing the Spare Tire and Tools
CAUTION:
Storing a jack, a tire or other equipment in the
passenger compartment of the vehicle could
cause injury. In a sudden stop or collision, loose
equipment could strike someone. Store all these
in the proper place.
The compact spare is for temporary use only. Replace
the compact spare tire with a full
-size tire as soon as you
can. See ªCompact Spare Tireº in the Index. See the
storage instructions label to replace your compact spare
into your trunk properly.
Be sure to calibrate your low tire pressure system after
you replace your compact spare tire with a full
-sized
one. See ªLow Tire Inflation Monitorº in the Index.
1. Retainer
2. Cover
3. Retainer (full
-size tire)
4. Compact Spare Tire
5. Nut
6. Jack
7. Wrench
8. Lock Nut Tool
9. Foam Holder
10. Bolt Screw
11. Extension and
Protector/Guide

1. The equipment youll
need is in the trunk.
Pull the ca")

