1998 PONTIAC GRAND PRIX reset
[x] Cancel search: resetPage 112 of 402

Windshield Washer
At the top of the multifunction lever, there’s a paddle
with the word
PUSH on it. To spray washer fluid on the
windshield, push the paddle. The wipers will
run for
several sweeps and then either stop or return to your
preset speed. See “Windshield Washer Fluid” in
the Index.
I A CAUTION:
Cruise Control (If Equipped)
r
In freezing weather, don’t use your washer until
the windshield is warmed. Otherwise the washer
fluid can
form ice on the windshield, blocking
your vision.
With cruise control, you can maintain a speed of about
25 mph (40 km/h) or more without keeping your foot
on the accelerator. This can really help on long trips.
Cruise control does not
work at speeds below about
25 mph (40 km/h).
When you apply your brakes, the cruise control
shuts
off.
Page 114 of 402

Resuming a Set Speed
Suppose you set your cruise control at a desired speed
and then you apply the brake. This,
of course, shuts off
the cruise control. But you don’t need to reset it.
Once you’re going about 25 mph (40 km/h) or more,
you can move
the cruise control switch from ON to R/A
(Resume/Accelerate) for about half a second. You’ll go
right back up to your chosen speed and stay there.
Increasing Speed While Using Cruise Control
There are two ways to go to a higher speed:
Use the accelerator pedal to get to the higher speed.
Push in the
SET button, then release the button and
the accelerator pedal. You’ll now cruise at the
higher speed.
Move the cruise switch from ON to WA. Hold it
there until you get up to the speed you want, and
then release the switch.
To increase your speed in
very small amounts, move the switch to R/A for less
than half a second and then release
it. Each time you
do this, your vehicle will go 1 mph (1.6 km/h) faster.
The accelerate feature will only work after you set the
cruise control speed
by pushing the SET button.
Reducing Speed While Using Cruise Control
There are two ways to reduce your speed while using
cruise control:
0 Push in the SET button until you reach the lower
speed you want, then release it.
To slow down in very small amounts, push the SET
button for less than half a second. Each time you do
this, you’ll go 1 mph (1.6 km/h) slower.
Passing Another Vehicle While Using Cruise Control
Use the accelerator pedal to increase your speed. When
you take your foot off the pedal, your vehicle will slow
down to the cruise control speed you set earlier.
Using Cruise Control on Hills
How well your cruise control will work on hills depends
upon your speed, load and the steepness of the hills.
When going up steep hills, you may have to step on the
accelerator pedal to maintain your speed. When going
downhill, you may have to brake or
shift to a lower gear
to keep your speed down. Of course, applying
the brake
takes you out of cruise control. Many drivers find
this to
be too much trouble and don’t use cruise control
on
steep hills.
2-39
Page 138 of 402

SpeedometedOdometer
Your speedometer lets you see your speed in both miles
per hour (mph) and kilometers per hour
(km/h). Your
odometer shows how far your vehicle has been driven in
either miles (used in the United States) or in kilometers
(used in Canada).
Your vehicle has a tamper-resistant odometer.
If you see
silver lines between the numbers, you’ll
know someone
has probably tampered with it and the numbers may not
be correct.
You may wonder what happens
if your vehicle needs a
new odometer installed.
If the new one can be set to the
mileage
total of the old odometer, then that will be done.
If it can’t, then it will be set at zero and a label must be
put on the driver’s door to show the old mileage reading when the new odometer was installed.
Trip Odometer
Your trip odometer tells how far you have driven since
you last reset it.
To set it to zero, press the RESET
button on the right side of the instrument cluster.
Tachometer
I
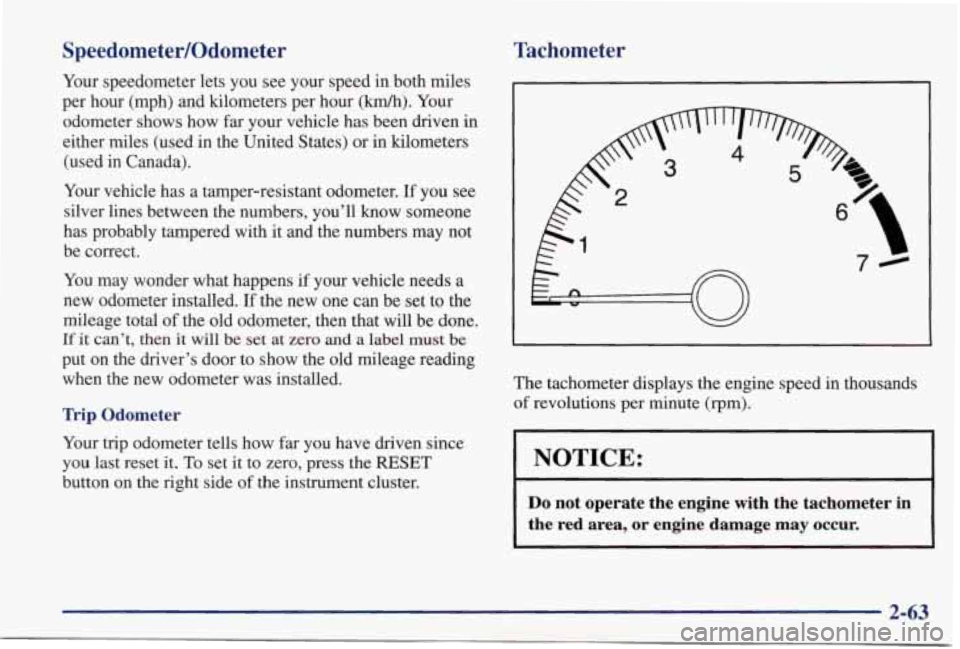
The tachometer displays the engine speed in thousands
of revolutions per minute (rpm).
NOTICE:
Do not operate the engine with the tachometer in
the red area, or engine damage may occur.
i
2-63
Page 142 of 402

Anti-Lock Brake System Warning Light
With the anti-lock brake system, this light will
come on when you start your engine and it will
stay on for three seconds.
That’s normal.
If the anti-lock brake system warning light stays on
longer than normal after you’ve started your engine, turn
the ignition
off. Or, if the light comes on and stays on
when you’re driving, stop as soon as possible and turn
the ignition off. Then start the engine again to reset the
system.
If the light still stays on, or comes on again
while you’re driving, your vehicle needs service. If the
light is on and the regular brake system warning light
isn’t on, you still have brakes, but you don’t have
anti-lock brakes. Adjust your driving accordingly.
The anti-lock brake system warning light should come
on briefly when you turn the ignition key to
RUN. If the
light doesn’t come on then, have
it fixed so it will be
ready to warn you if there is a problem.
Traction Control System Warning Light
(3800 Supercharged Engine Only)
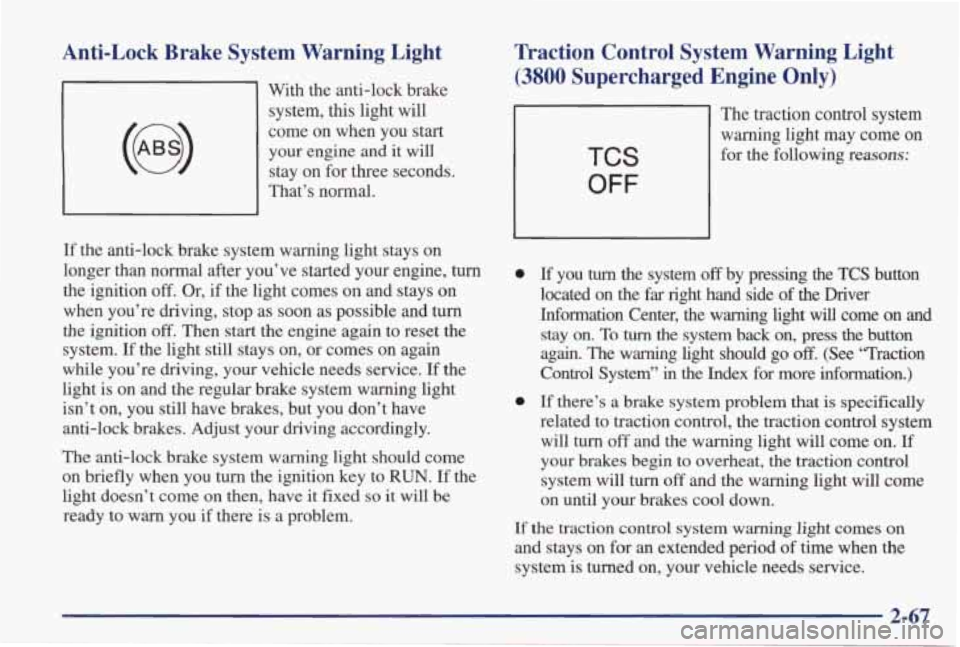
1
The traction control system
warning light may come
on
for the following reasons: TCS
OFF
0
0
If you turn the system off by pressing the TCS button
located on
the far right hand side of the Driver
Information Center, the warning light
will come on and
stay on. To turn the system back on, press the button
again. The warning light should go
off. (See “Traction
Control System”
in the Index for more information.)
If there’s a brake system problem that is specifically
related to traction control, the traction control system will turn
off and the warning light will come on. If
your brakes begin to overheat, the traction control
system will turn
off and the warning light will come
on until your brakes cool down.
If
the traction control system warning light comes on
and stays on for an extended period of time when
the
system is turned on, your vehicle needs service.
2-67
Page 152 of 402

Functions
CHANGE OIL SOON: This light will appear when
the system predicts that the oil’s remaining useful life is \
almost up. The system predicts remaining oil life using
inputs from length of drives, coolant temperature, engine rpm and vehicle speed. It alerts you to change
the oil on a schedule consistent with your vehicle’s driving conditions.
After changing the oil, the system must be reset. With
the ignition key in the ON position but the engine
off,
fully push and release the accelerator pedal slowly three
times within five seconds. If the CHANGE
OIL SOON
light flashes, the system is resetting. Turn the ignition
key to the OFF position, then start the vehicle. If the
CHANGE OIL SOON light comes back on, the oil life
monitor has not reset. Repeat the procedure.
LOW WASHER FLUID: This light will come on when
your ignition is on and the fluid container is low.
TRUNK A JAR: This light alerts you that your trunk is
not fully closed.
DOOR AJAR: If one of your doors is left ajar, a light
will appear next to that door on the vehcle outline.
TRAC SWITCH: If your vehicle has the Trac System,
you will have
a disable switch on the far right side of
your Driver Information Center. Your Trac System is automatically activated when you turn the ignition on.
This switch will activate/deactivate the Trac System. If
you need to disable the system, such as when you are
stuck and are rocking your vehicle back and forth, push
this switch. See “Stuck: In Sand, Mud, Ice or Snow” in
the Index.
TRAC OFF: This light lets you know that your Trac
System has been disabled and will not limit wheel spin. See “Enhanced Traction System Warning Light”
or
“Low Traction Light” in the Index.
LOW TRAC: This light will come on when your Trac
System is limiting wheel spin. See “Trac System” or
“Low Traction Light”
in the Index.
2-77
Page 155 of 402

Control Buttons
The trip computer has three buttons that control its functions.
ENGMET: Press this button to change the display from
English to metric units or metric to English.
RESET Press this button for two seconds to reset the
mode displayed.
MODE: Press this button to change the mode
being displayed.
Functions
FUEL USED: Shows the total amount of fuel used
since you last reset this mode. The amount can be
displayed in gallons
or liters.
AVG ECON: Shows your average fuel economy since
you last reset this mode.
OIL LIFE: Shows a percentage of the oil’s remaining
useful life. The system predicts remaining oil life using
inputs from length of drives, coolant temperature,
engine rpm and vehicle speed. Each time
you get an oil
change, be sure to reset this function
so that it will give
you an accurate percentage.
To reset the Oil Life Indicator after the oil has been
changed, press the
MODE button until the light appears lit next
to
OIL LIFE. Press and hold the RESET button
for
three seconds. The oil life percentage should change
to
100%.
RANGE: Shows how much farther you can travel with
the fuel you have before refueling.
LOW WASHER FLUID: This light will come on when
your ignition
is on and the fluid container is low.
DOOR AJAR: If one of your doors is left ajar, a light
will appear next to that
door on the vehicle outline.
BOOST GAGE: If you have the supercharged engine,
this gage will show the amount of boost your engine
is receiving.
TRUNK AJAR: If your trunk is not fully closed or
open, a light will outline the trunk
area on your
vehicle outline.
TCS SWITCH: If your vehicle has the Traction Control
System, you will have
a disable switch on the far right
side of your Trip Computer. Your Traction Control
System
is automatically activated when you turn the
ignition on. This switch will activate/deactivate the
Traction Control System.
If you need to disable the
system, such as when you
are stuck and are rocking your
vehicle back and forth, push
this switch. See “Stuck: In
Sand, Mud, Ice or Snow’’ in
the Index.
Page 171 of 402

In addition to the four stations already set, up to
three more stations may be preset on each band by
pressing two adjoining buttons at the same time. Just:
AM-FM Stereo with Cassette Tape Player
(If Equipped)
1. Tune in the desired station.
2. Press SET. (SET will appear on the display.)
3. Press any two adjoining pushbuttons at the same
time, within five seconds. Whenever
you press the
same buttons, the station you set will return.
4. Repeat the steps for each pair of pushbuttons.
Setting the Tone
BASS: Slide the lever up or down to increase or
decrease bass.
TREB: Slide the lever up or down to increase or
decrease treble. If a station is weak or noisy, you may
want to decrease the treble.
Adjusting the Speakers
BALANCE: Turn the control behind the upper knob to
move the sound
to the left or right speakers. The middle
position balances the sound between the speakers.
Playing the Radio
POWER-VOL: Press this knob to turn the system on
and off. To increase volume, turn the knob to the right.
Turn it to the left to decrease volume.
RECALL: Display the time with the ignition off by
pressing this button.
When the radio is playing, press
this knob to recall the station frequency.
FADE: Turn the control behind the lower knob to move
the sound to
the front or rear speakers. The middle
position balances the sound between the speakers.
Page 174 of 402

FWD (6): Press this button to advance quickly to
another part
of the tape. Press the button again to return
to playing speed. The radio will play the last-selected station while the tape advances. You may select stations
during
FWD operation by using SEEK or TUNE.
AM-FM: Press this button to play the radio when a tape
is in the player.
TAPEFLAY: Press this button to change to the tape
function when the radio is on. The tape symbol with an
arrow will appear on the display when the tape is active.
To return to playing the radio, press the
AM-FM button.
EJECT Press this button to remove the tape. The radio
will play. EJECT may be activated with either the
ignition
or radio off. Cassettes may be loaded with the
radio and ignition off if this button is pressed first.
CLN: If this message appears on the display, the
cassette tape player needs to be cleaned. It will still play
tapes, but
you should clean it as soon as possible to
prevent damage to the tapes and player. See “Care of
Your Cassette Tape Player” in the Index. After you clean
the player, press and hold EJECT for five seconds to
reset the CLN indicator. The radio will display
--- to
show the indicator was reset.
CD Adapter Kits
It is possible to use a CD adapter kit with your cassette
tape player after activating the bypass feature on
your
tape player.
To activate the bypass feature, use the following steps:
1. Turn the ignition to RUN or ACCESSORY.
2. Turn the radio off.
3. Press and hold the TAPEPLAY button for three
seconds. The tape symbol on the display will flash
for two seconds, indicating the feature is active.
4. Insert the adapter. It will power up the radio and
This override routine will remain active until EJECT
is pressed. begin playing.
3-15