Page 171 of 444

Cupholders Storage Bin
There are cupholders on the inboard side of the front
passenger’s seat and the right side
of the second row
bench seat.
To use the cupholders, simply pull down the tray. Keep
the trays up when not in use.
Your vehicle has storage compartments and cupholders
on either side of the vehicle, next to the third row seats.
The seatbacks have cupholders that can be used when
the seatbacks are folded down. At
the base
of the center instrument panel console, there
is a storage bin. To open the bin, lift the latch release
and the door will fold down.
Inside the bin, you will find a tray that slides out. Slide
the tray all the way toward the rear of the vehicle until
the tray locks onto the plastic tabs at the end of the guide
rails. The tray holds
CDs or cassettes in the center area.
You can also store cassettes in the left side area. The
right side area can hold either the coinholder, which lifts
out, or another cassette. The tray can be removed for
cleaning or when you want to replace the selection
of
CDs or cassettes. Slide the tray back into the storage bin
before closing the bin door. The tray can also be placed
in the glove box for locked storage if desired.
2-69
ProCarManuals.com
Page 172 of 444
Removing and Replacing the Tray To remove the tray, slide it almost all the way out. Don’t
let the tray lock over the plastic tabs at the end of the
guide rails
(A). Lift the tray out of the guide rails. The
rubber mat under the tray also lifts out for cleaning.
When the rubber mat
is replaced, be sure the tabs at the
back
of the mat are seated in the slots at the back of the
storage
bin.
The dividers in the tray can be removed by squeezing
the plastic tabs
on the bottom of the dividers, while
pulling
up. Replace the dividers by sliding them down
until the tabs click into place.
To replace the tray, line up the guides on the bottom of
the tray with the guide rails in the storage bin door. Slide
the tray back in.
2-70
ProCarManuals.com
Page 177 of 444
NOTICE:
Loading cargo that weighs more than 150 lbs.
(68 kg) on the luggage carrier may damage
your vehicle.
When you carry cargo
on the luggage carrier of a
proper size and weight, put
it on the slats, as far
forward
as you can. Then slide the crossrail up
against the rear of the load, to help keep
it from
moving. You can then tie
it down.
Don’t exceed the maximum vehicle capacity when
loading your vehicle. For more information on vehicle
capacity and loading, see “Loading Your Vehicle” in
the Index.
To prevent damage or loss of cargo as you’re driving,
check now and then to make sure the luggage carrier and
cargo are still securely fastened.
Turn the release knobs to the left to unlock the
crossrails. Slide the crossrails forward or back, as
needed, to accommodate loads of various sizes.
ProCarManuals.com
Page 178 of 444
After repositioning the crossrails, be sure to tighten the
release
knobs by turning them to the right. This will lock
the crossrails in place.
If you wish to attach the luggage tie-downs or other
compatible bicycle or
ski accessory racks to the
crossrail, use the adjustable tapped plates under the
Use the adjustable tie-down
loops in the side rails
to
help secure large loads.
Reposition the tie-downs
by turning them to the left,
then slide them along the side rail. Turn the tie-downs to
the right to tighten them in place.
Bumper strips on the luggage carrier crossrails help to
ensure a quieter ride.
Lift the end of the bumper strip with a flathead screw
driver and cut
off enough of the strip to access the
tapped plates.
2-76
ProCarManuals.com
Page 180 of 444

NOTICE:
-
Don’t put papers and other things that burn into
your ashtrays.
If you do, cigarettes or other
smoking materials could set them on fire,
causing damage.
Side Ashtrays
To open the ashtray, press the left side and turn it open.
To remove the ashtray for cleaning, press the snuffer as
you lift up the bottom of the ashtray.
Sun Visors
To block out glare, you can swing down the visors. You
can also remove them from the center mount and swing
them to the side.
Visor Vanity Mirrors
Pull down the sun visor. Flip up the cover to expose the
vanity mirror.
Illuminated Visor Vanity Mirrors
(If Equipped)
Pull down the sun visor. Flip up the cover to expose the
vanity mirror. The lamps will come
on when you open
the cover.
Accessory Inflator System (Option)
Your vehicle may be equipped with an air inflator. With
it, you can inflate things like air mattresses and
basketballs, and
you can also use it to bring your tires up
to the proper pressure.
The air inflator is located in the rear compartment on
the
driver’s side. To remove the cover, pull the tab on the
cover and pull it
off.
2-78
ProCarManuals.com
Page 191 of 444

If the light comes on while you are driving, pull off the
road and stop carefully. You may notice that the pedal is
harder to push. Or, the pedal may go closer to the floor.
It may take longer to stop. If the light is still on, or if the
anti-lock brake system warning light is flashing, have
the vehicle towed for service. (See “Anti-Lock Brake
System Warning Light” and “Towing Your Vehicle” in
the Index
.)
I A CAUTION:
Your brake system may not be working properly
if the brake system warning light
is on. Driving
with the brake system warning light on can lead
to an accident.
If the light is still on or if the
anti-lock brake system warning light
is flashing
after you’ve pulled
off the road and stopped
carefully, have the vehicle towed for service.
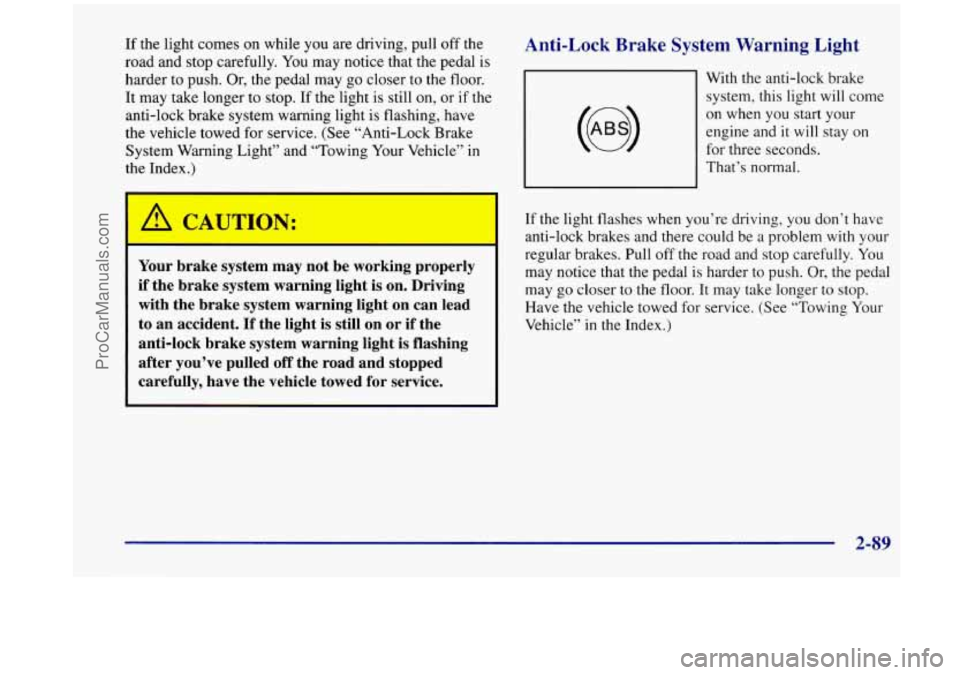
Anti-Lock Brake System Warning Light
With the anti-lock brake
system, this light will come
on when you start your
engine and it will stay on
for three seconds.
That’s normal.
If the light flashes when you’re driving, you don’t have
anti-lock brakes and there could be a problem with
your
regular brakes. Pull off the road and stop carefully. You
may notice that the pedal is harder to push. Or, the pedal
may go closer to the floor. It may take longer to stop.
Have the vehicle towed for service. (See “Towing Your
Vehicle” in the Index.)
2-89
ProCarManuals.com
Page 192 of 444

A CAUTION:
Your regular brake system may not be working
properly if the anti-lock brake system warning
light is flashing. Driving with the anti-lock brake
system warning light flashing can lead to an
accident. After you’ve pulled off the road and
stopped carefully, have the vehicle towed
for service.
If the anti-lock brake system warning light stays on
longer than normal after you’ve started your engine, turn
the ignition off. Or, if the light comes on and stays on
when you’re driving, stop
as soon as possible and turn
the ignition off. Then start the engine again to reset the
system.
If the light still stays on, or comes on again
while you’re driving, your vehicle needs service.
If the
light is on but not flashing and the regular brake system
warning light isn’t on, you still have brakes, but
you
don’t have anti-lock brakes.
The anti-lock brake system warning light should come
on briefly when you turn the ignition key to
RUN. If the
light doesn’t come on then, have
it fixed so it will be
ready to warn you if there
is a problem.
Traction Control System Warning Light
(Option)
This warning light should
come on briefly as you start
the engine.
If the warning
light doesn’t come on then,
have
it fixed so it will be
ready
to warn you if there’s
a problem.
If it stays
on, or comes on when you’re driving, there
may be
a problem with your traction control system and
your vehicle may need service. When this warning light
is on,
the system will not limit wheel spin. Adjust your
driving accordingly.
2-90
ProCarManuals.com
Page 193 of 444

The traction control system warning light may come on
for the following reasons:
If there’s a brake system problem that is specifically
related to traction control, the traction control system
will turn
off and the warning light will come on. If
your brakes begin to overheat, the traction control
system will turn off and the warning light will come
on until your brakes cool down.
If the traction control system is affected by an
engine-related problem, the system will turn off and
the warning light will come on.
If the traction control system warning light comes on
and stays
on for an extended period of time when the
system
is turned on, your vehicle needs service.
Low Traction Light (Option)
LOW
TRACTION
If your vehicle has the
traction control system,
there will be a
LOW
TRACTION light on the
instrument panel.
When your anti-lock system is adjusting brake pressure
to help avoid a braking skid, or when your traction
control system is limiting wheel spin, the
LOW
TRACTION light will come on. Slippery road
conditions may exist if this light comes on,
so adjust
your driving accordingly. The light will come on and
stay
on for four seconds when your anti-lock system
adjusts brake pressure for less than four seconds or
when your traction control system limits wheel spin for
less than four seconds. Otherwise, the light will
go out
as soon as the anti-lock system
stops adjusting brake
pressure or the traction control system stops limiting
wheel spin.
The
LOW TRACTION light also comes on briefly, as a
bulb check, when the engine is started. If the light
doesn’t come on then, have it fixed
so it will be there to
tell you when
the system is active.
2-91
ProCarManuals.com