1998 NISSAN SENTRA ECU
[x] Cancel search: ECUPage 37 of 216

To install the anchor bracket, a metric bolt of
the dimensions listed below must be used.
Bolt diameter: 8.0 mm
Bolt length: more than 1.18 in (30 mm)
Thread pitch: 1.25 mm
Secure the top strap to the attaching bolt
which provides the straightest installation of
the top strap.
WARNING
Child restraint anchor points are de-
signed to withstand only those loads
imposed by correctly fitted child re-
straints. Under no circumstances are
they to be used for adult seat belts or
harnesses.
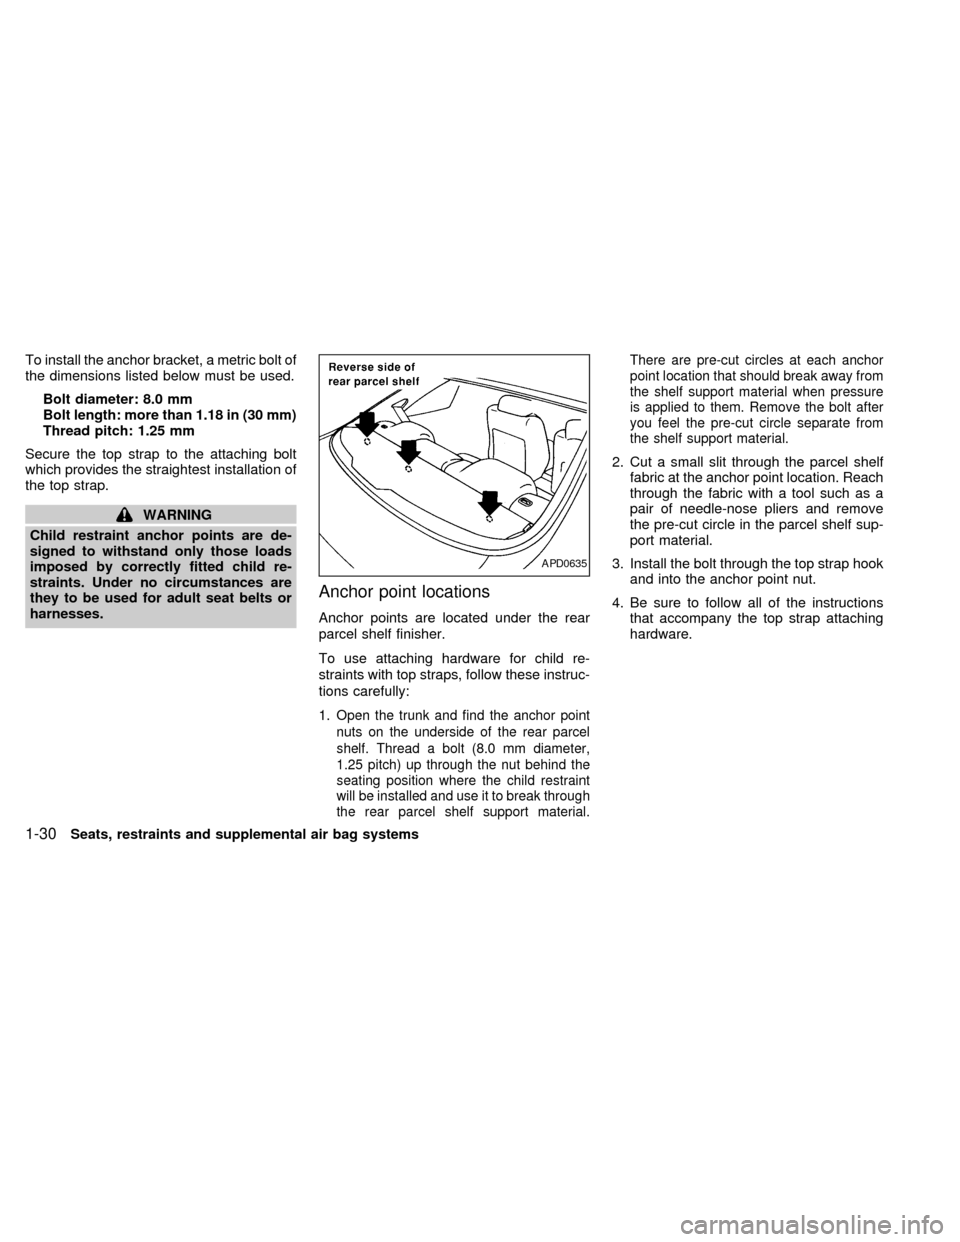
Anchor point locations
Anchor points are located under the rear
parcel shelf finisher.
To use attaching hardware for child re-
straints with top straps, follow these instruc-
tions carefully:
1.
Open the trunk and find the anchor point
nuts on the underside of the rear parcel
shelf. Thread a bolt (8.0 mm diameter,
1.25 pitch) up through the nut behind the
seating position where the child restraint
will be installed and use it to break through
the rear parcel shelf support material.There are pre-cut circles at each anchor
point location that should break away from
the shelf support material when pressure
is applied to them. Remove the bolt after
you feel the pre-cut circle separate from
the shelf support material.
2. Cut a small slit through the parcel shelf
fabric at the anchor point location. Reach
through the fabric with a tool such as a
pair of needle-nose pliers and remove
the pre-cut circle in the parcel shelf sup-
port material.
3. Install the bolt through the top strap hook
and into the anchor point nut.
4. Be sure to follow all of the instructions
that accompany the top strap attaching
hardware.
APD0635
1-30Seats, restraints and supplemental air bag systems
ZX
Page 38 of 216

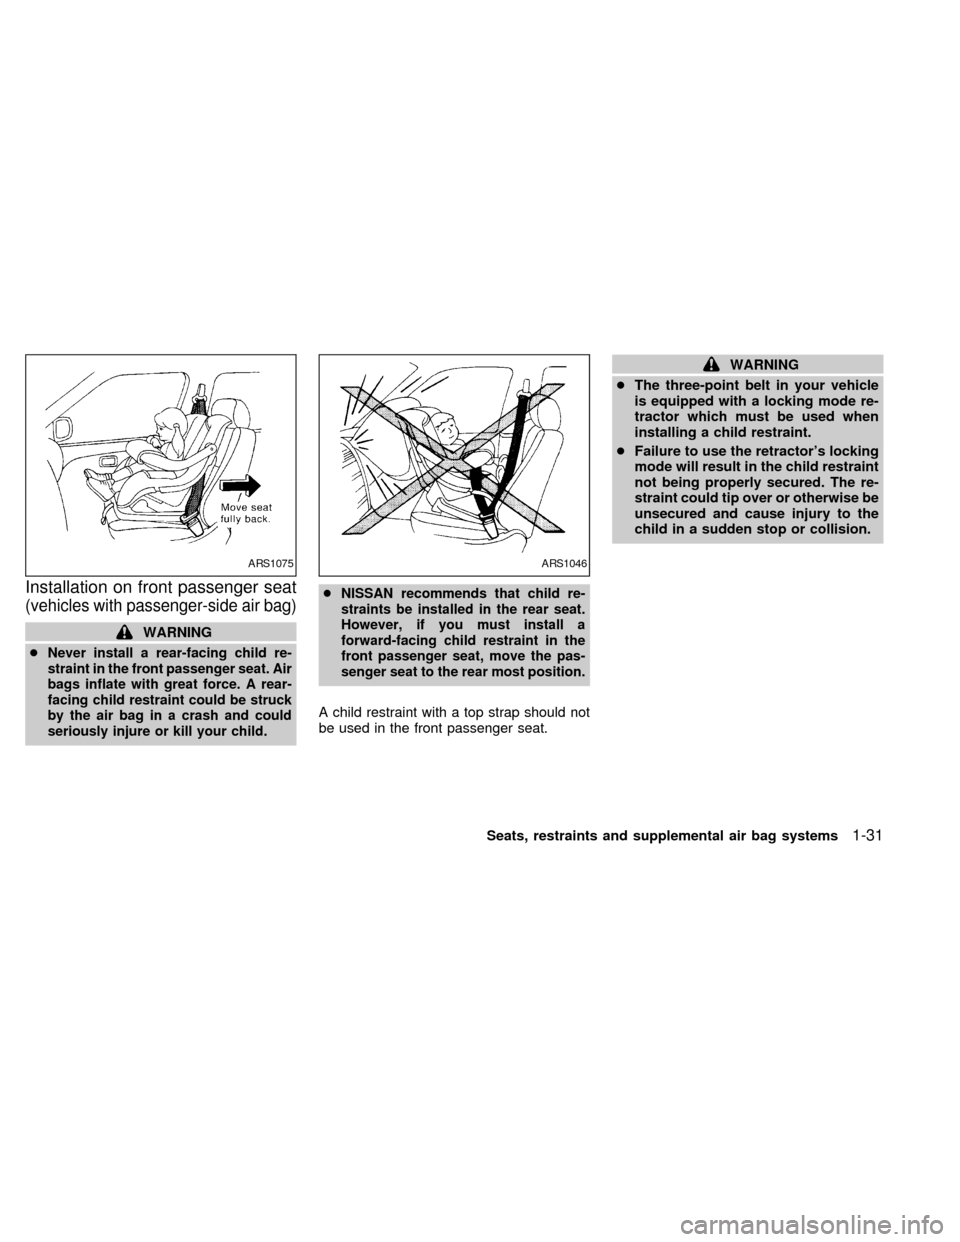
Installation on front passenger seat
(vehicles with passenger-side air bag)
WARNING
c
Never install a rear-facing child re-
straint in the front passenger seat. Air
bags inflate with great force. A rear-
facing child restraint could be struck
by the air bag in a crash and could
seriously injure or kill your child.cNISSAN recommends that child re-
straints be installed in the rear seat.
However, if you must install a
forward-facing child restraint in the
front passenger seat, move the pas-
senger seat to the rear most position.
A child restraint with a top strap should not
be used in the front passenger seat.
WARNING
cThe three-point belt in your vehicle
is equipped with a locking mode re-
tractor which must be used when
installing a child restraint.
cFailure to use the retractor's locking
mode will result in the child restraint
not being properly secured. The re-
straint could tip over or otherwise be
unsecured and cause injury to the
child in a sudden stop or collision.
ARS1075ARS1046
Seats, restraints and supplemental air bag systems1-31
ZX
Page 40 of 216

4.Allow the belt to retract slightly. Pull up on
the belt to remove any slack in the belt.5. Before placing the child in the child re-
straint, use force to tilt the child restraint
from side to side, and tug it forward to
make sure it is securely held in place.
6.
Check that the retractor is in the automatic
locking mode by trying to pull more belt
out of the retractor. If you cannot pull any
more belt webbing out of the retractor, the
belt is in the automatic locking mode.
7. Check to make sure the child restraint is
properly secured prior to each use. If the
lap belt is not locked, repeat steps three
through six.
After the child restraint is removed and theseat belt is allowed to wind back into the
retractor, the automatic locking mode (child
restraint mode) is canceled; the seat belt
only locks during a sudden stop or impact.
ARS1074ARS1079
Seats, restraints and supplemental air bag systems1-33
ZX
Page 47 of 216

charging system. Turn the engine off and
check the generator belt. If the belt is loose,
broken, or missing, or if the light remains on,
see an authorized NISSAN dealer immedi-
ately.
CAUTION
Do not continue driving if the generator
belt is loose, broken or missing.
Low fuel warning light
(if so equipped)
This light comes on when the fuel in the tank
is getting low. Refuel as soon as it is con-
venient, preferably before the fuel gauge
reaches E (Empty).
There will be a small reserve of fuel remain-
ing in the tank when the fuel gauge reaches
E (Empty).
Door ajar warning light
(if so equipped)
This light comes on when any of the doors
are not closed securely while the ignition
key is ON.
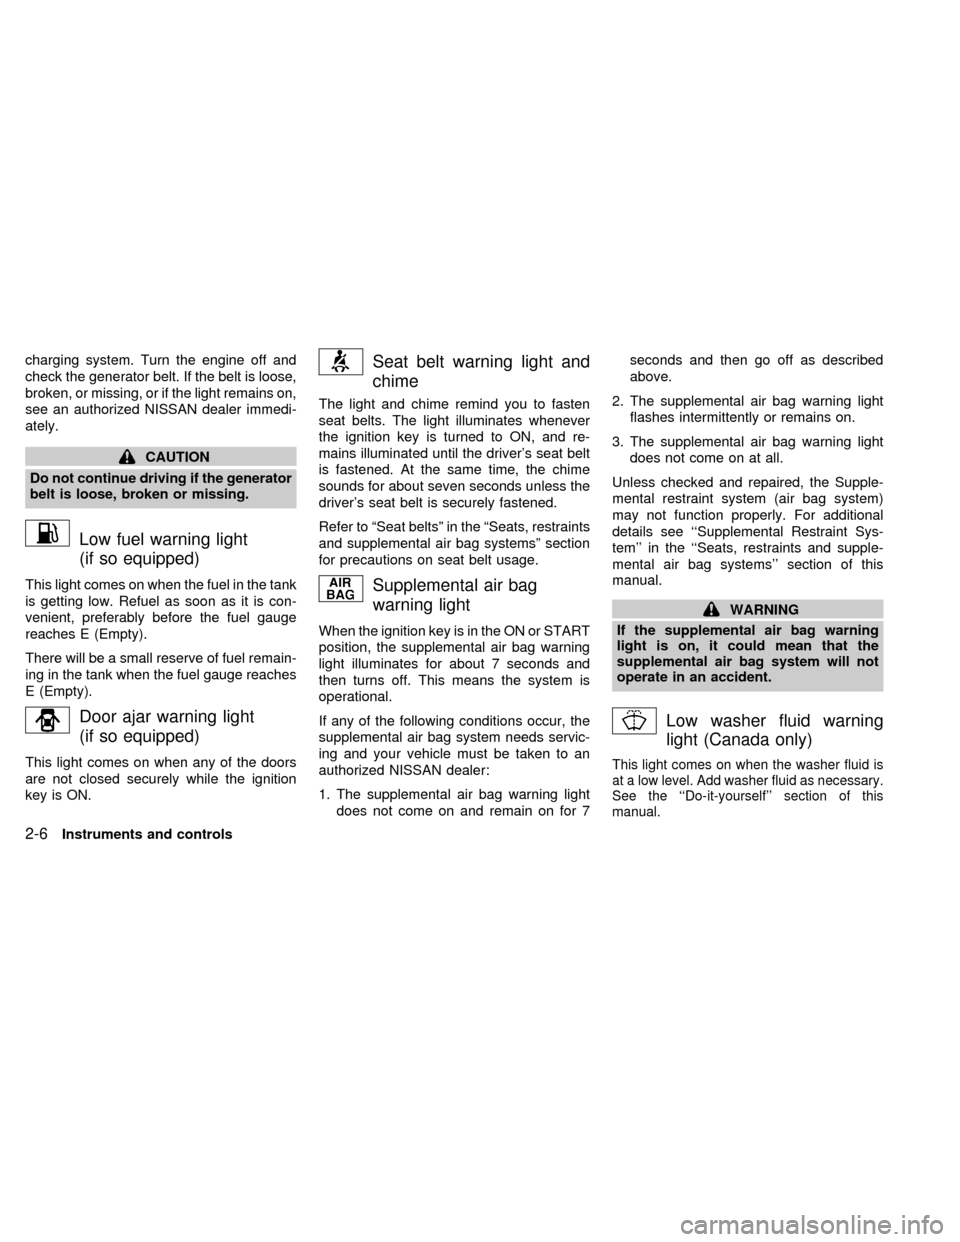
Seat belt warning light and
chime
The light and chime remind you to fasten
seat belts. The light illuminates whenever
the ignition key is turned to ON, and re-
mains illuminated until the driver's seat belt
is fastened. At the same time, the chime
sounds for about seven seconds unless the
driver's seat belt is securely fastened.
Refer to ªSeat beltsº in the ªSeats, restraints
and supplemental air bag systemsº section
for precautions on seat belt usage.
Supplemental air bag
warning light
When the ignition key is in the ON or START
position, the supplemental air bag warning
light illuminates for about 7 seconds and
then turns off. This means the system is
operational.
If any of the following conditions occur, the
supplemental air bag system needs servic-
ing and your vehicle must be taken to an
authorized NISSAN dealer:
1. The supplemental air bag warning light
does not come on and remain on for 7seconds and then go off as described
above.
2. The supplemental air bag warning light
flashes intermittently or remains on.
3. The supplemental air bag warning light
does not come on at all.
Unless checked and repaired, the Supple-
mental restraint system (air bag system)
may not function properly. For additional
details see ``Supplemental Restraint Sys-
tem'' in the ``Seats, restraints and supple-
mental air bag systems'' section of this
manual.
WARNING
If the supplemental air bag warning
light is on, it could mean that the
supplemental air bag system will not
operate in an accident.
Low washer fluid warning
light (Canada only)
This light comes on when the washer fluid is
at a low level. Add washer fluid as necessary.
See the ``Do-it-yourself'' section of this
manual.
2-6Instruments and controls
ZX
Page 49 of 216

Key reminder chime
A chime sounds if the driver side door is
opened while the key is left in the ignition
switch. Remove the key and take it with you
when leaving the vehicle.
Light reminder chime
A chime sounds when the driver side door is
opened if the headlights or parking lights
are on (ignition switch is turned off).
Turn the headlight control switch off before
leaving the vehicle.
Brake pad wear warning
The disc brake pads have audible wear
warnings. When a brake pad requires re-
placement, it makes a high pitched scraping
sound when the vehicle is in motion,
whether or not the brake pedal is de-
pressed. Have the brakes checked as soon
as possible if the warning sound is heard.
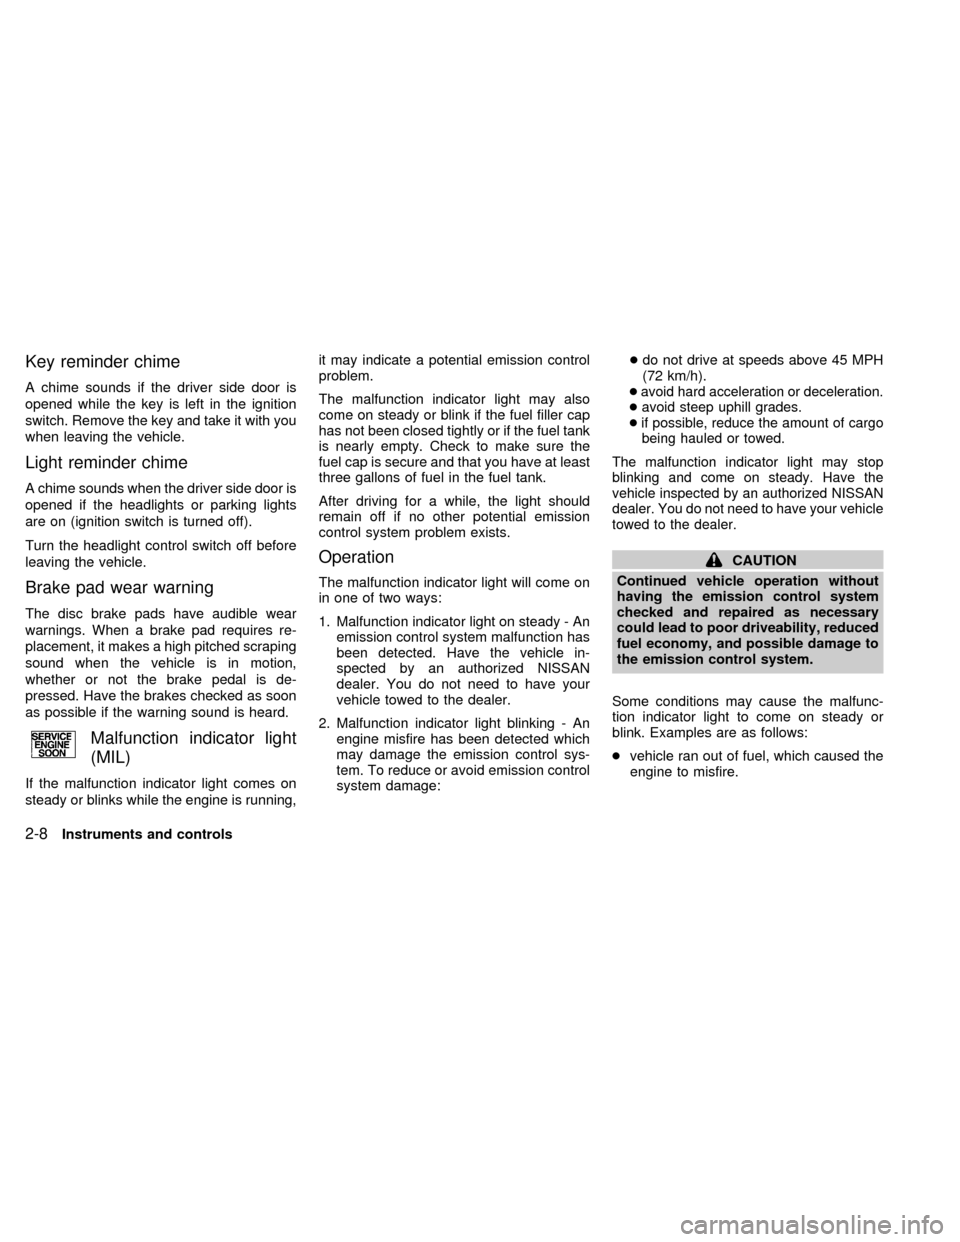
Malfunction indicator light
(MIL)
If the malfunction indicator light comes on
steady or blinks while the engine is running,it may indicate a potential emission control
problem.
The malfunction indicator light may also
come on steady or blink if the fuel filler cap
has not been closed tightly or if the fuel tank
is nearly empty. Check to make sure the
fuel cap is secure and that you have at least
three gallons of fuel in the fuel tank.
After driving for a while, the light should
remain off if no other potential emission
control system problem exists.
Operation
The malfunction indicator light will come on
in one of two ways:
1. Malfunction indicator light on steady - An
emission control system malfunction has
been detected. Have the vehicle in-
spected by an authorized NISSAN
dealer. You do not need to have your
vehicle towed to the dealer.
2. Malfunction indicator light blinking - An
engine misfire has been detected which
may damage the emission control sys-
tem. To reduce or avoid emission control
system damage:cdo not drive at speeds above 45 MPH
(72 km/h).
c
avoid hard acceleration or deceleration.
cavoid steep uphill grades.
cif possible, reduce the amount of cargo
being hauled or towed.
The malfunction indicator light may stop
blinking and come on steady. Have the
vehicle inspected by an authorized NISSAN
dealer. You do not need to have your vehicle
towed to the dealer.
CAUTION
Continued vehicle operation without
having the emission control system
checked and repaired as necessary
could lead to poor driveability, reduced
fuel economy, and possible damage to
the emission control system.
Some conditions may cause the malfunc-
tion indicator light to come on steady or
blink. Examples are as follows:
cvehicle ran out of fuel, which caused the
engine to misfire.
2-8Instruments and controls
ZX
Page 50 of 216

cfuel filler cap was left off or improperly
installed, allowing fuel to evaporate into
the atmosphere.
If you suspect that you experienced one or
both of the above conditions, drive the ve-
hicle to an authorized NISSAN dealer and
have the vehicle inspected. Avoid any un-
necessary diagnosis during the service by
informing the dealer of the conditions listed
above that may have occurred.
The theft warning system provides visual
and audio alarm signals if parts of the
vehicle are disturbed.
How to activate the theft warning
system
1. Close all windows.
2. Remove the key from the ignition switch.
3. Close the hood, trunk lid and all doors.
4. Push the
button on the multi-remote
controller. All the doors lock. The hazard
lights flash twice and the horn beeps
once to indicate all doors are locked.c
When thebutton is pushed with all
doors locked, the hazard lights flash twice
and the horn beeps once as a reminder that
the doors are already locked. The horn may
or may not beep once. Refer to ``silencing
the horn beep feature'' later in this section.
The system can be activated even if the
windows are open.
5.
Confirm that the SECURITY indicator
light comes on. The SECURITY light
glows for about 30 seconds and then
begins to flash once every three seconds.
The system is now activated. If, during
this 30-second time period, the door is
unlocked by the key or the multi-remote
controller, or the ignition key is turned to
ACC or ON, the system will not activate.
cIf the key is turned slowly when lock-
ing the door, the system may not acti-
vate. Furthermore, if the key is turned
excessively to the unlock position, the
system may be deactivated when the
key is removed. If the indicator light
fails to glow for 30 seconds, unlock
the door once and lock it again.
cEven when the driver and/or passen-
gers are in the vehicle, the system will
IC0005
THEFT WARNING
(if so equipped)
Instruments and controls2-9
ZX
Page 51 of 216

activate with all doors, hood, and
trunk lid locked and ignition key off.
Turn the ignition key to ACC or ON to
turn the system off.
The theft warning system is NOT activated if
one of the following occurs:
cA door is unlocked or the ignition key is
turned to the ACC or ON position during
the 30 seconds in which the SECURITY
light stays on.
cThe SECURITY light blinks at a steady
1/2 second on - 1/2 second off rate (a
door, the trunk, or the hood is open and
the key is not in the ACC or ON position).
When the ignition key is turned to the
ACC or ON position, the SECURITY light
turns off.
Theft warning system operation
The theft warning system emits the follow-
ing alarm:
cThe headlights blink and the horn sounds
intermittently. In addition, the starter mo-
tor does not operate.
cThe alarm automatically turns off after 2
to 3 minutes. However, the alarm reacti-
vates if the vehicle is tampered withagain. The alarm can be shut off by
unlocking a door or trunk lid with the key
or by pressing the
buttonon the
multi-remote controller.
The alarm is activated by:
copening the door or trunk lid without
using the key (even if the door is un-
locked by releasing the door inside lock
switch) or opening the trunk lid by oper-
ating the opener lever.
copening the hood.
cpushing in or pulling out the key cylinder
on the door or trunk lid.
How to stop the alarm
The alarm stops only by unlocking a door or
the trunk lid with the key or by pressing
the
buttonon the multi-remote control-
ler.The alarm does not stop if the ignition
switch is turned to ACC or ON position.
Silencing the horn beep feature
If desired, the horn beep feature can be
deactivated using the multi-remote controller.
To deactivate:Press and hold theand
buttonsfor at least two seconds.
The hazard lights will quickly flash three
times to confirm that the horn beep feature
has been deactivated.
To activate:Press and hold the
and
buttonsfor at least two seconds once
more.
AIC1037
2-10Instruments and controls
ZX
Page 68 of 216

Replace the battery in the multi-remote con-
troller as follows:
1. Open the lid using a coin.
2. Replace the battery with a new one.
Recommended battery: Sanyo CR2025
or equivalent.3.Close the lid securely.
4. Press thebutton, then thebutton
two or three times to check the multi-
remote controller operation.
If the battery is removed for any reasonother than replacement, perform step
four.
cAn improperly disposed battery can
hurt the environment. Always confirm
local regulations for battery disposal.
cThe multi-remote controller is water-
resistant; however, if it does get wet,
immediately wipe completely dry.
cThe operational range of the multi-
remote controller extends to approxi-
mately 49 ft (15 m) from the vehicle.
This range may vary with conditions.
FCC Notice:
Changes or modifications not expressly
approved by the manufacturer for com-
pliance could void the user's authority to
operate the equipment.
This device complies with Part 15 of the
FCC Rules and RSS-210 of Industry
Canada.
Operation is subject to the following two
conditions: (1) This device may not
cause harmful interference, and (2) this
device must accept any interference re-
ceived, including interference that may
cause undesired operation of the device.
APD1026
BATTERY REPLACEMENT
Pre-driving checks and adjustments3-7
ZX