Page 48 of 217

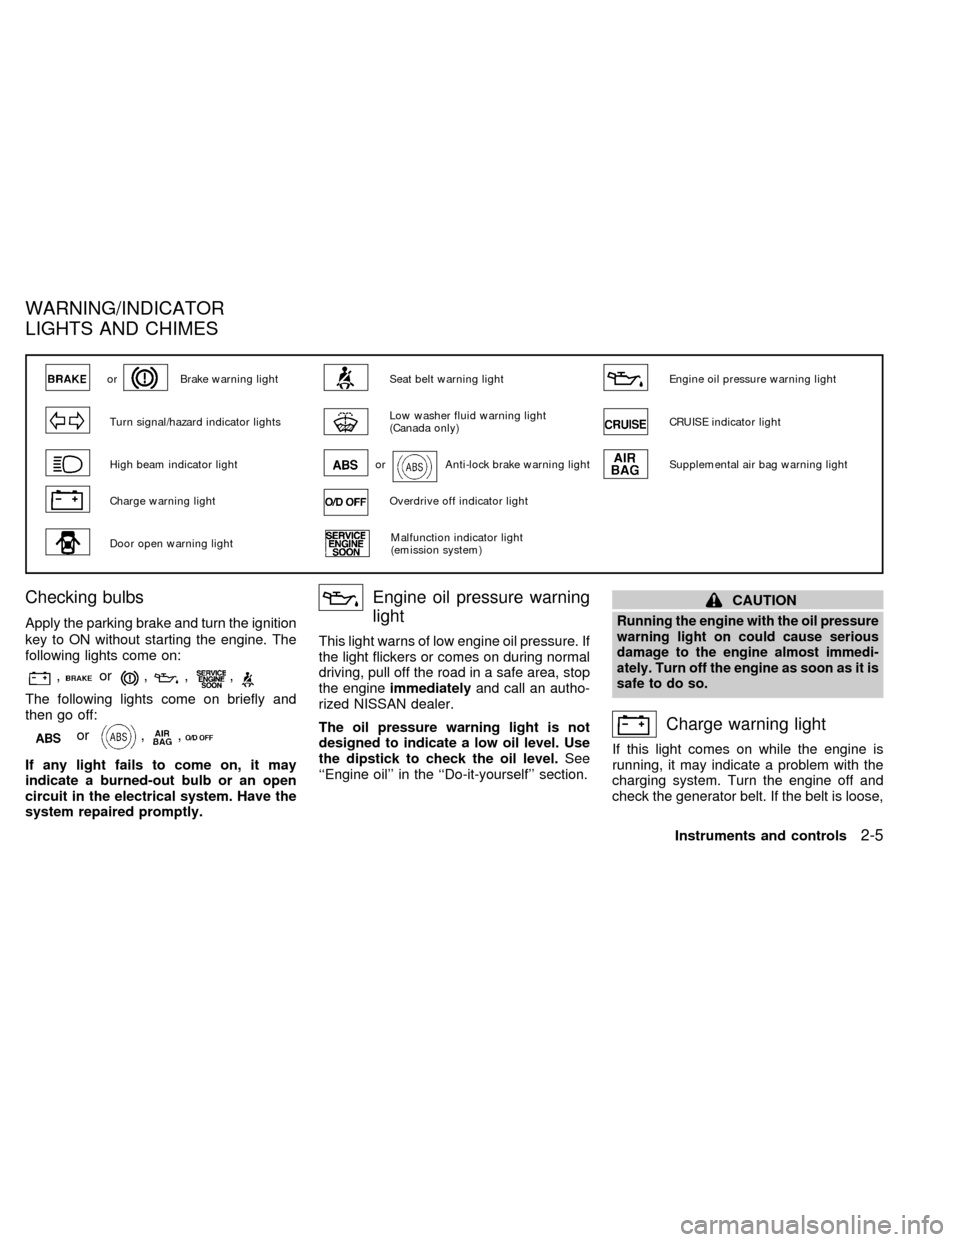
Checking bulbs
Apply the parking brake and turn the ignition
key to ON without starting the engine. The
following lights come on:
,or,,,
The following lights come on briefly and
then go off:
or,,
If any light fails to come on, it may
indicate a burned-out bulb or an open
circuit in the electrical system. Have the
system repaired promptly.
Engine oil pressure warning
light
This light warns of low engine oil pressure. If
the light flickers or comes on during normal
driving, pull off the road in a safe area, stop
the engineimmediatelyand call an autho-
rized NISSAN dealer.
The oil pressure warning light is not
designed to indicate a low oil level. Use
the dipstick to check the oil level.See
``Engine oil'' in the ``Do-it-yourself'' section.
CAUTION
Running the engine with the oil pressure
warning light on could cause serious
damage to the engine almost immedi-
ately. Turn off the engine as soon as it is
safe to do so.
Charge warning light
If this light comes on while the engine is
running, it may indicate a problem with the
charging system. Turn the engine off and
check the generator belt. If the belt is loose,
orBrake warning lightSeat belt warning lightEngine oil pressure warning light
Turn signal/hazard indicator lightsLow washer fluid warning light
(Canada only)CRUISE indicator light
High beam indicator lightorAnti-lock brake warning lightSupplemental air bag warning light
Charge warning lightOverdrive off indicator light
Door open warning lightMalfunction indicator light
(emission system)
WARNING/INDICATOR
LIGHTS AND CHIMES
Instruments and controls2-5
ZX
Page 50 of 217

brake system checked by an authorized
NISSAN dealer.
WARNING
cYour brake system may not be work-
ing properly if the warning light is
on. Driving could be dangerous. If
you judge it to be safe, drive care-
fully to the nearest service station
for repairs. Otherwise, have your ve-
hicle towed.
cPressing the brake pedal with the
engine stopped and/or low brake
fluid level may increase your stop-
ping distance and braking will re-
quire greater pedal effort as well as
greater pedal travel.
cIf the brake fluid level is below the
minimum mark on the brake fluid
reservoir, do not drive until the brake
system has been checked at a NIS-
SAN dealer.
Brake pad wear warning
The disc brake pads have audible wear
warnings. When a brake pad requires re-
placement, it makes a high pitched scraping
sound when the vehicle is in motion,
whether or not the brake pedal is de-pressed. Have the brakes checked as soon
as possible if the warning sound is heard.
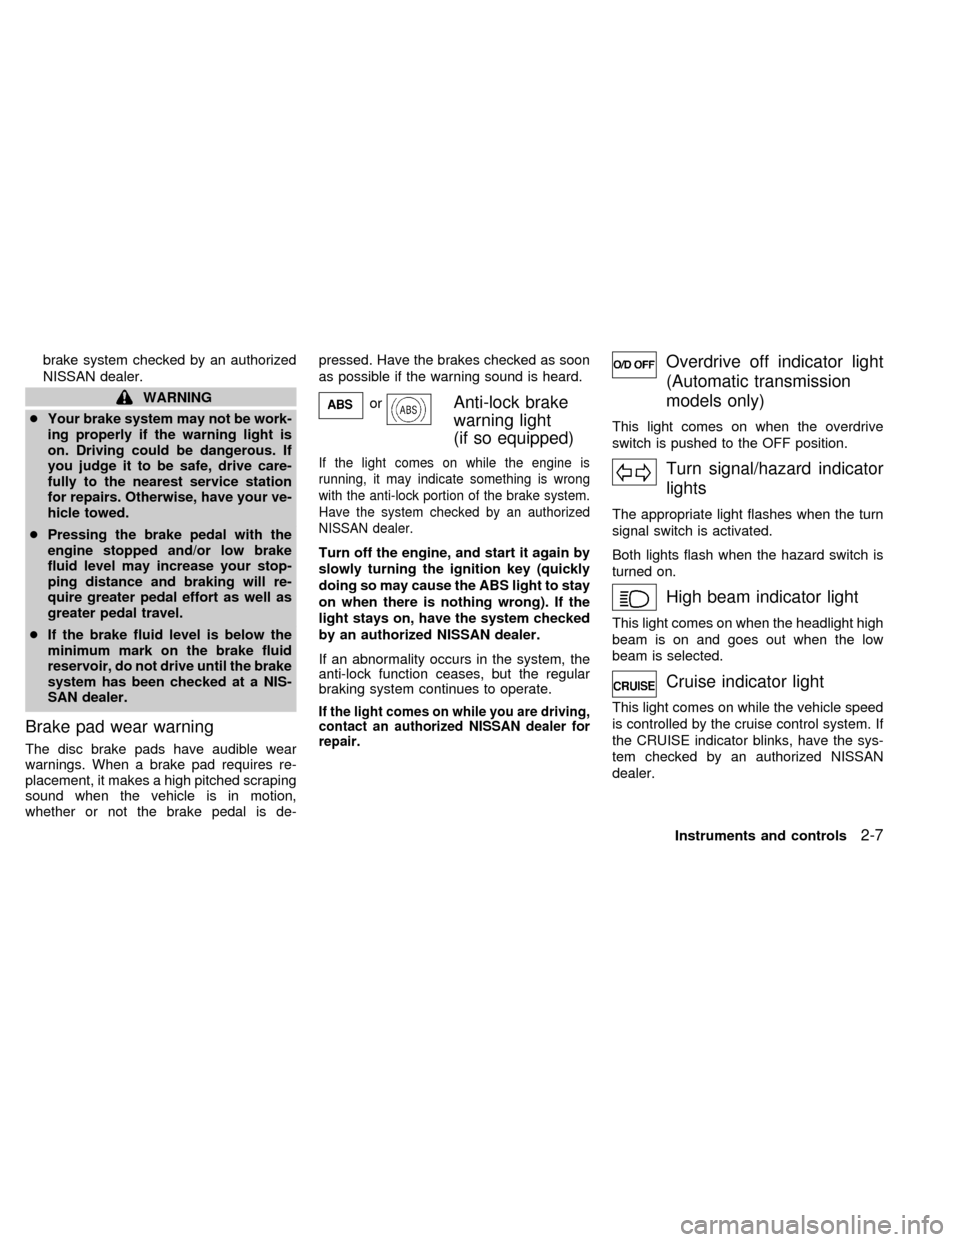
orAnti-lock brake
warning light
(if so equipped)
If the light comes on while the engine is
running, it may indicate something is wrong
with the anti-lock portion of the brake system.
Have the system checked by an authorized
NISSAN dealer.
Turn off the engine, and start it again by
slowly turning the ignition key (quickly
doing so may cause the ABS light to stay
on when there is nothing wrong). If the
light stays on, have the system checked
by an authorized NISSAN dealer.
If an abnormality occurs in the system, the
anti-lock function ceases, but the regular
braking system continues to operate.
If the light comes on while you are driving,
contact an authorized NISSAN dealer for
repair.
Overdrive off indicator light
(Automatic transmission
models only)
This light comes on when the overdrive
switch is pushed to the OFF position.
Turn signal/hazard indicator
lights
The appropriate light flashes when the turn
signal switch is activated.
Both lights flash when the hazard switch is
turned on.
High beam indicator light
This light comes on when the headlight high
beam is on and goes out when the low
beam is selected.
Cruise indicator light
This light comes on while the vehicle speed
is controlled by the cruise control system. If
the CRUISE indicator blinks, have the sys-
tem checked by an authorized NISSAN
dealer.
Instruments and controls
2-7
ZX
Page 55 of 217
NOTE: On some vehicles, the top few rows
of wires on the rear window are not part of
the rear window defogging system. These
wires, if so equipped, make up the diversity
antenna for the audio system.
Lighting
Turn the switch to theposition: The
front turn signal/parking, rear combination,
side marker, license plate and instrument
panel lights come on.
Turn the switch to the
position:The headlights come on and all the other
lights remain on.
To select the high beam function, push the
lever forward. The high beam lights come
on and the indicator light illuminates. Pull it
back to select the low beam.
AIC0505
HEADLIGHT AND TURN
SIGNAL SWITCH
2-12Instruments and controls
ZX
Page 57 of 217

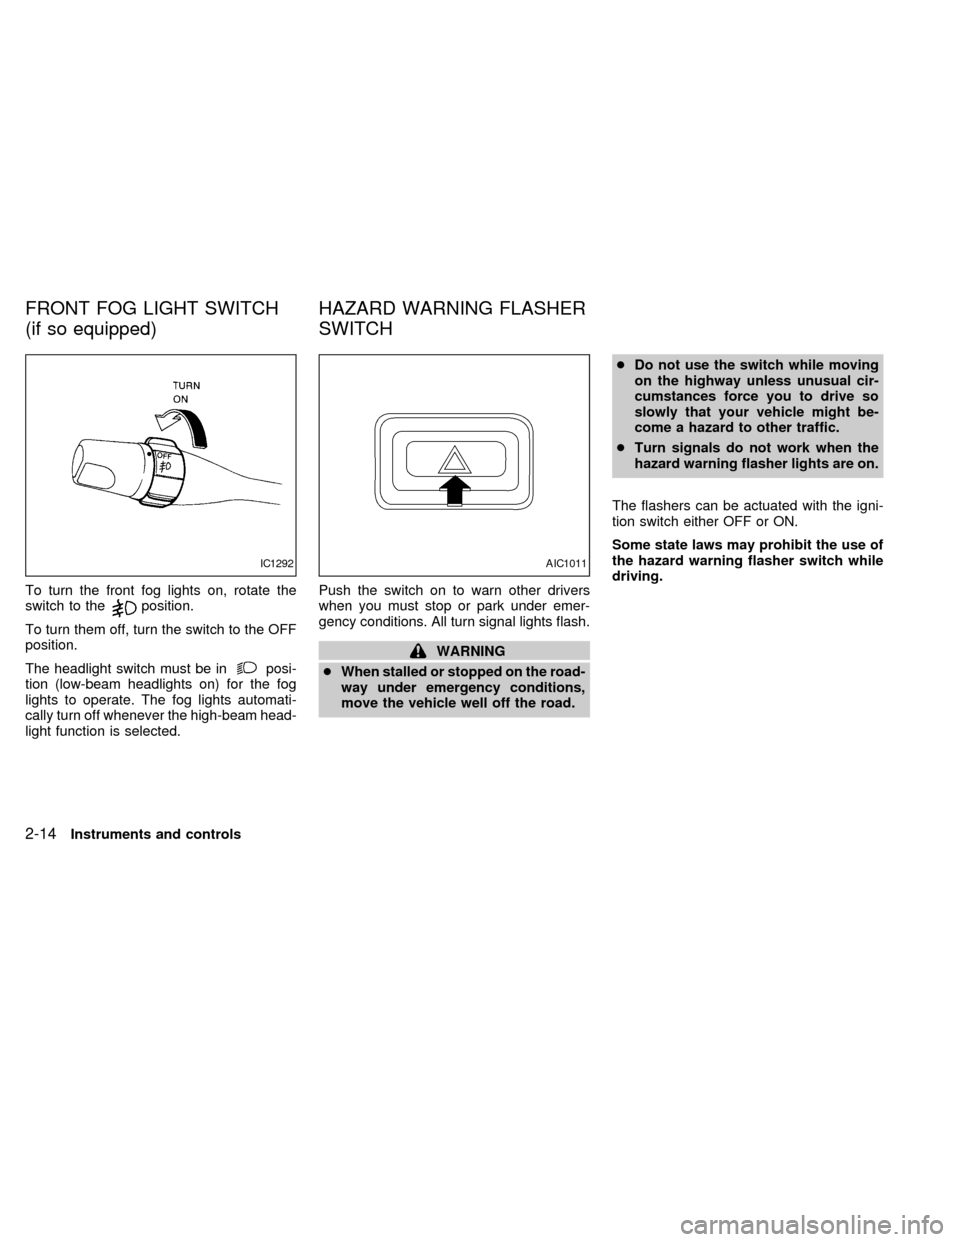
To turn the front fog lights on, rotate the
switch to theposition.
To turn them off, turn the switch to the OFF
position.
The headlight switch must be in
posi-
tion (low-beam headlights on) for the fog
lights to operate. The fog lights automati-
cally turn off whenever the high-beam head-
light function is selected.Push the switch on to warn other drivers
when you must stop or park under emer-
gency conditions. All turn signal lights flash.
WARNING
cWhen stalled or stopped on the road-
way under emergency conditions,
move the vehicle well off the road.cDo not use the switch while moving
on the highway unless unusual cir-
cumstances force you to drive so
slowly that your vehicle might be-
come a hazard to other traffic.
cTurn signals do not work when the
hazard warning flasher lights are on.
The flashers can be actuated with the igni-
tion switch either OFF or ON.
Some state laws may prohibit the use of
the hazard warning flasher switch while
driving.
IC1292AIC1011
FRONT FOG LIGHT SWITCH
(if so equipped)HAZARD WARNING FLASHER
SWITCH
2-14Instruments and controls
ZX
Page 168 of 217

a. Keep all of the tires inflated to the correct
pressure.
b. Place the vehicle on level ground.
c. See that the vehicle is unloaded (except
for full levels of coolant, engine oil and
fuel, and spare tire, jack, and tools).
Have the driver or an equivalent weight
placed in the driver's seat.
Low beam
1. Open the hood.
2. Adjust the vertical aim by turning the
adjusting screw with a Phillips screw-
driver.
3. Adjust the horizontal aim by turning the
adjusting screw with a Phillips screw-
driver.
ADJUSTMENT AFTER
HEADLIGHT ASSEMBLY
REPLACEMENT
If the vehicle front body has been repaired
and/or the headlight assembly has been
replaced, check aiming. Use the aiming
chart shown in the illustration.
cUpper edge and left edge of high in-
tensity zone should be within the
range shown at left. Adjust headlights
accordingly.
cDotted lines in the illustration show
center of headlights.
``H'' : Horizontial center line of headlights
``W
L'': Distance between each headlight
center
ADI1039
Do-it-yourself8-23
ZX
Page 169 of 217
BULB REPLACEMENT
Item Wattage (W) Bulb No.
Headlight (Semi-sealed beam)
High/Low 65/55 HB5
Front turn signal/parking light 27/8 1157NA
Front fog light 37.5 898
Rear combination light:
Turn signal 27 3156k
Stop/Tail 27/8 3157k
Back-up 18 921
License plate light 5 168
High-mounted stop light 18 T16
Interior light 8 68
Map light 10 578
Trunk light 3.4 158
Glove box light (if so equipped) 1.1 658
8-24Do-it-yourself
ZX