1998 LINCOLN CONTINENTAL maintenance reset
[x] Cancel search: maintenance resetPage 108 of 176

FUEL CONSUMPTION
Fuel economy can be improved by avoiding:
²lack of regular, scheduled maintenance.
²excessive speed.
²rapid acceleration.
²extended idle.
CHECKING YOUR HIGHWAY FUEL ECONOMY USING THE
ELECTRONIC MESSAGE CENTER DISPLAY
The following procedure will allow you to accurately monitor your actual
highway fuel economy. Since this procedure requires the vehicle speed
control system to be set to highway speeds, it must be run only on
suitable roadways where long distance speed control can be safely
maintained.
You may notice gradual improvement in fuel economy over the course of
your vehicle's break-in period (approximately 1 600 kilometers
[1 000 miles]).
1. Set the speed control. Refer toSpeed controlin theControls and
featureschapter.
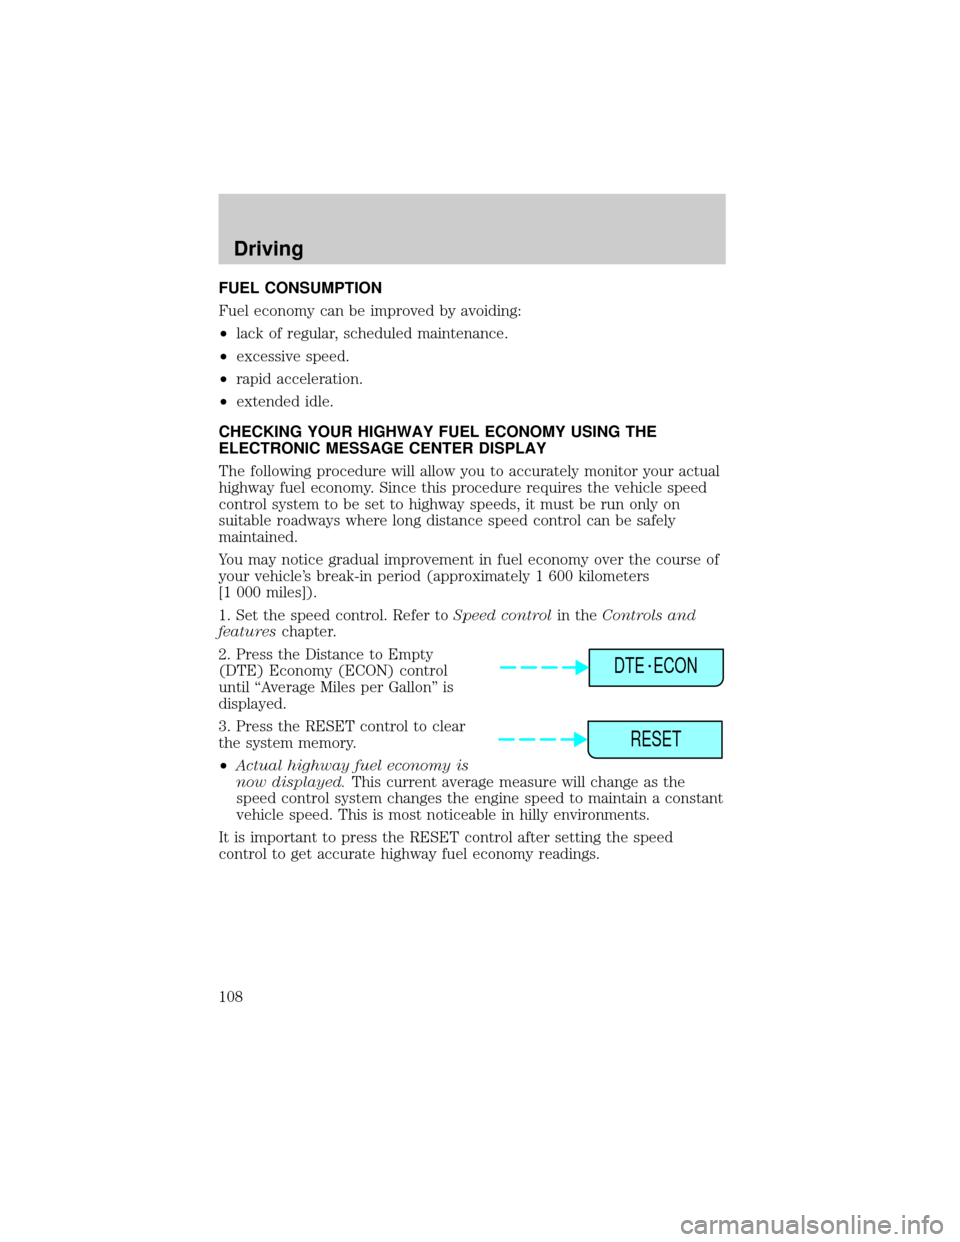
2. Press the Distance to Empty
(DTE) Economy (ECON) control
until ªAverage Miles per Gallonº is
displayed.
3. Press the RESET control to clear
the system memory.
²Actual highway fuel economy is
now displayed.This current average measure will change as the
speed control system changes the engine speed to maintain a constant
vehicle speed. This is most noticeable in hilly environments.
It is important to press the RESET control after setting the speed
control to get accurate highway fuel economy readings.
DTE ECON
RESET
Driving
108
Page 137 of 176

If your battery has a cover/shield, make sure it is reinstalled
after the battery is replaced.
Because your vehicle's engine is electronically controlled by a computer,
some control conditions are maintained by power from the battery. When
the battery is disconnected or a new battery is installed, the engine must
relearn its idle conditions before your vehicle will drive properly. To
begin this process:
1. Put the gearshift in P (Park), turn off all accessories and start the
vehicle.
2. Let the engine idle for at least one minute.
3. The relearning process will automatically complete as you drive the
vehicle.
²If you do not allow the engine to relearn its idle, the idle quality of
your vehicle may be adversely affected until the idle is eventually
relearned.
²If the battery has been disconnected or a new battery has been
installed, the clock and the preset radio stations must be reset once
the battery is reconnected.
²Always dispose of automotive
batteries in a responsible manner.
Follow your community's
standards for disposal. Call your
local recycling center to find out
more about recycling automotive batteries.
Maintenance and care
137
Page 150 of 176

the Vehicle Emission Control Information Decal located on or near the
engine. This decal identifies engine displacement and gives some tune up
specifications.
Please consult your ªWarranty Guideº for complete emission warranty
information.
Readiness for inspection/maintenance (I/M) testing
In some localities, it may be a legal requirement to pass an I/M test of
the on-board diagnostic (OBD-II) system. If your ªcheck engine/service
engine soonº light is on, reference the applicable light description in the
Warning Lights and Chimessection of your owners guide. Your vehicle
may not pass the I/M test with the ªcheck engine/service engine soonº
light on.
If the vehicle's powertrain system or its battery has just been serviced,
the OBD-II system is reset to a ªnot ready for I/M testº condition. To
ready the OBD-II system for I/M testing, a minimum of 30 minutes of city
and highway driving is necessary as described below:
²First, at least 10 minutes of driving on an expressway or highway.
²Next, at least 20 minutes driving in stop and go, city type traffic with
at least four idle periods.
Allow the vehicle to sit for at least eight hours without starting the
engine. Then, start the engine and complete the above driving cycle. The
engine must warm up to its normal operating temperature. Once started,
do not turn off the engine until the above driving cycle is complete.
EXTERIOR BULBS
Replacing headlamp bulbs
Handle a halogen headlamp bulb carefully and keep out of
children's reach. Grasp the bulb only by its plastic base and do
not touch the glass. The oil from your hand could cause the bulb to
break the next time the headlamps are operated.
To remove the headlamp bulb:
1. Make sure headlamp switch is in OFF position.
2. Lift the hood and remove the plastic sight shield covering the back of
the headlamps by lifting up on the rear corners to release the velcro
attachments. Lift the shield and pull towards the windshield.
Maintenance and care
150
Page 168 of 176

high beam .................................26
Heating ........................................27
High beams
indicator light .............................8
Hood
release lever ............................127
Ignition
positions of the ignition ...........34
Jump-starting your vehicle .....122,
123
attaching cables ......................123
disconnecting cables ..............124
Keyless entry system
autolock .....................................70
keypad .......................................68
programming entry code ........68,
69,70
Keys
key in ignition chime .................9
Lamps
interior lamps ....................40,154
map lamps .................................40
Lights, warning and indicator
air bag ..........................................7
anti-lock brakes (ABS) ..............8
brake ............................................7
charging system ..........................8
oil pressure .................................9
safety belt ...................................7
service engine soon ....................6
turn signal indicator ...................8
Lubricant specifications ...........161
Message center ...........................12
date/economy button ...............15
menu button ..............16,17,18,19
reset button ..............................16
system check button ................13
warning messages .....................13
Mirrors
automatic dimming rearview
mirror ........................................57
cleaning ...................................159heated ........................................61
side view mirrors (power) .......60
Moon roof ....................................52
Odometer .....................................10
Panic alarm feature, remote
entry system ................................66
Parking brake ..............................96
Parts (see Motorcraft parts) ....160
Power door locks ........................58
Power steering
fluid, checking and adding ....134
Refill capacities for fluids ........160
Relays ........................................109
Remote entry system .................65
illuminated entry ......................67
locking/unlocking doors ...........65
replacement/additional
transmitters ...............................67
replacing the batteries .............66
Reporting safety defects ..........166
Safety restraints
automatic locking mode
(retractor) ............................75,76
extension assembly ..................78
for children ...............................83
lap and shoulder belts ........74,75
maintenance ..............................79
proper use .................................73
warning light and chime ..9,78,79
Safety seats for children
attaching with tether straps ....88
automatic locking mode
(retractor) .................................85
in rear seat ................................88
tether anchorage hardware .....88
Seats ............................................71
adjusting the seat, power ........71
head restraints ..........................71
heated seats ..............................73
lumbar support .........................73
Servicing your vehicle ..............126
precautions when servicing ...126
Index
168