Page 90 of 176

PREPARING TO START YOUR VEHICLE
Engine starting is controlled by the ignition system. This system meets
all Canadian Interference-Causing Equipment standard requirements
regulating the impulse electrical field strength of radio noise.
When starting a fuel-injected engine, avoid pressing the accelerator
before or during starting. Only use the accelerator when you have
difficulty starting the engine. For more information on starting the
vehicle, refer toStarting the enginein this chapter.
Extended idling at high engine speeds can produce very high
temperatures in the engine and exhaust system, creating the risk
of fire or other damage.
Do not park, idle, or drive your vehicle in dry grass or other dry
ground cover. The emission system heats up the engine
compartment and exhaust system, which can start a fire.
Do not start your vehicle in a closed garage or in other enclosed
areas. Exhaust fumes can be toxic. Always open the garage door
before you start the engine. SeeGuarding against exhaust fumesin
this chapter for more instructions.
If you smell exhaust fumes inside your vehicle, have your dealer
inspect your vehicle immediately. Do not drive if you smell
exhaust fumes.
Important safety precautions
A computer system controls the engine's idle revolutions per minute
(RPM). When the engine starts, the idle RPM runs faster to warm the
engine. If the engine idle speed does not slow down automatically, have
the vehicle checked. Do not allow the vehicle to idle for more than ten
minutes at fast rpm.
Before starting the vehicle:
1. Make sure all vehicle occupants have buckled their safety belts. For
more information on safety belts and their proper usage, refer to the
Seating and safety restraintschapter.
Starting
90
Page 97 of 176

Your vehicle has an automatic parking brake release. To release the
parking brake:
1. Turn the ignition to the RUN position.
2. Press the brake pedal.
3. Move the gearshifter from the P (Park) position to one of the forward
gears (the parking brake will not release automatically when you shift
into reverse). The brake pedal must remain pressed while the gearshifter
is moved.
If the parking brake fails to release
after completing this procedure, use
the manual parking brake release
lever.
Pull the lever to manually release
the parking brake.
TRACTION CONTROLY
Traction Controlyhelps maintain the stability and steerability of your
vehicle. It is especially useful on slippery and/or hilly road surfaces. The
system operates by detecting and controlling wheel spin. The system
borrows many of the electronic and mechanical elements already present
in the anti-lock braking system (ABS).
Wheel-speed sensors allow excess front wheel spin to be detected by the
Traction Controlyportion of the ABS computer. Any excessive wheel
spin is controlled by automatically applying and releasing the front
brakes in conjunction with engine torque reductions. Engine torque
reduction is realized via the fully electronic spark and fuel injection
systems. This process is very sensitive to driving conditions and very fast
acting. The front wheels ªsearchº for optimum traction several times a
second and adjustment are made accordingly.
The Traction Controlysystem will allow your vehicle to make better use
of available traction on slippery surfaces. The system is a driver aid
which makes your vehicle easier to handle primarily on snow and ice
covered roads.
During Traction Controlyoperation, TRACTION CONTROL ACTIVE is
displayed on the message center. You may hear an electric motor type of
BRAKE RELEASEHOOD
Driving
97
Page 100 of 176

on the accelerator in each gear. Do not rock the vehicle for more than a
few minutes, because it could damage the vehicle.
Always set the parking brake fully and make sure the gearshift is
latched in P (Park). Turn off the ignition whenever you leave
your vehicle.
Driving with a 4±speed automatic transaxle
Your automatic overdrive transaxle provides fully automatic operation in
either D (Overdrive) or 3 (Third). Driving with the shift selector in D
(Overdrive) gives the best fuel economy for normal driving conditions.
For manual control start in 1 (First) and then shift manually.
To put your vehicle in gear, start the engine, depress the brake pedal,
then move gearshift out of P (Park).
Hold the brake pedal down while you move the gearshift lever
from position to position. If you do not hold the brake pedal
down, your vehicle may move unexpectedly and injure someone.
Understanding gearshift positions
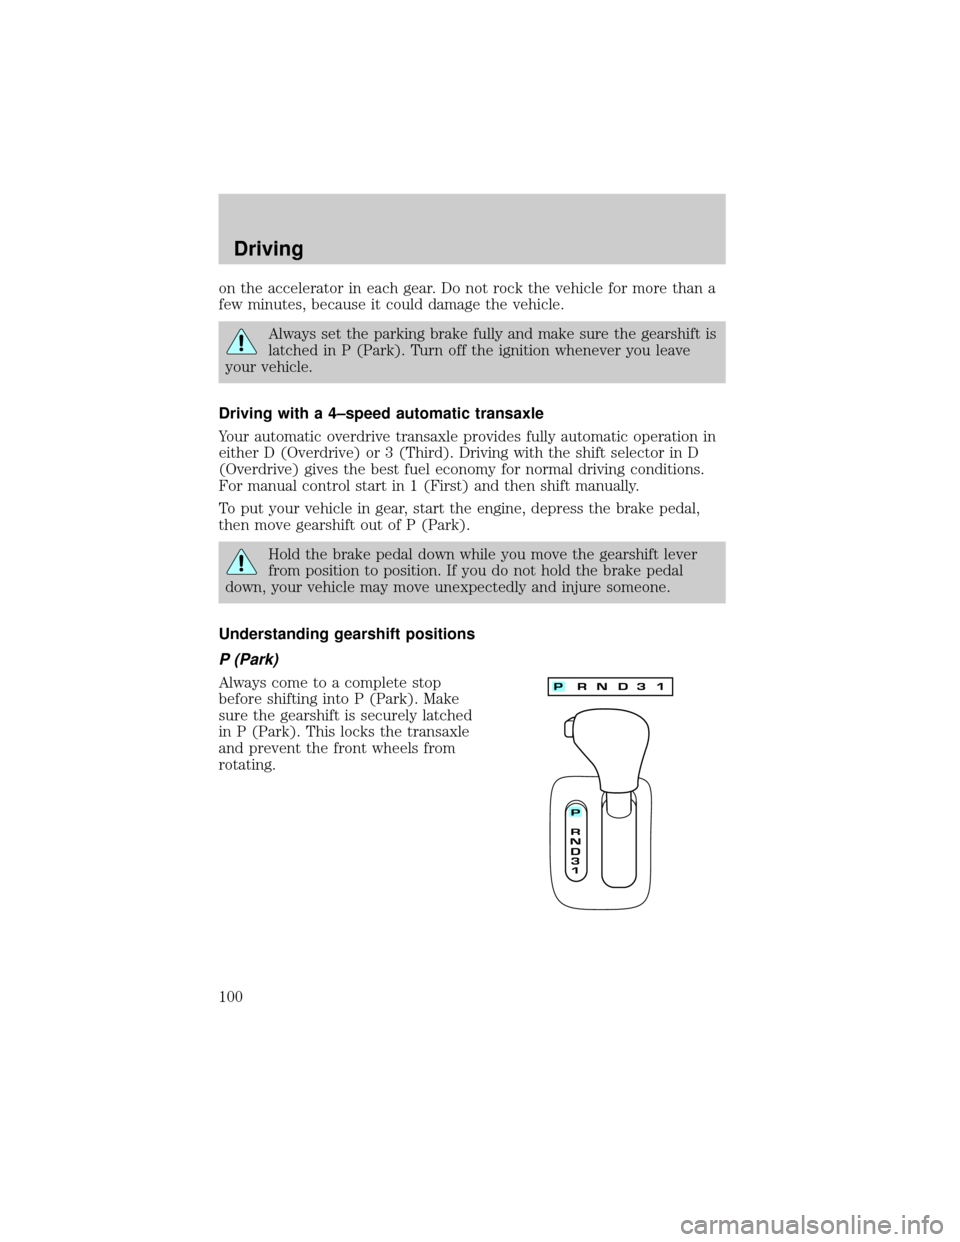
P (Park)
Always come to a complete stop
before shifting into P (Park). Make
sure the gearshift is securely latched
in P (Park). This locks the transaxle
and prevent the front wheels from
rotating.
Driving
100
Page 102 of 176
D (Overdrive)
The overdrive position is the normal
driving position for an automatic
overdrive transaxle. It works the
same way as 3 (Third) but shifts to
a fourth gear Ð an overdrive gear
Ð when your vehicle cruises at a
constant speed for any length of
time. This fourth gear will increase
your fuel economy when you travel
at cruising speeds.
Overdrive may not be appropriate for certain terrains. If the transaxle
shifts back and forth between third and fourth gears while you are
driving hilly roads or if your vehicle requires additional power for
climbing hills, shift into 3 (Third).
When to use 3 (Third)
3 (Third) eliminates the needless
shifting back and forth between
third and fourth gears that your
vehicle may do when driving on hilly
terrain. It also gives more engine
braking than overdrive to slow your
vehicle on downgrades.
Driving
102
Page 107 of 176

trailer's lamps, see your Lincoln dealer. Be sure to follow their
instructions carefully.
If you do not install trailer lights correctly, you may cause damage to the
vehicle's lighting system or other vehicle systems.
Driving while you tow
Do not drive faster than 88 km/h (55 mph) when towing a trailer.
Speed control may shut off if you are towing on long, steep grades.
When towing a trailer:
²Shift out of D (Overdrive) and into 3 (Third) or a lower gear when
towing up or down steep hills. This will eliminate excessive
downshifting and upshifting for optimum fuel economy and transaxle
cooling.
²Anticipate stops and brake gradually.
Servicing after towing
If you tow a trailer for long distances, your vehicle will require more
frequent service intervals. Refer to the Severe Duty Schedule in your
ªService Guideº for more information.
Trailer towing tips
²Practice turning, stopping and backing up in an area before starting on
a trip to get the feel of the vehicle trailer combination. When turning,
make wider turns so the trailer wheels will clear curbs and other
obstacles.
²Allow more distance for stopping with a trailer attached.
²The trailer tongue weight should be 10±15% of the loaded trailer
weight.
²After you have traveled 80 km (50 miles), thoroughly check your
hitch, electrical connections and trailer wheel lug nuts.
²When stopped in traffic for long periods of time in hot weather, place
the gearshift in P (Park) and increase idle speed. This aids engine
cooling and air conditioner efficiency.
²Vehicles with trailers should not be parked on a grade. If you must
park on a grade, place wheel chocks under the trailer's wheels.
Driving
107
Page 108 of 176

FUEL CONSUMPTION
Fuel economy can be improved by avoiding:
²lack of regular, scheduled maintenance.
²excessive speed.
²rapid acceleration.
²extended idle.
CHECKING YOUR HIGHWAY FUEL ECONOMY USING THE
ELECTRONIC MESSAGE CENTER DISPLAY
The following procedure will allow you to accurately monitor your actual
highway fuel economy. Since this procedure requires the vehicle speed
control system to be set to highway speeds, it must be run only on
suitable roadways where long distance speed control can be safely
maintained.
You may notice gradual improvement in fuel economy over the course of
your vehicle's break-in period (approximately 1 600 kilometers
[1 000 miles]).
1. Set the speed control. Refer toSpeed controlin theControls and
featureschapter.
2. Press the Distance to Empty
(DTE) Economy (ECON) control
until ªAverage Miles per Gallonº is
displayed.
3. Press the RESET control to clear
the system memory.
²Actual highway fuel economy is
now displayed.This current average measure will change as the
speed control system changes the engine speed to maintain a constant
vehicle speed. This is most noticeable in hilly environments.
It is important to press the RESET control after setting the speed
control to get accurate highway fuel economy readings.
DTE ECON
RESET
Driving
108
Page 109 of 176

HAZARD FLASHER
For information on the hazard flasher control, refer toHazard lights
controlin theRoadside emergencieschapter.
FUEL PUMP SHUT-OFF SWITCH
If the engine cranks but does not start after a collision, the fuel pump
shut-off switch may have been activated. The shut-off switch is a device
intended to stop the electric fuel pump when your vehicle has been
involved in a substantial jolt.
1. Turn the ignition to the OFF position.
2. Check the fuel system for leaks.
3. If no fuel leak is apparent, reset the fuel pump shut-off switch by
pushing in the button on the switch.
4. Turn the ignition to the ON position. Pause for a few seconds and
return the key to the OFF position.
5. Make a further check for leaks in the fuel system.
The fuel pump shut-off switch is
located behind an access door to the
left of the driver's seat on the
B-pillar.
FUSES AND RELAYS
Fuses
If electrical components in the
vehicle are not working, a fuse may
have blown. Blown fuses are
identified by a broken wire within
the fuse. Check the appropriate
fuses before replacing any electrical
components.
1515
Roadside emergencies
109
Page 113 of 176
Fuse/Relay Location Fuse Amp Rating Description
5 10A Virtual Image
Instrument Cluster,
Lighting Control
Module (LCM
RUN/START Sense),
Autolamp Light Sensor
6 10A Virtual Image
Instrument Cluster, RF
Park/Turn Lamp
7 20A Power Point
8 20A Fuel Filler Door
Release Switch, Trunk
Lid Relay
9 10A Air Bag Diagnostic
Monitor, EATC
Module, Blower Motor
Relay
10 30A Windshield Wiper
Motor, Windshield
Wiper Module
11 10A Ignition Coils, Radio
Interference Capacitor,
PCM Power Relay,
Passive Anti-Theft
System (PATS)
Transceiver
12 10A Lighting Control
Module
Roadside emergencies
113