Page 1949 of 2490
Exterior Lighting - Low Beam HeadlampVehicles With: Headlamp Leveling
Removal and Installation
Removal
Installation
1.
Remove headlamp assembly for access. Refer to 86.41.33.
2. Release bulb holder securing tangs and withdraw holder for
access.
3. Invert headlamp assembly.
4. Release headlamp unit adjusting screws and pivot.
5. Remove actuator.
1. Release headlamp unit from leveling actuator adjusting screw.
2. Rotate actuator 1/4 turn inward, tilt forward end
downward and withdraw assembly from headlamp.
1. Install headlamp unit adjusting screws and pivot in locating
seats.
2. Invert headlamp assembly and install bulb holder.
3. With forward end tilted downward, position actuator assembly on
headlamp mounting.
4. Align actuator with headlamp and rotate it 1/4 turn outwards to
engage and fully seat in mounting.
5. Install headlamp assembly. Refer to 86.41.33.
6. Align headlamp beams.
Page 2028 of 2490
Front End Body Panels - Cowl Panel Grille
Removal and Installation
Installation
1.
Open the hood and fit fender covers.
2. Remove the wiper arm and blade assembly. Refer to
84.15.44.90.
3. Slacken and remove the five pl enum cover securing screws.
4. Position the plenum cover for access and disconnect windshield
washer pump tube from pl enum cover connector.
5. Remove plenum cover from vehicle.
6. Remove screenwasher conne ctor from plenum cover.
7. Remove plenum cover spacers,
1. Fit washer hose connector to plenum cover.
2. Fit and fully seat plenum cover spacers.
3. Position plenum cover for access and fit windshield washer
pump to plenum connector hose.
4. Fit plenum cover ensuring that it seats correctly in upper seal.
5. Fit and tighten securing screws.
6. Fit washer hose to plenum connector.
7. Fit wiper arm and blade. Refer to 84.15.44.90.
8. Close hood and remove fender covers.
Page 2047 of 2490
Body Closures - Hood Strut
Removal and Installation
Removal
Installation
1.
Open hood and fit fender covers.
2. Install suitable supports for hood.
3. Release retaining clip in stru t upper end and disconnect end
from pivot.
4. Release retaining clip at stru t lower end and disconnect end
from pivot.
5. Remove strut from vehicle.
1. Fit strut body end to lower pivot ensuring that clip fully seats.
2. Fit strut rod end to upper pivot en suring that clip fully seats.
3. Remove hood supports and check that hood closes correctly.
4. Remove fender covers.
Page 2052 of 2490
Body Closures - Luggage Compartment Lid Strut
Removal and Installation
Removal
Installation
1.
Remove trunk front liner. Refer to 76.19.31.
2. Place a suitable support under trunk lid.
3. Release strut from pivots.
1. Using a screwdriver, rele ase clip at rear end of
strut, withdraw end from trunk lid pivot and lower
strut for access.
2. Using a long screwdriver, release clip at front end of strut, withdraw end fro m pivot and remove strut
from vehicle.
1. Extend strut and fit front end onto pivot ensuring that retaining
clip fully seats.
2. Fit rear end of strut onto lid pi vot ensuring that retaining clip
fully seats.
3. Remove lid support and check that lid closes correctly.
4. Fit trunk front liner. Refer to 76.19.31.
Page 2063 of 2490

Interior Trim and Ornamentation - Floor Covering
Removal and Installation
Removal
1. Remove battery cover and disc onnect ground cable from
battery terminal. Refer to 86.15.19.
2. Remove rear seat cushion. Refer to 76.70.37.
3. Remove front seats. Refer to 76.70.01
4. Remove 'J' gate surroun d. Refer to 76.25.24.
5. Remove centre console finish er veneer panel. Refer to
76.47.26.
6. Remove fascia centre veneer panel. Refer to 76.47.06.
7. Remove centre console assembly. Refer to 76.25.01.
8. Remove 'A' post lower trim pads. Refer to 76.13.30.
9. Remove 'B' post trim pads. Refer to operations in this section.
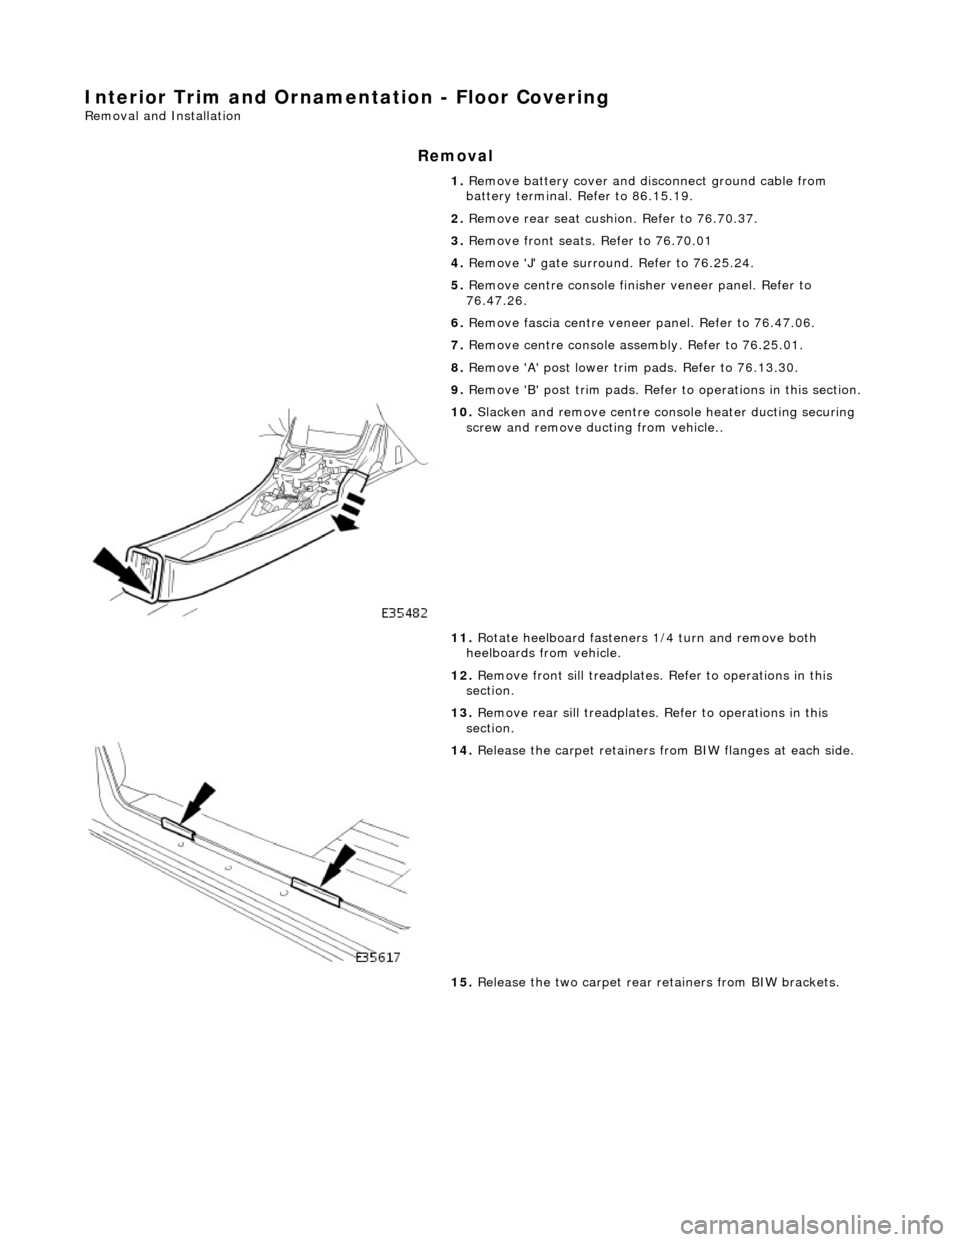
10. Slacken and remove centre console heater ducting securing
screw and remove ducting from vehicle..
11. Rotate heelboard fasteners 1/4 turn and remove both
heelboards from vehicle.
12. Remove front sill treadplates. Refer to operations in this
section.
13. Remove rear sill treadplates. Refer to operations in this
section.
14. Release the carpet retainers fro m BIW flanges at each side.
15. Release the two carpet rear retainers from BIW brackets.
Page 2242 of 2490

Instrument Panel and Console - Instrument Panel
Removal and Installation
Removal
1. Turn ignition switch to position II.
2. Motor driver and front passenger seats rearward.
3. Position steering wheel in stra ight ahead position and fully
lower and extend steering column.
4. Turn ignition switch to position O.
5. Remove battery cover and disc onnect ground cable from
battery terminal. Refer to 86.15.19.
6. Remove 'J' gate finish er. Refer to 76.25.24.
7. Remove 'J' gate finisher retain ing panel. Refer to 76.25.26.
8. Remove centre console veneer panel. Refer to 76.47.26.
9. Disconnect and remove radio.
10. Remove centre console switch module. Refer to 86.80.32.
11. Remove centre console. Refer to 76.25.01.
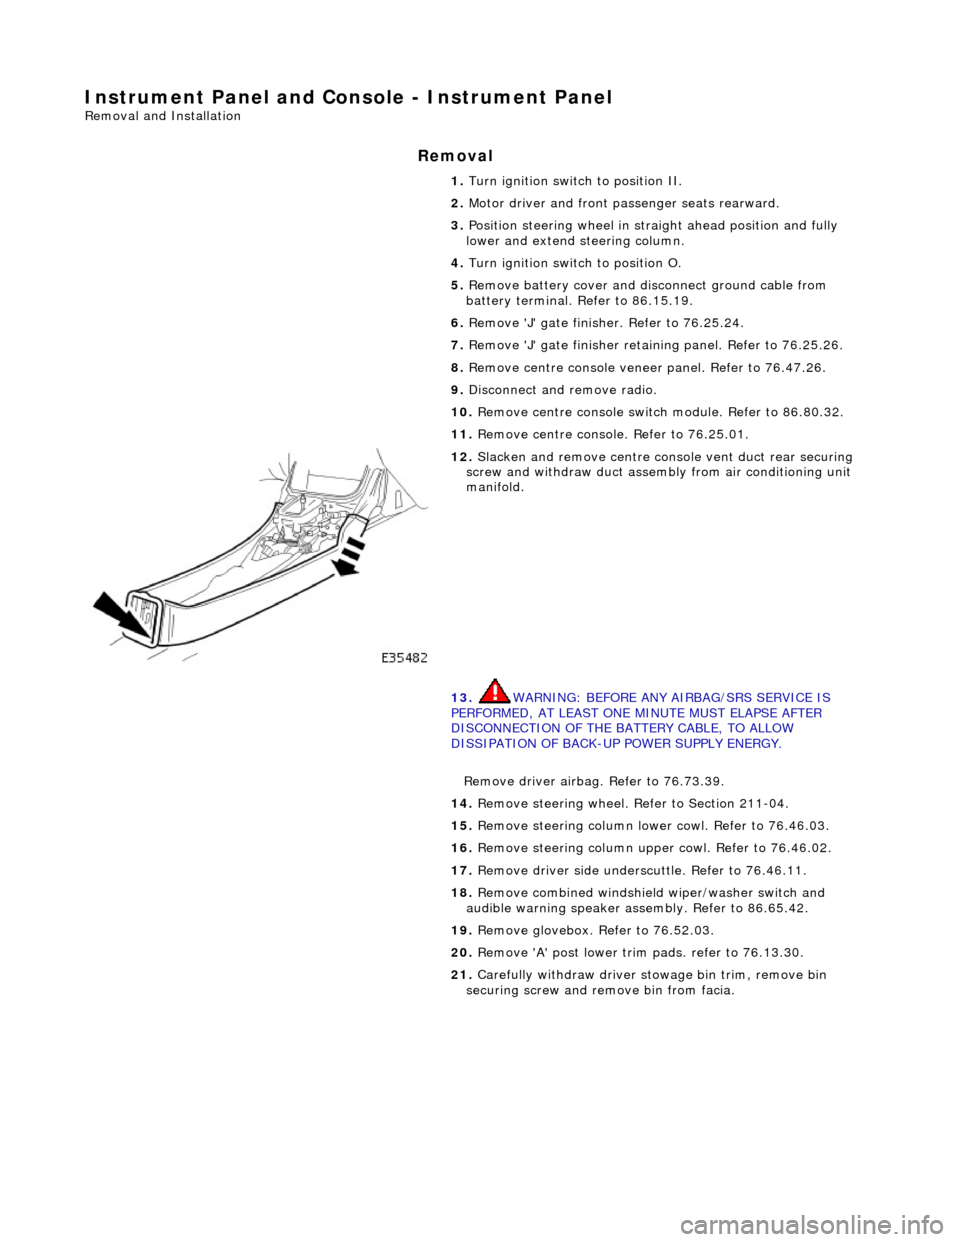
12. Slacken and remove centre cons ole vent duct rear securing
screw and withdraw duct assemb ly from air conditioning unit
manifold.
13. WARNING: BEFORE ANY AIRBAG/SRS SERVICE IS
PERFORMED, AT LEAST ONE MINUTE MUST ELAPSE AFTER
DISCONNECTION OF THE BATTERY CABLE, TO ALLOW
DISSIPATION OF BACK-UP POWER SUPPLY ENERGY.
Remove driver airbag. Refer to 76.73.39.
14. Remove steering wheel. Refer to Section 211-04.
15. Remove steering column lo wer cowl. Refer to 76.46.03.
16. Remove steering column u pper cowl. Refer to 76.46.02.
17. Remove driver side unders cuttle. Refer to 76.46.11.
18. Remove combined windshield wiper/washer switch and
audible warning speaker assembly. Refer to 86.65.42.
19. Remove glovebox. Refer to 76.52.03.
20. Remove 'A' post lower trim pads. refer to 76.13.30.
21. Carefully withdraw driver stowage bin trim, remove bin
securing screw and remove bin from facia.