1998 GMC SAVANA heater
[x] Cancel search: heaterPage 73 of 388
Section 2 Features and Controls
Here you can learn about the many standard and optional features on your vehicle, and information on starting,
shifting and braking. Also explained are the instrument panel and the warning systems that tell you if everything is
working properly
-- and what to do if you have a problem.
2-2
2-4 2-6
2-9
2- 15
2- 16
2- 17
2- 17
2- 18
2-20 2-2
1
2-24 2-25
2-28 2-29
2-29 Keys
Door Locks
Keyless Entry System
(If Equipped)
Your Doors and How They Work
Theft Passlock’
New Vehicle “Break-In’,
Ignition Positions
Starting Your Gasoline Engine
Engine Coolant Heater (If Equipped)
Automatic Transmission Operation
Parking Brake Shifting Into PARK (P)
Shifting Out of PARK (P)
Parking Over Things That Burn
Engine Exhaust 2-30
2-30
2-3 1
2-33
2-34
2-34
2-40 2-43
2-45
2-48 2-48
2-49
2-50
2-5 1
2-53 Running
Your Engine While You’re Parked
Locking Rear Axle (If Equipped)
Windows
Horn
Tilt Wheel (Option)
Turn SignalMultifunction Lever
Exterior
Lamps
Interior Lamps Mirrors Storage Compartments
Cigarette LightedAshtray
Sun Visors
Instrument Panel
Instrument Cluster
Warning Lights, Gages and Indicators
2-1
ProCarManuals.com
Page 92 of 388
Engine Coolant Heater (If Equipped) To Use the Engine Coolant Heater
1. Turn off the engine.
2. Open the hood and unwrap the electrical cord.
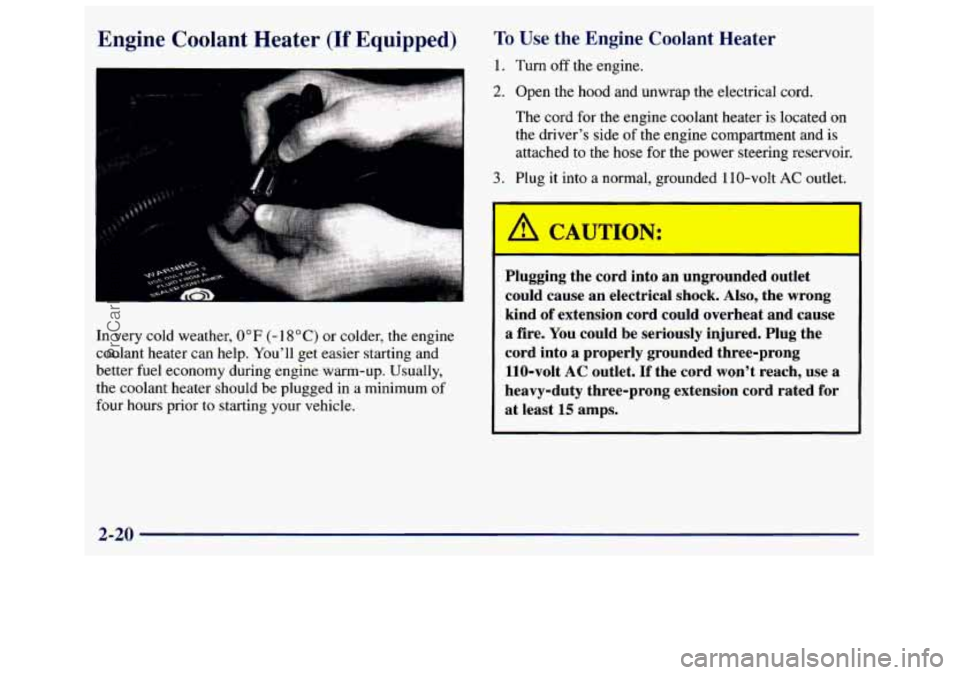
The cord for the engine coolant heater is located on
the driver's side
of the engine compartment and is
attached to the hose for the power steering reservoir.
I
I
3. Plug it into a normal, grounded 110-volt AC outlet.
In very cold weather,
0°F (- 18 O C) or colder, the engine
coolant heater can help. You'll get easier starting and
better fuel economy during engine warm-up. Usually,
the coolant heater should be plugged in
a minimum of
four hours prior to starting your vehicle.
Plugging the cord into an ungrounded outlet
could cause an electrical shock.
Also, the wrong
kind
of extension cord could overheat and cause
a fire. You could be seriously injured. Plug the
cord into
a properly grounded three-prong
110-volt
AC outlet. If the cord won't reach, use a
heavy-duty three-prong extension cord rated
for
at least 15 amps.
2-20
ProCarManuals.com
Page 93 of 388
4. Before starting the engine, be sure to unplug and store
the cord
as it was before to keep it away from moving
engine parts.
If you don’t, it could be damaged.
How long should you keep the coolant heater plugged
in? The answer depends on
the outside temperature, the
kind of oil you have, and some other things. Instead
of
trying to list everything here, we ask that you contact
your dealer in the area where you’ll be parking your
vehicle. The dealer can give you the best advice for that
particular area.
Automatic Transmission Operation
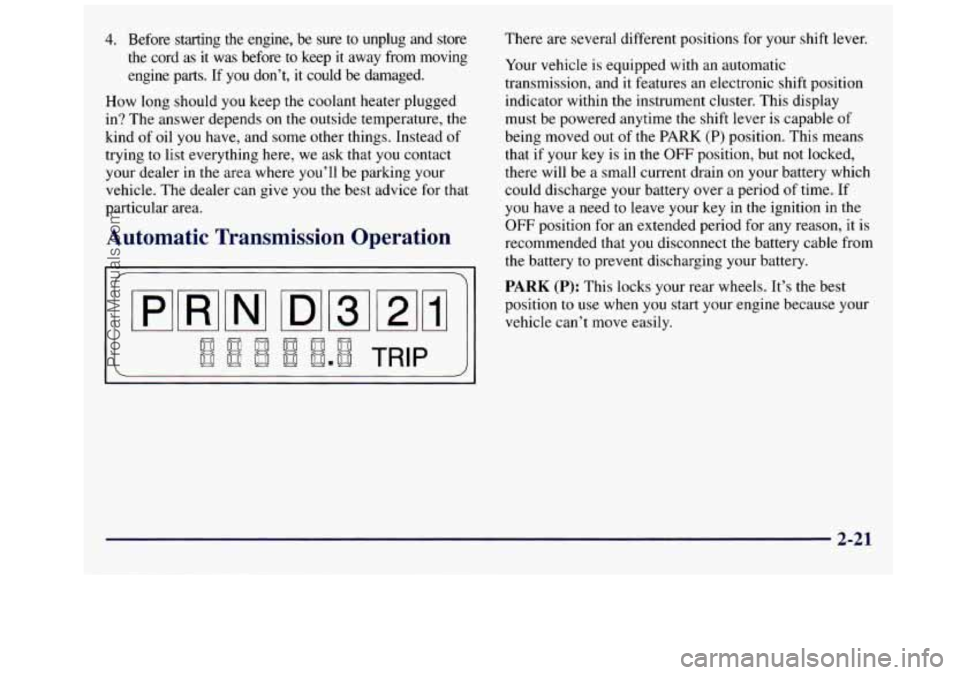
There are several different positions for your shift lever.
Your vehicle is equipped with
an automatic
transmission, and it features an electronic shift position
indicator within the instrument cluster. This display
must be powered anytime the shift lever is capable of
being moved out of the
PARK (P) position. This means
that if your key is in the
OFF position, but not locked,
there will be a small current drain on your battery which
could discharge your battery over a period of time. If
you have a need to leave your key in the ignition in the
OFF position for an extended period for any reason, it is
recommended that
you disconnect the battery cable from
the battery to prevent discharging your battery.
PARK (P): This locks your rear wheels. It’s the best
position
to use when you start your engine because your
vehicle can’t move easily.
2-21
ProCarManuals.com
Page 118 of 388
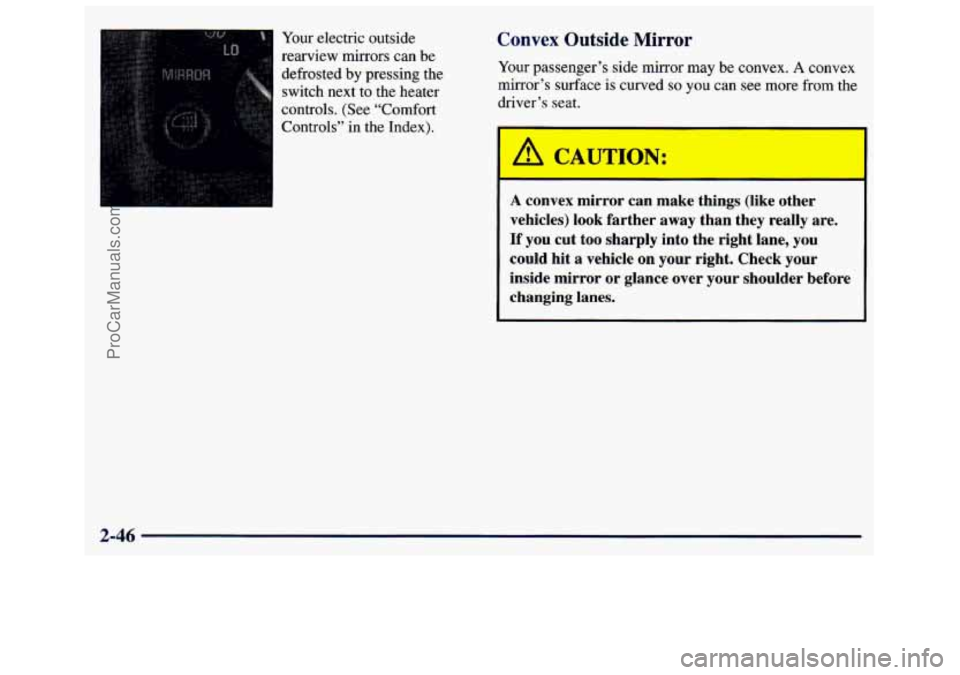
Your electric outside
rearview mirrors can be
defrosted by pressing the
switch next to the heater
controls. (See “Comfort
Controls” in the Index). Convex Outside Mirror
Your passenger’s side mirror may be convex. A convex
mirror’s surface is curved
so you can see more from the
driver’s seat.
A convex mirror can make things (like other
vehicles) look farther away than they really are.
If you cut too sharply into the right lane, you
could hit a vehicle on your right. Check your
inside mirror or glance over your shoulder before
changing lanes.
2-46
ProCarManuals.com
Page 137 of 388
Sectici 3 Comfort Controls and Audio Systems
In this section, you’ll find out how to operate the comfort control and audio systems offered with your vehicle. Be
sure to read about the particular systems supplied with your vehicle.
3-2 3-2
3-3
3-4 3-5
3-6
3-6
3
-6
3-7
3-7
3-7
3 -7
Comfort Controls
Heater Controls
Heater/Air Conditioning Controls
Rear Heater (Without Air Conditioning)
Rear Air Conditioning and Rear Heater
Air Conditioning
Heating
Ventilation Tips
Audio Systems
Setting the Clock for Systems without
Automatic Tone Control
Setting the Clock for Systems with
Automatic Tone Control
AM-FM Stereo 3-9
3-11
3- 16
3-20
3-2 1
3-23 3-24
3 -25
3-26
3-26 3-27 AM-FM
Stereo with Cassette Tape Player
(If Equipped)
AM-FM Stereo with Cassette Tape and
Automatic Tone Control (If Equipped)
AM-FM Stereo with Compact Disc Player
and Automatic Tone Control (If Equipped)
Remote Compact Disc Player (If Equipped)
Theft-Deterrent Feature (If Equipped)
Understanding Radio Reception
Tips About Your Audio System
Care of Your Cassette Tape Player
Care
of Your Compact Discs
Care
of Your Compact Disc Player
Power Antenna Mast Care
3-1
ProCarManuals.com
Page 138 of 388
Comfort Controls Fan Knob
This section tells you how to make your air system
work for you. Your comfort control system uses
ozone-friendly
R- 134a refrigerant.
With these systems, you can control the heating, cooling and ventilation
in your van. Your vehicle also
has a flow-through ventilation system described later
in this section.
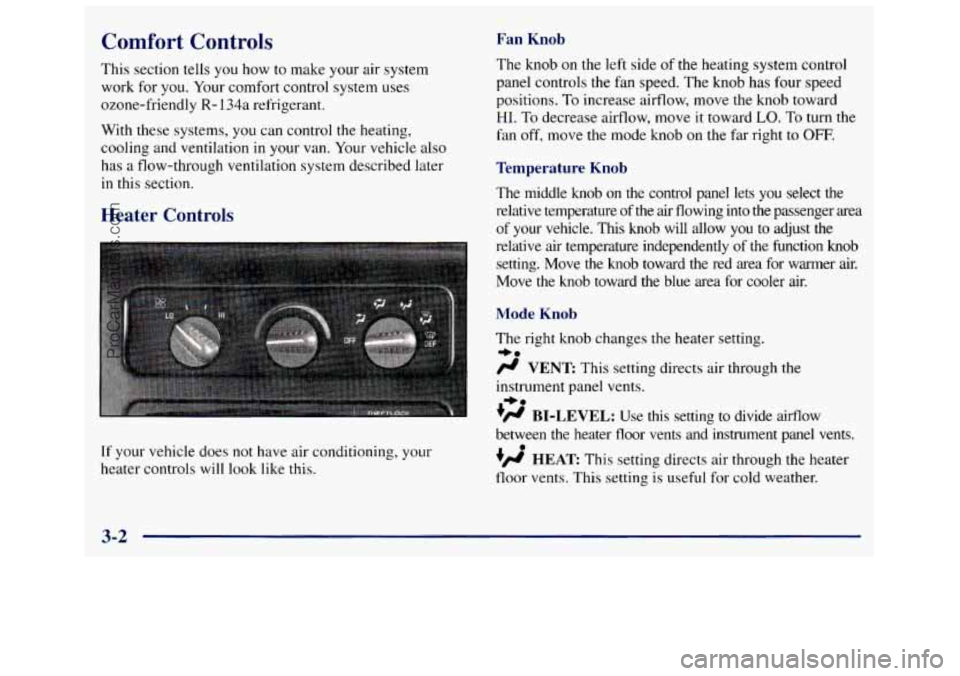
Heater Controls
If your vehicle does not have air conditioning, your
heater controls will look like
this.
The knob on the left side of the heating system control
panel controls the fan speed. The knob has four speed
positions.
To increase airflow, move the knob toward
HI. To decrease airflow, move it toward LO. To turn the
fan off, move the mode knob on the far right
to OFF.
Temperature Knob
The middle knob on the control panel lets you select the
relative temperature of the air flowing into
the passenger area
of your vehicle. This knob will allow
you to adjust the
relative air temperature independently
of the function knob
setting. Move the knob toward the red area for warmer air.
Move the knob toward the blue area for cooler air.
Mode Knob
The right knob changes the heater setting.
/.I VENT This setting directs air through the
instrument panel vents.
+H BI-LEVEL: Use this setting to divide airflow
between the heater floor vents and instrument panel vents.
+fl HEAT This setting directs air through the heater
floor vents. This setting is useful for cold weather.
=+a
+e
0
3-2
ProCarManuals.com
Page 139 of 388
w.
?# HEAT/DEFROST Use this setting to divide
airflow between the heater floor vents and windshield.
DEFROST This setting directs air through the
windshield defroster vents. This setting is useful when
you have fog or ice on the windshield.
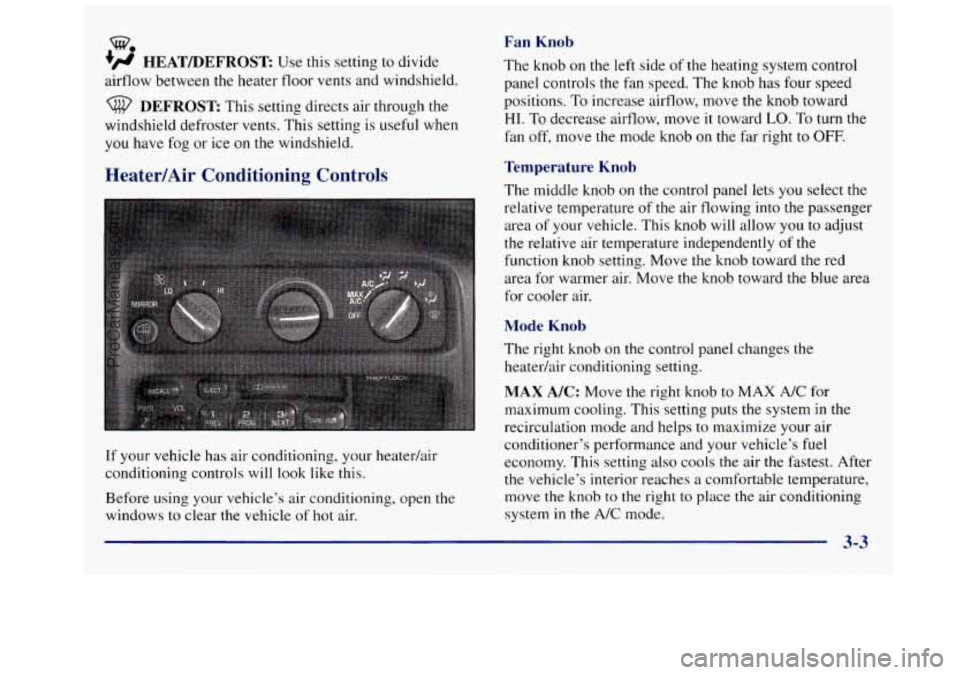
Heater/Air Conditioning Controls
If your vehicle has air conditioning, your heatedair
conditioning controls will look like this.
Before using your vehicle’s air conditioning, open
the
windows to clear the vehicle of hot air.
Fan Knob
The knob on the left side of the heating system control
panel controls the fan speed. The knob has four speed
positions. To increase airflow, move the knob toward
HI. To decrease airflow, move it toward LO. To turn the
fan off, move the mode knob on
the far right to OFF.
Temperature Knob
The middle knob on the control panel lets you select the
relative temperature
of the air flowing into the passenger
area of your vehicle. This knob will allow
you to adjust
the relative air temperature independently of the
function knob setting. Move the knob toward the red
area for warmer air. Move the
knob toward the blue area
for cooler air.
Mode Knob
The right knob on the control panel changes the
heatedair conditioning setting.
MAX A/C: Move the right knob to MAX A/C for
maximum cooling. This setting puts the system in the
recirculation mode and helps to maximize your air
conditioner’s performance and your vehicle’s
fuel
economy. This setting also cools the air the fastest. After
the vehicle’s interior reaches a comfortable temperature,
move the knob to the right to place the air conditioning
system in the
A/C mode.
ProCarManuals.com
Page 140 of 388
A/C: Use for normal cooling on hot days. This setting
cools
outside air and directs it through the instrument
panel outlets.
’’ BI-LEVEL A/C: Use this setting to divide aifflow
between the heater floor vents and instrument panel
vents. The air conditioning compressor may operate in
this setting to cool the air.
*a
/.I VENT: This setting directs air through the
instrument panel vents.
+’ HEAT This setting directs air through the heater
floor vents. This setting is useful for cold weather.
+# HEATDEFROST: Use this setting to divide
airflow between the heater floor vents and windshield.
+a
0
w.
DEFROST: This setting directs air through the
windshield defroster vents. This setting is useful when
you have fog or ice on the windshield.
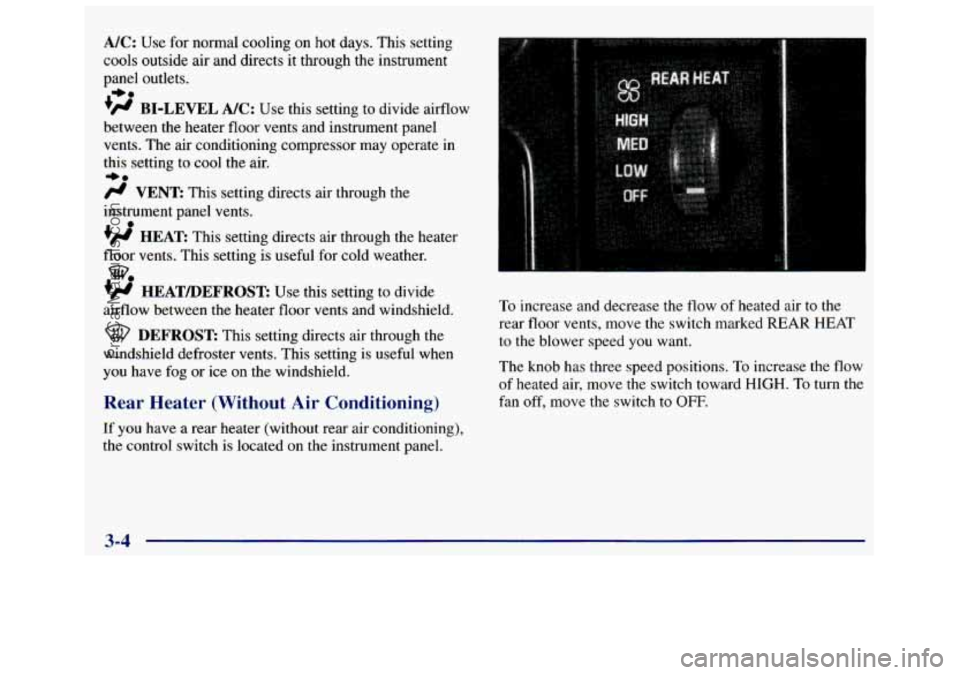
Rear Heater (Without Air Conditioning)
If you have a rear heater (without rear air conditioning),
the control switch
is located on the instrument panel.
To increase and decrease the flow of heated air to the
rear floor vents, move the switch marked
REAR HEAT
to the blower speed you want.
The knob has three speed positions. To increase the flow
of heated air, move the switch toward
HIGH. To turn the
fan off, move the switch
to OFF.
3-4
ProCarManuals.com