Page 193 of 219
Replacing headlamp bulbs
Handle a halogen
headlamp bulb carefully
and keep out of children's reach.
Grasp the bulb only by its plastic
base and do not touch the glass.
The oil from your hand could
cause the bulb to break the next
time the headlamps are
operated.
1. Make sure that the headlamp
control is in the OFF position.
2. Open the hood.
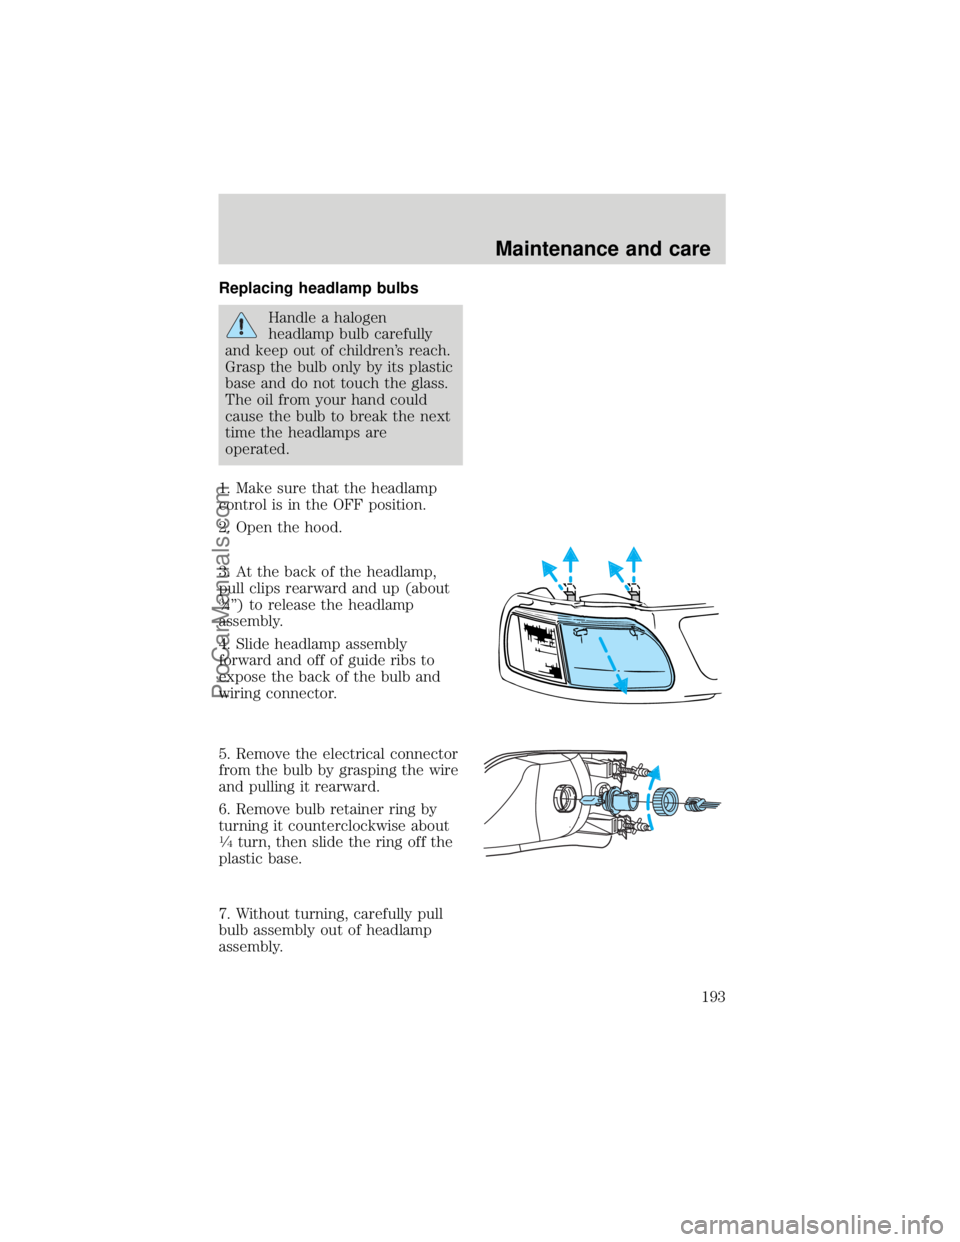
3. At the back of the headlamp,
pull clips rearward and up (about
ôº) to release the headlamp
assembly.
4. Slide headlamp assembly
forward and off of guide ribs to
expose the back of the bulb and
wiring connector.
5. Remove the electrical connector
from the bulb by grasping the wire
and pulling it rearward.
6. Remove bulb retainer ring by
turning it counterclockwise about
1¤4turn, then slide the ring off the
plastic base.
7. Without turning, carefully pull
bulb assembly out of headlamp
assembly.
Maintenance and care
193
ProCarManuals.com
Page 194 of 219
8. Insert the glass end of the new
bulb into the headlamp assembly
socket. When the grooves in the
plastic base are aligned, push the
bulb into the socket until the
plastic base contacts the rear of
the socket.
9. Slip bulb retaining ring over the
plastic base and lock the ring into
the socket by turning it clockwise
until you feel a ªstop.º
10. Push the electrical connector
into the rear of the plastic base
until it ªsnaps.º
11. Straighten alignment pins,
making them parallel with the
outer edges of the attachment
standoff.
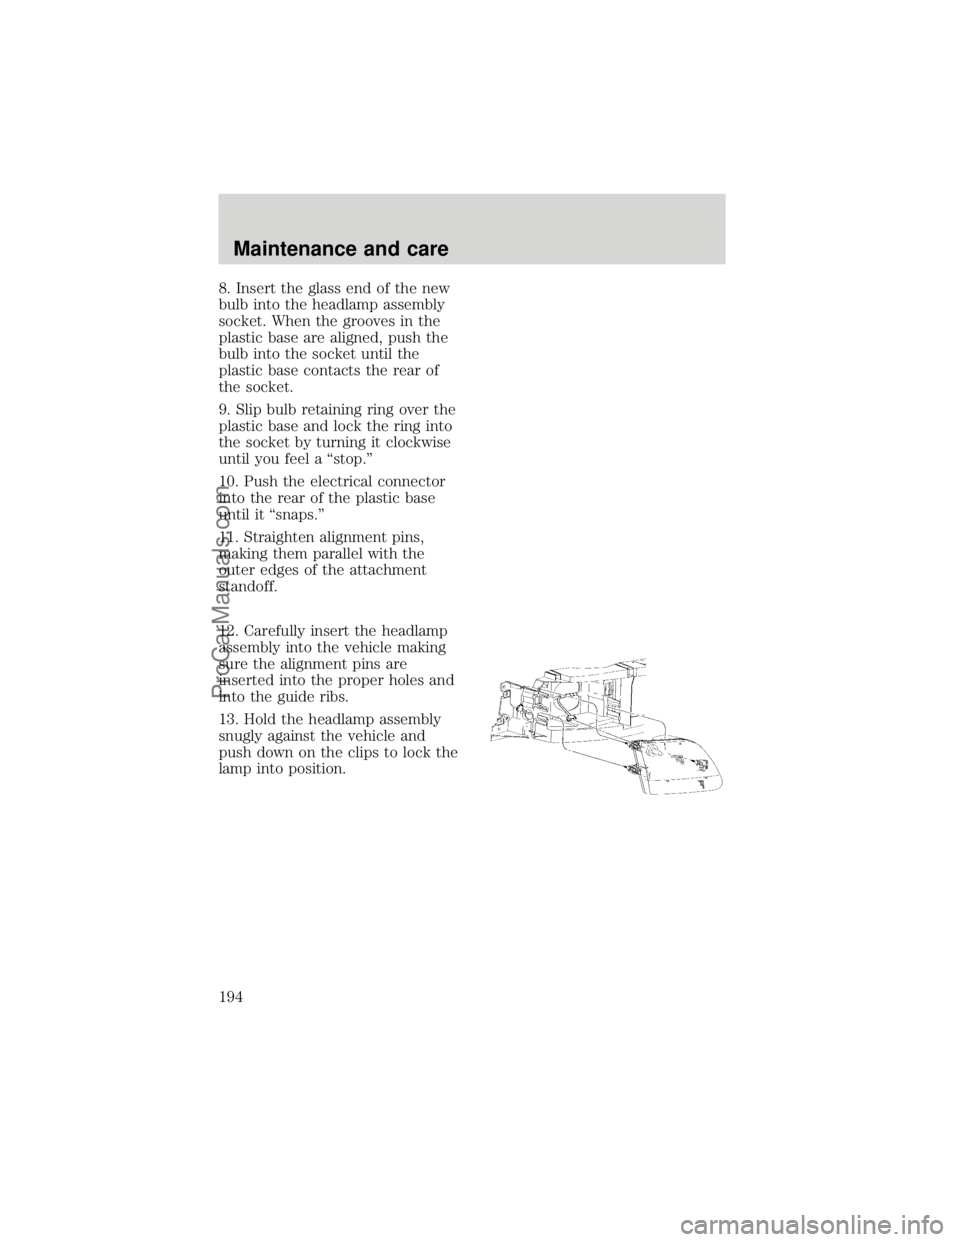
12. Carefully insert the headlamp
assembly into the vehicle making
sure the alignment pins are
inserted into the proper holes and
into the guide ribs.
13. Hold the headlamp assembly
snugly against the vehicle and
push down on the clips to lock the
lamp into position.
Maintenance and care
194
ProCarManuals.com
Page 195 of 219
Replacing parking lamp/turn
signal bulbs
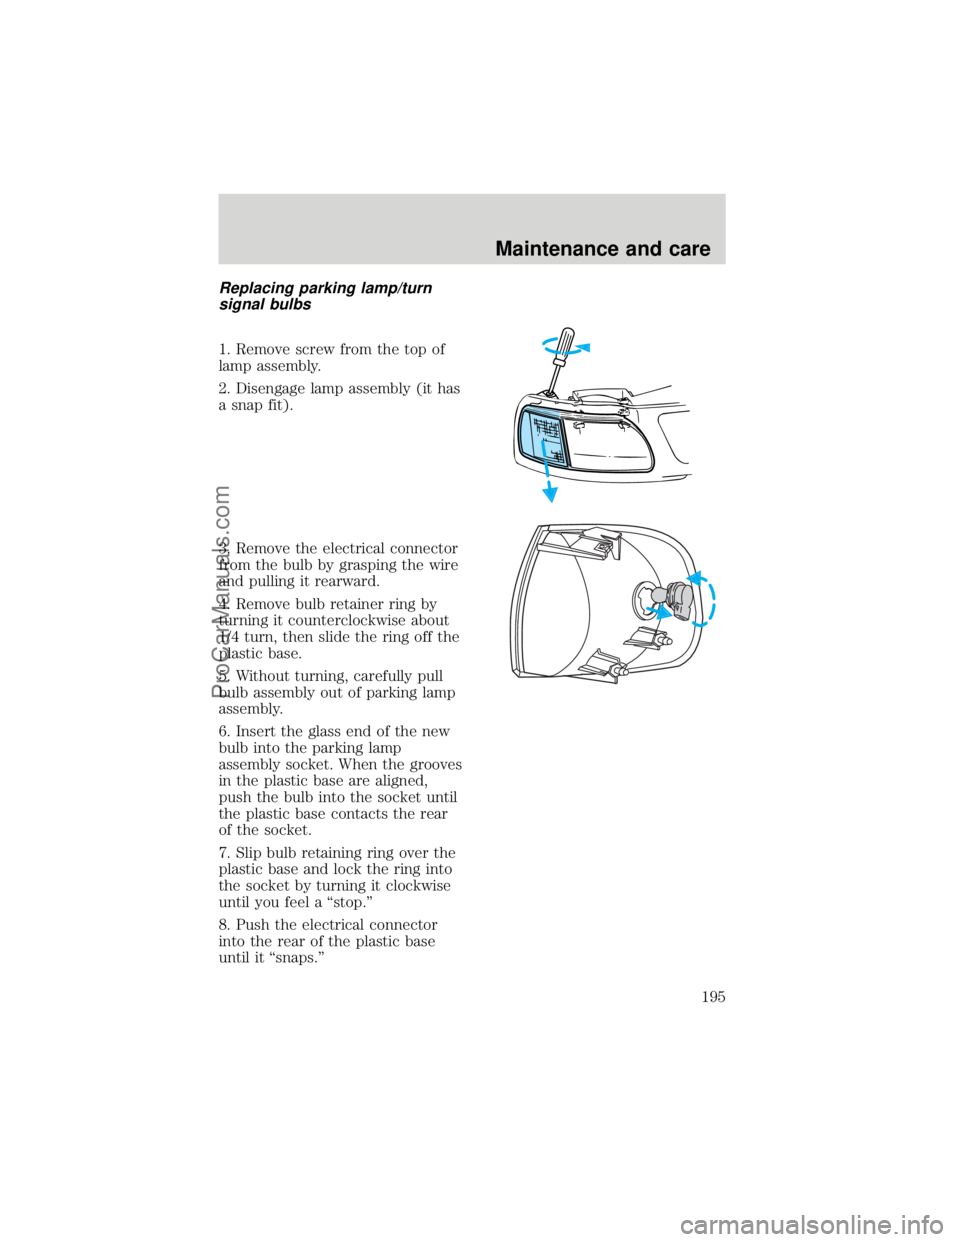
1. Remove screw from the top of
lamp assembly.
2. Disengage lamp assembly (it has
a snap fit).
3. Remove the electrical connector
from the bulb by grasping the wire
and pulling it rearward.
4. Remove bulb retainer ring by
turning it counterclockwise about
1/4 turn, then slide the ring off the
plastic base.
5. Without turning, carefully pull
bulb assembly out of parking lamp
assembly.
6. Insert the glass end of the new
bulb into the parking lamp
assembly socket. When the grooves
in the plastic base are aligned,
push the bulb into the socket until
the plastic base contacts the rear
of the socket.
7. Slip bulb retaining ring over the
plastic base and lock the ring into
the socket by turning it clockwise
until you feel a ªstop.º
8. Push the electrical connector
into the rear of the plastic base
until it ªsnaps.º
Maintenance and care
195
ProCarManuals.com
Page 196 of 219
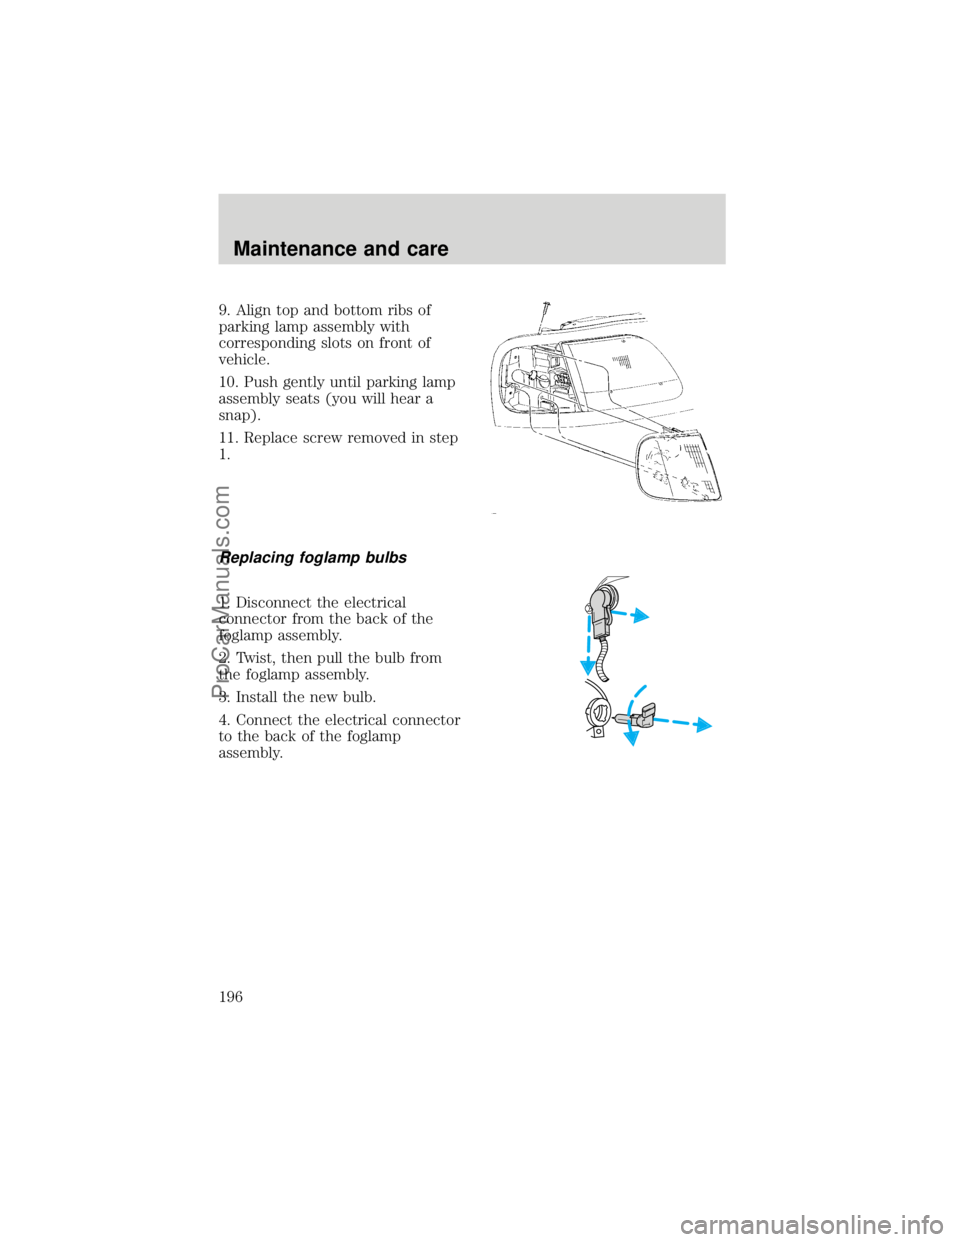
9. Align top and bottom ribs of
parking lamp assembly with
corresponding slots on front of
vehicle.
10. Push gently until parking lamp
assembly seats (you will hear a
snap).
11. Replace screw removed in step
1.
Replacing foglamp bulbs
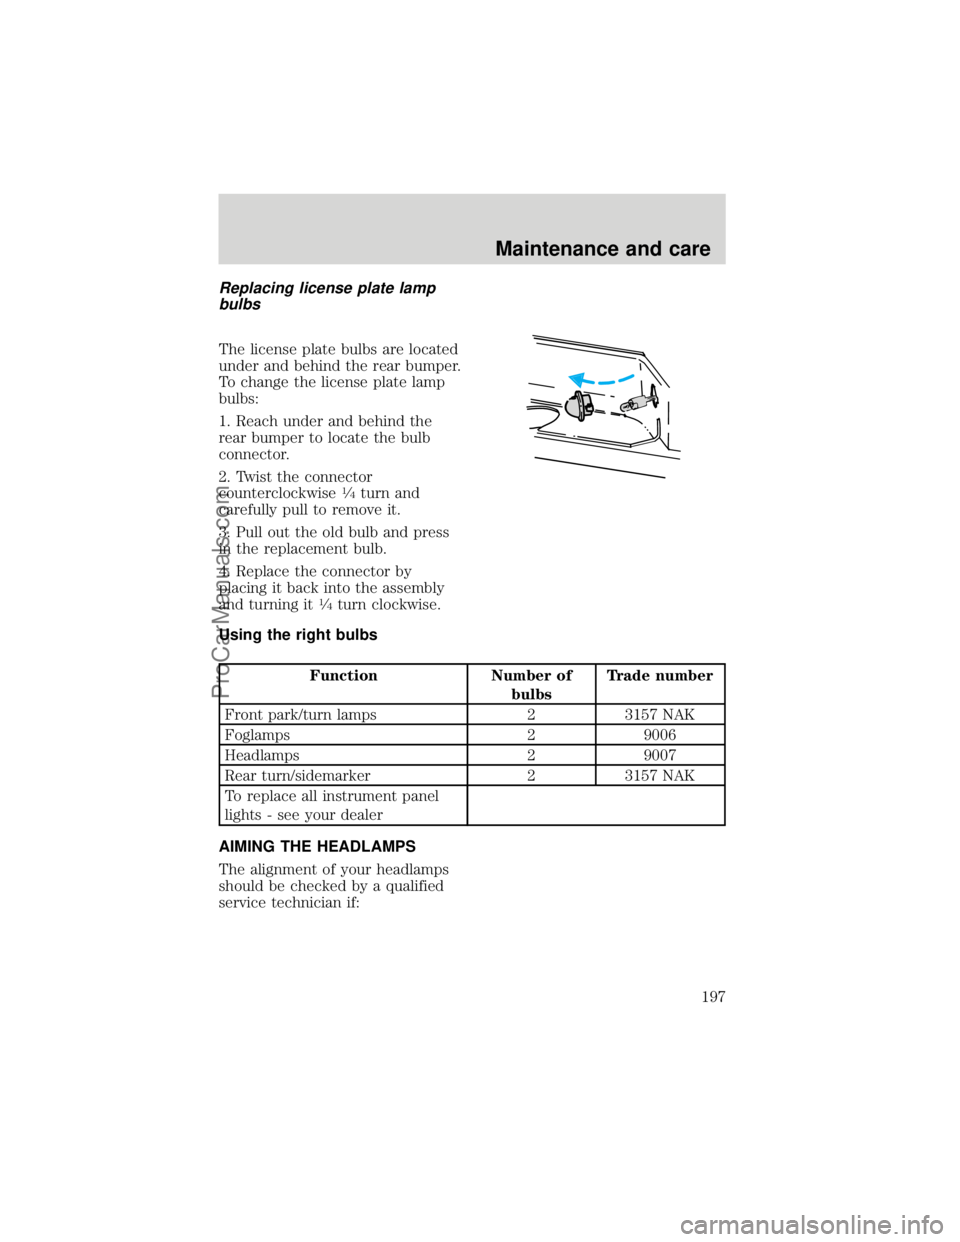
1. Disconnect the electrical
connector from the back of the
foglamp assembly.
2. Twist, then pull the bulb from
the foglamp assembly.
3. Install the new bulb.
4. Connect the electrical connector
to the back of the foglamp
assembly.
Maintenance and care
196
ProCarManuals.com
Page 197 of 219
Replacing license plate lamp
bulbs
The license plate bulbs are located
under and behind the rear bumper.
To change the license plate lamp
bulbs:
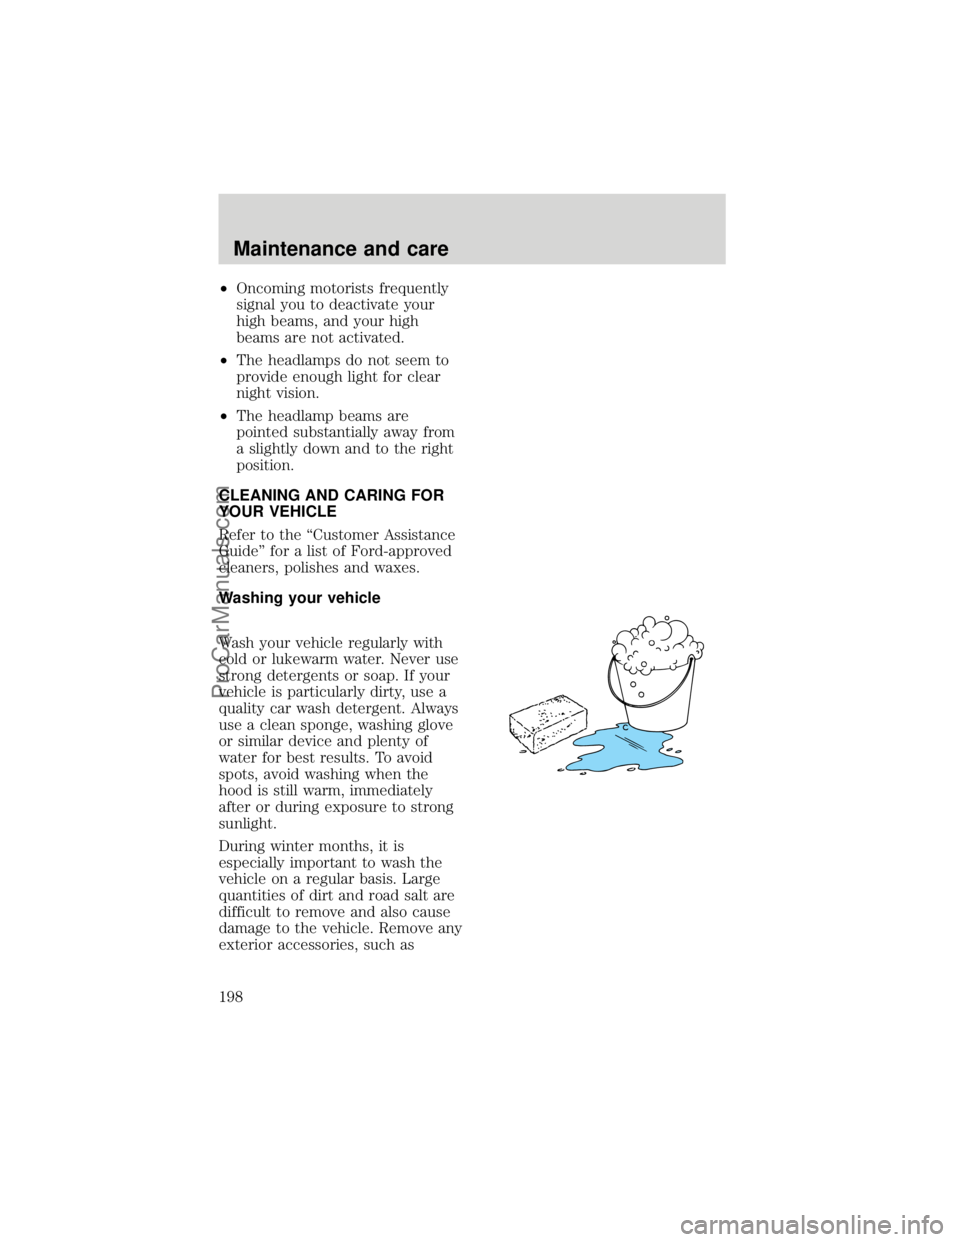
1. Reach under and behind the
rear bumper to locate the bulb
connector.
2. Twist the connector
counterclockwise
1¤4turn and
carefully pull to remove it.
3. Pull out the old bulb and press
in the replacement bulb.
4. Replace the connector by
placing it back into the assembly
and turning it
1¤4turn clockwise.
Using the right bulbs
Function Number of
bulbsTrade number
Front park/turn lamps 2 3157 NAK
Foglamps 2 9006
Headlamps 2 9007
Rear turn/sidemarker 2 3157 NAK
To replace all instrument panel
lights - see your dealer
AIMING THE HEADLAMPS
The alignment of your headlamps
should be checked by a qualified
service technician if:
Maintenance and care
197
ProCarManuals.com
Page 198 of 219

²Oncoming motorists frequently
signal you to deactivate your
high beams, and your high
beams are not activated.
²The headlamps do not seem to
provide enough light for clear
night vision.
²The headlamp beams are
pointed substantially away from
a slightly down and to the right
position.
CLEANING AND CARING FOR
YOUR VEHICLE
Refer to the ªCustomer Assistance
Guideº for a list of Ford-approved
cleaners, polishes and waxes.
Washing your vehicle
Wash your vehicle regularly with
cold or lukewarm water. Never use
strong detergents or soap. If your
vehicle is particularly dirty, use a
quality car wash detergent. Always
use a clean sponge, washing glove
or similar device and plenty of
water for best results. To avoid
spots, avoid washing when the
hood is still warm, immediately
after or during exposure to strong
sunlight.
During winter months, it is
especially important to wash the
vehicle on a regular basis. Large
quantities of dirt and road salt are
difficult to remove and also cause
damage to the vehicle. Remove any
exterior accessories, such as
Maintenance and care
198
ProCarManuals.com
Page 199 of 219

antennas, before entering a car
wash.
After washing, apply the brakes
several times to dry them.
Waxing your vehicle
Wax when water stops beading on
the surface. This could be every
three or four months, depending
on operating conditions.
Use only carnauba or
synthetic-based waxes. Remove
any bugs and tar before waxing
vehicle. Use cleaning fluid or
alcohol with a clean cloth to
remove. Use tar remover to
remove any tar spots.
Repairing paint chips
Minor scratches or paint damage
from road debris may be repaired
with touch-up , paint repair foil or
aerosol paint spray from the Ford
accessory line. Observe the
application instructions on the
products.
Remove particles such as bird
droppings, tree sap, insect
remains, tar spots, road salt and
industrial fallout immediately.
Cleaning the wheels
Wash with the same detergent as
the body of your vehicle. Do not
use acid-based wheel cleaners,
steel wool, fuel or strong
detergents. Never use abrasives
that will damage the finish of
special wheel surfaces. Use a tar
remover to remove grease and tar.
Maintenance and care
199
ProCarManuals.com
Page 200 of 219
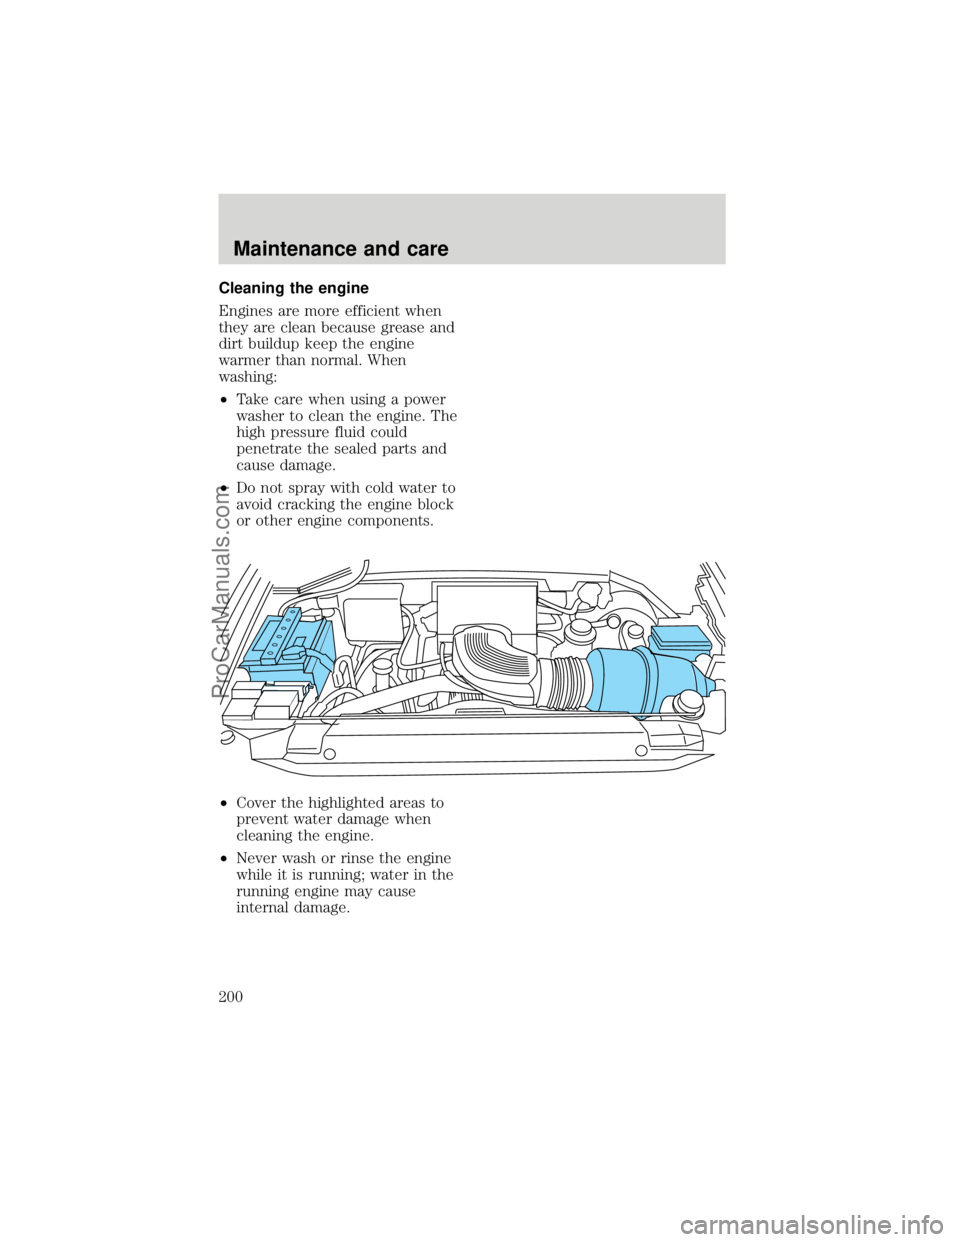
Cleaning the engine
Engines are more efficient when
they are clean because grease and
dirt buildup keep the engine
warmer than normal. When
washing:
²Take care when using a power
washer to clean the engine. The
high pressure fluid could
penetrate the sealed parts and
cause damage.
²Do not spray with cold water to
avoid cracking the engine block
or other engine components.
²Cover the highlighted areas to
prevent water damage when
cleaning the engine.
²Never wash or rinse the engine
while it is running; water in the
running engine may cause
internal damage.
Maintenance and care
200
ProCarManuals.com