1998 FORD EXPLORER light
[x] Cancel search: lightPage 48 of 210

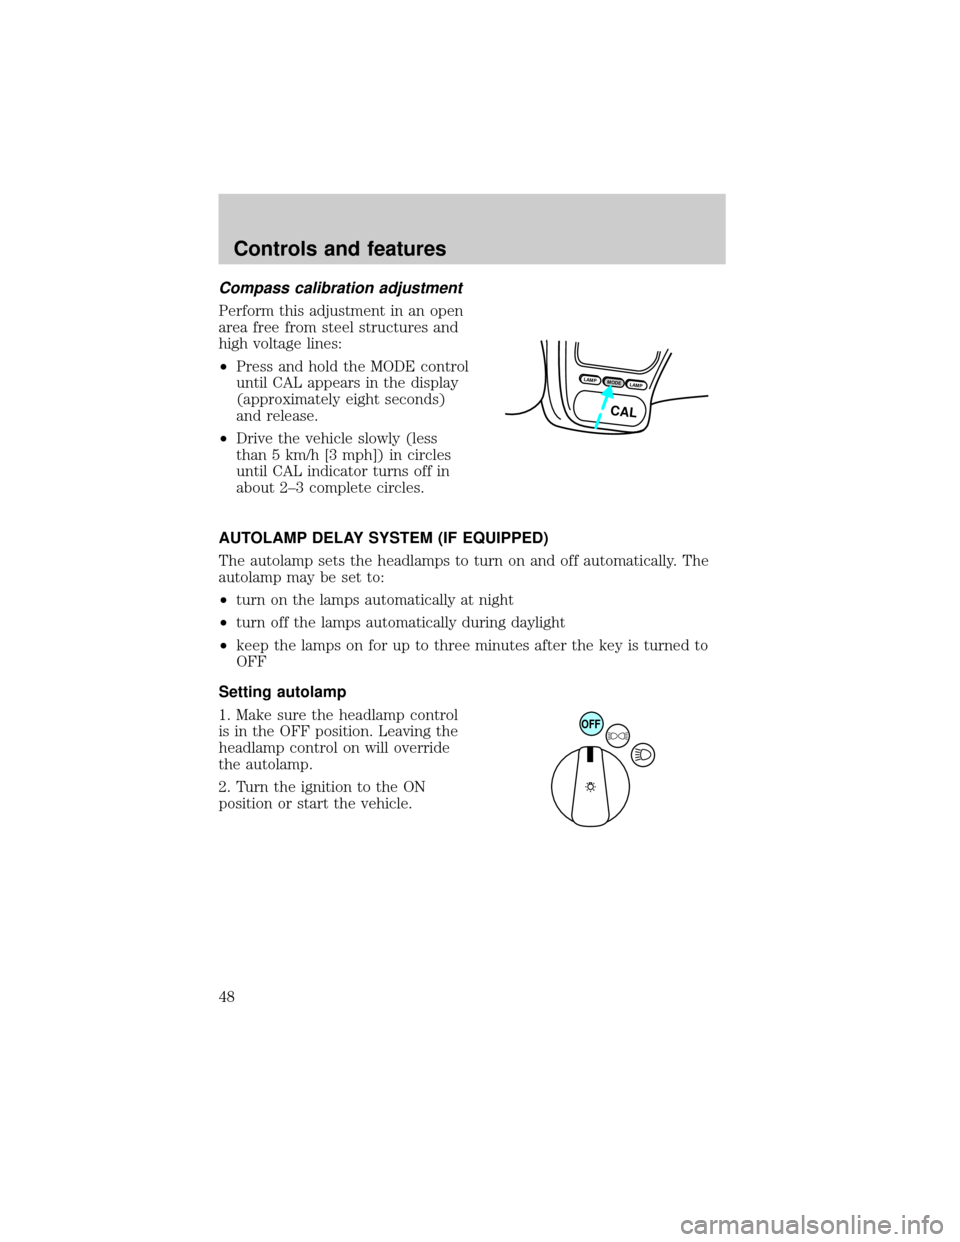
Compass calibration adjustment
Perform this adjustment in an open
area free from steel structures and
high voltage lines:
²Press and hold the MODE control
until CAL appears in the display
(approximately eight seconds)
and release.
²Drive the vehicle slowly (less
than 5 km/h [3 mph]) in circles
until CAL indicator turns off in
about 2±3 complete circles.
AUTOLAMP DELAY SYSTEM (IF EQUIPPED)
The autolamp sets the headlamps to turn on and off automatically. The
autolamp may be set to:
²turn on the lamps automatically at night
²turn off the lamps automatically during daylight
²keep the lamps on for up to three minutes after the key is turned to
OFF
Setting autolamp
1. Make sure the headlamp control
is in the OFF position. Leaving the
headlamp control on will override
the autolamp.
2. Turn the ignition to the ON
position or start the vehicle.
LAMPMODELAMP
CAL
OFF
Controls and features
48
Page 49 of 210

3. Slide the delay control all the way
to the left.
The further you move the knob to
the right, the longer the headlamps
stay on after the ignition is turned
to the OFF position. The autolamp
will keep the headlamps on for a
maximum of three minutes after the
ignition is turned to OFF.
4. The autolamp automatically turns the lamps on and off. The indicator
light will illuminate when the headlamps turn on.
Automatic dimming rear view mirror
The autolamp/automatic dimming
mirror is equipped with an
automatic dimming feature. This
feature will change from the normal
state to the non-glare ``active'' state
when bright lights (glare) reach the
mirror. When the mirror detects
bright light from front or behind, it
will adjust automatically to minimize glare.
The mirror will automatically return to the normal position whenever the
vehicle is placed in R (Reverse) (when the mirror is in the ON position).
This helps to ensure a bright clear view in the mirror when backing up.
AUTOLAMP
OFFMAX.DELAY
AUTOLAMP
OFFMAX.DELAY
Controls and features
49
Page 63 of 210

Reprogramming transmitters
To reprogram all transmitters, place the key in the ignition and switch
from OFF to ON eight times in a row (within 10 seconds). After doors
lock/unlock, press any button on all transmitters (up to four). When
completed, switch the ignition to OFF.
All transmitters must be reprogrammed at the same time.
Illuminated entry
The interior lamps and the puddle lamps (located on the bottom of the
exterior rear view mirrors) illuminate when the remote entry system is
used to unlock the door(s) or sound the personal alarm.
The system automatically turns off after 25 seconds or when the ignition
is turned to the START or ACC position. The dome lamp switch (if
equipped) mustnotbe set to the OFF position for the illuminated entry
system to operate.
The inside lights will not turn off if:
²they have been turned on with the dimmer control or
²any door is open.
Battery saver will shut off the interior lamps 45 minutes after the last
door is closed.
Autolock
Autolock is a feature that will automatically lock all doors when:
²all vehicle doors, liftgate and liftgate window are fully closed
²the ignition key is in the ON position
²you shift into or through R (Reverse)
²the brake pedal is released
The autolock feature repeats when:
²any door is opened and then closed
²the brake pedal is released
Deactivating autolock
Before following the activation or deactivation procedures, make sure
that the anti-theft system is not armed, the ignition is OFF and all
vehicle doors and liftgate window are closed.
Controls and features
63
Page 70 of 210

special SecuriLockyelectronically coded keys provided with your
vehicle. Each time you start your vehicle, the SecuriLockykey is read
by the SecuriLockyanti-theft system. If the SecuriLockykey
identification code matches the code stored in the SecuriLocky
anti-theft system, the vehicle's engine is allowed to start. If the
SecuriLockykey identification code does not match the code stored in
the system or if a SecuriLockykey is not detected (vehicle theft
situation), the vehicle's engine will not operate.
Spare SecuriLockykeys can be purchased from your dealership and
programmed to your SecuriLockyanti-theft system. Refer to
Programming spare SecuriLockykeysfor more information.
If one or both of your SecuriLockykeys are lost or stolen and you want
to ensure the lost or stolen key will not operate your vehicle, bring your
vehicle and all available SecuriLockykeys to your dealership for
reinitialization.
Theft indicator
The theft indicator on the instrument cluster will operate as follows:
²When the ignition is OFF, the theft indicator will flash briefly every 2
seconds to indicate the SecuriLockysystem is protecting your
vehicle.
²When the ignition is turned to RUN or START, the theft indicator will
light for 3 seconds and then go out. If the theft indicator stays on for
an extended period of time or flashes rapidly, have the system
serviced by your dealership or a qualified technician.
Programming spare SecuriLockYkeys
Spare SecuriLockykeys can be purchased from your dealership and
programmed to your SecuriLockyanti-theft system (up to a total of 8
keys). Your dealership can program your new SecuriLockykey(s) to
your vehicle or you can do it yourself using the following simple
procedure. To program a new SecuriLockykey yourself, you will need
two previously programmed SecuriLockykeys (keys that already
operate your vehicle's engine). If two previously programmed
SecuriLockykeys are not available (one or both of your original keys
were lost or stolen), you must bring your vehicle to your dealership to
have the spare SecuriLockykey(s) programmed.
Controls and features
70
Page 71 of 210

Procedure to program spare SecuriLockYkeys to your vehicle
New SecuriLockykeys must have the correct mechanical key cut for
your vehicle.
Conventional (non-SecuriLocky) keyscannotbe programmed to your
vehicle.
You will need to have two previously programmed SecuriLockykeys and
the new unprogrammed SecuriLockykey readily accessible for the
procedure. Please read and understand the entire procedure before you
begin.
1. Insert the first previously programmed SecuriLockykey into the
ignition switch and turn the ignition from OFF to RUN (maintain ignition
in RUN for at least one second).
2. Turn ignition to OFF and remove the first SecuriLockykey from the
ignition switch.
3. Within five seconds of turning the ignition to OFF, insert the second
previously programmed SecuriLockykey into the ignition switch and
turn the ignition from OFF to RUN (maintain ignition in RUN for at least
one second but no more than 5 seconds).
4. Turn the ignition to OFF and remove the second SecuriLockykey
from the ignition switch.
5. Within 10 seconds of turning the ignition to OFF, insert the
unprogrammed SecuriLockykey (new key) into the ignition switch and
turn the ignition from OFF to RUN (maintain ignition switch in RUN for
at least one second). This step will program your new SecuriLockykey.
6. If it is desired to program additional SecuriLockykey(s), repeat this
procedure from step 1.
If the programming procedure was successful, the new SecuriLocky
key(s) will start the vehicle's engine. The theft indicator (located on the
instrument cluster) will light for three seconds and then go out.
If the programming procedure was not successful, the new SecuriLocky
key(s) will not operate the vehicle's engine. The theft indicator will flash
on and off. Wait at least one minute and then repeat the procedure from
step 1. If failure repeats, bring your vehicle to your dealership to have
the spare SecuriLockykey(s) programmed.
Controls and features
71
Page 73 of 210

Press the control to move the seat
forward, backward, up or down.
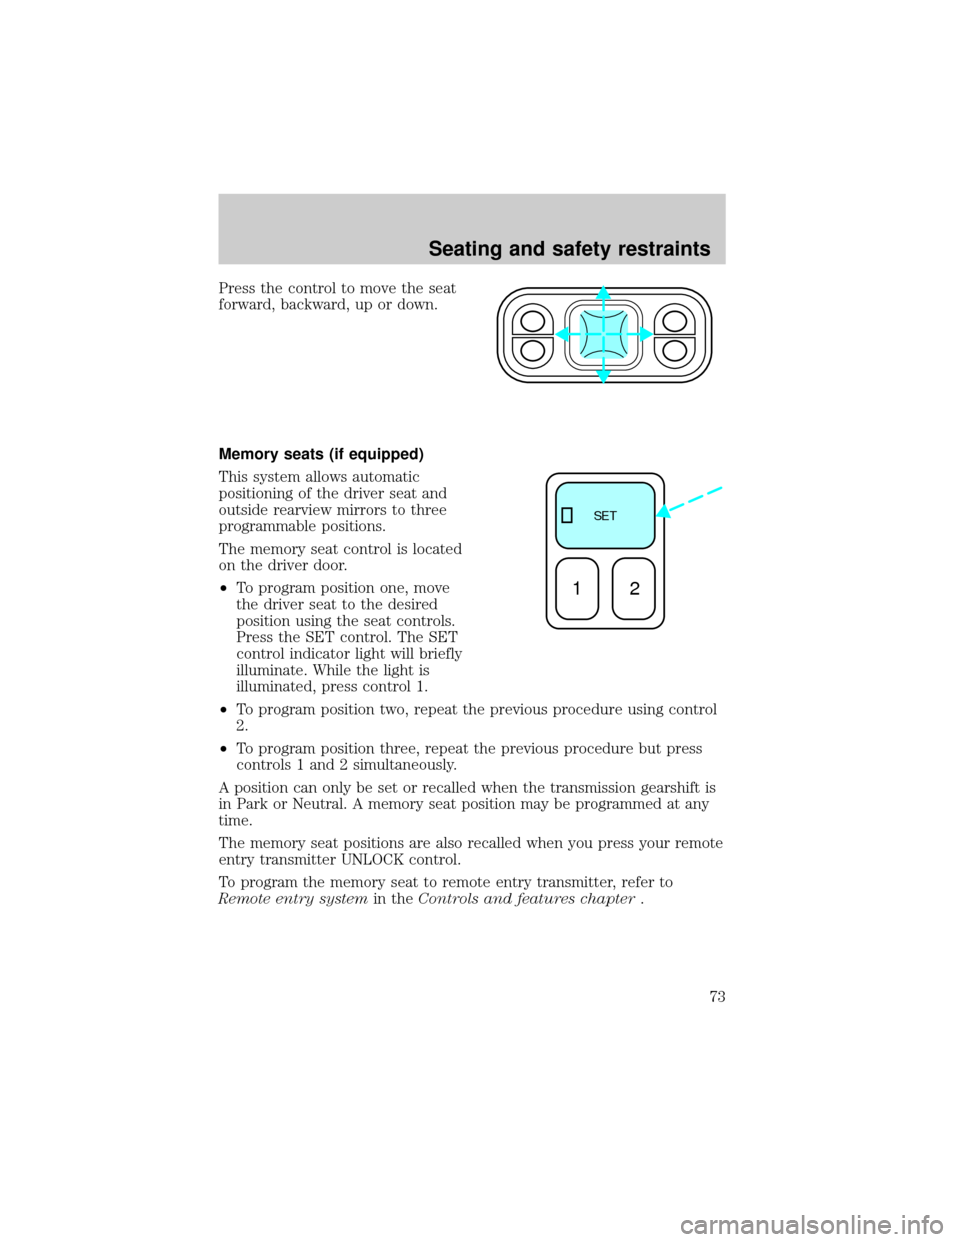
Memory seats (if equipped)
This system allows automatic
positioning of the driver seat and
outside rearview mirrors to three
programmable positions.
The memory seat control is located
on the driver door.
²To program position one, move
the driver seat to the desired
position using the seat controls.
Press the SET control. The SET
control indicator light will briefly
illuminate. While the light is
illuminated, press control 1.
²To program position two, repeat the previous procedure using control
2.
²To program position three, repeat the previous procedure but press
controls 1 and 2 simultaneously.
A position can only be set or recalled when the transmission gearshift is
in Park or Neutral. A memory seat position may be programmed at any
time.
The memory seat positions are also recalled when you press your remote
entry transmitter UNLOCK control.
To program the memory seat to remote entry transmitter, refer to
Remote entry systemin theControls and features chapter.
SE T
12
Seating and safety restraints
73
Page 80 of 210

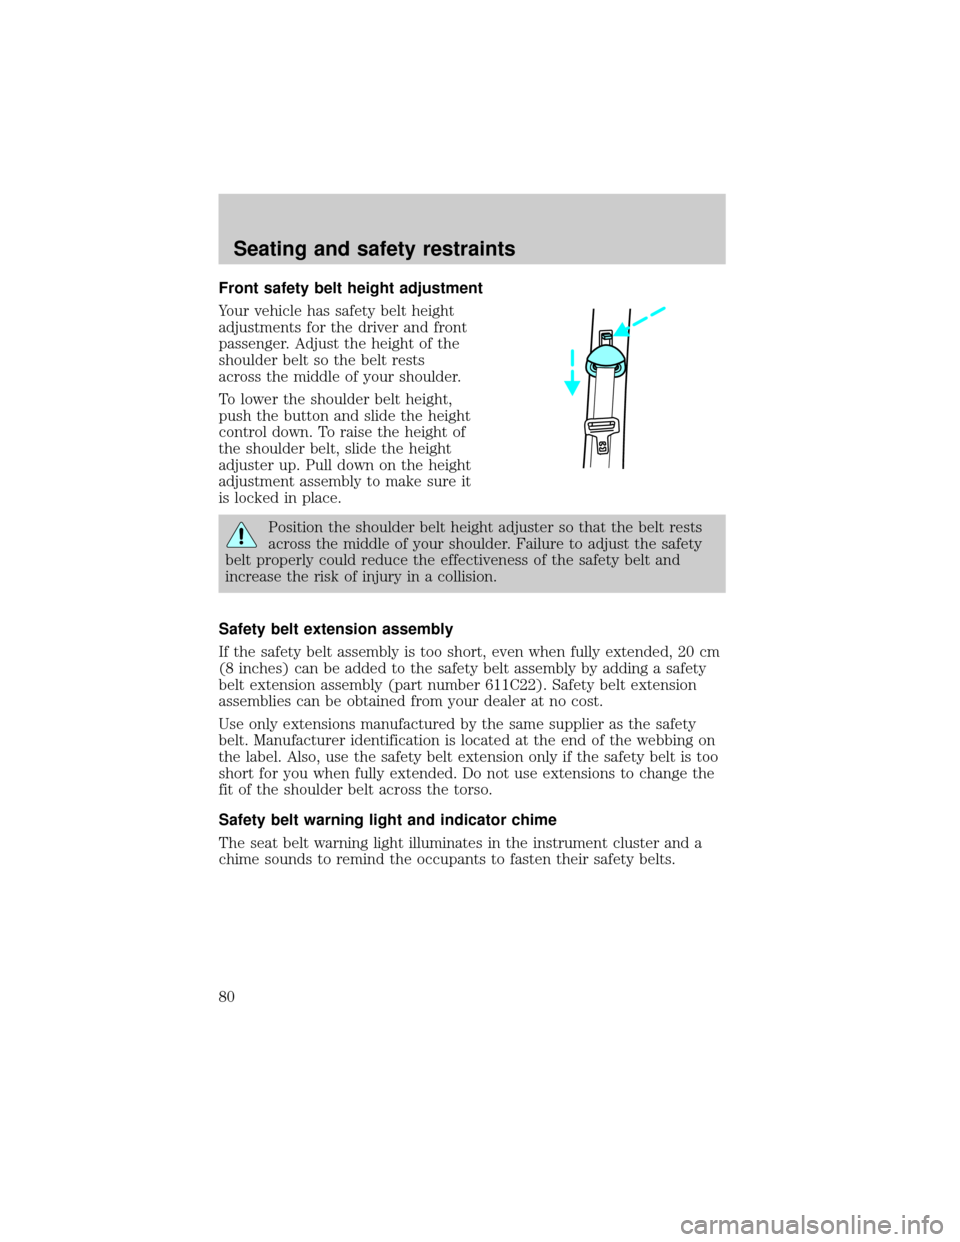
Front safety belt height adjustment
Your vehicle has safety belt height
adjustments for the driver and front
passenger. Adjust the height of the
shoulder belt so the belt rests
across the middle of your shoulder.
To lower the shoulder belt height,
push the button and slide the height
control down. To raise the height of
the shoulder belt, slide the height
adjuster up. Pull down on the height
adjustment assembly to make sure it
is locked in place.
Position the shoulder belt height adjuster so that the belt rests
across the middle of your shoulder. Failure to adjust the safety
belt properly could reduce the effectiveness of the safety belt and
increase the risk of injury in a collision.
Safety belt extension assembly
If the safety belt assembly is too short, even when fully extended, 20 cm
(8 inches) can be added to the safety belt assembly by adding a safety
belt extension assembly (part number 611C22). Safety belt extension
assemblies can be obtained from your dealer at no cost.
Use only extensions manufactured by the same supplier as the safety
belt. Manufacturer identification is located at the end of the webbing on
the label. Also, use the safety belt extension only if the safety belt is too
short for you when fully extended. Do not use extensions to change the
fit of the shoulder belt across the torso.
Safety belt warning light and indicator chime
The seat belt warning light illuminates in the instrument cluster and a
chime sounds to remind the occupants to fasten their safety belts.
Seating and safety restraints
80
Page 81 of 210

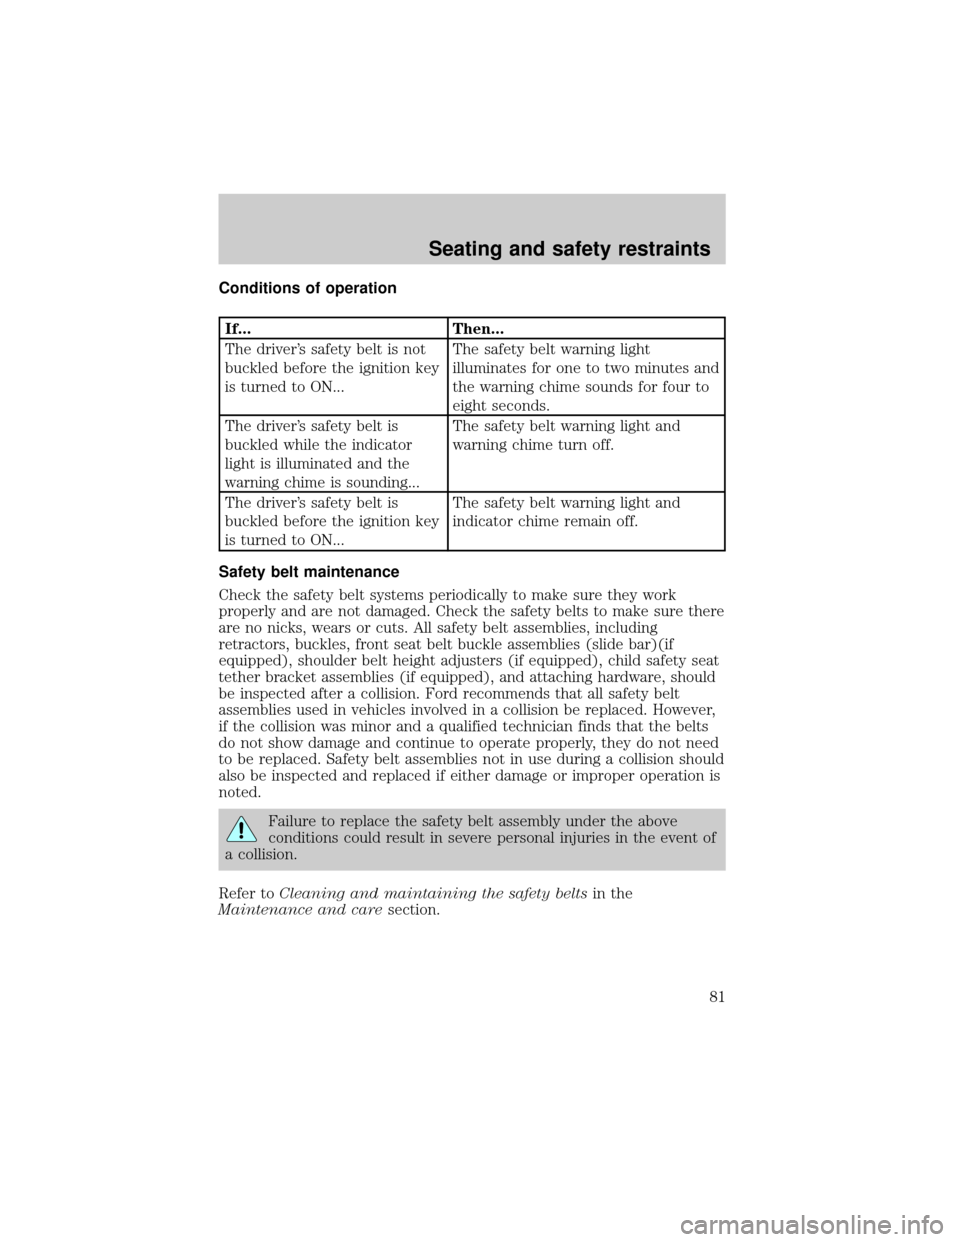
Conditions of operation
If... Then...
The driver's safety belt is not
buckled before the ignition key
is turned to ON...The safety belt warning light
illuminates for one to two minutes and
the warning chime sounds for four to
eight seconds.
The driver's safety belt is
buckled while the indicator
light is illuminated and the
warning chime is sounding...The safety belt warning light and
warning chime turn off.
The driver's safety belt is
buckled before the ignition key
is turned to ON...The safety belt warning light and
indicator chime remain off.
Safety belt maintenance
Check the safety belt systems periodically to make sure they work
properly and are not damaged. Check the safety belts to make sure there
are no nicks, wears or cuts. All safety belt assemblies, including
retractors, buckles, front seat belt buckle assemblies (slide bar)(if
equipped), shoulder belt height adjusters (if equipped), child safety seat
tether bracket assemblies (if equipped), and attaching hardware, should
be inspected after a collision. Ford recommends that all safety belt
assemblies used in vehicles involved in a collision be replaced. However,
if the collision was minor and a qualified technician finds that the belts
do not show damage and continue to operate properly, they do not need
to be replaced. Safety belt assemblies not in use during a collision should
also be inspected and replaced if either damage or improper operation is
noted.
Failure to replace the safety belt assembly under the above
conditions could result in severe personal injuries in the event of
a collision.
Refer toCleaning and maintaining the safety beltsin the
Maintenance and caresection.
Seating and safety restraints
81