Page 13 of 216

Key-in-ignition warning chime
Sounds when the key is left in the
ignition in the OFF/LOCK or ACC
position and either front door is
opened.
Headlamps on warning chime
Sounds when the headlamps or
parking lamps are on, the ignition
is off (and the key is not in the
ignition) and either front door is
opened.
GAUGES
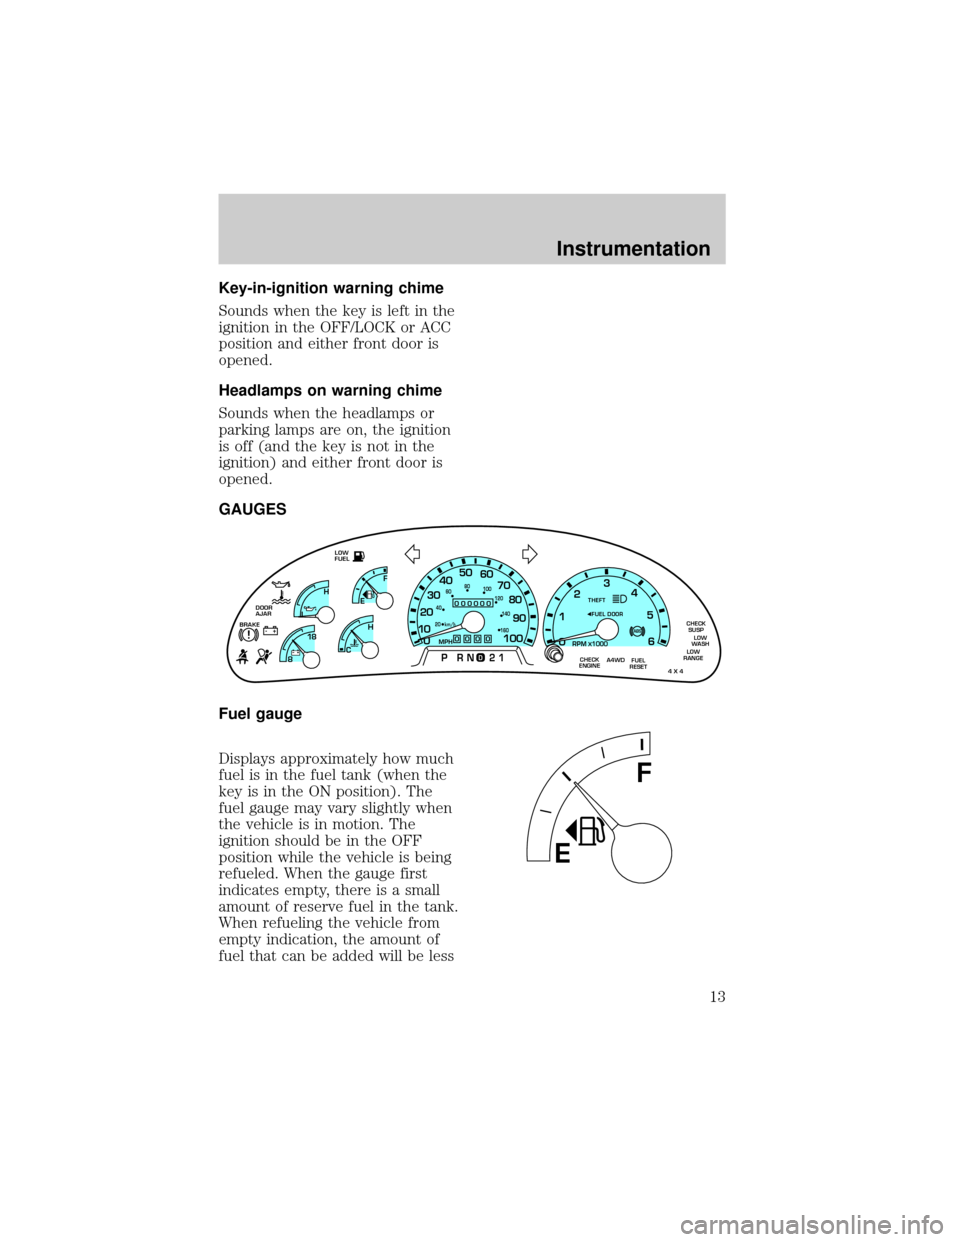
Fuel gauge
Displays approximately how much
fuel is in the fuel tank (when the
key is in the ON position). The
fuel gauge may vary slightly when
the vehicle is in motion. The
ignition should be in the OFF
position while the vehicle is being
refueled. When the gauge first
indicates empty, there is a small
amount of reserve fuel in the tank.
When refueling the vehicle from
empty indication, the amount of
fuel that can be added will be less
FUEL
RESET CHECK
ENGINELOW
RANGE
4 X 4
ABSBRAKE!+ -
THEFT
LOW
FUEL
DOOR
AJARLEF
H0
0000
RPM1000X
00000
MPH
20km/h 406080
100
120
140
160
0
0 123
5
6 4
PRN 21
1020304050
60
70
80
90
100
8C 18
H
D
CHECK
SUSP
LOW
WASH
A4WDFUEL DOOR
EF
Instrumentation
13
Page 16 of 216

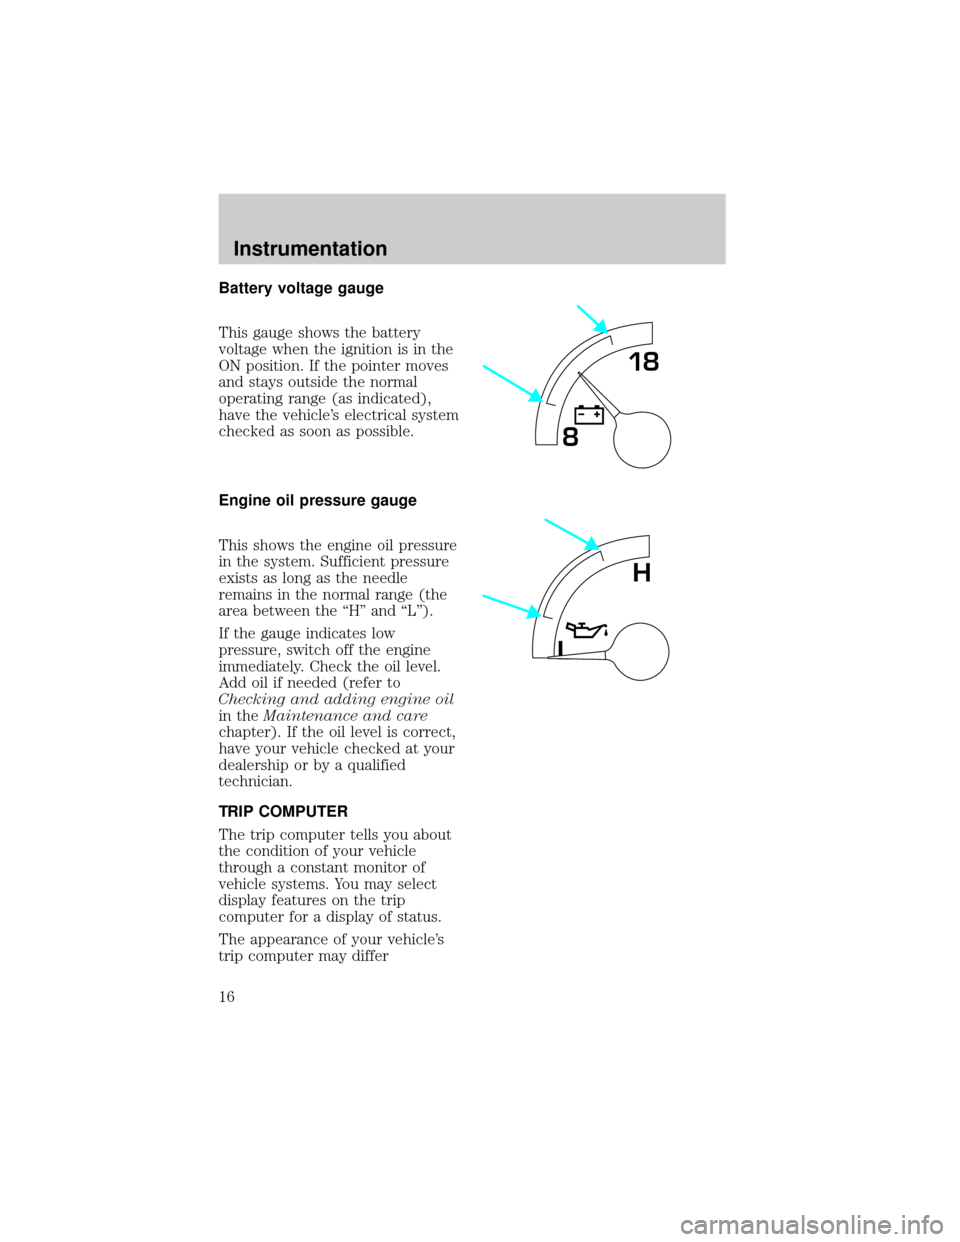
Battery voltage gauge
This gauge shows the battery
voltage when the ignition is in the
ON position. If the pointer moves
and stays outside the normal
operating range (as indicated),
have the vehicle's electrical system
checked as soon as possible.
Engine oil pressure gauge
This shows the engine oil pressure
in the system. Sufficient pressure
exists as long as the needle
remains in the normal range (the
area between the ªHº and ªLº).
If the gauge indicates low
pressure, switch off the engine
immediately. Check the oil level.
Add oil if needed (refer to
Checking and adding engine oil
in theMaintenance and care
chapter). If the oil level is correct,
have your vehicle checked at your
dealership or by a qualified
technician.
TRIP COMPUTER
The trip computer tells you about
the condition of your vehicle
through a constant monitor of
vehicle systems. You may select
display features on the trip
computer for a display of status.
The appearance of your vehicle's
trip computer may differ
818
L
H
Instrumentation
16
Page 17 of 216
depending on your vehicle's option
package, but the functions are the
same.
The trip computer only works
when the ignition is in the ON
position. Trip computer features
follow:
Selectable features
English/metric display
Press this control to change the
trip computer display from metric
to English units. Press again to
change from English to metric
units.
Mode control
Each press of the MODE control
will display a different feature as
follows:
Compass display.Refer to
Electronic compassin the
Controls and featureschapter for
more information.
Fuel range.This displays the
approximate number of kilometers
(miles) left to drive before the fuel
tank is empty. The indicated
distance to empty may be
inaccurate:
1. with sustained, drastic changes
in fuel economy (such as trailer
towing), but will eventually
recover.
RESET
E/M MODE
MILES
TO EMPTY
RESET
E/M MODE
MILES
TO EMPTY
Instrumentation
17
Page 18 of 216
2. if the vehicle is started while
parked on an incline.
3. if less than 30 liters (8 gallons)
of fuel is added to the fuel tank.
The fuel range function will flash
for 5 seconds when you have
approximately the following
amounts of fuel left before you run
out:
²80 km (50 miles)
²40 km (25 miles)
²16 km (10 miles)
Average fuel economy.The
display will indicate the vehicle's
average fuel economy in liters/100
km (or miles/gallon) since last
reset.
²To reset the average fuel
economy:
1. Press the MODE control
repeatedly until AVG F/ECON is
displayed (no other display is
resettable).
2. Press the E/M and MODE
controls simultaneously.
Instantaneous fuel economy.
The display will indicate the
instantaneous fuel economy of
your running vehicle.
RESET
E/M
MODE
MILES
TO EMPTY
Instrumentation
18
Page 19 of 216
Press the MODE control one final
time to turn the trip computer
display off.
RESET
E/M MODE
MILES
TO EMPTY
Instrumentation
19
Page 44 of 216
2. Locate the compass module
mounted at the base of the mirror.
3. Turn ignition to the ON position.
4. Insert an appropriate diameter
rod (paperclip) into the small hole
underneath the compass module
and gently press the switch for 1
to 2 seconds until ZONE and the
current zone setting is displayed
on the trip computer.
5. Release the switch, then slowly
press down again. Press the switch
repeatedly until the correct zone
setting for your geographic
location is displayed on the trip
computer.
6. To exit the zone setting mode,
release pressure from the switch
for greater than two seconds.
Compass calibration adjustment
Perform this adjustment in an
open area free from steel
structures and high voltage lines.
For optimum calibration, turn off
all electrical accessories (heater/air
conditioning, wipers, etc.) and
make sure all vehicle doors are
shut.
1. Start the vehicle.
Controls and features
44
Page 45 of 216
2. Locate the compass module
mounted on the base of the mirror.
3. Insert an appropriate diameter
rod (paperclip) into the switch
access hole underneath the
compass module.
4. Gently press the switch for 2 to
4 seconds until CAL and a
direction are displayed on the trip
computer. (To exit CAL mode
before performing a compass
adjustment, turn the ignition OFF.)
5. Release pressure from the
switch.
6. Slowly drive the vehicle in a
circle (less than 5 km/h [3 mph])
until the CAL indicator turns off.
This will take up to five circles to
complete calibration.
7. The compass is now calibrated.
Power quarter rear windows
(if equipped)
Press the
portion of the VENT
control to open the power rear
quarter windows.
Press the
portion of the VENT
control to close the power rear
quarter windows.
RESET
VENTVENT
MODE E/M
Controls and features
45
Page 106 of 216
R (Reverse)
With the gearshift in R (Reverse),
the vehicle will move backward.
Always come to a complete stop
before shifting into and out of R
(Reverse).
N (Neutral)
With the gearshift in N (Neutral),
the vehicle can be started and is
free to roll. Hold the brake pedal
down while in this gear.
(Overdrive)
The normal driving position for the
best fuel economy. Transmission
operates in gears one through four.
(Overdrive) can be deactivated
by pressing the transmission
control switch on the end of the
gearshift lever.
The transmission control indicator
light (TCIL) (the word OFF) on
the end of the gearshift lever will
illuminate.
Drive± Not shown on the display.
Activate by pressing the
transmission control switch on the
end of the gearshift lever with the
gearshift in the
position. The
TCIL (the word OFF) will
illuminate on the gearshift lever.
Transmission operates in gears one
through three.
(Drive) provides
OVERDRIVEOFF
OVERDRIVE
Driving
106