1998 CHEVROLET EXPRESS hood open
[x] Cancel search: hood openPage 91 of 386

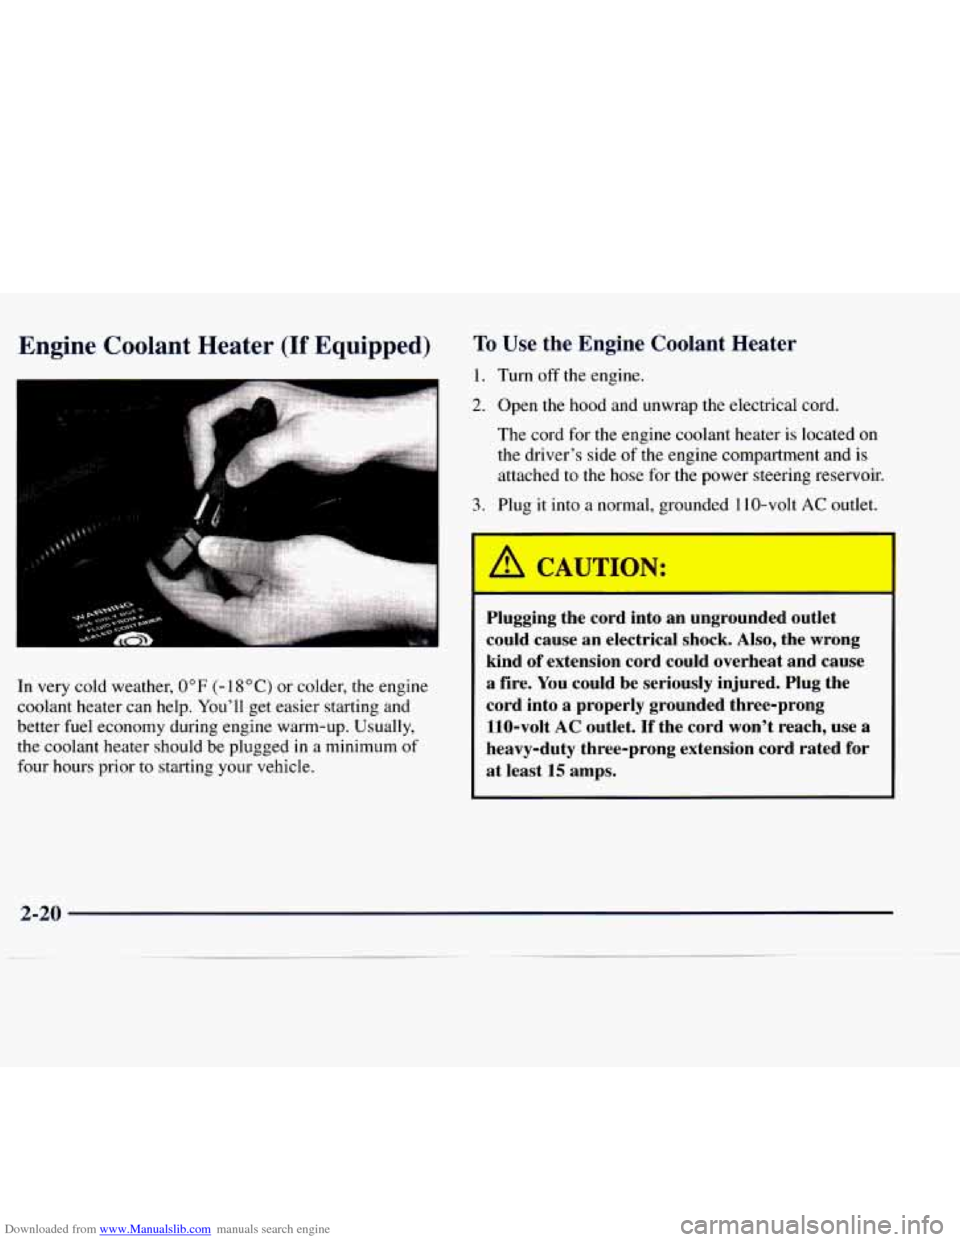
Downloaded from www.Manualslib.com manuals search engine Engine Cool-nt Heater (If Equipped) To Use the Engine Coolant Heater
1. Turn off the engine. I
2. Open the hood and unwrap the electrical cord.
The cord for the engine coolant heater is located
on
the driver’s side of the engine compartment and is
attached
to the hose for the power steering reservoir.
In very cold weather,
0°F (- I 8OC) or colder, the engine
coolant heater can help. You’ll get easier starting and
better fuel economy during engine warm-up. Usually,
the coolant heater should be plugged in a minimum
of
four hours prior to starting your vehicle.
I
3. Plug it into a normal, grounded 1 IO-volt AC outlet.
1 A
CAUTION:
Plugging the cord into an ungrounded outlet
could cause an electrical
shock. Also, the wrong
kind
of extension cord could overheat and cause
a fire. You could be seriously injured. Plug the
cord into
a properly grounded three-prong
110-volt
AC outlet. If the cord won’t reach, use a
heavy-duty three-prong extension cord rated for
at least 15 amps.
2-20
Page 141 of 386

Downloaded from www.Manualslib.com manuals search engine Air Conditioning 1 ~ ~ ting
Before using your vehicle’s air conditioning, open the
windows to clear the vehicle
of hot air. This reduces the
time it takes for your vehicle to cool down. Then keep
your windows closed for the air conditioner to work at
its best.
You can use
MAX A/C with the temperature knob in the
blue area when it’s really hot outside and you need to
cool the inside air quickly. MAX A/C lets in only a little
air from the outside.
If you first use MAX A/C, you can then use A/C with
the temperature knob in the blue area, as soon as
the
vehicle has cooled down, so outside air will be going
through your vehicle.
If your vehicle has rear air conditioning, setting
it on LO
may enhance front A/C performance by allowing
trapped refrigerant in rear lines
to circulate.
When the air conditioning, DEFROST or
BLEND is on,
you may notice
a slight increase or decrease in engine
speed, due to compressor operation. This is normal
because the system is designed
to cycle the compressor
on and off
to keep the desired temperature. On
cold days,
use HEATER with the temperature knob
in the red area. Outside air will be brought in through
the floor outlets. The heater works best
if you keep your
windows closed while using it.
If you
use the optional engine coolant heater before
starting your engine, your heating system will produce
warmer air faster to heat the passenger compartment in
cold weather. See “Engine Coolant Heater”
in the Index.
Ventilation Tips
Keep the hood and front air inlet free of ice, snow, or
any other obstruction (such as leaves). The heater
and defroster will work far better, reducing the
chance
of fogging the inside of your windows.
When you enter a vehicle in cold weather, turn the
blower fan to HI for a few moments before driving
off. This helps clear the intake ducts
of snow and
moisture, and reduces the chance of fogging the
inside
of your windows.
0 Keep the air path under the front seats clear of objects.
This helps air to circulate throughout your vehicle.
Your vehicle has air vents in the center and
on the sides
of your instrument panel.
3-6
Page 205 of 386

Downloaded from www.Manualslib.com manuals search engine If you have a diesel engine vehicle with two batteries
(or more)
you should know before you begin that,
especially in cold weather, you may not be able to
get enough power from a single battery in another
vehicle to start your diesel engine.
If your vehicle has more than one battery, use the
battery that
is under the hood of the vehicle - this
will reduce the electrical resistance.
2. Get the vehicles close enough so the jumper cables
can reach, but be sure the vehicles aren’t touching
each other.
U they are, it could cause a ground
connection you don’t want. You wouldn’t be able to
start your vehicle, and the bad grounding could
damage
the electrical systems.
To avoid the possibility of the vehicles rolling, set
the parking brake firmly on both vehicles involved in
the jump start procedure. Put your automatic
transmission in
PARK (P).
3. Turn off the ignition on both vehicles. Turn off all
lamps that
aren’t needed, and radios. This will avoid
sparks and help save both batteries, and could save
your radio.
NOTICE:
If you leave your radio on, it could be badly
damaged. The repairs would not be covered
by
your warranty.
4. Open the hoods and locate the batteries. Find the
positive
(+) and negative (-) terminals on each battery.
’ A CAUTION:
An electric fan can start up even when the engine
is not running and can injure you. Keep hands,
clothing and tools away
from any underhood
electric fan.
5-4
Page 213 of 386

Downloaded from www.Manualslib.com manuals search engine If Steam Is Coming From Your Engine 1
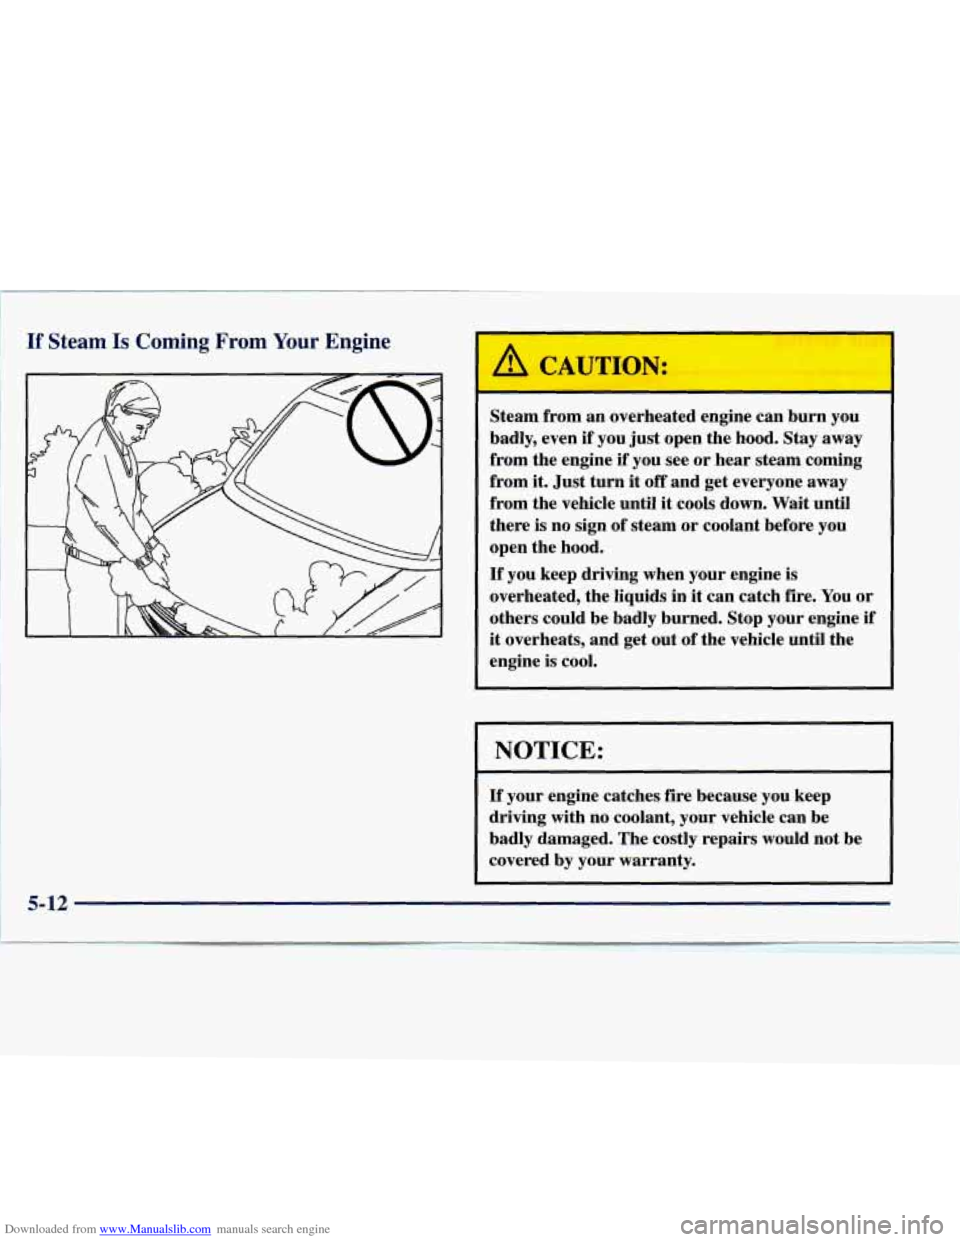
CAUTION:
Steam from an overheated engine can burn you
badly, even
if you just open the hood. Stay away
from the engine if you see or hear steam coming
from
it. Just turn it off and get everyone away
from the vehicle until
it cools down. Wait until
there
is no sign of steam or coolant before you
open the hood.
If you keep driving when your engine is
overheated, the liquids in it can catch fire. You or
others could be badly burned. Stop your engine
if
it overheats, and get out of the vehicle until the
engine is cool.
NOTICE:
~
If your engine catches fire because you keep
driving with no coolant, your vehicle can be
badly damaged. The costly repairs would not be
covered by your warranty.
Page 214 of 386

Downloaded from www.Manualslib.com manuals search engine If No Steam Is Coming From Your Engine
If you get the overheat warning but see or hear no
steam, the problem may
not be too serious. Sometimes
the engine can get a little too hot when you:
Climb a long hill on a hot day.
Stop after high-speed driving.
Idle for long periods in traffic.
Tow a trailer. See “Driving on Grades” in the Index.
If you get the overheat warning with no sign of steam,
try this
for a minute or so:
1. If you have an air conditioner, turn it off.
2. Turn on your heater to full hot at the highest fan
speed and open the window as necessary.
3. If you’re in a traffic jam, shift to NEUTRAL (N);
otherwise, shift
to the highest gear while
driving
-- DRIVE (D).
If you no longer have the overheat warning, you can
drive. Just to be safe, drive slower for about
10 minutes.
If the warning doesn’t come back
on, you can
drive normally.
If the warning contikties, pull over, stop, and park your
vehicle right away.
If there’s still no sign of steam, push the accelerator until
the engine speed
is about twice as fast as normal idle
speed. Bring the engine speed back to normal idle speed
after two or three minutes. Now see if the warning stops.
But then, if you still have the warning,
turn ofSthe
engine
and get everyone out of the vehicle until it
cools down.
You may decide not to lift the hood but
to get service
help right away.
5-13
Page 243 of 386

Downloaded from www.Manualslib.com manuals search engine If your vehicle is certified to meet California Emission
1 Standards (inhcated on the underhood emission control
label), it is designed to operate on fuels that meet
California specifications.
If such fuels are not available
in states adopting California emissions standards, your
vehicle
will operate satisfactorily on fuels meeting
federal specifications, but emission control system
performance may be affected. The malfunction indicator
lamp on your instrument panel may
turn on andor your
vehicle may fail a smog-check test. If this occurs,
return
to your authorized GM dealer for diagnosis to determine
the cause of failure. In the event it is. determined that the
1 cause of the condition is the type of fuels used, repairs
, may not be covered by your warranty.
Some gasolines that are not reformulated for low
emissions contain an octane-enhancing additive called
methylcyclopentadienyl manganese tricarbonyl (MMT);
ask your service station operator whether
or not his fuel
contains MMT. General Motors does not recommend the
use of such gasolines.
If fuels containing MMT are used,
~ spark plug life may be reduced and your emission
control system performance may be affected. The
malfunction indicator lamp on your instrument panel
may
turn on. If this occurs, return to your authorized
GM dealer for service.
~
i
To provide cleaner air, all gasolines in the United States
are now required to contain additives that will help
prevent deposits from forming in your engine and fuel
system, allowing your emission control system to
function properly. Therefore, you should not have to add
anything to the fuel. In addition, gasolines containing
oxygenates, such as ethers and ethanol, and
reformulated gasolines may be available in your area to
help clean the air. General Motors recommends that you
use these gasolines if they comply with the
specifications described earlier.
NOTICE:
Your vehicle was not designed for fuel that
contains methanol. Don’t .use it. It can corrode
metal parts in your fuel system and also damage
plastic and rubber parts. That damage wouldn’t
be covered under your warranty.
6-4
I
Page 247 of 386

Downloaded from www.Manualslib.com manuals search engine Checking Things Under the Hood
A CAUTION:
If your vehicle has air conditioning, the auxiliary
engine fan under the hood can start up and
injure
you even when the engine is not running.
Keep hands, clothing and tools away from any
underhood electric fan.
A CAUTION:
I
Things that burn can get on hot engine parts
and start
a fire. These include liquids like
gasoline or diesel fuel, oil, coolant, brake fluid,
windshield washer and other fluids, and plastic
or rubber.
You or others could be burned. Be
careful not
to drop or spill things that will burn
onto
a hot engine.
To open the hood, first
pull this handle inside the
vehicle. It is just
in front of
the driver’s side door frame
near the floor.
6-8
Page 273 of 386

Downloaded from www.Manualslib.com manuals search engine Composite Headlamps
1. Open the hood.
2. Locate the rear side of each of the headlamps.
3. Without removing the headlamp assembly itself,
remove
the bulb assembly from the back of the
headlamp on the driver’s side by turning the bulb
to the
left one quarter of a turn.
4. On the passenger’s side, turn the bulb to the right
one quarter
of a turn. Also, to remove the bulb on the
passenger’s side, you will need to move the battery.
5. Install a new bulb. Do not handle the glass part
of the bulb.
6. Reverse the previous steps to reinstall the headlamp.
6-34