1998 CHEVROLET EXPRESS light
[x] Cancel search: lightPage 200 of 386
Downloaded from www.Manualslib.com manuals search engine Trailer Wiring Harness
The light-duty trailer wiring harness is a six-wire
harness assembly. The optional heavy-duty trailer
wiring package is an eight-wire harness assembly. The
harness is stored under the vehicle, along the driver’s
side rear corner of the frame rail. The heavy-duty trailer
wiring harness has a 30-amp feed wire. Both harnesses
come without connectors and should be wired by a
qualified electrical technician. The technician can use
the following color code chart when connecting the
wiring harness to your trailer.
Dark Blue: Use for electric trailer brakes (eight-wire
harness only)
Orange: Trailer accessory (eight-wire harness only)
0 Light Green: Back-up lamps
0 Brown: Parking lamps
Yellow: Left stoplamp and turn signal
0 Dark Green: Right stoplamp and turn signal
0 White (heavy gage): Ground wire
White (light gage): Center high-mounted stoplamp
Securely attach the harness to the trailer, then tape or
strap
it to your vehicle’s frame rail. Be sure you leave it
loose enough
so the wiring doesn’t bend or break, but
not
so loose that it drags on the ground. Store the
harness in its original place. Wrap the harness together
and tie it neatly
so it won’t be damaged.
Page 206 of 386
Downloaded from www.Manualslib.com manuals search engine A CAUTION:
Using a match near a battery can cause battery
gas to explode. People have been hurt doing this,
and some have been blinded. Use a flashlight
if
you need more light.
Be sure the batteries have enough water.
You
don’t need to add water to the ACDelco
Freedom@ battery (or batteries) installed in every new
GM vehicle. But if a battery has filler
caps, be sure the right amount of fluid
is there. If
it is low, add water to take care of that first. If
you don’t, explosive gas could be present.
Battery fluid contains acid that can burn you.
Don’t get it on you.
If you accidentally get it in
your eyes or on your skin, flush the place with
water and get medical help immediately.
5. Check that the jumper cables don’t have loose or
missing insulation. If they do, you could get a shock.
The vehicles could be damaged, too.
Before you connect the cables, here
are some basic
things you should
know. Positive (+) will go to
positive
(+) and negative (-) will go to an unpainted
metal engine part or a body metal surface. Don’t
connect positive
(+) to negative (-) or you will get a
short that would damage the battery and maybe other
parts, too. And don’t connect the negative
(-) to
negative
(-).
Fans or ot-- -r n-- ving engine parts can in, ..re you
badly. Keep your hands away from moving parts
once the engine
is running.
5-5
Page 212 of 386
Downloaded from www.Manualslib.com manuals search engine Rear Towing
I NOTICE:
Do not tow the vehicle from the rear with loads
approaching rated
GVW as the weight transfer will
cause the front suspension to become overloaded.
I
NOTICE:
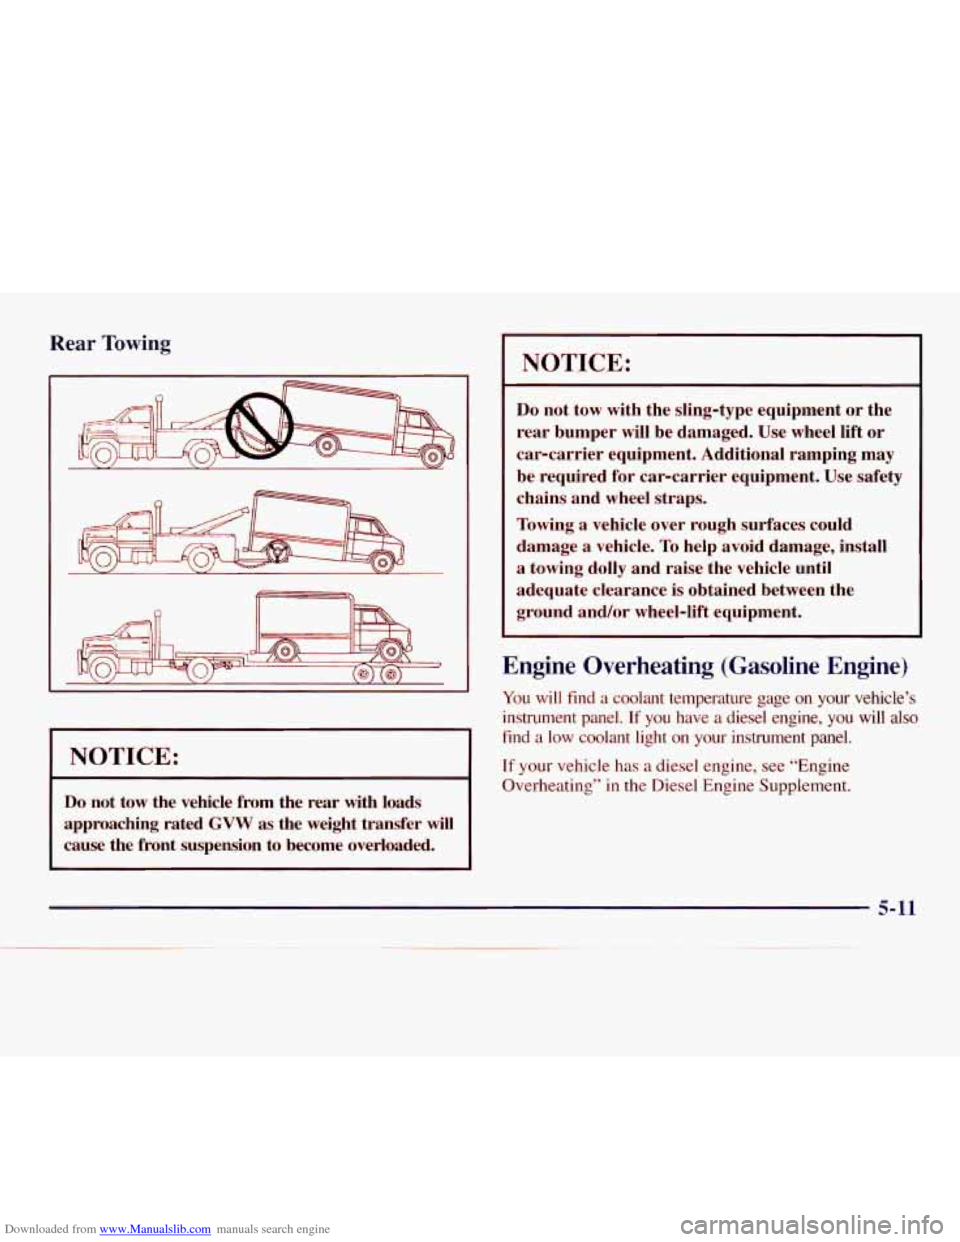
Do not tow with the sling-type equipment or the
rear bumper will be damaged. Use wheel lift or
car-carrier equipment. Additional ramping may
be required for car-carrier equipment. Use safety
chains and wheel straps.
Towing a vehicle over rough surfaces could
damage a vehicle.
To help avoid damage, install
a towing dolly and raise the vehicle until
adequate clearance is obtained between the
ground and/or wheel-lift equipment.
Engine Overheating (Gasoline Engine)
You will find a coolant temperature gage on your vehicle’s
instrument panel.
If you have a diesel engine, you will also
find a low coolant light on your instrument panel.
If your vehicle has a diesel engine, see “Engine
Overheating” in the Diesel Engine Supplement.
5-11
Page 237 of 386
Downloaded from www.Manualslib.com manuals search engine If You’re Stuck: In Sand, Mud, Ice
or Snow
What you don’t want to do when your vehicle is stuck is
to spin your wheels too fast. The method known as
“rocking” can help you get
out when you’re stuck, but
you must
use caution.
1 A CAUTION:
1
If you let your tires spin at high speed, they can
explode, and you or others could be injured. And,
the transmission or other parts of the vehicle can
overheat. That could cause an engine
compartment fire or other damage. When you’re
stuck, spin the wheels as little
as possible. Don’t
spin the wheels above
35 mph (55 km/h) as shown
on the speedometer.
I NOTICE:
Spinning your wheels can destroy parts of your
vehicle as well as the tires.
If you spin the wheels
too fast while shifting your transmission back
and forth, you can destroy your transmission.
For information about using tire chains
on your vehicle,
see “Tire Chains” in the Index.
Rocking Your Vehi :o Get It Out
First, turn your steering wheel left and right. That will
clear the area around your front wheels. Then shift back
and forth between REVERSE
(R) and a forward gear,
spinning the wheels
as little as possible. Release the
accelerator pedal while
you shift, and press lightly on
the accelerator pedal when the transmission is in gear. If
that doesn’t get
you out after a few tries, you may need
to be towed
out. If you do need to be towed out, see
“Towing Your Vehicle” in the Index.
5-36
Page 246 of 386
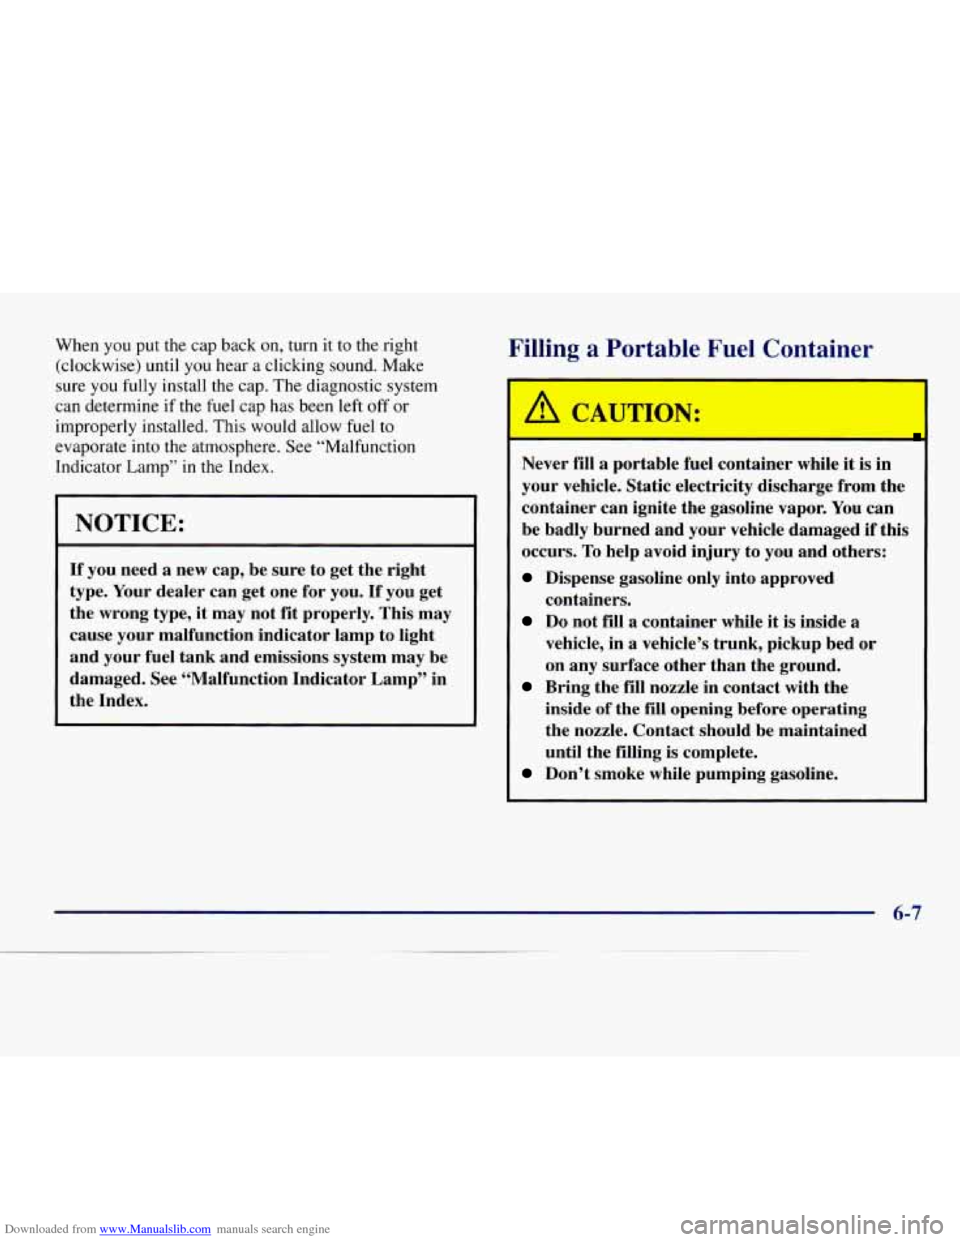
Downloaded from www.Manualslib.com manuals search engine When you put the cap back on, turn it to the right
(clockwise) until you hear a clicking sound. Make
sure
you fully install the cap. The diagnostic system
can determine if the fuel
cap has been left off or
improperly installed. This would allow
fuel to
evaporate into the atmosphere. See “Malfunction
Indicator Lamp” in the Index.
NOTICE:
If you need a new cap, be sure to get the right
type. Your dealer can get one for you.
If you get
the wrong type, it may not fit properly. This may
cause your malfunction indicator lamp to light and your fuel tank and emissions system may be
damaged. See “Malfunction Indicator Lamp” in
the Index.
Filling a Portable Fuel Container
/i CAUTIOlr:
Never fill a portable fuel container while it is in
your vehicle. Static electricity discharge from the
container can ignite the gasoline vapor.
You can
be badly burned and your vehicle damaged if this
occurs.
To help avoid injury to you and others:
Dispense gasoline only into approved
containers.
Do not fill a container while it is inside a
vehicle, in a vehicle’s trunk, pickup bed or
on any surface other than the ground.
inside of the
fill opening before operating
the nozzle. Contact should be maintained
until the filling is complete.
Bring the fill nozzle in contact with the
Don’t smoke while pumping gasoline.
Page 260 of 386

Downloaded from www.Manualslib.com manuals search engine Rear Axle What to Use
When to Check and Change Lubricant
Refer to the Maintenance Schedule to determine how
often
to check the lubricant and when to change it. See
“Scheduled Maintenance Services” in the Index.
How to Check Lubricant
If the level is below the
bottom
of the filler plug
hole, you’ll need to add
some lubricant. Add enough
lubricant to raise the level
to the bottom of the filler
plug hole. Refer
to the Maintenance Schedule to determine what
kind of lubricant to use. See “Recommended Fluids and
Lubricants” in the Index.
Engine Coolant
The cooling s stem in your vehicle is filled with
DEX-COOL engine coolant. This coolant is designed
to remain in your vehicle for
5 years or 150,000 miles
(240
000 kmg whichever occurs first, if you add only
DEX-COOL extended life coolant.
8
The following explains your cooling system and how to
add coolant when it is low. If you have a problem with
engine overheating, see “Engine Overheating” in the
Index.
A 50/50 mixture of water and DEX-COOL@
coolant will:
0 Give freezing protection down to -34°F (-37°C).
Give boiling protection up to 265 “F (1 29” C).
Protect against rust and corrosion.
0 Help keep the proper engine temperature.
0 Let the warning lights and gages work as
they should.
Page 269 of 386

Downloaded from www.Manualslib.com manuals search engine Brake Wear
Your vehicle has front disc brakes and rear drum brakes.
Disc brake pads have built-in wear indicators that
make
a high-pitched warning sound when the brake
pads are worn and new pads are needed. The sound
may come and go or be heard all the time your vehicle
is moving (except when you
are pushing on the brake
pedal firmly).
r
I
The brake wear warning sound means that soon
your brakes won’t work well. That could lead to
an accident. When you hear the brake wear
warning sound, have your vehicle serviced.
I NOTICE:
Continuing to drive with worn-out brake pads
could result in costly brake repair.
Some driving conditions or climates may cause a
brake squeal when the brakes are first applied or
lightly applied. This does not mean something is
wrong with your brakes.
Properly torqued wheel nuts are necessary to help
prevent brake pulsation. When tires
are rotated, inspect
brake pads for wear and evenly torque wheel nuts in
the proper sequence
to GM specifications.
Your rear drum brakes don’t have wear indicators, but
if you ever hear a rear brake rubbing noise, have the
rear brake linings inspected immediately. Also, the rear
brake drums should be removed and inspected each time
the tires are removed for rotation or changing. When
you have the front brake pads replaced, have the rear
brakes inspected, too.
Brake linings should always be replaced as complete
axle sets.
See “Brake System Inspection’’ in Section
7 of this
manual under Part
C “Periodic Maintenance Inspections.’’
Brake Pedal Travel
See your dealer if the brake pedal does not return to
normal height, or if there
is a rapid increase in pedal
travel.
This could be a sign of brake trouble.
Page 286 of 386

Downloaded from www.Manualslib.com manuals search engine TIION:
If you use bias-ply tires on your vehicle, the
wheel rim flanges could develop cracks after
many miles of driving.
A tire and/or wheel could
fail suddenly, causing a crash. Use only radial-ply
tires with the wheels on your vehicle.
Uniform Tire Quality Grading
The following information relates to the system
developed by the United States National Highway
Traffic Safety Administration, which grades tires by
treadwear, traction and temperature performance.
(This applies only to vehicles sold in the United
States.) The grades are molded on the sidewalls of
most passenger car tires. The Uniform Tire Quality
Grading system does not apply
to deep tread,
winter-type snow tires, space-saver or temporary
use spare tires, tires with nominal rim diameters
of
10 to 12 inches (25 to 30 cm), or to some
limited-production tires. While
the tires available on General Motors passenger
cars and light trucks may vary with respect to these
grades, they must also conform
to Federal safety
requirements and additional General Motors Tire
Performance Criteria (TPC) standards.
Treadwear
The treadwear grade is a comparative rating based on
the wear rate
of the tire when tested under controlled
conditions
on a specified government test course. For
example, a
tire graded 150 would wear one and a
half
(1 1/2) times as well on the government course
as
a tire graded 100. The relative performance of tires
depends upon
the actual conditions of their use,
however, and may depart significantly from the norm
due to variations in driving habits, service practices
and differences in road characteristics and climate.