1998 CHEVROLET EXPRESS light
[x] Cancel search: lightPage 95 of 386

Downloaded from www.Manualslib.com manuals search engine NOTICE:
If your rear wheels can’t rotate, don’t try to
drive. This might happen if you are stuck in very
deep sand or mud or are up against a solid
object. You could damage your transmission.
Also, if you stop when going uphill, don’t hold
your vehicle there with only the accelerator
pedal. This could overheat and damage the
transmission. Use your brakes or shift into
PARK (P) to hold your vehicle in position on
a hill.
Parking Brake
To set the parking brake, hold the regular brake pedal
down with your right foot. Push down the parking brake
pedal with your left foot.
If the ignition is on, the brake system warning light will
come
on.
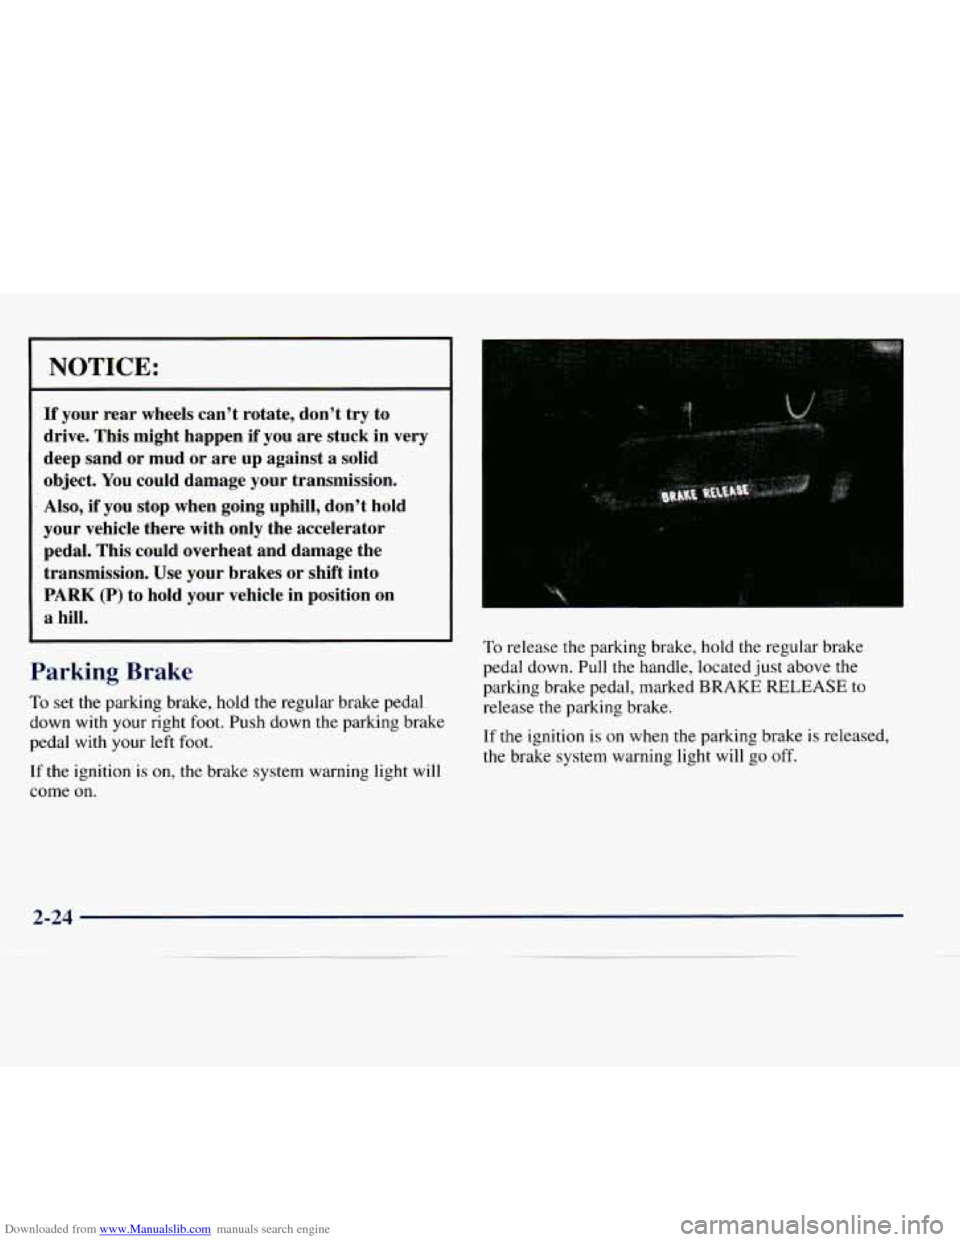
To release the parking brake, hold the regular brake
pedal down. Pull the handle, located just above the
parking brake pedal, marked
BRAKE RELEASE to
release
the parking brake.
If the ignition is on when the parking brake
is released,
the brake system warning light will
go off.
2-24
Page 102 of 386

Downloaded from www.Manualslib.com manuals search engine Windows
Manual Windows
To operate your manual windows, turn the hand crank
on each door to raise or lower your side door windows.
Power Windows (Option)
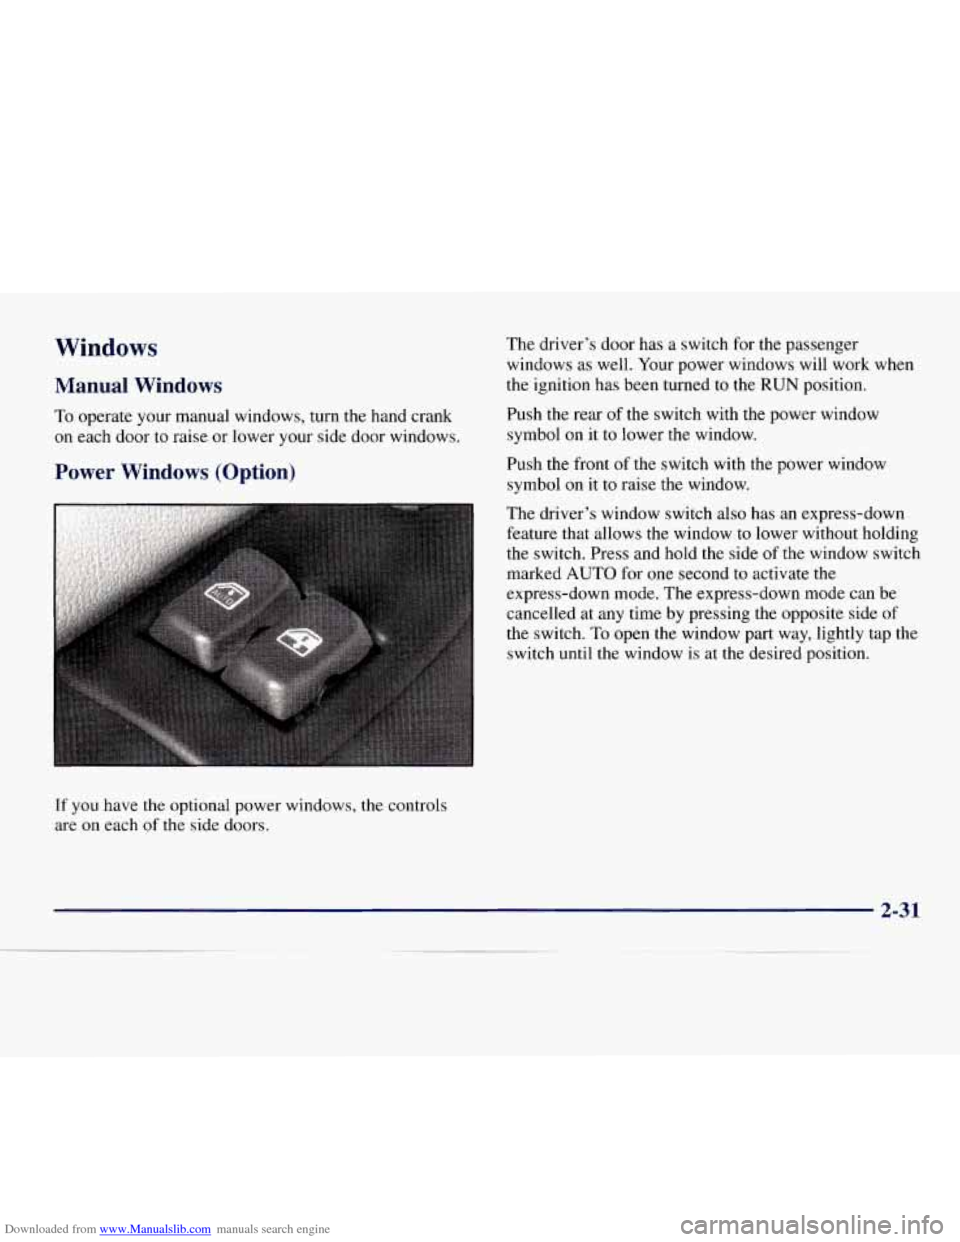
If you have the optional power windows, the controls
are
on each of the side doors. The
driver’s door has a switch for the passenger
windows as well. Your power windows will work when
the ignition has been turned to the
RUN position.
Push the rear of the switch with the power window
symbol on it to lower the window.
Push the front of the switch with the power window
symbol
on it to raise the window.
The driver’s window switch also has an express-down
feature that allows the window to lower without holding
the switch. Press and hold the side of the window switch
marked
AUTO for one second to activate the
express-down mode. The express-down mode can be
cancelled at any time by pressing the opposite side of
the switch.
To open the window part way, lightly tap the
switch until the window is at
the desired position.
2-31
Page 106 of 386

Downloaded from www.Manualslib.com manuals search engine Turn Signal and Lane Change Signals
The turn signal has two upward (for right) and two
downward (for left) positions. These positions allow
you to signal a turn or a lane change.
To signal a turn, move the lever all the way up
or down. When the turn is finished, the lever
will return automatically.
H
LI
An arrow on the instrument
panel will flash
in the
direction of the turn or
lane change.
To signal
a lane change, just raise or lower the lever
until the arrow starts to flash. Hold it there until you
complete your lane change. The lever will return by
itself when you release it. As
you signal a
turn or a lane change, if the arrows flash
at twice the normal rate,
a signal bulb may be burned
out and other drivers may not see your turn signal.
If
a bulb is burned out, replace it to help avoid an
accident. If
the arrows don’t go on at all when you
signal a turn, check for burned-out bulbs and a blown
fuse (see “Fuses and Circuit Breakers”
in the Index).
Headlamp High/Low Beam Changer
To change the headlamps from low beam to high or high
to low, pull the multifunction lever all the way toward
you. Then release it.
When the high beams are
on, this light on the
instrument panel also will
be on.
2-35
Page 107 of 386

Downloaded from www.Manualslib.com manuals search engine Windshield Wipers
You control the windshield
wipers
by turning the band
with the wiper symbol on it.
For a single wiping cycle, turn the band to MIST. Hold
it there until the wipers start, then let go. The wipers will
stop after one cycle. If you want more cycles, hold the
band on MIST longer.
You can set the wiper speed for a long or short delay
between wipes. This can be very useful in light rain or
snow, Turn the band to choose the delay time. The
closer
to LOW, the shorter the delay.
For steady wiping at low speed, turn the band to the
LOW position. For high-speed wiping, turn the band
further, to
HIGH. To stop the wipers, move the band
to OFF.
Remember that damaged wiper blades may prevent
you from seeing well enough to drive safely. To avoid
damage, be sure to clear ice and snow from the wiper
blades before using them. If they are frozen to the
windshield, carefully loosen
or thaw them. If your
blades do become damaged, get new blades or
blade inserts.
Heavy snow or ice
can overload your wipers. The
windshield wiper motor is protected from overload by a
circuit breaker and a fuse. If the motor overheats due to
heavy snow, etc., the wiper will stop until the motor cools.
Although the circuit is protected from electrical overload,
overload due
to heavy snow, etc. may cause wiper linkage
damage. Always clear ice and heavy snow from the windshield before using your windshield wipers.
2-36
Page 110 of 386

Downloaded from www.Manualslib.com manuals search engine Reducing Speed While Using Cruise Control
There are two ways to reduce your speed while using
cruise control:
Push in the button at the end of the lever until you
reach the lower speed you want, then release it.
To slow down in very small amounts, push the
button for less than half a second. Each time
you do
this, you’ll go
1 mph (1.6 kdh) slower. When going up
steep hills, you may have to step
on the
accelerator pedal to maintain your speed. If the
steepness of the hill causes the vehicle speed to drop
more than
15 mph (24 km/h) below the set speed, your
cruise control will automatically disengage. When going
downhill, you may have to brake or shift to a lower gear
to keep your speed down. Of course, applying the brake
takes you out of cruise control. Many drivers find this to
be too much trouble and don’t use cruise control
on
steep hills.
Passing Another Vehicle While Using Cruise Control
Use the accelerator pedal to increase your speed. When
you take your foot
off the pedal, your vehicle will slow
down to the cruise control speed
you set earlier.
Ending Cruise Control
There are two ways to turn off the cruise control:
Step lightly on the brake pedal; or
Using Cruise Control on Hills 0 Move the cruise switch to OFF.
How well your cruise control will work on hills depends
upon your speed, load and the steepness of the hills. Erasing Speed Memory
When you turn off the cruise control or the ignition,
your cruise control set speed memory
is erased.
Page 111 of 386

Downloaded from www.Manualslib.com manuals search engine Exterior Lamps one more detent will activate the interior dome light
circuit (with slightly higher effort).
Your parking lampheadlamp switch is on the driver’s
side
of your instrument panel.
Your instrument panel dimmer thumbwheel has two
detent positions.
When the thumbwheel is moved
to full brilliance, and
then into the first detent position,
the radio display and
PRNDL display will go
to the day mode (full intensity).
This is known as “parade” mode. The rest of the I/P
illumination will stay in the maximum dimming state
(full brilliance dimming). Moving the thumbwheel up The dome
lights cannot be turned on by depressing the
dome light switch button located below the parking
lampheadlamp knob. This switch
is a dome lamp off
switch and will only interrupt inputs from the door jamb
switches inhibiting interior light operation when
depressed. It will not inhibit the light function from the
I/P dimmer switch.
The delayed entry feature will allow you to enter
or exit
your vehicle with the lights staying
on for about
20 seconds, after the door is closed or ignition is cycled.
Rotate the knob to the right to the parking lamp symbol
to turn on:
0 Parking Lamps
0 Sidemarker Lamps
0 Taillamps
0 License Plate Lamps
0 Instrument Panel Lights
0 Ashtray Lamp
Rotate the knob to
the right again to the master lighting
symbol
to turn on all the lamps listed above as well as
the headlamps.
2-40
Page 112 of 386

Downloaded from www.Manualslib.com manuals search engine Rotate the knob to the left to OFF to turn off your lamps
and lights.
Rotate the thumbwheel next to the switch knob up to
adjust instrument panel lights. Rotate the thumbwheel
up to the first notch
to return the radio display and
gearshift indicator Vacuum Fluorescence
(VF) display
to full intensity when the headlamps or parking lamps
are on.
Rotate the thumbwheel up to the second notch
to
activate the interior dome lamps.
You can switch your headlamps from high to low beam
by pulling
on the turn signalhigh beam lever.
A circuit breaker protects your headlamps. If you have
an electrical overload, your headlamps will flicker on
and off. Have your headlamp wiring checked right away
if this happens.
Headlamps On Reminder
A tone will sound when your headlamps are turned on
and your ignition is in
OFF, LOCK or ACCESSORY. If
you need to use your headlamps when the ignition
switch is in
OFF, LOCK or ACCESSORY, the tone can
be turned off by turning the thumbwheel next to the
parking lampheadlamp switch all the way down.
Daytime Running Lamps
Daytime Running Lamps (DRL) can make it easier for
others to see the front of your vehicle during the day.
DIU can be helpful in many different driving
conditions, but they can be especially helpful in the
short periods after dawn and before sunset.
2-41
Page 113 of 386

Downloaded from www.Manualslib.com manuals search engine The DRL system will make your headlamps come on at
a reduced brightness when:
0 The ignition is on,
0 The headlamp switch is off, and
The parking brake is released.
When the DRL are on, only your headlamps will be on.
The taillamps, sidemarker and other lamps won’t be on.
Your instrument panel won’t be lit up either.
When it begins to get dark, your
DRL indicator light is
a reminder to turn y,our headlamp switch on. The other
lamps that come
on with your headlamps will also
come on.
When you turn off the headlamp switch, the regular
lamps will go off, and your headlamps will change to
the reduced brightness of DRL.
To idle your vehicle with the engine on and the DRL off,
set the parking brake. The DRL will stay off until you
release
the parking brake.
As with any vehicle, you should turn on the regular
headlamp system when you need
it.
Center High-Mounted Stoplamp
Your vehicle’s center high-mounted stoplamp is located
above the rear doors at the center
of the vehicle.
If items are loaded
on the roof of the vehicle, as in a
luggage carrier, care should be taken not
to block or
damage the center high-mounted stoplamp unit.
If you tow a trailer that is equipped with provisions for
a
center high-mounted stoplamp, see your GM dealer for
instructions
on how to make it operate with your
vehicle’s electrical system. As with any electrical system
modification, have the work performed
by a qualified
electrical service person.
2-42