1998 CHEVROLET CAVALIER set clock
[x] Cancel search: set clockPage 4 of 400
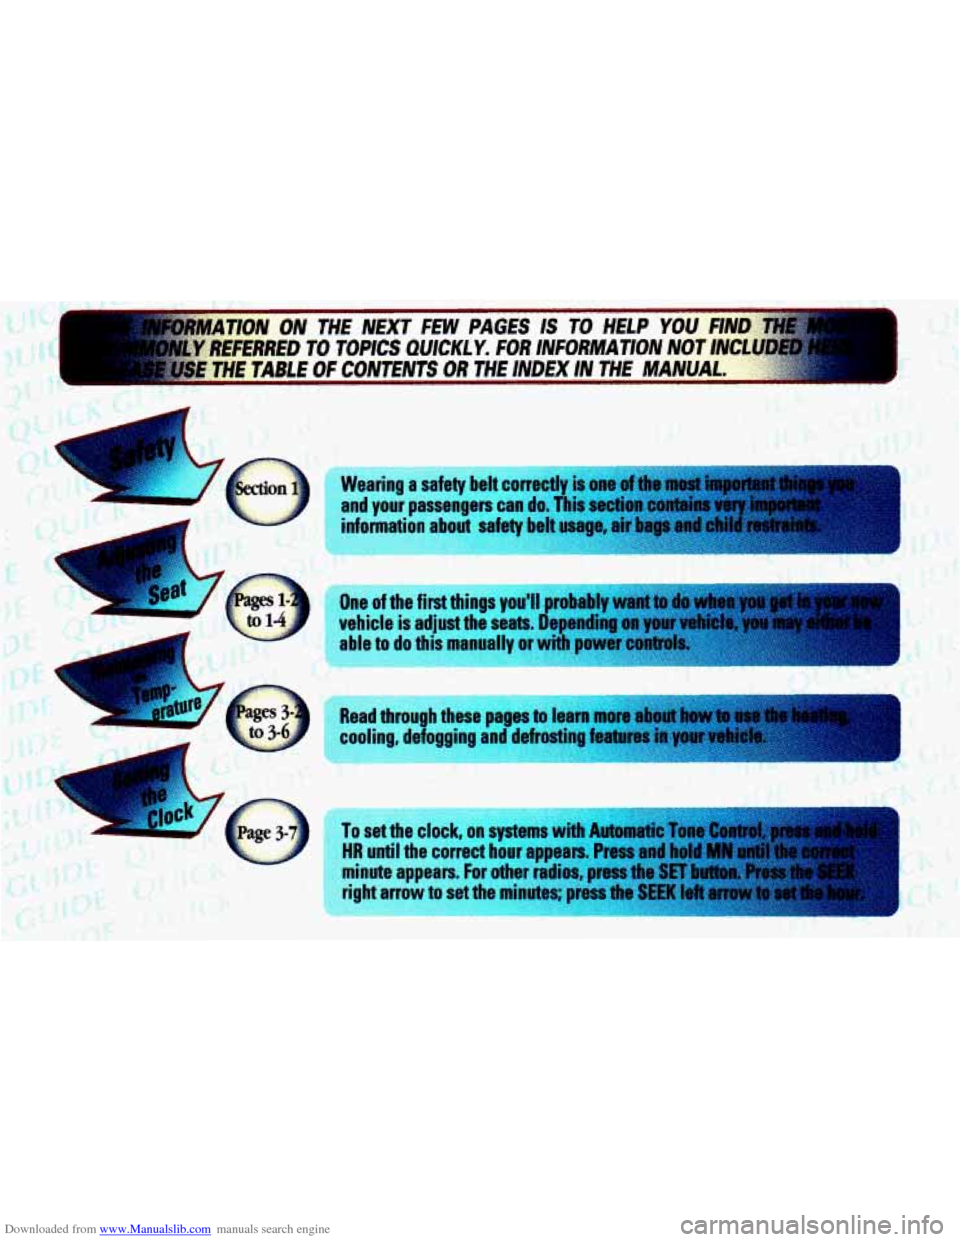
Downloaded from www.Manualslib.com manuals search engine Read through these pages to learn more abrnrt:k&
cooling, defogging and defrosting features .i'ryqir.* , , .- <.~ :;: ..
To set the clock, on systems with Automatic Tam C
HR until the correct hour appears. Press and hall
minute amears. For other radios, press tb
right an tn set the minutes; press the VII..m U8.U
Page 155 of 400
Downloaded from www.Manualslib.com manuals search engine 0 Section 3 Comfort Controls and Audio Systems
In this section, you’ll find out how to operate the comfort\
control and audio systems offered with your vehicle. Be sure to
read about the particular systems supplied with your vehicle.
3-2
3-4
3-5
3-5
3-6
3-6
3 -7
3-7
3-7
3-7
Comfort Controls
Air Conditioning (If Equipped)
Heating
Ventilation System
Defogging and Defrosting
Rear Window Defogger (If Equipped)
Audio Systems
Setting the Clock for Systems without
Automatic Tone Control Setting the Clock for Systems with
Automatic Tone Control
AM-FM Stereo 3-9
3-11
3-
16
3-20
3-22
3-22
3-23
3 -24 3-24
3-24
AM-FM Stereo With Cassette Tape Player
(If Equipped)
AM-FM Stereo With Cassette Tape Player and
Automatic Tone Control (If Equipped) AM-FM Stereo With Compact Disc Player
and Automatic Tone Control (If Equipped)
Theft-Deterrent Feature (If Equipped) Understanding Radio Reception
Tips About Your Audio System
Care of Your Cassette Tape Player
Care of Your Compact Discs
Care of Your Compact Disc Player
Fixed Mast Antenna
3-1
Page 161 of 400
Downloaded from www.Manualslib.com manuals search engine Audio Systems
Your Delco Electronics audio system has been designed
to operate easily and give years of listening pleasure.
You will get the most enjoyment out of it
if you acquaint
yourself with
it first. Find out what your Delco
Electronics system can do and how to operate all its
controls, to be sure you’re getting the most out of the
advanced engineering that went into it.
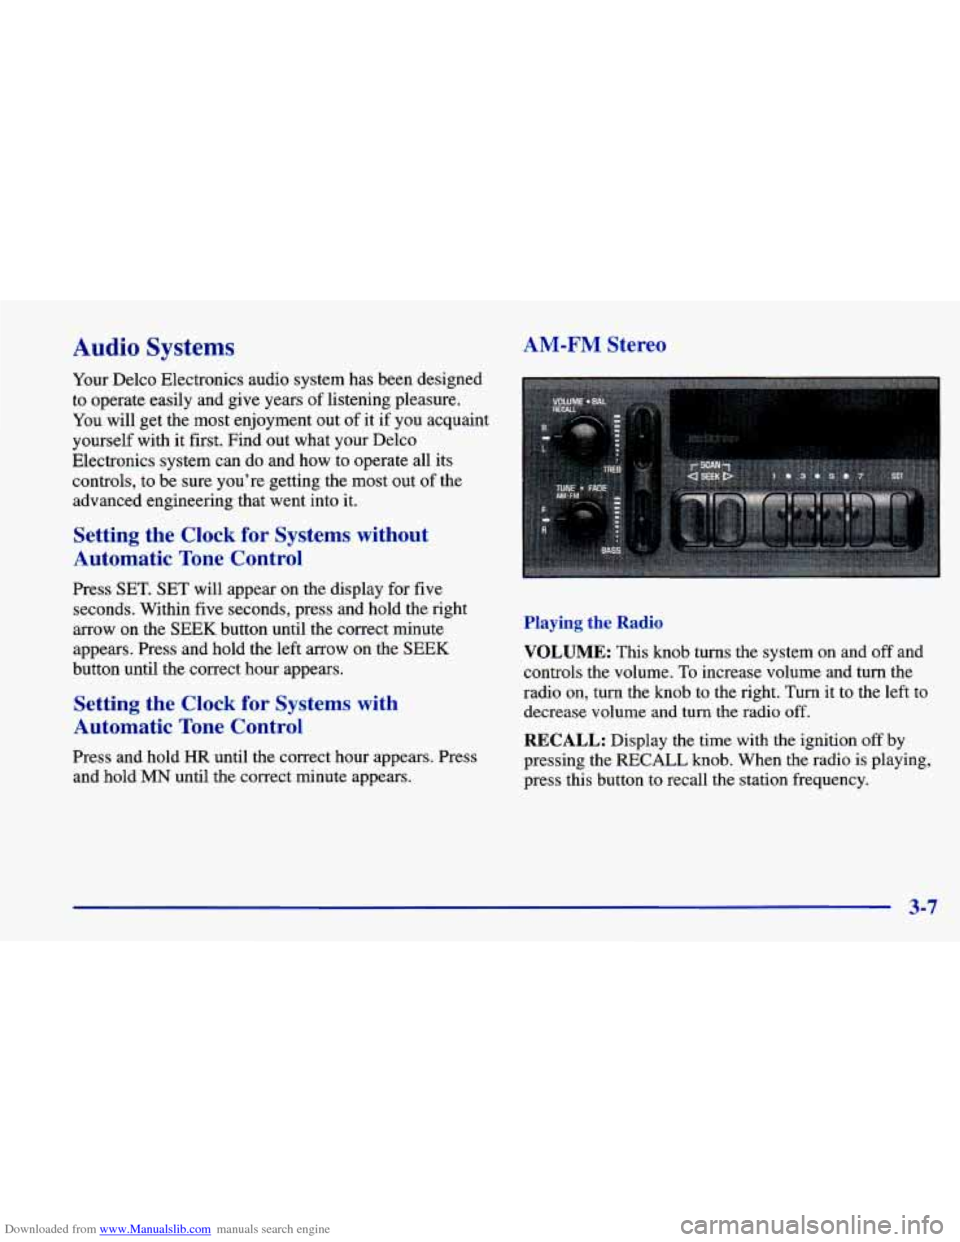
AM-FM Stereo
Setting the Clock for Systems without
Automatic Tone Control
Press SET. SET will appear on the display for five
seconds. Within five seconds, press and hold the right
arrow on the SEEK button until the correct minute
appears. Press and hold the left arrow on the SEEK
button until the correct hour appears.
Setting the Clock for Systems with
Automatic Tone Control
Press and hold HR until the correct hour appears. Press
and hold
MN until the correct minute appears. Playing
the Radio
VOLUME: This
knob turns the system on and off and
controls the volume.
To increase volume and turn the
radio on, turn the
knob to the right. Turn it to the left to
decrease volume and
turn the radio off.
RECALL: Display the time with the ignition off by
pressing the RECALL
knob. When the radio is playing,
press this button to recall the station frequency.
3-7
Page 166 of 400
Downloaded from www.Manualslib.com manuals search engine RECALL: Press this button to recall the station being
played.
If you press the button when the ignition is off,
the clock will show for a few seconds.
SCV: Your system has a feature called
Speed-Compensated-Volume (SCV). With
SCV, your
audio system adjusts automatically to make up for road
and wind noise as you drive. Set the volume at the
desired level. Move the control ring behind the upper
knob to the right to adjust the
SCV. Then, as you drive,
SCV automatically increases the volume, as necessary,
to overcome noise at any particular speed. The volume
level should always sound the same to you as you drive.
If you don’t want
to use SCV, turn the control all the
way down. Each notch on the control ring allows for
more volume compensation at faster vehicle speeds.
Finding a Station
AM-FM: Press this button to switch between AM, FMl
and FM2. The display shows your selection.
TUNE: Press this knob lightly so it extends. Turn it to
choose radio stations. Push the
knob back into its stored
position when you’re not using it.
SEEK: Press the right or left arrow to go to the
next higher or lower station. The sound will mute
while seeking.
SCAN: Press one of the SEEK arrows for two seconds,
and SCAN will appear in the display. Use
SCAN to
listen to stations for a few seconds. The radio will go to
a station, stop for a few seconds, then go on to the next
station. Press
SEEK again to stop scanning. The sound
will mute while scanning.
PUSHBUTTONS: The six numbered pushbuttons let
you return to your favorite stations. You can set up to
18 stations (six AM, six FM 1 and six FM2). Just:
1.
2.
3.
4.
5.
6.
Turn the radio on.
Press AM-FM to select the band.
Tune in the desired station.
Press AUTO
TONE to select the equalization that
best suits the type
of station selected.
Press and hold one
of the six numbered buttons. The
sound will mute. When it returns, release the button.
Whenever you press that numbered button, the
station you set will return and the AUTO TONE
equalization that you selected will also be
automatically selected for that button.
Repeat the steps for each pushbutton.
3-12
Page 170 of 400
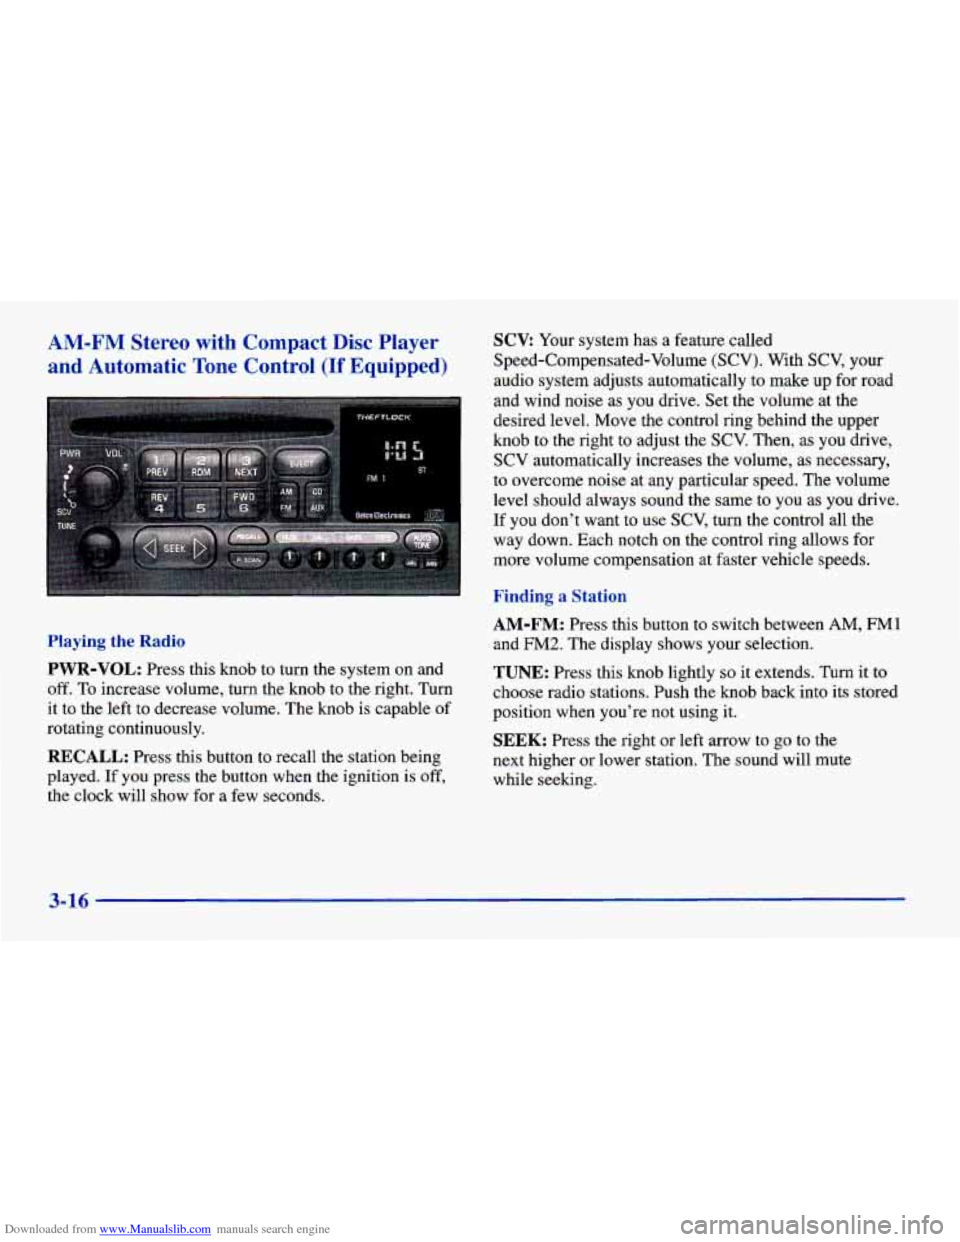
Downloaded from www.Manualslib.com manuals search engine AM-FM Stereo with Compact Disc Player SCX Your system has a feature called
and Automatic Tone Control (If Equipped) Speed-Compensated-Volume (SCV). With SCV, your
audio system adjusts automatically to make up for road
and wind noise
as you drive. Set the volume at the
desired level. Move the control ring behind the upper
knob
to the right to adjust the SCV. Then, as you drive,
SCV automatically increases the volume, as necessary,
to overcome noise at any particular speed. The volume
level should always sound the same to you
as you drive.
If you don't want to use SCV, turn the control all the
way down. Each notch on the control ring allows for
more volume compensation at faster vehicle speeds.
Playing the Radio
PWR-VOL: Press this knob to turn the system on and
off. To increase volume, turn the knob to the right. Turn
it to the left to decrease volume. The knob
is capable of
rotating continuously.
RECALL: Press this button to recall the station being
played.
If you press the button when the ignition is off,
the clock will show for a few seconds.
' Finding a Station
AM-FM: Press this button to switch between AM, FMl
and FM2. The display shows your selection.
TUNE: Press this knob lightly so it extends. Turn it to
choose radio stations. Push the knob back into
its stored
position when you're not using it.
SEEK: Press the right or left arrow to go to the
next higher or lower station. The sound will mute
while seeking.
3-16
Page 385 of 400
Downloaded from www.Manualslib.com manuals search engine Inside of Your Vehicle ......................... 6-49
Instrument Panel
............................. 6-50
Interior Plastic Components
..................... 6-5 1
Outside of Your Vehicle ........................ 6-52
Special Problems
............................. 6-50
Stains
...................................... 6-50
Tires
....................................... 6-54
Vinyl
....................................... 6-50
Wheels ..................................... 6-54
Windshield and Wiper Blades
................... 6-51
Climate Control System. Standard
................... 3-2
Climate Control System with Air Conditioning
......... 3-3
Clock. Setting the
................................ 3-7
Clutch Fluid. Hydraulic
.......................... 6-24
Clutch. Hydraulic
............................... 6-24
Comfort Controls
................................ 3-2
Compact Disc AdapterKit
.................................. 3-15
Care
....................................... 3-24
Player
...................................... 3-16
Theft-Deterrent Feature
........................ 3-20
Compact Disc Player
............................ 3-16
Care
....................................... 3-24
Compact Spare Tire
............................. 5-33
Control of a Vehicle
.............................. 4-5
Convenience Net
............................... 2-47
Convertible Top
Bypassswitch
............................... 2-57
Cleaning
.................................... 6-53
Installing the Boot
............................ 2-51
Lowering
................................... 2-4 9 Lowering Manually
........................... 2-57
Raising
..................................... 2-56
Raising Manually
............................. 2-57
Removing the Boot
........................... 2-54
Convex Outside Mirror
.......................... 2-46
Coolant
....................................... 6-25
Heater. Engine
............................... 2-18
SurgeTank
.................................. 5-16
Surge Tank Pressure Cap
....................... 6-28
Cooling System
................................ 5-16
Courtesy Transportation
........................... 8-8
Cruise Control ................................. 2-36
Cupholders
.................................... 2-47
Customer Assistance for Text Telephone Users
......... 8-4
Customer Assistance Information
................... 8-1
Customer Satisfaction Procedure .................... 8-2
Operation
................................... 2-49
Damage. Finish
............................... 6-55
Damage. Sheet Metal
............................ 6-55
Daytime Running Lamps
......................... 2-40
DeadBattery
................................... 5-3
Defects. Reporting Safety ........................ 8-10
Defensive Driving
............................... 4-2
Defogger. Rear Window
.......................... 3-6
Defogging
..................................... 3-6
Defrosting
..................................... 3-6
Dimensions. Vehicle
............................ 6-65
Dolby B Noise Reduction
........................ 3-15
Dome Lamp Bulb Replacement
.................... 6-39
9-3