1998 CHEVROLET CAVALIER wheel
[x] Cancel search: wheelPage 305 of 400
Downloaded from www.Manualslib.com manuals search engine NOTICE:
The wrong wheel can also cause problems with
bearing life, brake cooling, speedometer or
odometer calibration, headlamp aim, bumper
height, vehicle ground clearance and tire or tire
chain clearance to the body and chassis.
See “Changing a Flat Tire” in the Index for more
information.
Used Replacement Wheels
~~~
Putting a used wheel on your vehicle is
dangerous. You can’t know how it’s been used or
how far it’s been driven. It could fail suddenly
and cause an accident.
If you have to replace a
wheel, use a new
GM original equipment wheel.
’ire Chains
NOTICE:
If your vehicle has P195165R15 or P205/55R16
size tires, don’t use tire chains. They can damage
your vehicle because there’s not enough clearance.
Use another type
of traction device only if its
manufacturer recommends
it for use on your
vehicle and tire size combination and road
conditions. Follow that manufacturer’s
instructions.
To help avoid damage to your
vehicle, drive slowly, readjust or remove the
device if it’s contacting your vehicle, and don’t
spin your wheels.
If you do find traction devices that will fit, install
them on the front tires.
NOTICE: (Continued)
6-47
Page 306 of 400
Downloaded from www.Manualslib.com manuals search engine NOTICE: (Continued)
If you have other tires, use tire chains only where
legal
and only when you must. Use only SAE Class
“S” type chains that are the proper size for your
tires. Install them on the front tires and tighten
them
as tightly as possible with the ends securely
fastened. Drive slowly and follow the chain
manufacturer’s instructions.
If you can hear the
chains contacting your vehicle, stop and retighten
them.
If the contact continues, slow down until it
stops. Driving
too fast or spinning the wheels with
chains
on will damage your vehicle.
Appearance Care
Remember, cleaning products can be hazardous. Some
are toxic. Others can burst into flame if you strike a
match or get them on a hot
part of the vehicle. Some are
dangerous if you breathe their fumes in a closed space.
When you use anything from a container to clean your
vehicle, be sure
to follow the manufacturer’s warnings
and instructions. And always open your doors or
windows when you’re cleaning the inside.
Never use these to clean your vehicle:
0 Gasoline
0 Benzene
Naphtha
0 Carbon Tetrachloride
Acetone
0 Paint Thinner
Turpentine
Lacquer Thinner
0 Nail Polish Remover
They can all be hazardous
-- some more than
others
-- and they can all damage your vehicle, too.
Don’t use any
of these unless this manual says you can.
In many uses, these will damage your vehicle:
Alcohol
0 Laundry Soap
0 Bleach
0 Reducing Agents
6-48
Page 312 of 400
Downloaded from www.Manualslib.com manuals search engine To protect the convertible top:
0 After you wash the vehicle, make sure the top is
completely dry before you lower it.
Don’t get any cleaner on the vehicle’s painted finish;
it could leave streaks.
If you decide to go through an automatic car wash,
ask the manager if the equipment could damage
your top.
Before entering a car wash, set the climate control to
VENT and the fan control to the highest speed. This will
help to prevent water under high pressure from entering
around the convertible top.
Cleaning Aluminum Wheels
(If Equipped)
Keep your wheels clean using a soft clean cloth with
mild soap and water. Rinse with clean water. After
rinsing thoroughly, dry with a soft clean towel.
A wax
may then be applied. The surface
of these wheels is similar to the painted
surface
of your vehicle. Don’t use strong soaps,
chemicals, abrasive polishes, abrasive cleaners
or
abrasive cleaning brushes on them because you could
damage the surface.
Don’t take your vehicle through
an automatic car wash
that has silicon carbide tire cleaning brushes. These
brushes can also damage the surface of these wheels.
Cleaning T-- I
To clean your tires, ;e a stiff brush with a tire cleaner.
I- NOTICE:
When applying a tire dressing always take care to
wipe off any overspray
or splash from all painted
surfaces
on the body or wheels of the vehicle.
Petroleum-based products may damage the
paint finish.
Page 322 of 400

Downloaded from www.Manualslib.com manuals search engine Refrigerant (R=134a), Air Conditioning
.............. See refrigerant
charge label under hood.
Fuel Tank ................. 15.2 gallons (57.5 L)
Tire Pressures, Sizes ........... See Tire-Loading Information label on driver’s door.
Wheel Nut Torque .......... 100 lb-ft (140 Nmm)
NOTE: All capacities are approximate. When adding, be
sure to fill to the appropriate level, as recommended in
this manual.
Air Conditioning Refrigerants
Not all air conditioning refrigerants are the same.
If the air conditioning system in your vehicle needs
refrigerant, be sure the proper refrigerant is used. If
you’re not sure, ask your dealer.
Normal Maintenance
Replacement Parts
Air Cleaner Element
2.2L ....................... AC Type A- 11 72C
Engine Oil Filter
2.2L .......................... AC Type PF-47
2.4L
.......................... AC Type PF-44
Spark Plugs
2.2L ......................... AC Type 41-948
Gap:
0.050 inch (1.27 mm)
2.4L
......................... AC Type 4 1-942
Gap: 0.050 inch (1.27 mrn)
Windshield Wiper Blade (Sheppard’s Hook vpe)
Left Side ..................... 22 inches (56 cm)
Right Side.
................... 17 inches (43 cm)
2.4L
....................... AC Type A- 1172C
6-64
Page 323 of 400
Downloaded from www.Manualslib.com manuals search engine 2.2L Engine Specifications
VIN Engine Code .............................. 4
Type .................................... L4
Horsepower
.................. 115 @ 5,000 rpm
Firing Order .......................... 1-3-4-2
Thermostat Temperature
........... 180" F (82°C)
2.4L Engine Specifications
VIN Engine Code ........................... T
Type
.................................... L4
Horsepower
.................. 150 @ 5,600 rpm
Firing Order
.......................... 1-3-4-2
Thermostat Temperature
........... 180" F (82°C)
Dimensions
Length Coupe
................ 180.3 inches (458.0 cm)
Sedan
................. 180.3 inches (458.0 cm)
Convertible
............ 180.3 inches (458.0 cm) Width
Coupe
................. 75.4 inches (1 9 1.6 cm)
Sedan
.................. 75.4 inches (191.6 cm)
Convertible
............. 75.4 inches (191.6 cm)
Height Coupe
. ..... 53.2 inches (135.1 cm)
Sedan
.................. 54.9 inches (1 39.4 cm)
Convertible
............. 53.9 inches (136.9 cm)
Wheelbase Coupe
................ 104.1 inches (264.4 cm)
Sedan
................. 104.1 inches (264.4 cm)
Convertible
............ 104.1 inches (264.4 cm)
Coupe
................. 57.6 inches (146.3 cm)
Sedan
.................. 57.6 inches (146.3 cm)
Convertible
........... 57.6 inches (146.3 cm)
Front Tread
Rear Tread Coupe
................. 56.8 inches (144.3 cm)
Sedan
.................. 56.8 inches (144.3 cm)
Convertible
............. 56.8 inches (144.3 cm)
6-65
Page 359 of 400
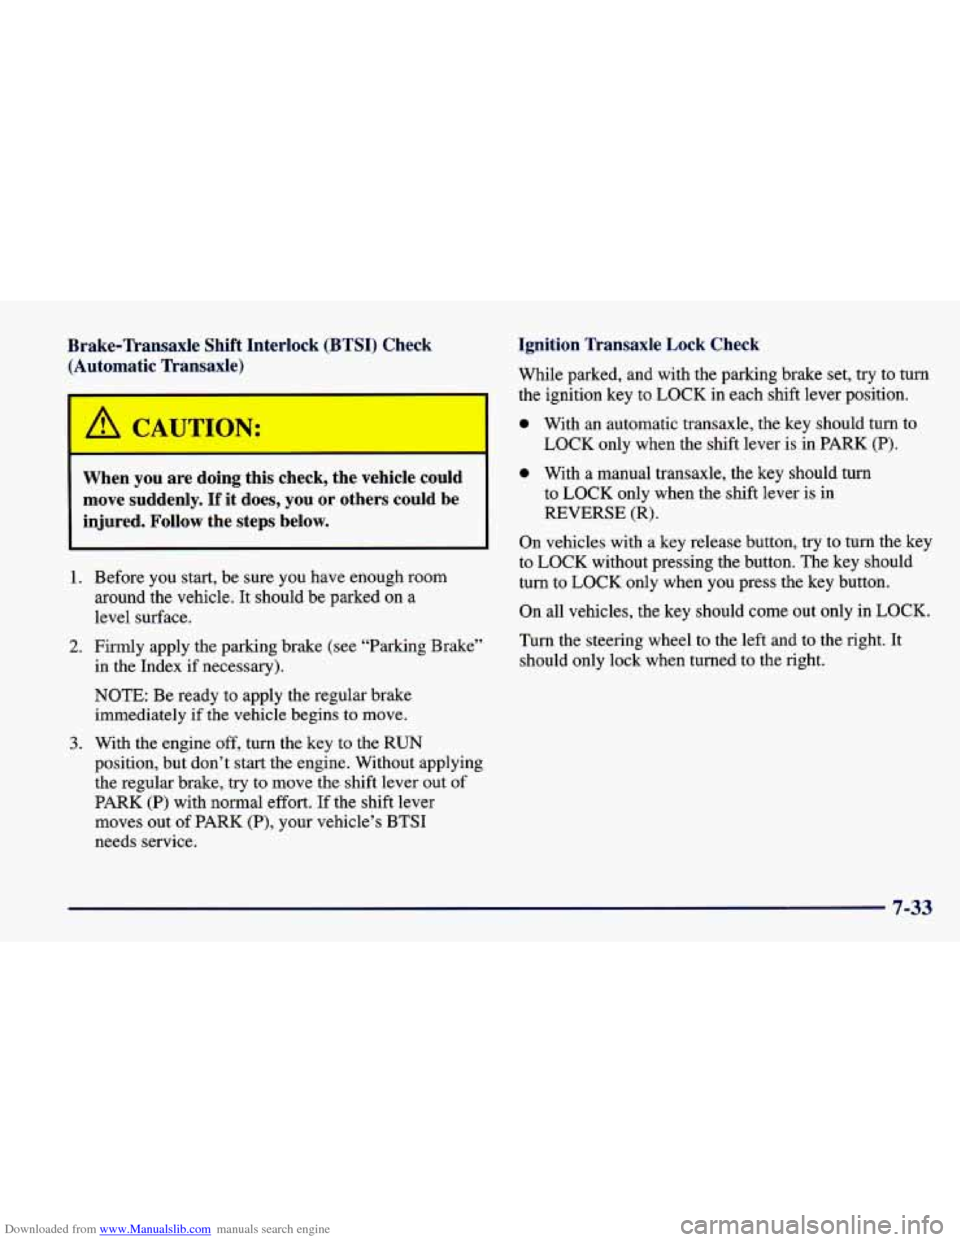
Downloaded from www.Manualslib.com manuals search engine Brake-Transaxle Shift Interlock (BTSI) Check (Automatic Transaxle)
r
A CAUTION:
When you are doing this check, the vehicle could
move suddenly. If it does, you or others could be
injured. Follow the steps below.
1.
2.
3.
Before you start, be sure you have enough room
around the vehicle.
It should be parked on a
level surface.
Firmly apply the parking brake (see “Parking Brake’’
in the Index if necessary).
NOTE: Be ready to apply the regular brake
immediately if the vehicle begins to move.
With the engine off, turn the key to the RUN
position, but don’t start the engine. Without applying
the regular brake, try to move the shift lever out of
PARK
(P) with normal effort. If the shift lever
moves out of PARK (P), your vehicle’s BTSI
needs service.
Ignition Transaxle Lock Check
While parked, and with the parking brake set, try to turn
the ignition key to LOCK in each shift lever position.
0 With an automatic transaxle, the key should turn to
LOCK only when the shift lever
is in PARK (P).
0 With a manual transaxle, the key should turn
to
LOCK only when the shift lever is in
REVERSE (R).
On vehicles with a key release button, try to turn the key
to LOCK without pressing the button. The key should
turn to
LOCK only when you press the key button.
On all vehicles, the key should come out only in
LOCK.
Turn the steering wheel to the left and to the right. It
should only lock when turned to the right.
7-33
Page 362 of 400
Downloaded from www.Manualslib.com manuals search engine Brake System Inspection
Inspect the complete system. Inspect brake lines and
hoses for proper hook-up, binding, leaks, cracks,
chafing, etc. Inspect disc brake pads for wear and rotors
for surface condition. Also inspect drum brake linings
for wear and cracks. Inspect other brake parts, including
drums, wheel cylinders, calipers, parking brake, etc.
Check parking brake adjustment.
You may need to have
your brakes inspected more often if your driving habits
or conditions result in fi-equent brakin,g..
Caliper/KnucMe Maintenance Inspection
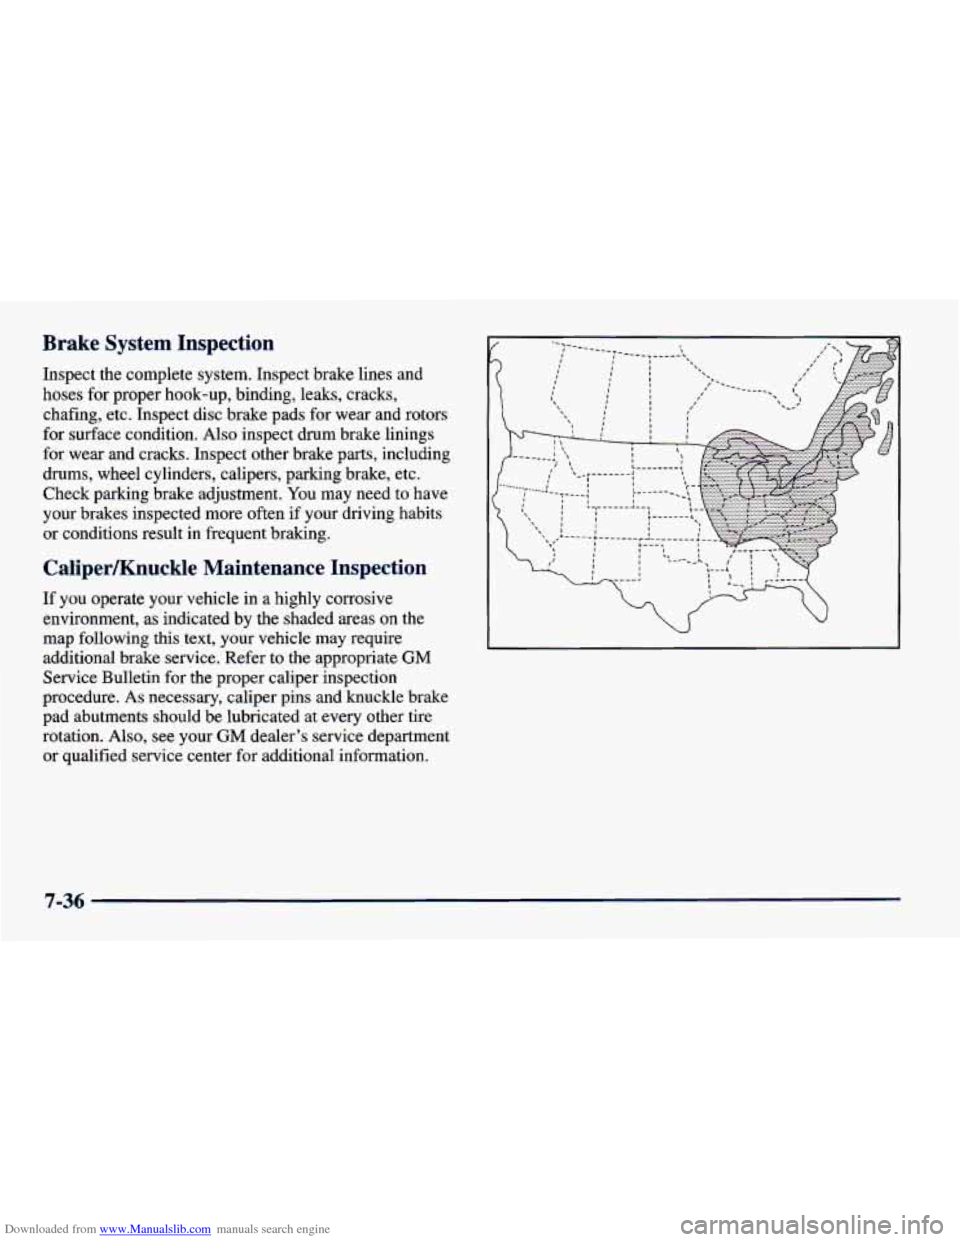
If you operate your vehicle in a highly corrosive
environment,
as indicated by the shaded areas on the
map following this text, your vehicle may require
additional brake service. Refer to the appropriate
GM
Service Bulletin for the proper caliper inspection
procedure.
As necessary, caliper pins and knuckle brake
pad abutments should be lubricated at every other tire
rotation. Also, see your
GM dealer’s service department
or qualified service center for additional information.
7-36
Page 383 of 400
Downloaded from www.Manualslib.com manuals search engine 0 Section 9 Index
Adapter Kit. CD ............................... 3- 15
Adding Equipment to the Outside of Your Vehicle
...... 6-3
AirBag
....................................... 1-23
How Does it Restrain .......................... 1-27
How it Works ................................ 1-25
Location
.................................... 1-25
Readiness Light
......................... 1-23, 2-66
What Makes it Inflate
.......................... 1-27
What Will You See After it Inflates
............... 1-27
When Should it Inflate
......................... 1-26
Aircleaner
.................................... 6-17
Air Conditioning
................................ 3-4
Air Conditioning Refrigerants
..................... 6-64
Alignment and Balance, Tire
...................... 6-46
Aluminum Wheels, Cleaning
...................... 6-54
Antenna, Fixed
................................. 3-24
Antifreeze
..................................... 6-25
Anti-Lock
................................ 2-68, 4-7
Brake System Warning Light
................ 2-68, 4-7
Brakes
...................................... 4-7
Anti-Theft, Radio
.............................. 3-20
Appearancecare
............................... 6-48
Appearance Care Materials
....................... 6-56
Arbitration Program
.............................. 8-9
Servicing
................................... 1-29
Ashtrays
...................................... 2-48
Audio Systems
.................................. 3-7
Auto-Down Window
............................ 2-32
Automatic Overdrive
............................ 2-23
Automatic Transaxle
............................ 2-15
Check
...................................... 7-31
Fluid
.................................. 6-18, 6-21
Gear Positions
............................... 2-20
Operation
................................... 2-19
Park Mechanism Check
........................ 7-34
Shifting
..................................... 2-19
Starting Your Engine
.......................... 2-15
Audio Equipment. Adding
........................ 3-22
Back-up Lamps Bulb Replacement
............... 6-38
Battery
....................................... 6-35
Charging System Light
........................ 2-67
Jump Starting
................................. 5-3
Replacement. Keyless Entry
..................... 2-9
Saver
...................................... 2-44
Warnings
................................ 5-3, 5-5
BBB Auto Line ................................. 8-9
Better Business Bureau Mediation
................... 8-9
Blizzard
...................................... 4-26
9-1