Page 111 of 402

Downloaded from www.Manualslib.com manuals search engine Limited-Slip Rear Axle
If you have this feature, your limited-slip rear axle can
give you additional traction on snow, mud, ice, sand or
gravel. It works like a standard axle most of the time,
but when one of the rear wheels has no traction and the
other does, this feature will allow the wheel with
traction to move the vehicle.
Parking Your Vehicle (Manual
Transmission)
Before you get out of your vehicle, put your manual
transmission in REVERSE (R) and firmly apply the
parking brake.
If your vehicle is equipped to tow a trailer, see
“Towing a Trailer” in the Index.
Shifting Out of PARK (P)
(Automatic Transmission)
Your Chevrolet has a Brake-Transmission Shift
Interlock (BTSI). You have to fully apply your regular
brake before you can shift from PARK
(P) when the
ignition
is in the RUN position. See “Automatic
Transmission Operation’’ in the Index. If you cannot shift
out of PARK
(P), ease pressure on
the shift lever
-- push the shift lever all the way into
PARK
(P) and release the shift lever button as you
maintain brake application. Then press the shift lever
button and move the shift lever into the gear you wish.
If
you ever hold the brake pedal down but still can’t
shift out of PARK
(P), try this:
1. Turn the ignition key to OFF.
2. Apply and hold the brake.
3. Shift to NEUTRAL (N).
4. Start the engine and then shift to the drive gear you
want.
5. Have the vehicle fixed as soon as you can.
Windows
Manual Windows
Rotate the window crank handle to open and close each
door window.
2-43
Page 112 of 402

Downloaded from www.Manualslib.com manuals search engine Power Windows
Switches on the driver’s door control each window
when the ignition is on or when RAP is present. (See
“Retained Accessory Power” in the Index.)
You can open the passenger’s window any amount by
pressing the switch and releasing it when the window
has lowered to the position you want.
The driver’s window has an auto-down feature. This
switch is labeled AUTO. Tap the bottom
of the switch
and the driver’s window will open a small amount.
If the
lower part
of the switch is pressed all the way down and
released, the window will go all the way down.
To stop the window while it is lowering, press the top
of the switch. To raise the window, press and hold the
top of the switch.
Horn
To sound the horn, press either horn symbol on your
steering wheel.
If your
horn sounds two or three chirps when unlocking
your vehicle with the keyless entry transmitter (if
you
have that option), the alarm was triggered while you
were away. Check the vehicle before entering.
Tilt Steering Wheel
A tilt steering wheel allows you to adjust the steering
wheel before you drive.
You can also raise it to the highest level to give your
legs more room when
you exit and enter the vehicle.
To tilt the wheel, hold the steering wheel and pull the
lever. Move the steering wheel to a comfortable level,
then release
the lever to lock the wheel in place.
2-44
Page 118 of 402

Downloaded from www.Manualslib.com manuals search engine Ending Out of Cruise Control
There are several ways to turn off the cruise control:
Step lightly on the brake pedal or push the clutch
pedal, if you have a manual transmission; or
Move the cruise switch to OFF.
Erasing Speed Memory
When you turn off the cruise control or the ignition,
your cruise control set speed memory is erased.
Exterior Lamps
The main lamp control is a knob that works these lamps:
Headlamps
Taillamps
Parking Lamps
License Lamps
Sidemarker Lamps
Instrument Panel Lights
#, Turn the knob to this position to turn on your
headlamps and other operating lamps.
-300: Turn the knob to this position to turn on your
parking lamps and other operating lamps without
your
headlamps.
Turn the knob to OFF to turn
off the lamps.
-‘a-
Headlamps On Reminder
If you turn the ignition to the off position and leave
the lamps on, you will hear a chime, lasting up
to
five seconds. If the lamps are still on when you open
the driver’s door, the chime will sound again.
2-50
Page 119 of 402

Downloaded from www.Manualslib.com manuals search engine Daytime Running Lamps
Daytime Running Lamps (DRL) can make it easier
for others to see the front of your vehicle during the
day. DRL can be helpful
in many different driving
conditions, but they can be especially helpful in the
short periods after dawn and before sunset.
A light sensor on top of the instrument panel
automatically turns the headlamps
on, so be sure
it isn’t covered.
The
DRL system will make your front turn signal
lamps come on when:
The ignition is on,
0 The headlamp switch is off and
0 The parking brake is released.
When
the DRL are on, only your front turn signal lamps
will be on. The taillamps, sidemarker and other lamps
won’t be on. Your instrument panel won’t be lit up
either. When you
use your turn signals, the front turn
signal and the taillamp of the desired side will flash.
When it’s dark enough outside, your front turn signal
lamps will go out and your headlamps will come on.
The other lamps will also come on. When it’s
bright enough outside, the regular lamps will
go
off, and your front turn signal lamps will come on.
As with any vehicle, you should turn on the regular
headlamp system
when you need it.
Fog Lamps (If Equipped)
Use your fog lamps for
better vision in foggy or
misty conditions. Your
parking lamps must be on or
your fog lamps won’t work.
#D To turn the fog lamps on, push the fog lamp switch.
Push the the switch again to
turn the fog lamps off. A light
on the switch will come on when the fog lamps are on.
Fog lamps will go
off whenever your high-beam
headlamps come on. When the high-beam headlamps
go off, the fog lamps will come on again.
2-51
Page 120 of 402

Downloaded from www.Manualslib.com manuals search engine If your vehicle is equipped with the Vehicle and
Content Theft-DetenentlAlarm System and your fog
lamp switch
is on, the fog lamps may flash, along
with the parking lamps, to indicate operation
of the
Vehicle and Content Theft-DetemenVAlarm System.
See ‘Vehicle and Content Theft-DeterrendAlarm
System” in the Index.
Interior Lamps
Instrument Panel Brightness Control
This switch controls the brightness of your
instrument panel lights. Turn the switch to brighten or
dim the lights.
If you turn the switch all the way up,
your courtesy lamps will come
on.
Courtesy Lamps
When either door is opened, several interior lamps go
on. These lamps are courtesy lamps. They make it easier
for you to enter and leave your vehicle.
Courtesy lamps include one
SRV mirror lamp, two
map lamps and other lamps throughout the interior of
your vehicle.
To prevent battery rundown, your interior lamps will be
disabled about
10 minutes after the ignition is turned to
the OFF position. The 10-minute timer will be restarted
if you do
any of the following:
1. Turn the ignition on.
2. Open either door.
3. Press any button on your keyless entry transmitter.
4. Turn the interior lamp switch from off to on.
5. Open the hatch.
2-52
Page 121 of 402

Downloaded from www.Manualslib.com manuals search engine Delayed Illumination
With delayed illumination, the courtesy lamps will come
on and stay on for
25 seconds after you close the doors
when entering the vehicle. They will also stay on for
five seconds after you close the doors when exiting the
vehicle. The times will be shortened if the ignition is
turned to
RUN or if the power locks are activated. To
turn this feature on or off, see “Feature Custornization”
in the Index.
Exit Lighting
With exit lighting, the interior lamps will come on when
you remove the key from the ignition to help you see
while exiting the vehicle.
To turn this feature on or off,
see “Feature Customization” in the Index.
Front Map Lamps
Your inside rearview mirror includes two map lamps.
Each lamp has its own switch. Use the switch closest
to
the lamp to turn it on. The lamps will also go on when a
door is opened.
Courtesy lamps include two map lamps and other lamps
throughout the interior
of your vehicle.
Page 133 of 402

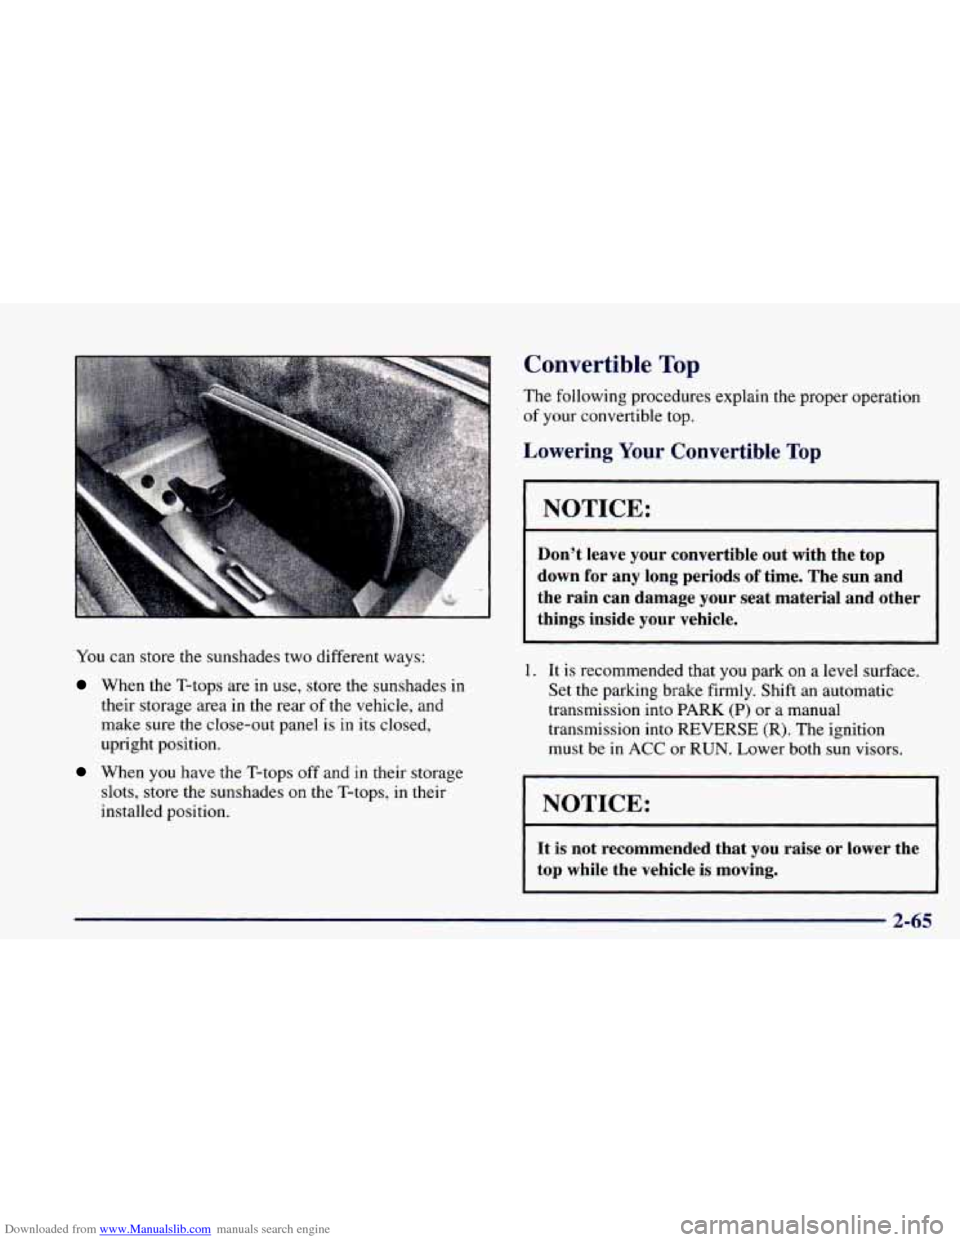
Downloaded from www.Manualslib.com manuals search engine You can store the sunshades two different ways:
When the T-tops are in use, store the sunshades in
their storage area in the rear
of the vehicle, and
make sure the close-out panel
is in its closed,
upright position.
When you have the T-tops off and in their storage
slots, store the sunshades
on the T-tops, in their
installed position.
Convertible Top
The following procedures explain the proper operation
of your convertible top.
Lowering Your Convertible Top
NOTICE:
Don’t leave your convertible out with the top
down
for any long periods of time. The sun and
the rain can damage your seat material and other things inside your vehicle.
1. It is recommended that you park on a level surface.
Set the parking brake firmly. Shift an automatic
transmission into PARK
(P) or a manual
transmission into REVERSE (R). The ignition
must be in
ACC or RUN. Lower both sun visors.
I NOTICE:
It is not recommended that you raise or lower the
top while the vehicle is moving.
2-65
Page 136 of 402
Downloaded from www.Manualslib.com manuals search engine 3. Install the middle section of the cover by sliding the
tabs into the slots
on the right side cover. Lower the
cover and engage the latch.
4. Close the hatch.
Raising Your Convertible Top
1. It is recommended that you park on a level surface.
Set the parking brake firmly. If
you have an
automatic transmission, shift into
PARK (P). If
you have a manual transmission, shift into
RUN or RAP must be on. Then lower both sun
visors and lower both windows at least three inches
(8 cm). If the boot cover is in place, it must be
removed first.
I REVERSE (R). The ignition must be in ACC,
I
~ 1 NOTICE:
It is not recommended that you raise or lower the
top while the vehicle
is moving.
2-68