1998 CHEVROLET ASTRO change time
[x] Cancel search: change timePage 10 of 414

Downloaded from www.Manualslib.com manuals search engine ~-, CHEVROLET pll
GENERAL MOTORS, GM, the GM Emblem,
CHEVROLET, the CHEVROLET Emblem and the
name ASTRO are registered trademarks
of General
Motors Corporation.
This manual includes the latest information at the time it
was printed. We reserve the right
to make changes in the
product after that time without further notice. For
vehicles first sold in Canada, substitute the name
“General Motors
of Canada Limited” for Chevrolet
Motor Division whenever
it appears in this manual.
Please keep this manual in your vehicle,
so it will be
there if you ever need it when you’re on the road. If
you
sell the vehicle, please leave this manual in it so the new
owner can use it.
Litho in U.S.A.
C9810 B First Edition
WE SUPPORT VOLUNTARY TECHNICIAN
CERTIFICATION THROUGH
AUTOMOTIVE
National Institute for
SERVICE
EXCELLENCE
We support voluntary
technician certification.
For Canadian Owners Who Prefer a
French Language Manual:
Aux propriktaires canadiens: Vous pouvez vous
procurer un exemplaire de ce guide en franGais chez
votre concessionaire ou au:
DGN Marketing Services Ltd.
1577 Meyerside Dr.
Mississauga, Ontario L5T 1B9
@Copyright General Motors Corporation 1997
All Rights Reserved
ii
Page 92 of 414

Downloaded from www.Manualslib.com manuals search engine This device complies with RSS-210 of Industry Canada.
Operation is subject to the following two conditions:
(1) this device may not cause interference, and
(2) this
device must accept any interference received, including
interference that may cause undesired operation of
the devict .
Changes or modifications to this system by other than an
authorized service facility could void authorization to
use this equipment.
This system has a range of about
3 feet (1 m) up to
30 feet (9 m). At times you may notice a decrease in
range. This is normal for any remote keyless entry
system. If the transmitter does not work or if
you have
to stand closer to your vehicle for the transmitter to
work,
try this:
Check to determine if battery replacement
or
transmitter resynchronization is necessary. See the
instructions that follow.
Check the distance. You may be too far from your
vehicle. You may need to stand closer during rainy
or snowy weather,
Check the location. Other vehicles or objects may be
blocking the signal. Take a few steps to the left or
right, hold the transmitter higher, and try again.
If you’re still having trouble, see your dealer or a
qualified technician for service.
Operation
When you press UNLOCK, the driver’s door will
unlock automatically. If you press
UNLOCK again
within five seconds, all doors will unlock. All doors
will lock when
LOCK is pressed. The interior lamps
will come on whenever you lock or unlock the doors.
Pressing the REAR
2X button twice within three
seconds will unlock the rear cargo doors.
Matching Transmitter(s) To Your Vehicle
Each remote keyless entry transmitter is coded to
prevent another transmitter from unlocking your vehicle.
If a transmitter is lost or stolen, a replacement can be
purchased through your dealer. Remember to bring any
remaining transmitters with you when you go to your
dealer. When the dealer matches the replacement
transmitter to your vehicle, any remaining transmitters
must also be matched. Once your dealer has coded the
new transmitter, the lost transmitter will not unlock your
vehicle. Each vehicle can have only two transmitters
matched to it.
2-8
Page 93 of 414
Downloaded from www.Manualslib.com manuals search engine Battery Replacement
Under normal use, the battery in your remote keyless
entry transmitter should last about two years.
You can tell the battery is weak
if the transmitter won’t
work at the normal range in any location. If you have to
get close to your vehicle before the transmitter works,
it’s probably time to change the battery.
NOTICE:
When replacing the battery, use care not to touch
any of the circuitry. Static from your body
transferred to these surfaces may damage
I the transmitter. I
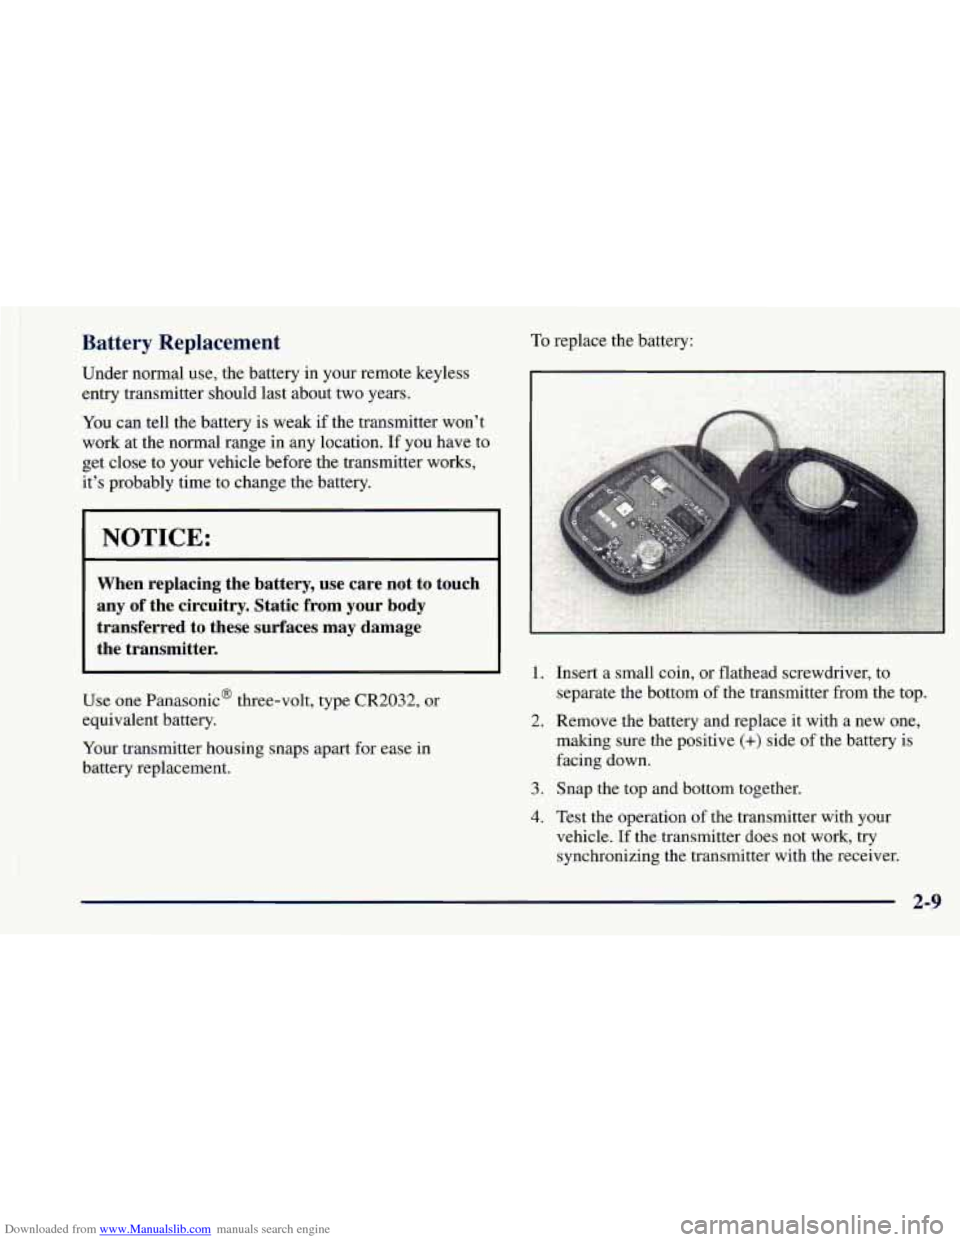
To replace the battery:
L.
Use one PanasonicB three-volt, type CR2032, or
equivalent battery.
Your transmitter housing snaps apart for ease in
battery replacement. 2.
3.
4.
Insert a small coin, or flathead screwdriver, to
separate the bottom
of the transmitter from the top.
Remove the battery and replace it with a new one,
making sure the positive
(+) side of the battery is
facing down.
Snap the top and bottom together.
Test the operation of the transmitter with your
vehicle. If the transmitter does not work, try
synchronizing the transmitter with the receiver.
Page 116 of 414

Downloaded from www.Manualslib.com manuals search engine As you signal a turn or a lane change, if the arrows don’t
flash but just stay on, a signal bulb may be burned out
and other drivers won’t see your turn signal.
If a bulb is burned
out, replace it to help avoid an
accident. If the arrows don’t go
on at all when you
signal a turn, check the fuse (see “Fuses and Circuit
Breakers” in the Index) and for burned-out bulbs.
Windshield Wipers
You control the windshield
wipers by turning
the band
with the wiper symbol on it.
- .- .. For a single-wiping cycle,
a turn the band to MIST. Hold m
If you have a trailer towing option with added wiring for
the trailer lamps, a different turn signal flasher is used.
With this flasher installed, the signal indicator
will flash
even if
a turn signal bulb is burned out. Check the front
and rear turn signal lamps regularly
to make sure they it there
until the wipers
start, then let go. The wipers
will stop after
one wipe. If
you want more wipes, hold
the band on MIST longer.
are working.
Headlamp HighLow Beam Changer between wipes. This can be very useful in light rain or
To change the headlamps from low beam to high or high closer to Low, the shorter the delay,
to low,
pull the multifunction lever all the way toward You
can set the wiper speed for a long or short delay
snow. Turn the band
to choose the delay time. The
you. Then release it.
When the high beams are
on, this indicator light on
the instrument panel also
will be
on.
For steady wiping at low speed, turn the band away
from
you to LOW. For high-speed wiping, turn the band
further, to HIGH.
To stop the wipers, move the band
to OFF.
Be sure to clear ice and snow from the wiper blades
before using them. If they’re frozen
to the windshield,
carefully loosen or thaw them. If your blades do become
worn or damaged, get new blades or blade inserts.
2-32
Page 122 of 414

Downloaded from www.Manualslib.com manuals search engine Daytime Running Lamps
Daytime Running Lamps (DRL) can make it easier for
others to
see the front of your vehicle during the day.
DRL can be helpful in many different driving
conditions, but they can be especially helpful in the
short periods after dawn and before sunset.
The DRL system will make your headlamps come on at
a reduced brightness when:
0 the ignition is on,
0 the headlamp switch is off and
0 the parking brake is released.
When the DRL
are on, only your headlamp
-
s will be on.
The taillamps, sidemarker and other lamps won’t be on.
Your instrument panel won’t be lit up either.
When it begins to get dark, your DRL indicator light is
a
reminder to turn your headlamp switch on. The other
lamps that come on with your headlamps will also
come on.
When you turn the headlamp switch
off, the regular
lamps will go off, and your headlamps will change to
the reduced brightness of DRL. To
idle your vehicle with the DRL off, set the parking
brake. The DRL will stay off until you release the
parking brake.
As with any vehicle, you should turn on the regular
headlamp system when you need it.
Interior Lamps
Dome Lamps
2-38
Page 137 of 414
Downloaded from www.Manualslib.com manuals search engine Training a Garage Opener with a “Rolling Code” Feature
If you programmed the universal transmitter, but the
garage door will
not open, and if your garage door
opener was manufactured after 1995, your garage door
may have a security feature that changes the “code” of
your garage door opener every time it is opened
or closed.
To determine if your garage door opener has this
“rolling code” feature, press the appropriate button on
the universal transmitter that was programmed. If
the
red light flashes rapidly for one to two seconds, then
turns solid, your garage door opener has this feature.
To program a garage door opener with the rolling code
feature, do
the following:
1. Program your hand-held transmitter to the universal
transmitter by following the steps provided under
“Programming the Transmitter” earlier in
this section.
2. Remove the cover panel from the garage door
opener receiver. It is located near the garage door
opener motor. 3.
4.
5.
6.
Locate
the training button on the garage door opener
receiver. The exact location and color will vary.
Press the training button on the garage door opener
receiver for one to two seconds.
Return
to your vehicle and press the programmed
button on the universal transmitter until the red light
flashes rapidly (about two seconds).
Release the button, then press the button again to
confirm that it was programmed
to the garage door
opener receiver.
You may now use either the universal transmitter or the
hand-held transmitter
to open your garage door. If you
still have difficulty in programming and require
assistance, please
call 1-800-355-35 15,
Accessories
Accessories for the universal transmitter are available
from the manufacturer
of the unit. If you would like
additional information, please call 1-800-355-35
15.
2-53
Page 192 of 414
Downloaded from www.Manualslib.com manuals search engine The anti-lock system can change the brake pressure
faster
than any driver could. The computer is
programmed
to make the most of available tire and
road conditions.
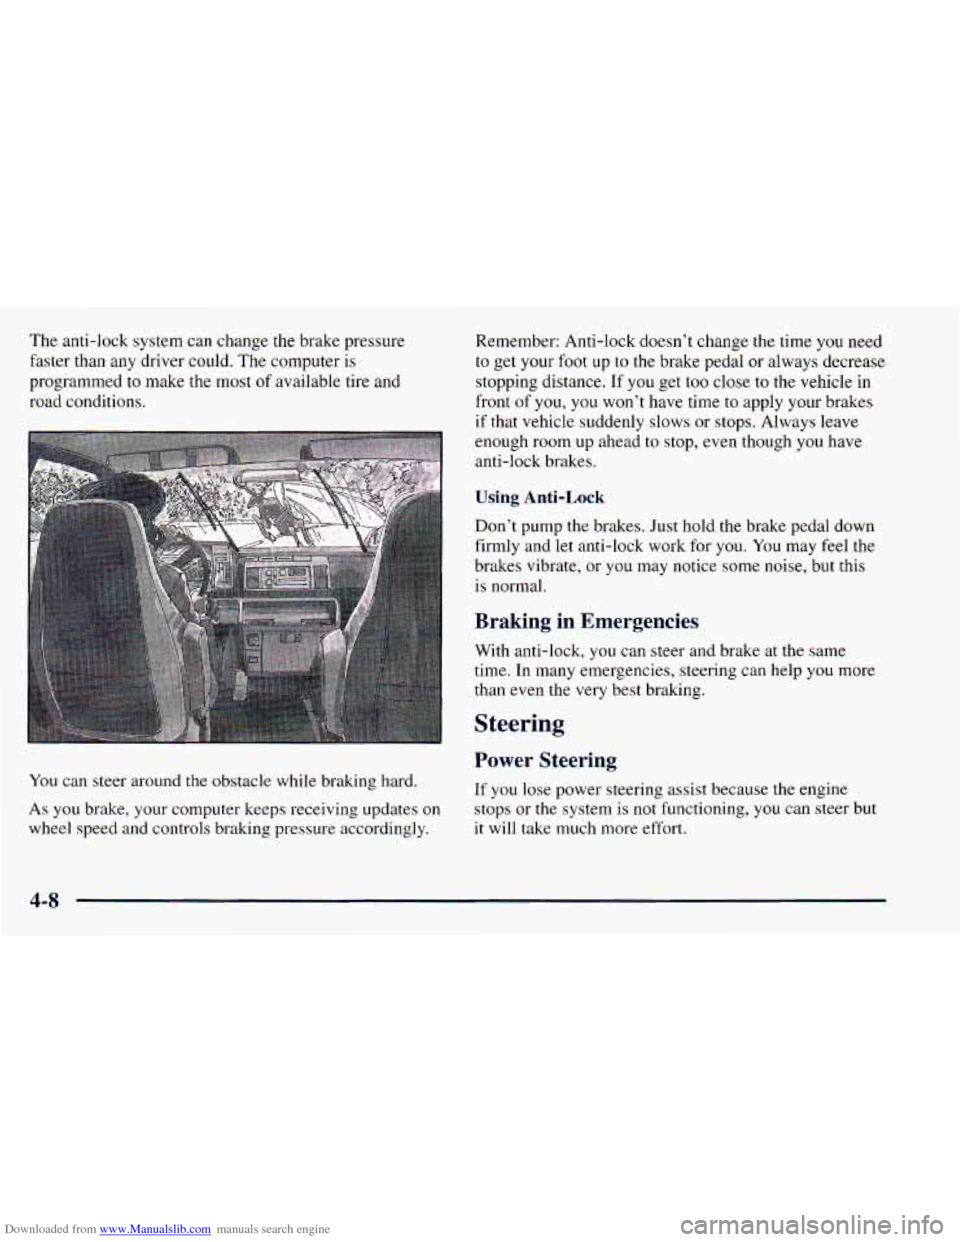
You can steer around the obstacle while braking hard.
As you brake, your computer keeps receiving updates on
wheel speed and controls braking pressure accordingly. Remember: Anti-lock doesn’t
change the time you need
to get your
foot up to the brake pedal or always decrease
stopping distance.
If you get too close to the vehicle in
front of you,
you won’t have time to apply your brakes
if
that vehicle suddenly slows or stops. Always leave
enough room up ahead to stop, even though you have
anti-lock brakes.
Using Anti-Lock
Don’t pump the brakes. Just hold the brake pedal down
firmly and let anti-lock work for
you. You may feel the
brakes vibrate, or you may notice some noise, but this
is normal.
Braking in Emergencies
With anti-lock, you can steer and brake at the same
time. In many emergencies, steering can help you more
than even the very best braking.
Steering
Power Steering
If you lose power steering assist because the engine
stops or the system is not functioning, you can steer but
it will take much more effort.
4-8
Page 193 of 414
Downloaded from www.Manualslib.com manuals search engine Steering Tips
Driving on Curves
It’s important to take curves at a reasonable speed.
A lot of the “driver lost control” accidents mentioned on
the news happen on curves. Here’s why:
j Experienced driver or beginner, each of us is subject to
the same laws of physics when driving on curves. The
traction of the tires against the road surface makes it
possible for the vehicle to change its path when you turn
the front wheels. If there’s no traction, inertia will keep
the vehicle going in the same direction. If you’ve ever
tried to steer a vehicle on wet ice, you’ll understand this.
The traction you can get in a curve depends on the
condition of your tires and the road surface, the angle at
which the curve is banked, and your speed. While you’re
in a curve, speed is the one factor you can control.
Suppose you’re steering through a sharp curve. Then you
suddenly accelerate. Both control systems
-- steering and
acceleration
-- have to do their work where the tires meet
the road. Adding
the sudden acceleration can demand too
much of those places. You can lose control.
What should you do
if this ever happens? Ease up on the
accelerator pedal, steer the vehicle the way you want it
to go, and slow down. Speed limit signs near curves warn that
you should
adjust your speed. Of course, the posted speeds are
based on good weather and road conditions. Under less
favorable conditions you’ll want to go slower.
If you need to reduce your speed as you approach a
curve, do it before you enter the curve, while your front
wheels
are straight ahead.
Try to adjust your speed
so you can “drive” through the
curve. Maintain a reasonable, steady speed. Wait to
accelerate until you are out of the curve, and then
accelerate gently into the straightaway.
Steering in Emergencies
There are times when steering can be more effective than
braking. For example, you come over a hill and find a
truck stopped in your lane, or a car suddenly pulls out
from nowhere, or
a child darts out from between parked
cars and stops right in front of you. You can avoid these
problems by braking
-- if you can stop in time. But
sometimes you can’t; there isn’t room. That’s the time \
for
evasive action
-- steering around the problem.
Your vehicle can perform very well in emergencies
like these. First apply your brakes. (See “Braking in
Emergencies” earlier in this section.) It is better to
remove as much speed as you can from a possible
collision. Then steer around the problem, to the left or
right depending on
the space available.
4-9