1998 CADILLAC SEVILLE audio
[x] Cancel search: audioPage 173 of 378
Downloaded from www.Manualslib.com manuals search engine numbered button for less than two seconds, the
station you set will return.
5. Repeat the steps for each pushbutton.
When battery power is removed and later applied, you
will not have to reset your radio presets because the
radio remembers them.
PRESET SCAN: Press and hold SCAN for more than
two seconds until you hear a beep to listen to each of
your preset stations for five seconds. The radio will
go
to the first preset station stored on your pushbuttons,
stop for five seconds, then go
on to the next preset
station. Press
SCAN again to stop scanning. If a preset
station has weak reception, the radio will not stop at the
preset station.
Using RDS Mode
Your audio system is equipped with Radio Data Systems
(RDS). RDS mode gives you many useful new features.
When RDS is on, the radio can:
seek only to stations with the types of programs you
want to listen to,
seek to stations with traffic announcements,
receive announcements concerning local and national emergencies,
receive and display messages from radio stations and
search for a stronger station when a station is too
weak for listening.
RDS features are only available for use on FM stations
which broadcast
RDS information.
0 RDS SELECT Press this button to use the
alternate RDS functions (RDS, TA,
MSG, PTY and
PTY > ) located on the six numbered pushbuttons.
RDS SELECT: will appear on the display. The alternate
RDS functions are only available when you are using
the
FM band of your radio.
RDS (1): With RDS off, press the RDS SELECT
button, followed by this button to turn
RDS on. The
RDS display will turn on. You must have
RDS on to
use the new
RDS functions. The RDS display will
also turn on if one of the other RDS function buttons
has been pressed on. If you are tuned to a station
broadcasting RDS information, the station’s call letters and Program Type (PTY) will replace the station’s
frequency on the display. After five seconds, the
program type will be replaced on
the display by the
station’s program type name. The program type and
program type name may be the same or different.
3-22
Page 177 of 378
Downloaded from www.Manualslib.com manuals search engine Using DSP Mode
DSP: The Digital Signal Processing (DSP) feature is used
to provide a choice of four different listening experiences:
TALK,
FRONT SEAT, AMBIENCE and SPACIOUS.
DSP can be used while listening to the radio, the cassette
tape player or the CD player. Press
this button to turn DSP
on. Press and release
this button until you reach the
desired selection. To
tum DSP off, press and hold this
button until DSP OFF appears on the display. When DSP
OFF is displayed, the system will provide the best overall
Bose@ performaxe. The radio keeps separate DSP
settings for each band (except weather band, which is
always set to TALK) and each source.
e
e
e
0
TALK: This setting is used when listening to
non-musical material
such as news, talk shows,
sports broadcasts and books on tape. TALK makes
spoken words sound very clear.
FRONT SEAT: This setting adjusts the audio to
give the front seat occupants the best possible sound
qualities. FRONT SEAT can be used at any time for
any material. Rear seat passengers in the vehicle may
not get the same effect.
AMBIENCE: This setting is used to enhance the
stereo effect.
SPACIOUS: This setting is used to make the
listening space seem larger.
Adjusting the Speakers
TONE:
Press and release this button until the desired
BALANCE or FADE control
is found.
LEVEL: After selecting the desired BALANCE or
FADE control, press the plus
(+) or minus (-) symbol on
this button to select the desired level.
Playing a Cassette Tape
With the radio on, insert a cassette tape. The tape will
begin playing as soon as it is inserted. When one side of
your cassette tape is done playing, auto reverse plays the
other side of your cassette tape. Cassette tapes may be
loaded with the radio
off but they will not start playing
until the radio is
on. If you want to insert a cassette tape
when the ignition is
off, first press the eject button.
While the tape
is playing, use the VOL, TONE, LEVEL
and DSP controls just as you do for the radio. Other
controls may have different functions when a tape
is
inserted. The display will show an underlined tape
symbol. TAPE PLAY will appear on the display when a
tape is playing, with an arrow to indicate which side
of
the tape is playing.
3-26
Page 180 of 378
Downloaded from www.Manualslib.com manuals search engine AM-FM Stereo with Cassette Tape and
MiniDisc Player with Radio Data Systems
(RDS) and Digital Signal Processing (DSP)
(If Equipped)
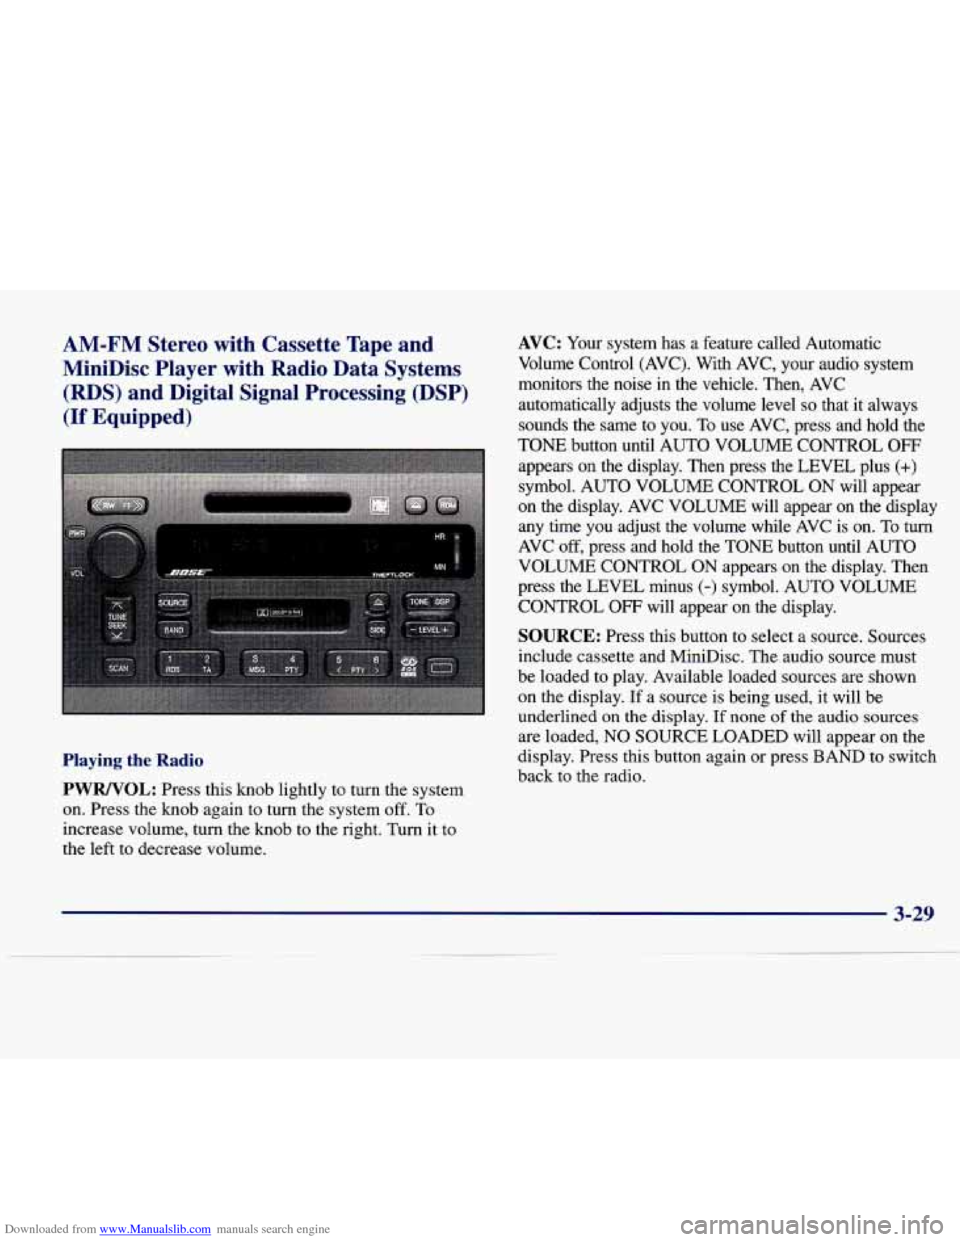
Playing the Radio
PWRNOL:
Press this knob lightly to turn the system
on. Press the knob again to turn the system
off. To
increase volume, turn the knob to the right. Turn it to
the left to decrease volume.
AVC: Your system has a feature called Automatic
Volume Control (AVC). With AVC, your audio system
monitors the noise
in the vehicle. Then, AVC
automatically adjusts the volume level
so that it always
sounds the same to you. To use AVC, press and hold the
TONE button until AUTO VOLUME CONTROL
OFF
appears on the display. Then press the LEVEL plus (+)
symbol. AUTO VOLUME CONTROL ON will appear
on the display. AVC VOLUME will appear on the display
any time you adjust the volume while AVC
is on. To turn
AVC off, press and hold the TONE button until AUTO
VOLUME CONTROL
ON appears on the display. Then
press the LEVEL minus
(-) symbol. AUTO VOLUME
CONTROL
OFF will appear on the display.
SOURCE: Press this button to select a source. Sources
include cassette and MiniDisc. The audio source must
be loaded to play. Available loaded sources
are shown
on the display. If a source is being used, it will be
underlined on the display.
If none of the audio sources
are loaded, NO SOURCE LOADED will appear on the
display. Press this button again or press BAND to switch
back to the radio.
3-29
Page 182 of 378
Downloaded from www.Manualslib.com manuals search engine Using RDS Mode
Your audio system is equipped with Radio Data Systems
(RDS). RDS mode gives you many useful new features.
When RDS is on, the radio can:
0
0
0
0
seek only to stations with the types of programs you
waq$ to listen to,
seek to stations with traffic announcements,
receive announcements concerning local and national emergencies,
receive and display messages from radio stations and
search for a stronger station when a station is too
weak for listening.
RDS features are only available for use on FM stations
which broadcast
RDS information.
0 RDS SELECT Press this button to use the
alternate
RDS functions (RDS, TA, MSG, PTY and
C PTY > ) located on the six numbered pushbuttons.
RDS SELECT will appear on the display. The alternate
RDS functions are only available when you are using
the
FM band of your radio.
RDS (1): With RIDS off, press the RDS SELECT button,
followed by this button to turn RDS on. The RDS
display will turn
on. You must have RDS on to use the
new RDS functions. The RDS display will also turn on
if one
of the other RDS function buttons has been
pressed on. If you are tuned to a station broadcasting
RDS information, the station's call letters and Program
Type (PTY) will replace the station's frequency on the
display. After
five seconds, the program type will be
replaced on the display by
the station's program type
name. The program type and program type name may
be the same or different. Press BAND to recall the
frequency and program type displays.
If the radio is
tuned to a station that is not broadcasting RDS
information, the station's frequency will remain on the
display. While
RDS is on, the radio will search for a
stronger station in the network when a station gets too
weak for listening. Press the
RDS SELECT button,
followed by this button again to turn RDS off. All
RDS
functions will be turned off.
REGION: You can also use the RDS button to access
the region function. When an
RDS station becomes
weak, this function searches for a stronger station within
the same network.
A network can span a great distance.
One network can have stations spread across a country
or continent. Each network breaks down into regions.
3-31
Page 186 of 378
Downloaded from www.Manualslib.com manuals search engine The radio keeps separate DSP settings for each band
(except weather band, which is always set to TALK) and
each source.
TALK: This setting is used when listening to
non-musical material such as news, talk shows,
sports broadcasts and books on tape. TALK makes
spoken words sound very clear.
FRONT SEAT This setting adjusts the audio to
give the front seat occupants the best possible sound
qualities. FRONT SEAT can be used at any time for
any material. Rear seat passengers in the vehicle may
not get the same effect.
stereo effect.
AMBIENCE: This setting is used to enhance the
SPACIOUS: This setting is used to make the
listening space seem larger.
Adjusting the Speakers
TONE: Press and release this button until the desired
BALANCE or FADE control is found.
LEVEL: After selecting the desired BALANCE or
FADE control, press the plus
(+) or minus (-) symbol
on this button to select the desired level.
Playing a Cassette Tape
With the radio on, insert a cassette tape. The tape will
begin playing as soon as it is inserted. When one side of
your cassette tape is done playing, auto reverse plays the
other side of your cassette tape. Cassette tapes may be
loaded with the radio
off but they will not start playing
until the radio is on.
If you want to insert a cassette tape
when the ignition is
off, first press the eject button.
While the tape is playing, use the VOL,
TONE, LEVEL
and DSP controls just as you do for the radio. Other
controls may have different functions when a tape is
inserted. The display will show an underlined tape
symbol. TAPE PLAY will appear on the display when a
tape is playing, with an arrow to indicate which side of
the tape is playing.
3-35
Page 191 of 378
Downloaded from www.Manualslib.com manuals search engine PUSHBUTTONS: Press buttons one through six to
select compact discs one through six. These pushbuttons
represent the order
of the discs loaded in the changer.
REV: Press and hold this button to reverse quickly
through a track selection.
FF: Press and hold this button to advance quickly
through a track selection.
TUNE-SEEK: When this button is pressed, it has two
positions. This button works the same, whether it is
pressed to
the first or second position. Press this button to
seek to
the next or previous selection on the compact disc.
TRACK SCAN: When you press SCAN for less than
two seconds, you will hear the first few seconds
of each
track on a disc. Press SCAN again to stop TRACK
SCAN. The CD will mute while scanning and SCAN
will appear on the display.
DISC SCAN: When you press SCAN for more than two
seconds, you will hear the first few seconds
of the first
track
on each disc. Press SCAN again to stop DISC
SCAN. The CD will mute while scanning and SCAN
will appear
on the display.
RDM: Press this button to hear the tracks in random,
rather than sequential, order. RANDOM will appear on
the display. Press TUNE-SEEK while
RDM is on the
display to randomly seek through discs. Press
RDM
again to turn off random play.
SIDE: Press this button to select the next disc in the
changer. Each time you press this button, DISC
LOADING will appear on the display and the disc
number on the radio display will go to that
of the
next available CD.
SOURCE: Press this button to select a source. The
audio source must be loaded to play. If none of the
audio sources are loaded, NO
SOURCE LOADED will
appear on the display. Press this button again or BAND
to switch back to the radio.
A EJECT: Slide the CD changer door all the way
open. Press the upward triangle button. The CD
magazine will eject.
3-40
Page 193 of 378
Downloaded from www.Manualslib.com manuals search engine With the radio off and the clock displayed, use FF and
RW to select home or away presets.
To select the away
presets, press and hold FF for five counts until you hear
a beep. The next time the radio comes on, the away
presets will be active. To select the home presets, press
and hold RW for five counts until you hear a beep.
The next time the radio comes on, the home presets
will be active.
When battery power is removed and later applied, you
will not have to reset your home radio presets because
the radio remembers them. However, you will have to
reset
your away radio presets.
Theft-Deterrent Feature
THEFTLOCK@ is designed to discourage theft of your
radio. Your vehicle has
a “built-in” theft-deterrent
feature on each radio that is automatic
-- there is no
programming required. The radio in your vehicle
cannot be used in any other vehicle. When the radio was originally installed in your vehicle at the factory, it
stored the Vehicle Identification Number (VIN). Each
time the ignition
is turned on, the VIN is verified. If the
vehicle’s VIN does not match the VIN stored in the
radio, THEFTLOCK will be activated and the audio system will not play. If the radio is removed from your
vehicle, the original VIN in the radio can be used to
trace the radio back to your vehicle.
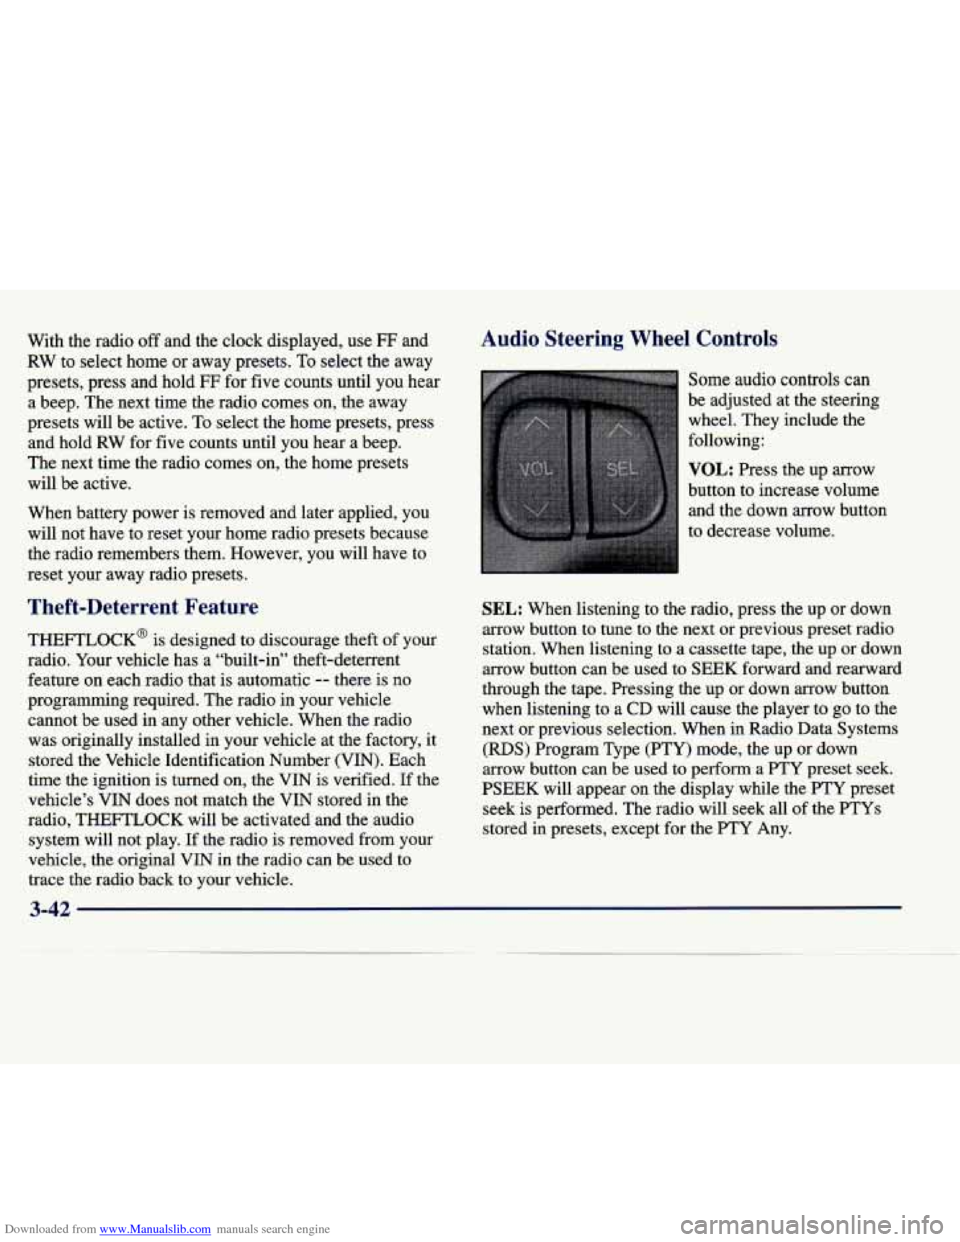
Audio Steering Wheel Controls
Some audio controls can
be adjusted at the steering
wheel. They include the
following:
VOL: Press the up arrow
button to increase volume and the down arrow button
to decrease volume.
SEL: When listening to the radio, press the up or down
arrow button to tune to the next or previous preset radio
station. When listening to a cassette tape, the up or down
arrow button can be used to
SEEK forward and rearward
through the tape. Pressing the up or down arrow button
when listening to
a CD will cause the player to go to the
next or previous selection. When in Radio Data Systems
(RDS) Program Type
(PTY) mode, the up or down
arrow button can be used to perform a
PTY preset seek.
PSEEK will appear on the display while the FTY preset seek is performed. The radio will seek all
of the PTYs
stored in presets, except for the PTY Any.
Page 194 of 378
Downloaded from www.Manualslib.com manuals search engine Understanding Radio Reception
AM
The range for most AM stations is greater than for FM,
especially at night. The longer range, however, can
cause stations to interfere with each other. AM can pick
up noise from things like storms and power lines. Try
reducing the treble to reduce this noise if you ever get it.
FM Stereo
FM stereo will give you the best sound, but FM signals
will reach only about
10 to 40 miles ( 16 to 65 km). Tall
buildings or hills can interfere with
FM signals, causing
the sound to come and go.
Tips About Your Audio System
Hearing damage from loud noise is almost undetectable
until it is too late. Your hearing can adapt to higher
volumes
of sound. Sound that seems normal can be loud
and harmful to your hearing. Take precautions by
adjusting the volume control on your radio to a safe
sound level before your hearing adapts to it.
To help avoid hearing loss or damage:
Adjust the volume control to the lowest setting.
Increase volume slowly until you hear comfortably
and clearly.
NOTICE:
Before you add any sound equipment to your
vehicle
0- like a tape player, CB radio, mobile
telephone or two-way radio
-0 be sure you can
add what you want.
If you can, it’s very
important
to do it properly. Added sound
equipment may interfere with the operation
of
your vehicle’s engine, radio or other systems, and
even damage them. Your vehicle’s systems may
also interfere with the operation
of sound
equipment that has been added improperly.
So, before adding sound equipment, check with
your dealer and be sure to check Federal rules
covering mobile radio and telephone units.
3-43