Page 211 of 426

Remember: Anti-lock doesn’t change the the you need
to get your foot up to the br&e pedal or always decrease
stopping distance. If you get too dose to the vehicle in
front of you, you won’t have time to apply your brakes
If that vehicle suddenly slows or stcps. Always leave
enough
room up ahead tu stop, even though yorr have
anti-lock brakes.
Don’t pump the brakes. Just hold the brake pedal down
5mly and let anti-lock work for you. You may feel a
slight brake pedal gulsation or notice some noise, but
this is normal.
?F? 5-~~l:”~p.Tp LC :~?$<:4:?~$ ,y...,iq:py; (TF &&@$B&) r ,y a% *.-blL& . ,%*i ...,‘. --’3 li Y z .i I A -2.
YQW vehicle may have a traction control system thzat
limits wheel spin. This is especially useful in slippery
road conditions. The system operates only if it senses
that one
or both of the front wheels are spinning or
beginning to lose traction. When this happens, the
system works the front brakes and reduces engine power
to limit wheel spin.
You may feel or hear the system working, but this
is nomal.
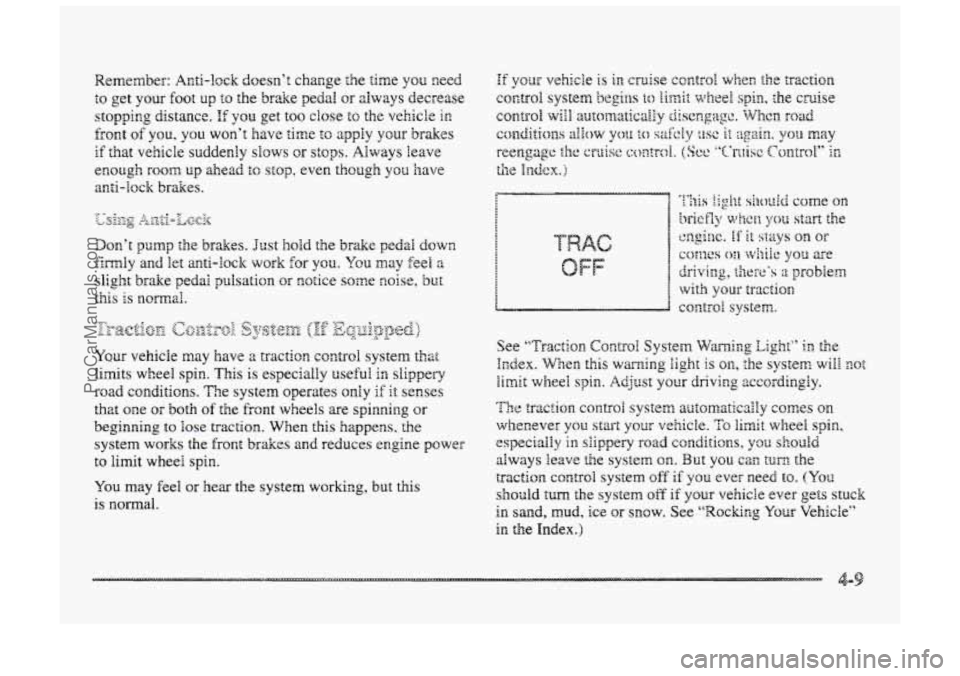
__ . ... a
See ‘‘T~-acti~m Contra1 System Warning Eight” ii: the
Irzdex. WEen this warning light is on, the system will mt
limit wheel spin. Adjust your driving zccsrdingly.
The traction COII~FO~ system arr;2smaticaily comes on
whenever you start your vehicle. To limit wheel spin,
especially in siippery road conditio~s, y3u shouEd
always leave the system on. But you can turn- the
traction control system off‘ if you ever need to. (YQQ
should turn the system off if pur vehicBe ever gets stuck
in sand, mud, ice or snow. See “Rockr~g Your Vehicle”
in the Index.)
ProCarManuals.com
Page 214 of 426

&3g;-izg 1x1 0 &i&rpe[z.iQs 7,ww e?
There are times when steering can be more effective
than brakmg. For example, you come over a hill and
find a truck stopped in your lane, or a car suddenly pulls
out from nowhere, OH a child darts out from between
parked
cars md stops right in front of YOU. You can
avoid these problems by
braking -- if you can stop in
time. But sometimes you can’t; trlere isn’t room. That’s
the time
for evasive action -- steering ~ound
the problem.
Your vehicle can perform very well in emergencies like
these. First apply your brakes. (See ‘‘Braking in
Emergencies” earlier in ”s section.) It is better tc
remove as much speed as you can from a possible
collision. Then steer around the problem, to the left or
right depending on the space available.
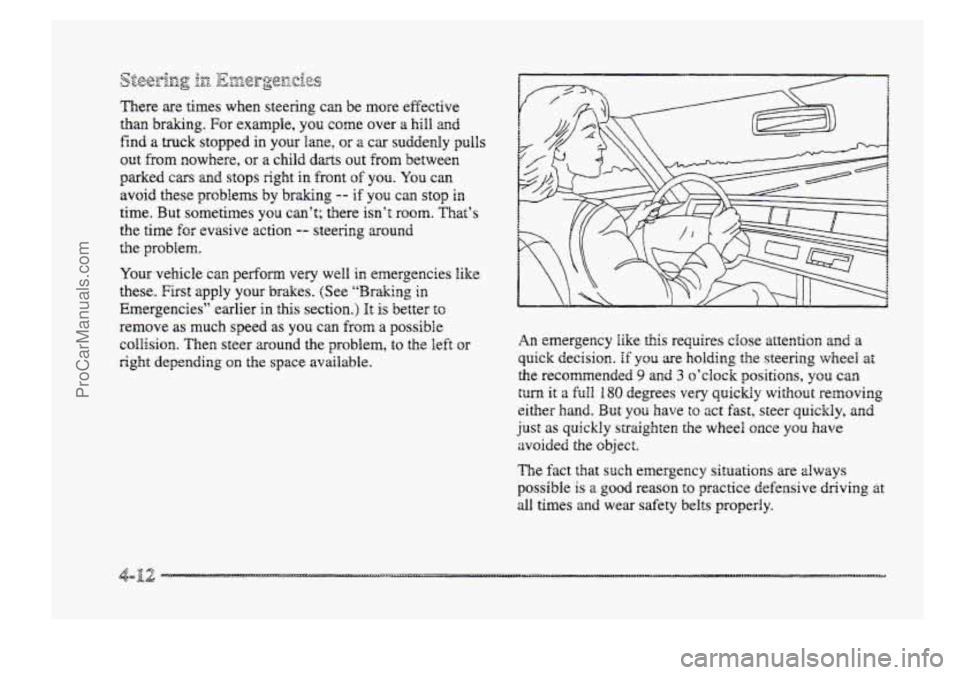
An emergency like this requires close attention and a
quick decision. If you are holding the steering wheel a’:
the recomended 9 and 3 o’clock positloas, you can
tuna it a full 180 degrees very quickly without removing
either hand. But you have to act fast, steer quickly, and
just as quickly straighten the wheel once you have
avoided the
object.
The fact that such emergency situations are always
possible is a good reason to practice defensive driving at
dl times and wear safety belts properly.
ProCarManuals.com
Page 230 of 426

Your anti-lock brakes irr;.lp~~e your vehicle’s stability
when
you make a hard stop on a slippery road. Even
though
you have the anti-lock braking system, p~’i8
want to begin stopping sooner than you would on dry
pavement. See “Anti-Lock)’ in the Index.
@ Allow greater following distance on a~y
@ Watch for slippery spots. The road might be he
until
you hit a spot that’s covered with ice. Ora an
otherwise clew road, ice patches may appear in
shaded areas where the sun can’t reach: around
clumps of trees, behind buildings or under bridges.
Sometimes the surface
of a curve or an overpass may
remain icy when the surrounding roads are cka. ff
you see a patch of ice ahead of you, br&e before you
are on it. Try not to br&e while you’re actually on
the ice, and avoid sudden steering maneuvers.
slippery
road.
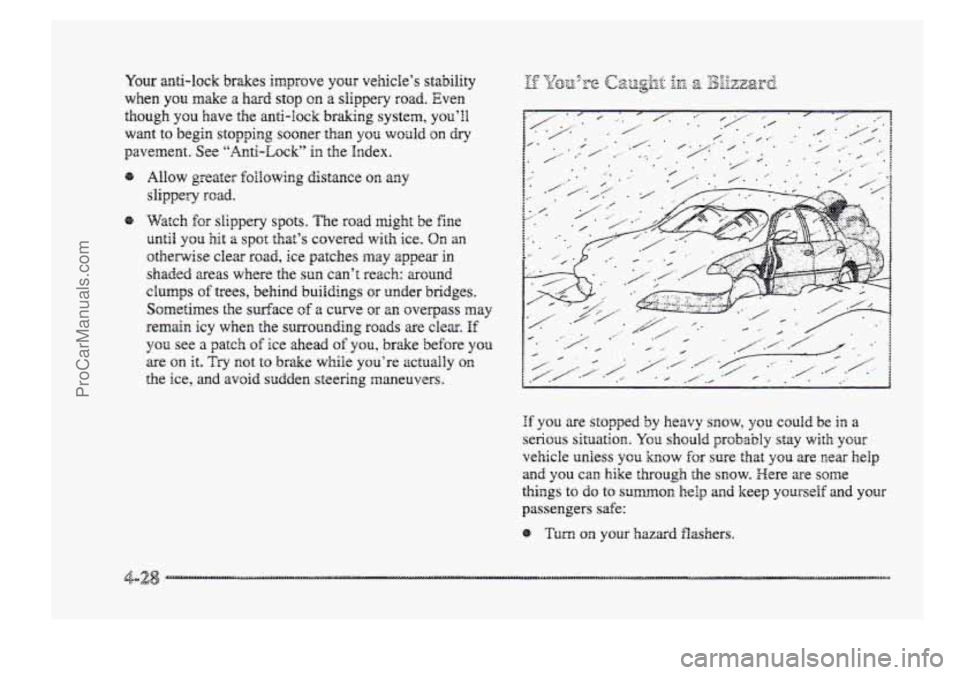
If you are stopped by
heavy snow, you couId be in a
serious situation. YOE skhoald prsbably stay witk your
vehicle unless
you know for sure that you are zear help
and you cas hike through the snow. Here are some
things to do to SUH~~QEZ kip and keep yourself and ~QUI-
passengers safe:
@ Turn on your hazard flashers.
ProCarManuals.com
Page 296 of 426
Then, without shutting off the engine, follow these steps:
1. The transaxle fluid
dipstick top is a round,
red
loop and is next to
............. ............. the brake master
cylinder behind
the
engine block. Pull out
the dipstick and wipe
it with a clean rag or
paper towel.
3. Check both sides of the dipstick, and read the
lower level. The fluid 'level
must be in the
cross-hatched area.
2. Push it back in all the way, wait thee seconds and 4. If the fluid level is in the acceptable range, push
then pull it back out again. the dipstick back in a11 the way.
ProCarManuals.com
Page 310 of 426
5. Reverse the above steeps to reassemble ahe Bamp
assembly. The
fiont turn signal bulbs can be accessed by
removing
the headlamp assembly as described in
the previous procedure.
Once
the headlamp
assembly
has been removed,
reach
down from the top
of the vehicle and, while
pressing the
lock tab on the
socket,
turn the socket
onequarter
of a turn and
pull it out.
When reassembling the lamp, make sure
to align
the pin at the outboapd edge of the headlamp
assembly to
the plastic retainer at the outboard
edge
of the vehicle. Remove the
old bulb
by pulling it straight out of the
socket. Replace the bulb
md turn the bulb assembly
back into place.
ProCarManuals.com
Page 319 of 426
Xeplacement blades come in digerent types and are
removed in different ways.
To replace the wiper blade assembly:
1. Position the wipers on the windshield in the “mid’’
wipe position.
windshield. Note:
The windshieid wiper does not
have a ’;ocking upright positior~ feature.
2. Lift the windshield wiper m away from the
3.
4.
5.
Push the tab OR the wiper biade assembly 2nd pull
the assembly dcwn enough to release it from the “U”
hooked end of the wiper m. Slide the assembly
away from the am.
Replace the blade.
TQ reinstall the wiper blade assembly, slide it, over
the wiper m to engage the “U” hooked end QII the
wiper
blade assembly. Full up on the assembly to
lock it into place.
For the correct windshield wiper blade replacement
length and type, see “Nomal Maintenance Replacement
Parts’’ in the Index.
ProCarManuals.com
Page 321 of 426

Cheek
Use a good quality pocket-type gage t~ check tire
pressure. You can’t tell. if your tires ae properly inflated
simply by
looking at them. Radial tires may lo&
properly inflated even when they’re underinnflated.
Be sure to put the
valve caps back on the valve stems.
They help prevent leaks by
keeping OU~ dirt md moisture.
(?-&e& pgessnre sy$&ekB @f Eqa@p&)
The check tire pressure system can de& you to a
large change in the pressure of one tire. The system
won’t
alert you before you chive that a tire is low or
flat. You must begin driving before the system will
work properly.
The
TIRE PRESSURE LOW CHECK TIRES message
will appear on the Driver hf~~~~~ati~n Center (DK) if
pressure in one tire becomes at least 10 psi (69 Wa)
lower or higher than the other thee tires. The check tire
pressure system won’t alert you if more than one tire is
Bow or high, or if the system is not calibrated properly.
It also won’t tell YOU which tire is Bow or high.
E the anti-lock brake system waning light comes on,
the check tire pressure system may not be working
properly. See your deder for service. (Also,
see
“Anti-hck Brake System Wzming Light” in the Index.)
ProCarManuals.com
Page 339 of 426

The wiring circuits in your vehicle are potected from
short circuits by a combination of fuses and circuit
breakers. This greatly reduces ?;he chance
of damage
caused
by electrical problems.
Look at the silver-cobred band inside the fuse. If the
band is broken or melted, replace the fuse. Be sure
you
replace a bad fuse with a new one of the identical size
and rating.
Tlere
are three fase blocks in your vehicle: the
Instrument
Pace1 Fuse Block located under the
instrument panel, the Underhood Fuse Block located
QTP
the passenger's side engine compartment and the Xear
Fuse Block, located under the rear seat.
I.
2.
3.
4.
5.
Remove the two 7 mm screws located aIsng the
front edge of the panel.
Lower the
hush panel. The fuse block is a
rectangular covered box iocated on the far right side
under the instrument panel.
Remove the cover. Now you can see the hses 2nd
replace them.
Place the wide
end of the he puller over the plastic
end of the f;crse.
Squeeze the ends over the fuse and pull it out.
Spare fuses are located in the enpty slots shown OR the
foliowing chat.
When finished, repiace the hush panei. Replace lamps,
connectors,
and HVAC duct temperature sensors if they
were removed.
ProCarManuals.com