1998 BMW 750IL SEDAN spare tire
[x] Cancel search: spare tirePage 27 of 211

26n
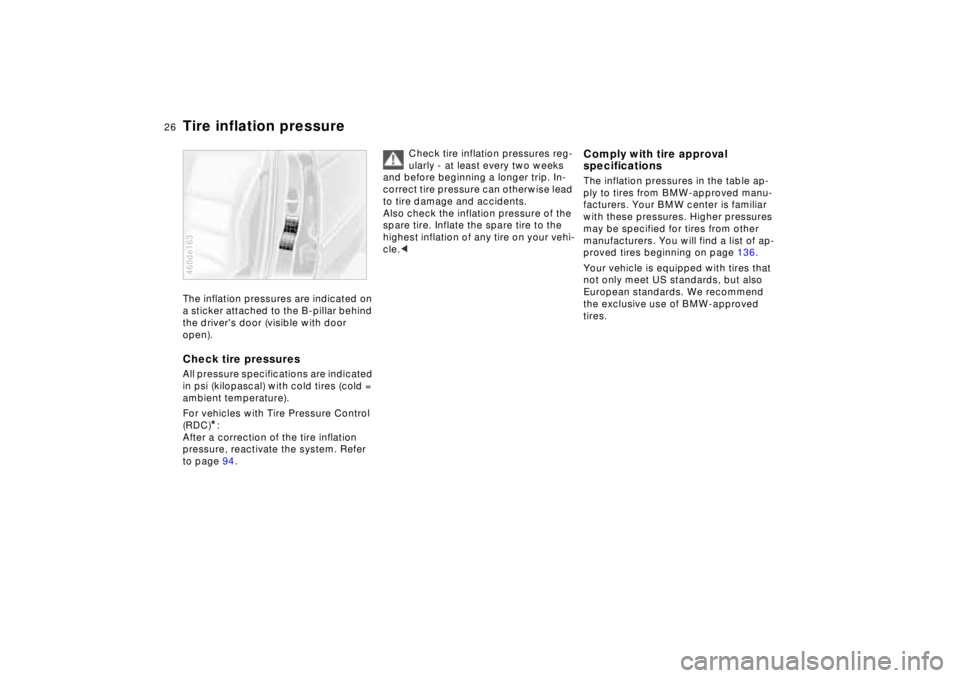
Tire inflation pressureThe inflation pressures are indicated on
a sticker attached to the B-pillar behind
the driver's door (visible with door
open). Check tire pressuresAll pressure specifications are indicated
in psi (kilopascal) with cold tires (cold =
ambient temperature).
For vehicles with Tire Pressure Control
(RDC)
*:
After a correction of the tire inflation
pressure, reactivate the system. Refer
to page 94.
460de163
Check tire inflation pressures reg-
ularly - at least every two weeks
and before beginning a longer trip. In-
correct tire pressure can otherwise lead
to tire damage and accidents.
Also check the inflation pressure of the
spare tire. Inflate the spare tire to the
highest inflation of any tire on your vehi-
cle.<
Comply with tire approval
specificationsThe inflation pressures in the table ap-
ply to tires from BMW-approved manu-
facturers. Your BMW center is familiar
with these pressures. Higher pressures
may be specified for tires from other
manufacturers. You will find a list of ap-
proved tires beginning on page 136.
Your vehicle is equipped with tires that
not only meet US standards, but also
European standards. We recommend
the exclusive use of BMW-approved
tires.
Page 96 of 211

95n
RepairsIndexOverview Controls Car care Technology Data
Tire Pressure Control (RDC)
*
Flat tireIf there is a tire failure with a loss of air
pressure, the message "TIRE DEFECT"
appears in the Check Control. In addi-
tion, a gong sounds.
If this occurs, reduce vehicle speed im-
mediately and stop the vehicle. Avoid
hard brake applications. Do not over-
steer. Replace the wheel and flat tire.
The spare tire which is available in
your vehicle as standard equip-
ment is equipped with the electronics
required for RDC and, following activa-
tion of the system, is also monitored af-
ter it is mounted.<
The RDC cannot alert you to se-
vere and sudden tire damage
caused by external factors.<
Have the tires changed by your
authorized BMW center.
Your authorized BMW center has been
trained to work with the RDC system
and is equipped with the necessary
special tools to do so.<
System interferenceUnder certain local conditions, the RDC
may malfunction for brief periods be-
cause of interference from outside sys-
tems or electronic devices which have
the same radio frequency.
During the period of the malfunction,
the message "TIRE CONTROL INAC-
TIVE" appears in the Check Control.
You will also see the same message
>in the event of a system fault
>if a wheel is mounted without the
RDC electronics
>if, in addition to the spare tire, addi-
tional wheels with RDC electronics
are on board.
Please contact your authorized BMW
center for additional information.
Page 133 of 211

132n
Tire inflation pressure Tire conditionInformation for your safetyThe factory-approved radial tires are
matched to the car and have been se-
lected to provide optimum safety and
driving comfort on your car.
It is not merely the tire's service life, but
also driving comfort and - above all else
- driving safety which depend on the
condition of the tires and the mainte-
nance of the specified tire pressure.
Incorrect inflation pressure is a frequent
cause of tire damage. They also influ-
ence the roadholding ability of your
BMW.
Check tire inflation pressures – in-
cluding the spare tire – regularly,
at least every two weeks and before be-
ginning a longer trip. If this is not done,
incorrect tire pressures can cause driv-
ing instability and tire damage, ulti-
mately resulting in accidents.<
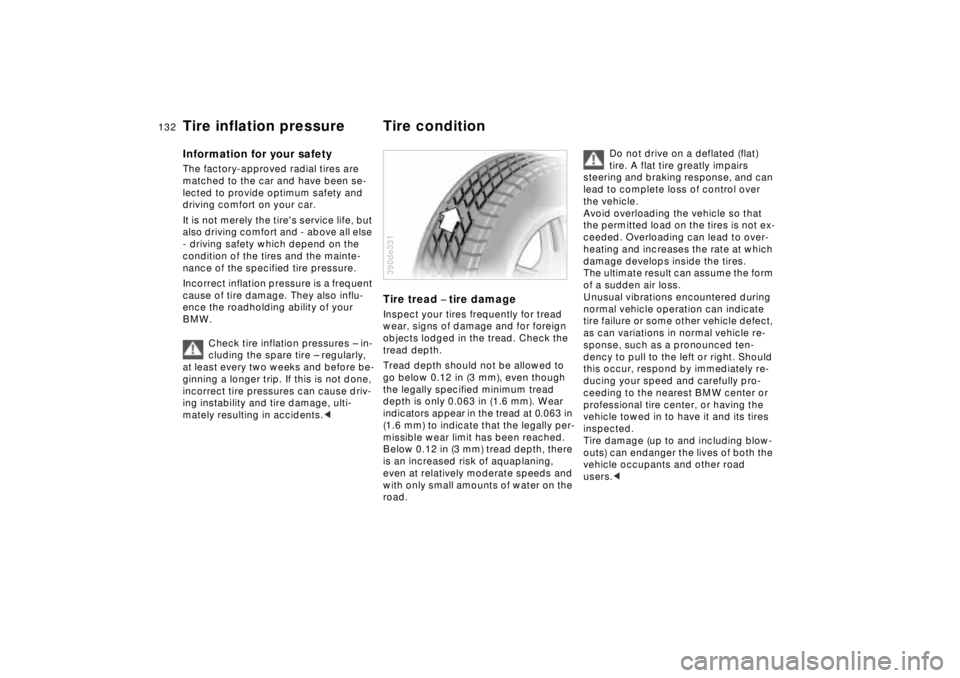
Tire tread
– tire damage
Inspect your tires frequently for tread
wear, signs of damage and for foreign
objects lodged in the tread. Check the
tread depth.
Tread depth should not be allowed to
go below 0.12 in (3 mm), even though
the legally specified minimum tread
depth is only 0.063 in (1.6 mm). Wear
indicators appear in the tread at 0.063 in
(1.6 mm) to indicate that the legally per-
missible wear limit has been reached.
Below 0.12 in (3 mm) tread depth, there
is an increased risk of aquaplaning,
even at relatively moderate speeds and
with only small amounts of water on the
road.390de331
Do not drive on a deflated (flat)
tire. A flat tire greatly impairs
steering and braking response, and can
lead to complete loss of control over
the vehicle.
Avoid overloading the vehicle so that
the permitted load on the tires is not ex-
ceeded. Overloading can lead to over-
heating and increases the rate at which
damage develops inside the tires.
The ultimate result can assume the form
of a sudden air loss.
Unusual vibrations encountered during
normal vehicle operation can indicate
tire failure or some other vehicle defect,
as can variations in normal vehicle re-
sponse, such as a pronounced ten-
dency to pull to the left or right. Should
this occur, respond by immediately re-
ducing your speed and carefully pro-
ceeding to the nearest BMW center or
professional tire center, or having the
vehicle towed in to have it and its tires
inspected.
Tire damage (up to and including blow-
outs) can endanger the lives of both the
vehicle occupants and other road
users.<
Page 134 of 211

133n
RepairsIndexOverview Controls Car care Technology Data
Tire replacement Tire rotationTo maintain good handling and vehicle
response, use only tires of a single
tread configuration from a single manu-
facturer. BMW tests and approves
wheel/tire combinations. Refer to
page 136.
Do not use retreaded tires, since
driving safety may be impaired by
their use. This is due to the possible
variations in casing structures and, in
some cases, to their extreme age,
which can lead to a decrease in their
durability.< Tire ageThe date on which the tire was manu-
factured is indicated by the code on the
sidewall:
DOT ... 178 means that the tires were
manufactured in the 17th week of 1998.
BMW recommends the replacement of
all tires when the tires are no more than
6 years old, even if a tire life of 10 years
is possible.
Spare tires over 6 years old should be
used only in case of emergency. Such a
tire should be replaced by a new tire
immediately, and should not be
mounted together with new tires.
Between the axlesThe tread wear patterns at the front end
differ from those at the rear - the actual
patterns will vary according to individ-
ual driving conditions. In the interests of
safety and maintaining optimal handling
characteristics, tire rotation is not rec-
ommended.
If a proposed interaxle rotation of tires
is based on economic considerations,
one should consider whether the costs
for the rotation are likely to be recap-
tured by any increase in the service life
of the tires which might be realized. Ro-
tation should always be carried out at
short intervals, with a maximum of
3,000 miles (5,000 km). Consult your
authorized BMW center for more infor-
mation.
Should you decide to rotate the tires, it
is essential to comply with the follow-
ing:
Rotate tires on the same side only,
since braking characteristics and road
grip could otherwise be adversely af-
fected.
Following rotation, correct the tire infla-
tion pressure.If different tire sizes are mounted
on the front and rear axles
(page 136), the tires may not be rotated
from one axle to the other.<
Page 172 of 211

171n
RepairsIndexOverview Controls Car care Technology Data
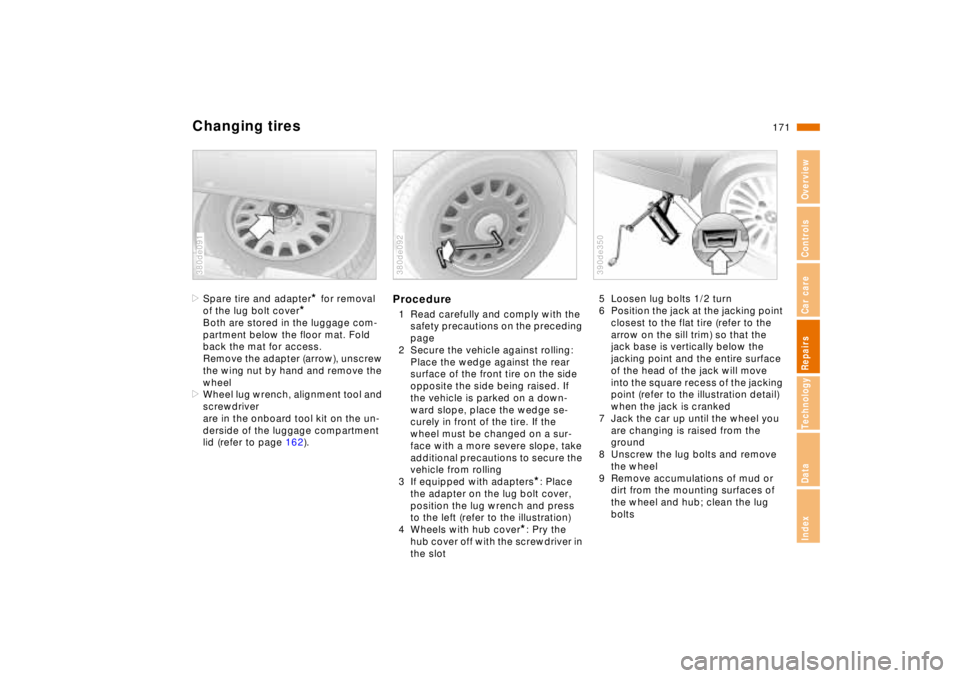
Changing tires>Spare tire and adapter
* for removal
of the lug bolt cover
*
Both are stored in the luggage com-
partment below the floor mat. Fold
back the mat for access.
Remove the adapter (arrow), unscrew
the wing nut by hand and remove the
wheel
>Wheel lug wrench, alignment tool and
screwdriver
are in the onboard tool kit on the un-
derside of the luggage compartment
lid (refer to page 162).
380de091
Procedure1 Read carefully and comply with the
safety precautions on the preceding
page
2 Secure the vehicle against rolling:
Place the wedge against the rear
surface of the front tire on the side
opposite the side being raised. If
the vehicle is parked on a down-
ward slope, place the wedge se-
curely in front of the tire. If the
wheel must be changed on a sur-
face with a more severe slope, take
additional precautions to secure the
vehicle from rolling
3 If equipped with adapters
*: Place
the adapter on the lug bolt cover,
position the lug wrench and press
to the left (refer to the illustration)
4 Wheels with hub cover
*: Pry the
hub cover off with the screwdriver in
the slot
380de092
5 Loosen lug bolts 1/2 turn
6 Position the jack at the jacking point
closest to the flat tire (refer to the
arrow on the sill trim) so that the
jack base is vertically below the
jacking point and the entire surface
of the head of the jack will move
into the square recess of the jacking
point (refer to the illustration detail)
when the jack is cranked
7 Jack the car up until the wheel you
are changing is raised from the
ground
8 Unscrew the lug bolts and remove
the wheel
9 Remove accumulations of mud or
dirt from the mounting surfaces of
the wheel and hub; clean the lug
bolts390de350
Page 173 of 211

172n
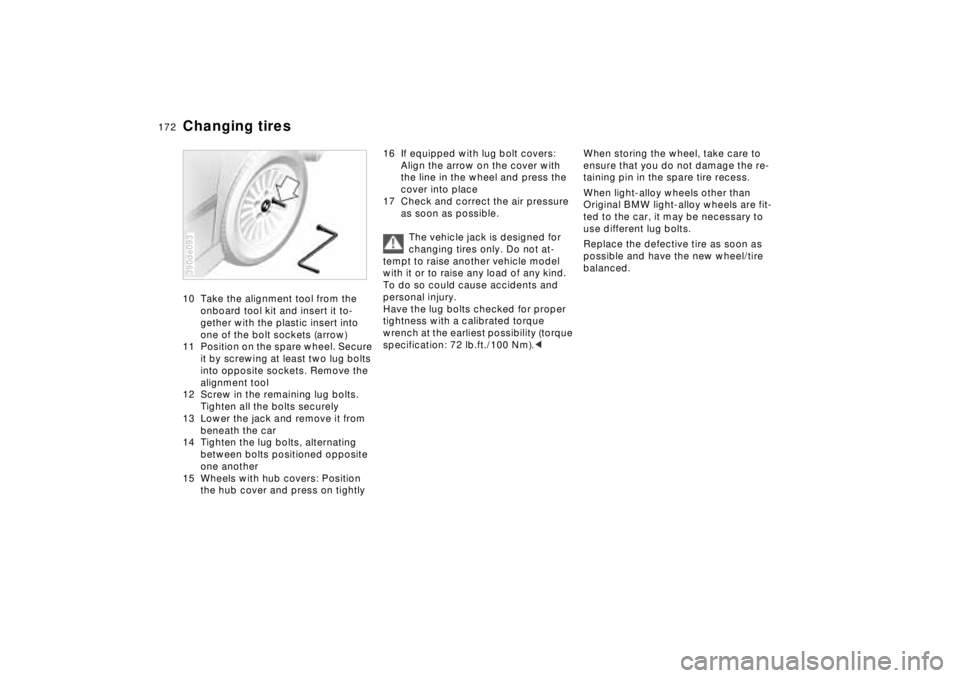
Changing tires10 Take the alignment tool from the
onboard tool kit and insert it to-
gether with the plastic insert into
one of the bolt sockets (arrow)
11 Position on the spare wheel. Secure
it by screwing at least two lug bolts
into opposite sockets. Remove the
alignment tool
12 Screw in the remaining lug bolts.
Tighten all the bolts securely
13 Lower the jack and remove it from
beneath the car
14 Tighten the lug bolts, alternating
between bolts positioned opposite
one another
15 Wheels with hub covers: Position
the hub cover and press on tightly390de093
16 If equipped with lug bolt covers:
Align the arrow on the cover with
the line in the wheel and press the
cover into place
17 Check and correct the air pressure
as soon as possible.
The vehicle jack is designed for
changing tires only. Do not at-
tempt to raise another vehicle model
with it or to raise any load of any kind.
To do so could cause accidents and
personal injury.
Have the lug bolts checked for proper
tightness with a calibrated torque
wrench at the earliest possibility (torque
specification: 72 lb.ft./100 Nm).<
When storing the wheel, take care to
ensure that you do not damage the re-
taining pin in the spare tire recess.
When light-alloy wheels other than
Original BMW light-alloy wheels are fit-
ted to the car, it may be necessary to
use different lug bolts.
Replace the defective tire as soon as
possible and have the new wheel/tire
balanced.
Page 206 of 211

RepairsIndexOverview Controls Car care Technology Data
Everything from A to Z
205n
Oil consumption143
Oil level check143
Oil pressure,
indicator lamp20
Oil specifications144
Oil, Engine oil
Capacities197
OILSERVICE74
Onboard computer84
Onboard tool kit162
Opening the luggage
compartment from the
inside38
Outside mirrors50
Outside temperature
display72
PPaint blemishes,
exterior dirt152
Park Distance Control
(PDC)90
Parking aid90
Parking brake61
Parking in winter130
PDC (Park Distance
Control)90
Playing cassettes
Refer to the
Radio Owner's ManuelPlaying CDs
Refer to the
Radio Owner's Manuel
Pocket light111
Power seat adjustment46
Power steering130
Power steering fluid148
Power windows42
Pressure, tires26,132
Pushbutton for central
locking system36
RRadio
Car radio
Refer to the separate
Owner's Manuel
Radio reception131,186
Radio remote control33
Radio remote control,
battery change168
Radio remote control,
new transmitter168
Rain sensor68,150
RDC (Tire Pressure
Control)94
Reading lamps98
Rear passenger-area air
conditioning105
Rear seat adjustment,
electric48
Rear seat heating106Rear window blind107
Rear window defroster70
Rear-seat control
Front passenger's seat 112
Onboard computer112
Radio112
Rear window blind112
Telephone112
Rearview mirrors50
Refueling25
Remote control for onboard
computer89
Removing condensation,
windows102
Replacement keys30
Replacing tires133
Residual heat104
Roof luggage rack118
Roof weight rating196
Rubber seals and
components154
SSafety belt tensioner187
Safety belts54
Safety lock buttons36
Screw-on valve stem
caps134
Seat adjustment46
Seat heating106
Seat memory51
Seat, power46Securing cargo118
Selector lever, automatic
transmission62,65
Service and Warranty
Information Booklet149
Service Interval Display
74,149
Servotronic130
Shoulder support47
Shutting off the engine60
Ski bag116
Skid control130
Sliding/Tilt sunroof44
Sliding/Tilt sunroof with glass
moonroof45
Sliding/Tilt sunroof, closing
after electrical fault178
Sliding/Tilt sunroof,
convenience operating
mode32
Sliding/Tilt sunroof, radio
remote control33
Slippery roads129
Snow chains129,135
Socket115
Spare key30
Spare tire171
Spark plugs198
Speaker113
Special oils144
Speed limit warning87
Speedometer19
Page 209 of 211

Owner service procedures from A to ZSSecurity glass, care153
Sliding/tilt sunroof, closing
after electrical fault178
Sliding/tilt sunroof, power
supply interruption45
Snow chains135
Spare tire171
Starting assistance179
Starting problems
59,124,179,180TTail lamps, bulb
replacement166
Tilt sensor alarm system,
deactivation41
Tire damage132
Tire failure170
Tire inflation pressure26
Tools162
Towing180
Towing eyes180
Tow-starting180
Turn signal,
replace the bulb165UUse of antifreeze,
radiator146
WWarning lamps20
Warnings75
Washer fluid reservoir,
filling142
Wheel change170
Windows, demisting102
Windshield washer nozzle
adjustment142
Wiper blades, replacing162
Work in the engine
compartment137