1997 PONTIAC PONTIAC start stop button
[x] Cancel search: start stop buttonPage 94 of 419

Make sure the shift lever is fully into PARK (P) NEUTRAL (N): In this position, your engine
range before starting the engine.
Your Pontiac has a doesn’t connect with the wheels. To restart when you’re
brake-transaxle shift interlock.
You must fully apply already moving, use NEUTRAL (N) only. Also, use
your regular brakes before
you can shift from PARK (P) NEUTRAL (N) when your vehicle is being towed.
when the ignition is in
RUN. If you cannot shift out of
PARK (P), ease pressure on the shift lever by pushing
it all the way into PARK (P) while keeping the brake
pedal pushed down. Release the shift lever button
if you
have a console shift. Then move the shift lever out of
PARK (P), being sure to press the shift lever button
if you have a console shift. See “Shifting Out of
PARK (P)” in the Index.
REVERSE (R): Use this gear to back up.
Shifting out of PARK (P) or NEUTRAL (N) while
your engine is “racing” (running at high speed)
is
dangerous. Unless your foot is firmly on the
brake pedal, your vehicle could move very
rapidly.
You could lose ‘control and hit people
I 1 I or objects. Don’t shift out of PARK (P) or I
NOTICE: NEUTRAL (N) while your engine is racing.
~ -
I Shifting to REVERSE (R) while your vehicle is I
moving forward could damage your transaxle.
Shift
to REVERSE (R) only after your vehicle
is stopped. NOTICE:
I I I I Damage to your transaxle caused by shifting out
To rock your vehicle back and forth to get out of snow,
ice
or sand without damaging your transaxle, see racing isn’t covered by your warranty. I
of PARK (P) or NEUTRAL (N) with the engine
“Stuck: In Sand, Mud, Ice or Snow” in the Index,
~ ~~
2-20
ProCarManuals.com
Page 159 of 419

To adjust the HUD so you can see it properly:
1. Start your engine and turn the DIM dial to the
desired HUD image brightness.
2. Adjust your seat, if necessary, to a Comfortable position.
3. Press the top of the UPDN switch until the HUD image
stops moving. Then press the bottom
of the switch until
~e image is as low as possible but in full view.
brighter than necessary.
To turn the HUD off, turn
the DIM dial all the way down.
4. Turn the DIM dial down until the HUD image is no
If the sun comes out, it becomes cloudy, or if you turn
on your headlamps, you may need
to adjust the HUD
brightness again. Polarizing sunglasses could make the
HUD image harder to see.
If the HUD image is too bright, or too high in
your field
of view, it may take you more time to
see things you need to see when it’s dark outside.
Be sure to keep the
HUD image dim and placed
low in your field
of view.
Push the ENG/MET button
on
the trip calculator to
switch the HUD speed
display from English to
metric or metric to English.
If you don’t have the trip
calculator,
you can’t change
the display.
2-85
ProCarManuals.com
Page 181 of 419

RDM (3): Press this button to hear the tracks in random,
rather than sequential, order. Press
RDM again to turn
off random play.
AM-FM Stereo with Compact Disc Player
and Equalizer
(If Equipped)
REV (5): Press and hold this button to quickly reverse
within
a track (song). Release it to play the passage. You
will hear sound at a reduced volume. The display will
show elapsed time.
FWD (6): Press and hold this button to quickly advance
within a track (song). You will hear sound at a reduced
volume. The display will sh'ow elapsed time.
RECALL: Press this button to see what track is playing.
Press it again within five seconds to see how long it has
been playing (elapsed time). The track number also
appears when the disc is inserted, you change the
volume or when a new track starts playing.
AM-FM: Press this button to play the radio when a disc
is playing. The disc will stop but remain in the player.
CDPLAY: Press this button to change to the disc
function when the radio
is on.
EJECT: Press this button to remove the disc or stop the
disc and switch to the radio.
EJECT will work with the
radio
off. Playing
the Radio
VOL: Push
this knob to turn the system on and off.
To increase volume, turn
the knob clockwise. Turn it
counterclockwise to decrease volume.
RECALL: Press this button briefly to recall the station
being played or to display
the clock. If you press the
knob when the ignition is
off, the clock will show for a
few seconds.
3-21
ProCarManuals.com
Page 183 of 419

If you’re driving on a very rough road or if it’s very hot,
the disc may not play and
E (error) and a number may
appear on the radio display.
If the disc comes out, it
could be that:
The disc is upside down.
It is dirty, scratched or wet.
The air is very humid. (If so, wait about an hour and
If any error occurs repeatedly or if an error can’t be
corrected, please contact your dealer.
If your radio
displays an error number, write it down and provide it to
your dealer when reporting the problem.
PREV (1): Press this button or the SEEK down arrow to
go to the start of the current track if more than eight
seconds have played. If you hold the button or press it
more than once, the player will continue moving back
through the disc.
NEXT (2): Press this button or the SEEK up arrow to
go to the start of the next track if more than eight
seconds have played. If you hold the button or press it
more than once,
the player will continue moving
forward through the disc, try again.)
RDM (3): Press
this button to hear the tracks in random
rather than sequential, order. Press
RDM again to
turn off random play. The radio will play during
this operation.
REV (5): Press and hold this button to quickly reverse
within a track (song). Release it to play the passage, You
will hear sound at a reduced volume. The display will
show elapsed time.
FWD (6): Press and hold this button to quickly advance
within a track (song). You will hear sound at a reduced
volume. The display will show elapsed time.
RECALL: Press this button to see what track is playing.
Press it again within five seconds to see how long it has
been playing (elapsed time). The track number
also
appears when the disc is inserted, the volume is changed
or when
a new track starts playing.
AM-FM: Press this button to play the radio when a disc
is playing. The disc will stop but remain in the player.
CD/PLAY: Press this button to change to the disc
function when the radio is on.
EJECT Press this button to remove the disc or stop the
disc and switch to the radio.
EJECT will work with the
radio off.
3-23
ProCarManuals.com
Page 317 of 419

Check Tire Pressure System (If Equipped)
The check tire pressure system can alert you to a large
change in the pressure in one tire. The system won’t
alert you before you drive that a tire is low or flat. Each
time you start your Pontiac, you must drive
10 to 20
miles (15 to 30 km) before the system will work
properly.
After you’ve driven
10 to 20 miles (15 to 30 km), the
CHECK TIRE PRESS light will come on if the pressure
in o’ne
tire becomes at least 10 psi (69 kPa) higher or
lower than the other three tires. The check tire pressure
system won’t alert you if the pressure in more than
one tire is low or high, or if the system is not
calibrated properly.
If the anti-lock brake system warning light comes on
with the
CHECK TIRE PRESS light, the check tire
pressure system isn’t working. See your dealer for
service. (Also, see “Anti-Lock Brake System Warning
Light” in
the Index.)
The check tire pressure system detects differences in tire
rotation speeds that are caused by changes in tire
pressure. It will not alert you if the pressure in more
than one tire is low or high. The system can alert you
about
a low tire -- but it doesn’t replace normal tire
maintenance. See “Tires” in
the Index. When
the CHECK
TIRE PRESS light comes on, you
should stop as soon
as you can and check all your tires for
darnage. (If a tire
is flat, see “If a Tire Goes Flat” in the
Index.) Also check the tire pressure in all four tires as soon
as you can. See “Inflation - Tire Pressure” in the Index.
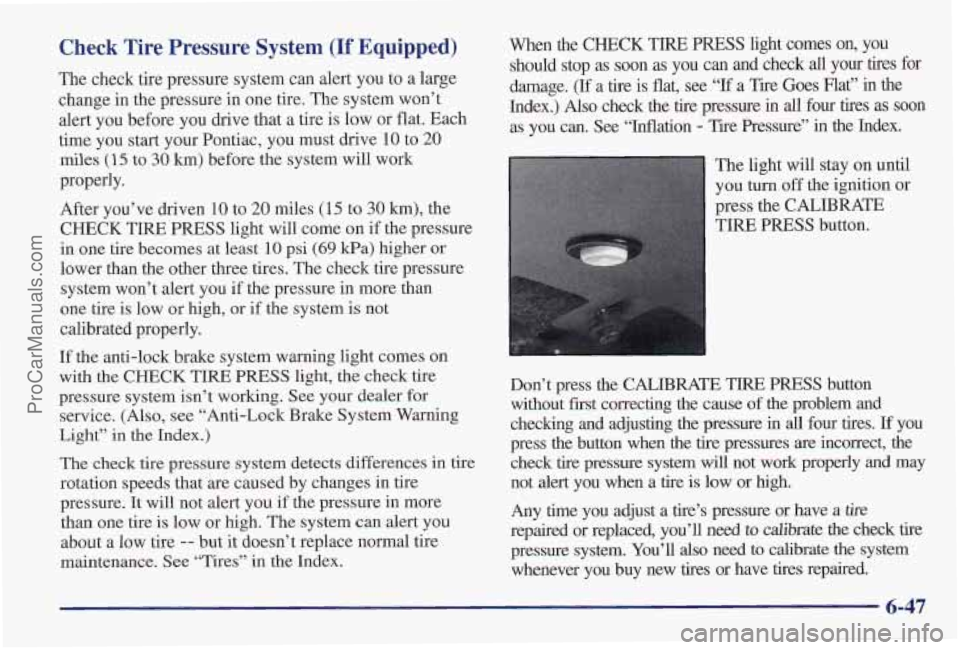
The light will stay on until
you turn off the ignition
or
press the CALIBRATE
TIRE
PRESS button.
Don’t press the CALIBRATE TIRE
PRESS button
without first correcting the cause of the problem and
checking and adjusting the pressure in all four tires.
If you
press the button when the tire pressures
are incorrect, the
check tire pressure system will not work properly
and may
not alert you when a tire is low or high.
Any time you adjust a tire’s pressure or have a
tire
repaired or replaced, you’ll need to calibrate the check tire
pressure system. You’ll
also need to calibrate the system
whenever you buy new tires or have
tires repaired.
6-47
ProCarManuals.com