1997 PONTIAC GRAND AM ECO mode
[x] Cancel search: ECO modePage 129 of 371
Mode Knob
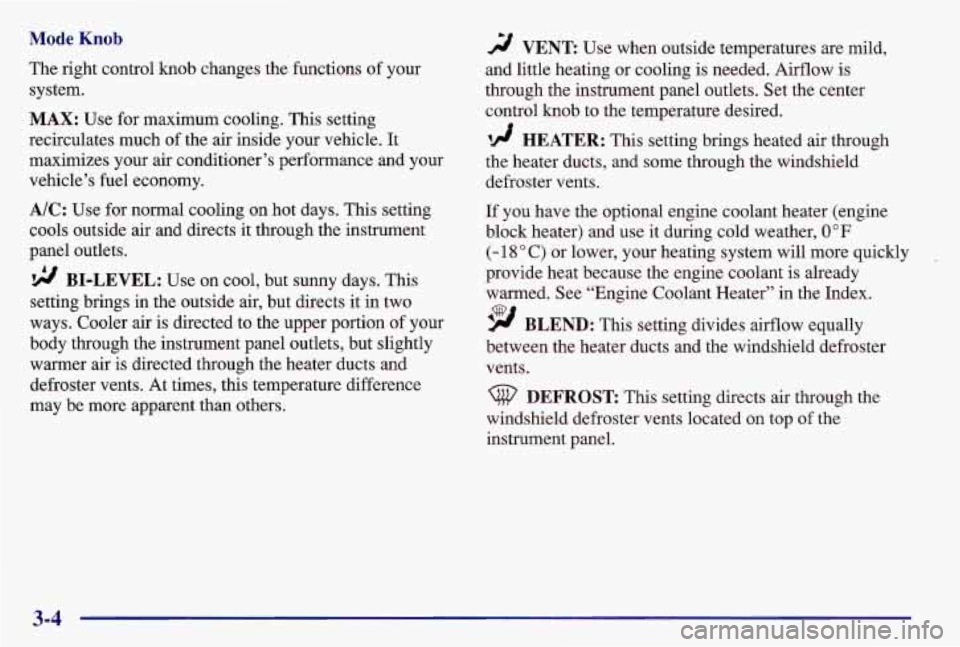
The right control knob changes the functions of your
system.
MAX: Use for maximum cooling. This setting
recirculates much of the air inside your vehicle. It
maximizes your air conditioner’s performance and your
vehicle’s fuel economy.
A/C: Use for normal cooling on hot days. This setting
cools outside air and directs it through the instrument
panel outlets.
9 BI-LEVEL: Use on cool, but sunny days. This
setting brings in the outside air, but directs it in two
ways. Cooler air is directed to the upper portion
of your
body through the instrument panel outlets, but slightly
warmer air is directed through the heater ducts and
defroster vents. At times, this temperature difference
may be more apparent than others.
2 VENT Use when outside temperatures are mild,
and little heating or cooling is needed. Airflow is
through the instrument panel outlets. Set the center
control knob to the temperature desired.
‘!A HEATER: This setting brings heated air through
the heater ducts, and some through the windshield
defroster vents.
If you have the optional engine coolant heater (engine
block heater) and use it during cold weather,
0°F
(- 18 O C) or lower, your heating system will more quickly
provide heat because the engine coolant is already
warmed. See “Engine Coolant Heater” in the Index.
9 BLEND: This setting divides airflow equally
between the heater ducts and the windshield defroster
vents.
DEFROST This setting directs air through the
windshield defroster vents located on top of the
instrument panel.
3-4
Page 133 of 371
Audio Systems
Your Delco@ audio system has been designed to operate
easily and give years of listening pleasure. You will get
the most enjoyment out of it if you acquaint yourself
with it first. Find out what your Delco system can do
and how to operate all its controls, to be sure you’re
getting the most out of the advanced engineering that
went into it.
Setting the Clock for AM-FM Stereo
Press SET. Within five seconds, press and hold the
SEEK down arrow until the correct hour appears on
the display. Press and hold the
SEEK up arrow until
the correct minute appears on the display.
Setting the Clock for All Systems Except
AM-FM Stereo
Press and hold HR until the correct hour appears. Press
and hold
MIN until the correct minute appears. There
will be a two-second delay before the clock goes into
time-set mode, and the colon on the display will blink
while in this mode.
AM-FM Stereo
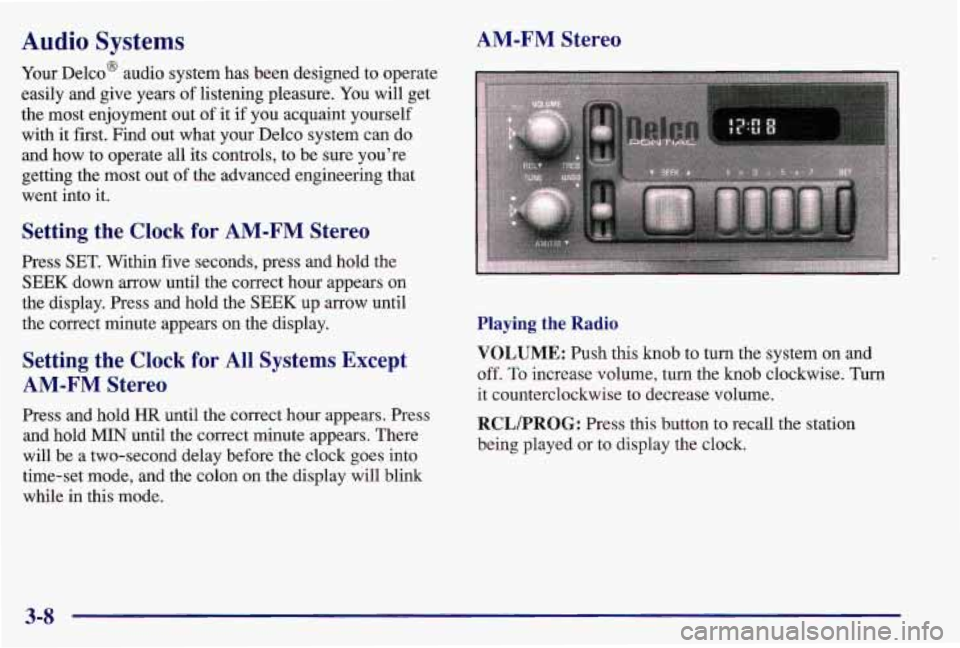
Playing the Radio
VOLUME: Push this knob to turn the system on and
off.
To increase volume, turn the knob clockwise. Turn
it counterclockwise to decrease volume.
RCL/PROG: Press this button to recall the station
being played or to display the clock.
3-8
Page 145 of 371
PREV (1): Press PREV or the SEEK down arrow
to search for the previous selection.
A minimum
three-second blank gap is needed for the player to stop
at the beginning
of the selection. The tape direction
arrow will blink during the SEEK operation and the
sound will mute in this mode.
NEXT (2): Press NEXT or the SEEK up arrow to
search for the next selection. The tape direction
arrow
will blink during the SEEK operation and the sound
will mute in this mode.
(4): Press this button to reduce background tape noise
(noise reduction is only available in the cassette mode).
The double-D symbol will appear on the display.
REV (5): Press this button to rapidly reverse the tape.
The tape
will rapidly reverse to the beginning of the
cassette reel or until you press REV again. Use the
SEEK button
or the TUNE knob to play the radio
during REV. The radio plays the last selected station.
FWD (6): Press this button to rapidly advance the tape.
The tape will rapidly advance to the end of the cassette
reel or until you press FWD again. Use the SEEK button
or the TUNE knob to play the radio during FWD. The
radio plays the last selected station.
PROG: Press this button on the remote cassette player
to go from one side
of the tape to the other.
CD/PLAY: After a cassette tape and a CD have been
inserted, press the CD/PLAY button to switch between
the
CD player and the cassette tape player. Both features
cannot be played at the same time.
EJECT Press this button on the remote cassette player
to remove the tape. EJECT can be used with either the
ignition or radio off.
Also, you must press EJECT before
loading
a cassette with the radio off to allow loading. If
you leave a cassette tape in the player while listening to
the radio, it may become warm.
CLN: If this message appears on the display, the
cassette tape player needs to be cleaned. It will still play
tapes, but you should clean it as
soon as possible to
prevent damage to the tapes
and player. See “Care of
Your Cassette Tape Player’’ in the Index. After you clean
the player, press and hold EJECT for five seconds to
reset the CLN indicator. The radio will display
--- to
show the indicator was reset.
3-20
Page 261 of 371
Brake Pedal Travel
See your dealer if the brake pedal does not return to
normal height, or if there is a rapid increase in pedal
travel. This could be a sign of brake trouble.
Brake Adjustment
Every time you make a moderate brake stop, your disc
brakes adjust for wear.
If you rarely make a moderate or
heavier stop, then your brakes might not adjust correctly.
If you drive in that way, then -- very carefully -- make a
few moderate brake stops about every
1,000 miles
(1 600 km), so your brakes will adjust properly.
If your brake pedal goes down farther than normal, your
rear drum brakes may need adjustment. Adjust them by
backing up and firmly applying the brakes a few times.
Replacing Brake System Parts
The braking system on a modern vehicle is complex. Its
many parts have to be of top quality and work well
together
if the vehicle is to have really good braking.
Your vehicle was designed and tested with top-quality
GM brake parts. When you replace parts of your braking
system
-- for example, when your brake linings wear
down and you have to have new ones put in
-- be sure
you get new approved
GM replacement parts. If you
don’t, your brakes may no longer work properly. For
example, if someone puts in brake linings that are
wrong for your vehicle, the balance between your front
and rear brakes can change
-- for the worse. The
braking performance you’ve come to expect can change
in many other ways if someone puts in the wrong
replacement brake parts.
Battery
Every new Pontiac has a Delco Freedom’ battery. You
never have to add water to one
of these. When it’s time
for a new battery, we recommend a Delco Freedom
battery. Get one that has the replacement number shown
on the original battery’s label.
Vehicle Storage
If you’re not going to drive your vehicle for 25 days or
more, take off the black, negative
(-) cable from the
battery. This will help keep your battery from
running down.
6-34
Page 350 of 371
We will provide the following services for
3 year/36,000 miles
(60 000 km), at no expense to you:
Fuel delivery
0 Keys locked in vehicle
0 Tow to nearest dealership for warranty service
Change a flat tire
0 Jump starts
0 Courtesy Transportation -- See Pontiac Courtesy
Transportation section for details
We have quick, easy access to telephone numbers of the
following additional services depending on your needs:
0 Hotels
Glass replacement
Rental vehicle or taxis
Police, fire department or hospitals
In many instances, mechanical failures are covered
under Pontiac’s comprehensive warranty. However, when other services
are utilized, our advisors will
explain any payment obligations you might incur. For prompt and efficient assistance when calling, please
provide the following information
to give the advisor:
Location of vehicle
0 Telephone number of your location
0 Vehicle model, year and color
0 Mileage of vehicle
Vehicle Identification Number (VIN)
0 Vehicle license plate number
Pontiac reserves the right to limit services or
reimbursement to an owner or driver when in Pontiac’s
judgement the claims become excessive in frequency or
type of occurrence.
While we hope that you never have the occasion to use our service, it is added security while traveling for you
and your family. Remember, we’re only a phone call
away. Pontiac Roadside Assistance
-- 1-800-ROADSIE
or
1-800-762-3743.