1997 PONTIAC GRAND AM fuel
[x] Cancel search: fuelPage 110 of 371

Your instrument panel is designed to let you know at a glance how your vehicle is running. You’ll know how fast
you’re going, how much fuel you’re using, and many other things you’ll need to drive safely and economically.
The main components
of your instrument panel are:
A. Fuse Panel
B. Vent
C. Turn SignalMultifunction Lever
D. Supplemental Restraint System (SRS)
E. Hazard Warning Flashers Switch
E Instrument Cluster
G. Windshield WipersNasher Stalk
H. Audio System
I. Side Window Defogger Vent
J. Glove Box
K. Climate Control System L. Gear Shift Lever
M. Cupholder/Ashtray
(If Equipped)
N. Enhanced Traction System (ETS) Switch
0. Accessory Power Outleaighter (If Equipped)
(If Equipped)
P. Ignition Switch
Q. Tilt Steering Wheel Lever (If Equipped)
R. Fog Lamp Switch
S. Instrument Panel Intensity Controlhterior
Lamps Switch
T. Hood Release Handle
2-55
Page 119 of 371

Low Coolant Warning Light
If this light comes on and
stays on, the vehicle should
be promptly pulled off the
road and the coolant level
checked. See “Engine
Coolant” in the Index.
If there are visible signs of steam see “Engine
Overheating” in the Index before opening the hood.
Malfunction Indicator Lamp
(Check Engine Light)
Your Pontiac is equipped
with a computer which
monitors operation
of the
fuel, ignition and emission
CHECK
ENGINE
This system is called OBD I1 (On-Board
Diagnostics-Second Generation) and is intended to
assure that emissions are at acceptable levels for the life
of the vehicle, helping to produce a cleaner
environment. (In Canada, OBD
I1 is replaced by
Enhanced Diagnostics.) The CHECK
ENGINE light
comes on
to indicate that there is a problem and service
is required. Malfunctions often will be indicated by the
system before any problem is apparent. This may
prevent more serious damage to your vehicle.
This
system is also designed to assist your service technician
in correctly diagnosing
any malfunction.
2-64
Page 120 of 371

NOTICE:
If you keep driving your vehicle with this light
on, after a while, your emission controls may not
work as well, your fuel economy may not be as
good and your engine may not run as smoothly.
This could lead
to costly repairs that may not be
covered by your warranty.
This light should come on, as a check to show you it is
working, when the ignition is on and the engine is not
running. If the light doesn’t come on, have it repaired.
This light will also come on during a malfunction in one
of
two ways:
0 Light Flashing -- A misfire condition has been
detected. A misfire increases vehicle emissions and
may damage the emission control system on your
vehicle. Dealer or qualified service center diagnosis
and service is required.
Light On Steady -- An emission control system
malfunction has been detected on your vehicle.
Dealer or qualified service center diagnosis and
service may be required.
If the Light Is Flashing
The following may prevent more serious damage to
your vehicle:
0 Reducing vehicle speed.
0 Avoiding hard accelerations.
0 Avoiding steep uphill grades.
0 If you are towing a trailer, reduce the amount of
cargo being hauled as soon as it is possible.
If the light stops flashing and remains on steady, see “If
the Light
Is On Steady” following.
If the light continues to flash, when it is safe to do
so,
stop the vehicle. Find a safe place to park your vehicle.
Turn the key off, wait at least 10 seconds and restart the
engine.
If the light remains on steady, see “If the Light
Is On Steady” following. If the light is still flashing,
follow the previous steps, and drive the vehicle to your
dealer or qualified service center for service.
2-65
Page 121 of 371
If the Light Is On Steady
You may be able to correct the emission system
malfunction by considering the following:
Did you recently put fuel into your vehicle?
If so, reinstall the fuel cap, making sure to fully install
the cap. The diagnostic system can determine
if the fuel
cap has been left off or improperly installed.
A loose or
missing fuel cap will allow fuel to evaporate into the
atmosphere.
A few driving trips with the cap properly
installed should turn the light off.
Did you just drive through a deep puddle of water?
If
so, your electrical system may be wet. The condition
will usually be corrected when the electrical system
dries out.
A few driving trips should turn the light off. Have
you recently changed brands of fuel?
If
so, be sure to fuel your vehicle with quality fuel (see
“Fuel” in the Index). Poor fuel quality will cause your
engine not to run as efficiently as designed. You may
notice this as stalling after start-up, stalling when you
put the vehicle into gear, misfiring, hesitation on
acceleration or stumbling on acceleration. (These
conditions may go away once the engine is warmed up.)
This will be detected by the system and cause the light
to
turn on.
If you experience one or more of these conditions,
change the fuel brand you use. It will require at least one
full tank of the proper fuel to turn the light off.
If none of the above steps have made the light turn off,
have your dealer or qualified service center check the
vehicle. Your dealer has the proper test equipment and
diagnostic tools to fix any mechanical or electrical
problems that may have developed.
2-66
Page 124 of 371
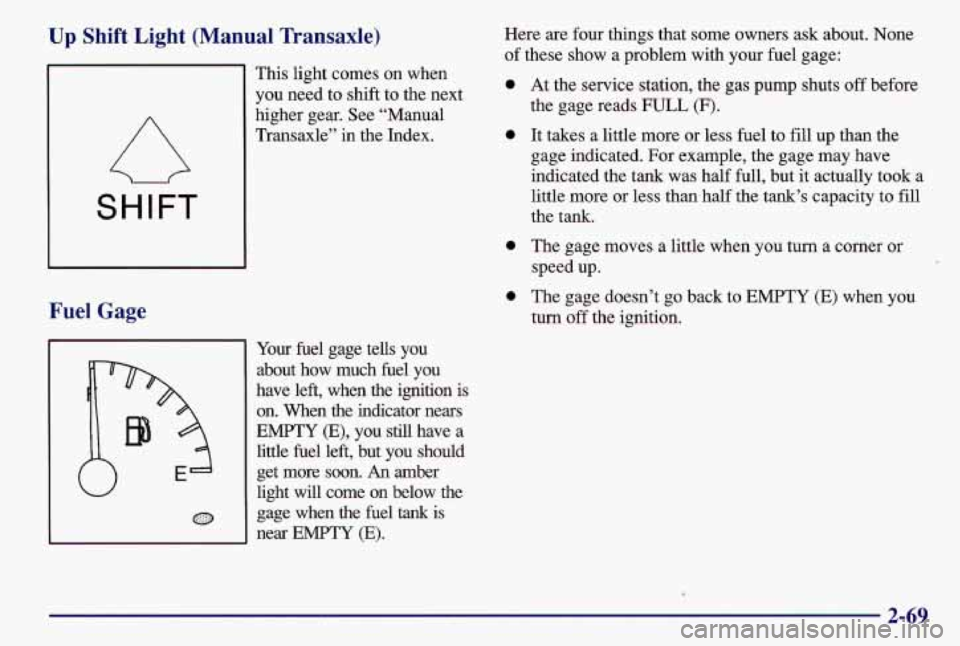
Up Shift Light (Manual Transaxle)
SHIFT
Fuel Gage
W
This light comes on when
you need to shift to the next
higher gear. See “Manual
Transaxle” in the Index.
Your fuel gage tells
you
about how much fuel you
have left, when the ignition
is
on. When the indicator nears
EMPTY (E), you still have a
little fuel left, but you should get more soon.
An amber
light
will come on below the
gage when the fuel
tank is
near EMPTY (E).
Here are four things that some owners ask about. None
of these show a problem with your fuel gage:
0
0
0
At the service station, the gas pump shuts off before
the gage reads
FULL (F).
It takes a little more or less fuel to fill up than the
gage indicated. For example, the gage may have
indicated the tank was half full, but
it actually took a
little more or less than half the tank’s capacity to fill
the tank.
The gage moves a little when you turn a corner or
speed up.
The gage doesn’t go back to EMPTY
(E) when you
turn
off the ignition.
Page 129 of 371
Mode Knob
The right control knob changes the functions of your
system.
MAX: Use for maximum cooling. This setting
recirculates much of the air inside your vehicle. It
maximizes your air conditioner’s performance and your
vehicle’s fuel economy.
A/C: Use for normal cooling on hot days. This setting
cools outside air and directs it through the instrument
panel outlets.
9 BI-LEVEL: Use on cool, but sunny days. This
setting brings in the outside air, but directs it in two
ways. Cooler air is directed to the upper portion
of your
body through the instrument panel outlets, but slightly
warmer air is directed through the heater ducts and
defroster vents. At times, this temperature difference
may be more apparent than others.
2 VENT Use when outside temperatures are mild,
and little heating or cooling is needed. Airflow is
through the instrument panel outlets. Set the center
control knob to the temperature desired.
‘!A HEATER: This setting brings heated air through
the heater ducts, and some through the windshield
defroster vents.
If you have the optional engine coolant heater (engine
block heater) and use it during cold weather,
0°F
(- 18 O C) or lower, your heating system will more quickly
provide heat because the engine coolant is already
warmed. See “Engine Coolant Heater” in the Index.
9 BLEND: This setting divides airflow equally
between the heater ducts and the windshield defroster
vents.
DEFROST This setting directs air through the
windshield defroster vents located on top of the
instrument panel.
3-4
Page 130 of 371
Air Conditioning Heating
Turning
the right control knob to HEATER and the
center control knob clockwise sends some heated air
through the heater ducts toward your feet, and some
through the defroster vents.
On very
hot days, open the windows long enough to let
hot, inside air escape. This reduces the time
it takes for
your vehicle to cool down, which should help fuel
economy.
For quick cool-down on very hot days, use MAX with
the temperature knob all the way in the blue area.
If the
setting is used for long periods of time, the air in your
vehicle may become too dry.
For normal cooling on hot days, use
NC with the
temperature knob in the blue area. The system will bring
in outside air and cool it.
On cool but sunny days, the sun may warm your upper
body, but your lower body may not be warm enough. You
can use
BI-LEVEL with the temperature knob in the
middle. The system will bring in outside air and direct
it
to your upper body, while sending slightly warmed air to
your lower body. You may notice this temperature
difference more at some times than at others. VENT
and HEATER are economical positions because
the air conditioner compressor doesn’t run in these
two settings. This reduces engine load, resulting in
improved fuel economy.
If either setting fails to keep
you comfortable, or causes your windows to fog up, turn
the right control knob to one of the air conditioning
positions, or to DEFROST.
If you have the optional engine coolant heater
(engine block heater) and use
it during cold weather,
0 “F (- 18 O C) or lower, your heating system will more
quickly provide heat because the engine coolant is
already warmed. See “Engine Coolant Heater” in
the Index.
3-5
Page 174 of 371
When you want to leave the freeway, move to the proper
lane well in advance. If you miss your exit, do not,
under any circumstances, stop and back up. Drive on to
the next exit.
The exit ramp can be curved, sometimes quite sharply.
The exit speed is usually posted.
Reduce your speed according to your speedometer, not
to your sense of motion. After driving for any distance
at higher speeds, you may tend to think you are going
slower than you actually are.
Before Leaving on a Long Trip
Make sure you’re ready. Try to be well rested. If you
must start when you’re not fresh
-- such as after a day’s
work
-- don’t plan to make too many miles that first part
of the journey. Wear comfortable clothing and shoes you
can easily drive in.
Is your vehicle ready for a long trip? If you keep it
serviced and maintained, it’s ready to go. If it needs
service, have
it done before starting out. Of course,
you’ll find experienced and able service experts in
Pontiac dealerships all across North America. They’ll be
ready and willing to help if you need it. Here
are some things you can check before a trip:
0
0
0
0
0
Windshield Washer Fluid: Is the reservoir full? Are
all windows clean inside and outside?
Wiper Blades: Are they in good shape?
Fuel, Engine Oil, Other Fluids: Have you checked
all levels?
Lamps: Are they all working? Are the lenses clean?
Tires: They are vitally important to a safe,
trouble-free trip. Is the tread good enough for
long-distance driving? Are the tires all inflated to the
recommended pressure?
Weather Forecasts: What’s the weather outlook
along your route? Should you delay your trip a short
time to avoid a major storm system?
Maps: Do you have up-to-date maps?
4-23