Page 115 of 197

Servicing while towing
If you tow a trailer for long
distances, your vehicle will require
more frequent service intervals.
Refer to theService Guidefor
more information.
Trailer towing
²Practice turning, stopping and
backing in an area before
starting on a trip to get the feel
of the vehicle/trailer
combination. When turning,
drive slightly beyond the normal
turning point so the trailer
wheels will clear curbs and
other obstacles.
²Allow more room for stopping
with a trailer attached.
²The trailer tongue weight should
be 10-15% of the loaded trailer
weight for a Class I or II rear
bumper hitch.
²After you have travelled about
80 km (50 miles), thoroughly
check your hitch, electrical
connections and trailer wheel
lug nuts.
²When stopped in traffic for long
periods of time in hot weather,
place the gearshift in P (Park)
to increase idle speed. This aids
engine cooling and air
conditioner efficiency.
²Vehicles with trailers should not
be parked on a grade. If you
must park on a grade, place
wheel chocks under the trailer's
wheels.
Driving
115
Page 116 of 197
Luggage rack (if equipped)
Load luggage as far back as it will
safely go without loading more
than 45 kg (100 lb) or cause the
vehicle to exceed the Gross
Vehicle Weight Rating (GVWR) or
its Gross Axle Weight Rating
(GAWR). Use the following steps
to adjust the luggage rack.
²Turn adjustment wheel
backward to unlock crossbar
and slide crossbar forward or
backward.
²Turn adjustment wheel forward
to lock crossbar.
FUEL CONSUMPTION
Fuel economy can be improved by
avoiding:
²lack of regular, scheduled
maintenance
²excessive speed
²rapid acceleration
²driving with the brake pedal
depressed
Driving
116
Page 128 of 197
Relay number Circuits connected
1 Wiper run relay
2 Horn relay
3 Wiper HI/LO relay
4 WOT A/C relay
5 PCM power relay
6 Fuel pump relay
Diode number Circuits connected
1 ABS diode
2 PCM diode
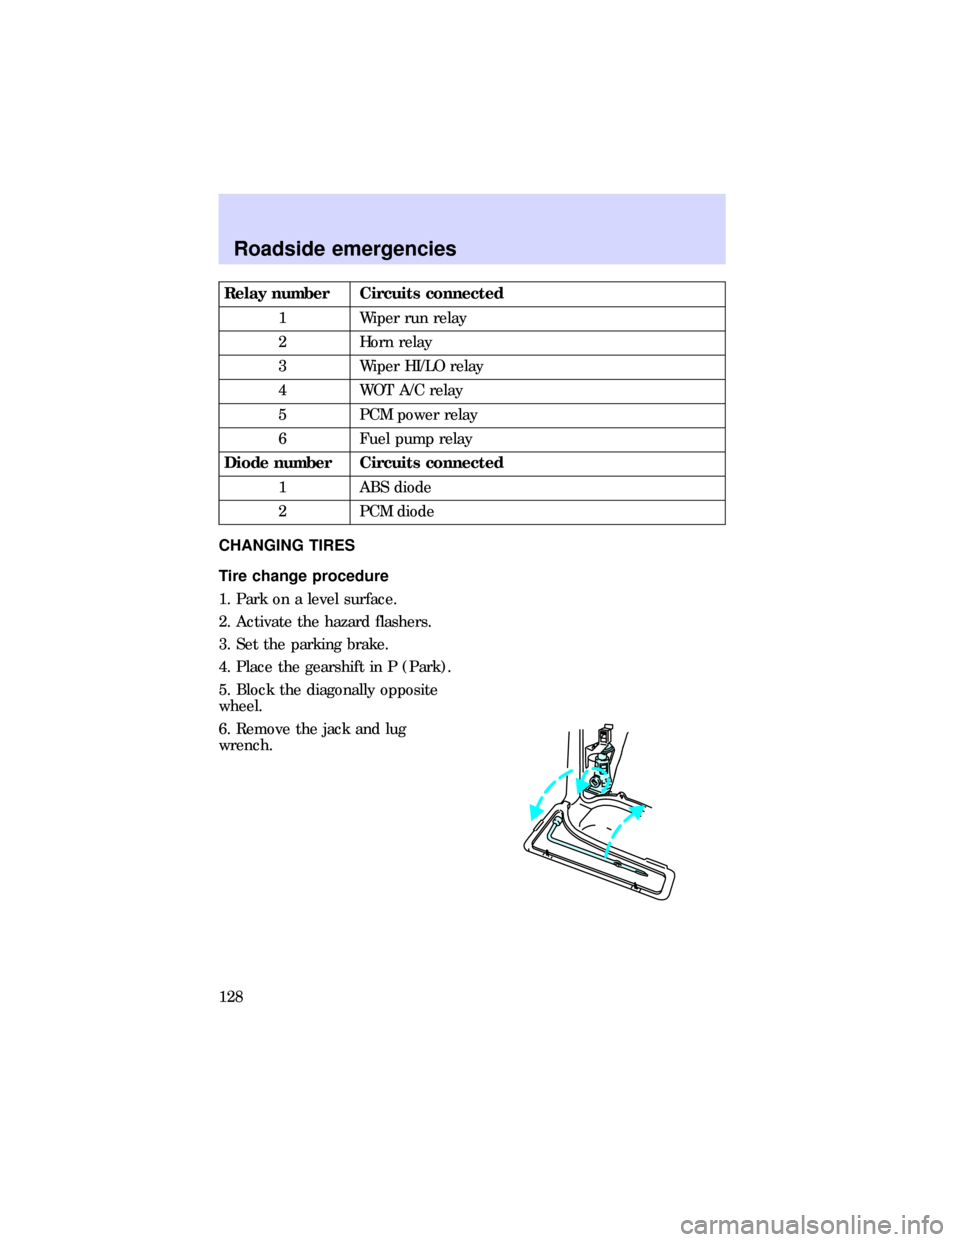
CHANGING TIRES
Tire change procedure
1. Park on a level surface.
2. Activate the hazard flashers.
3. Set the parking brake.
4. Place the gearshift in P (Park).
5. Block the diagonally opposite
wheel.
6. Remove the jack and lug
wrench.
Roadside emergencies
128
Page 130 of 197
11. Insert tapered end of the lug
nut wrench behind hubcaps and
twist off.
Not using the tapered end
of the lug nut wrench at
the pry-off notches may result in
damage to the finish of the
wheel and ornament.
12. Loosen the wheel lug nuts with
the lug wrench about one half
turn.
13. Position the jack on the lower
suspension arm to raise front
wheel.
Roadside emergencies
130
Page 131 of 197
Position the jack under the rear
axle to raise the rear wheel.
14. Turn the jack handle clockwise
and raise the vehicle until the tire
just clears the ground.
15. Remove the wheel lug nuts and
flat tire, and install the spare.
16. Install the lug nuts and tighten
until snug.
Use of wheel or lug nuts
other than original
equipment could cause damage
to the wheel or mounting system
and allow the wheels to come off
while the vehicle is in motion.
17. Lower the vehicle and tighten
the wheel lug nuts as shown.
18. Unblock the wheels and put
the flat tire, jack, jack handle and
lug wrench away.
Stowing flat tires
Stow aluminum wheel and tire
with valve stem down.
1
4
2
5 3
Roadside emergencies
131
Page 135 of 197
WRECKER TOWING
It is recommended that your
vehicle be towed with wheel lift
and dollies or flatbed equipment.
Do not tow with slingbelt
equipment. Ford Motor Company
has not developed or approved a
T-hook or slingbelt towing
procedure.
Roadside emergencies
135
Page 137 of 197
come on unexpectedly; always
turn the engine off and let it
cool.
The cooling fan is
automatic and may come
on at any time. Always
disconnect the negative terminal
of the battery before working
near the fan.
²Never get under a vehicle
supported only by a jack. If you
must work under a vehicle, use
safety stands.
²Keep all lit cigarettes and other
smoking materials away from
the battery and all fuel-related
parts.
Working with the engine off
1. Set the parking brake and make
sure that the gearshift is securely
latched in P (Park).
2. Turn the engine off and remove
the key from the ignition.
3. Block the wheels to prevent the
vehicle from moving unexpectedly.
0020406080100
120
140
160
180
200P RND21
000000oooo
MPH km/h
UNLEADED
FUEL ONLY
RPM x 100012345
6H
C
F
E
RSM
SET
ACC
COAST OFF ON
SRS
- +H
H
L L
Maintenance and care
137
Page 138 of 197

Working with the engine on
1. Set the parking brake and make
sure that the gearshift is securely
latched in P (Park).
2. Do not work on a vehicle in an
enclosed space with the engine
running.
3. Block the wheels to prevent the
vehicle from moving unexpectedly.
4. If work must be done with the
engine running, avoid wearing
loose clothing or jewelry that could
get caught in moving parts. Take
appropriate precautions with long
hair.
Opening the hood
1. Inside the vehicle, pull the hood
release handle located under the
steering column.
2. While applying downward
pressure on the hood, push the
hood latch handle located behind
the grille near the center front of
the vehicle to the left.
3. Lift the hood.
After closing the hood, try to lift it
to be sure that it is closed
securely.
Lubricate the hood latch every six
months to ensure proper
operation.
0020406080100
120
140
160
180
200P RND21
000000oooo
MPH km/h
UNLEADED
FUEL ONLY
RPM x 100012345
6H
C
F
E
RSM
SET
ACC
COAST OFF ON
SRS
- +H
H
L L
Maintenance and care
138