1997 MERCEDES-BENZ ML430 steering wheel
[x] Cancel search: steering wheelPage 689 of 4133
222
Malfunction and indicator lamps
Te ch n ica l
data
Instruments
and controls Operation Driving
Instrument
cluster display Practical hints Car care Index
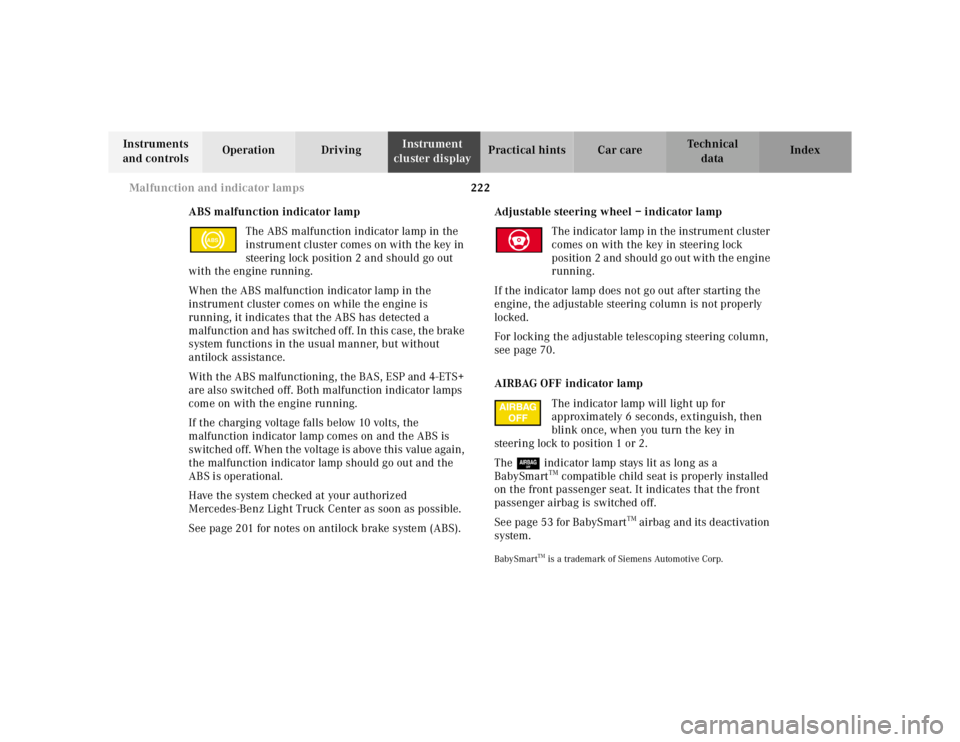
ABS malfunction indicator lamp The ABS malfunction indicator lamp in the
instrument cluster comes on with the key in
steering lock position 2 and should go out
with the engine running.
When the ABS malfunction indicator lamp in the
instrument cluster comes on while the engine is
running, it indicates that the ABS has detected a
malfunction and has switched off. In this case, the brake
system functions in the usual manner, but without
antilock assistance.
With the ABS malfunctioning, the BAS, ESP and 4-ETS+
are also switched off. Both malfunction indicator lamps
come on with the engine running.
If the charging voltage falls below 10 volts, the
malfunction indicator lamp comes on and the ABS is
switched off. When the voltage is above this value again,
the malfunction indicator lamp should go out and the
ABS is operational.
Have the system checked at your authorized
Mercedes-Benz Light Truck Center as soon as possible.
See page 201 for notes on antilock brake system (ABS). Adjustable steering wheel – indicator lamp
The indicator lamp in the instrument cluster
comes on with the key in steering lock
position 2 and should go out with the engine
running.
If the indicator lamp does not go out after starting the
engine, the adjustable steering column is not properly
locked.
For locking the adjustable telescoping steering column,
see page 70.
AIRBAG OFF indicator lamp The indicator lamp will light up for
approximately 6 seconds, extinguish, then
blink once, when you turn the key in
steering lock to position 1 or 2.
The 7 indicator lamp stays lit as long as a
BabySmart
TM compatible child seat is properly installed
on the front passenger seat. It indicates that the front
passenger airbag is switched off.
See page 53 for BabySmart
TM airbag and its deactivation
system.
BabySmart
TM is a trademark of Siemens Automotive Corp.
ABS
Page 713 of 4133
246
Tires, Wheels
Te ch n ica l
data
Instruments
and controls Operation Driving
Instrument
cluster display Practical hints
Car care Index
Move vehicle to a level area which is a safe distance
from the roadway.
Important!
The vehicle doors lock if the left front wheel rotates with
the engine running. Do not leave the engine running
while changing a wheel.
1. Set parking brake and turn on hazard warning flasher.
2. Move selector lever to position “P” and turn off engine, and remove key from the steering lock.
3. Prevent vehicle from rolling away by blocking wheels with wheel chocks (not supplied with
vehicle) or sizable wood block or stone. When
changing a wheel on a hill, place chocks on the
downhill side blocking both wheels of the other
axle. On a level road, place one chock in front of and
one behind the wheel that is diagonally opposite to
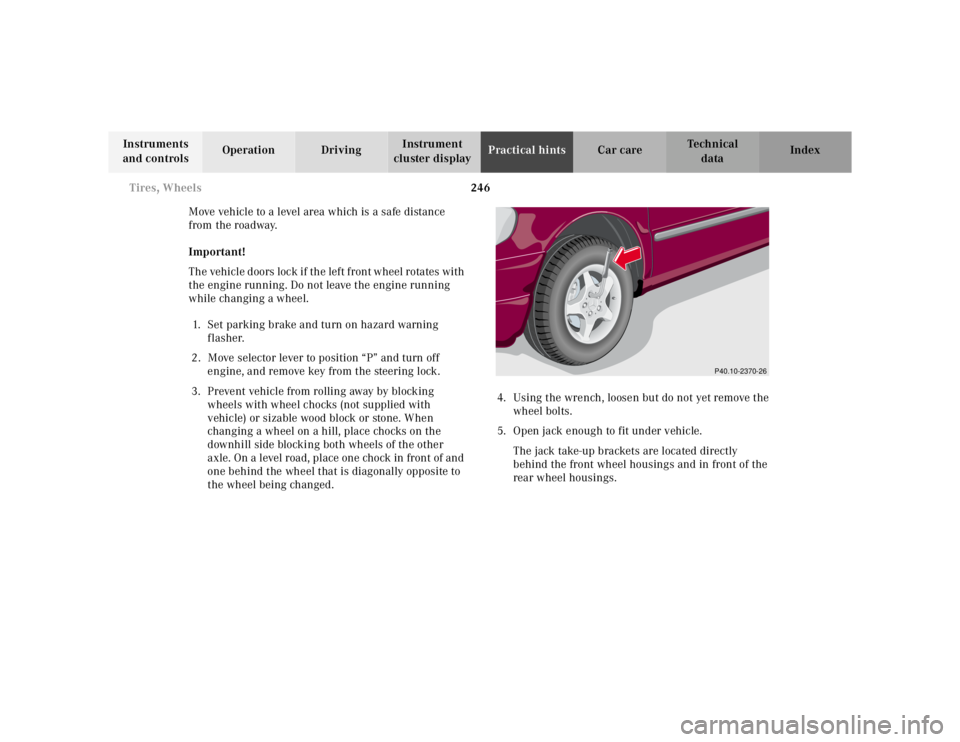
the wheel being changed. 4. Using the wrench, loosen but do not yet remove the
wheel bolts.
5. Open jack enough to fit under vehicle.
The jack take-up brackets are located directly
behind the front wheel housings and in front of the
rear wheel housings.
P40.10-2370-26
Page 722 of 4133
255
Towing
Te ch n ica l
data
Instruments
and controls Operation Driving
Instrument
cluster display Practical hints
Car care Index
Tow in g t h e ve hic l e
Important!
When towing the vehicle, please, note the following:
With the automatic central locking activated and the
engine running, the vehicle doors lock if the left front
wheel is turning at vehicle speeds of approximately
9 mph (15 km / h) or more.
To prevent the vehicle door locks from locking,
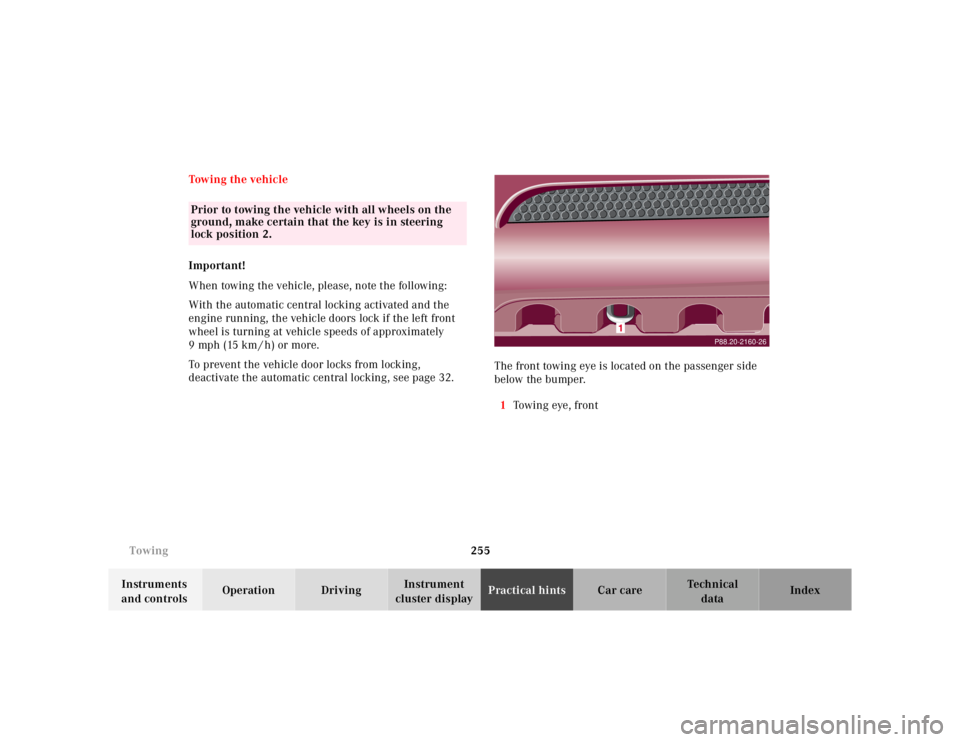
deactivate the automatic central locking, see page 32. The front towing eye is located on the passenger side
below the bumper.
1 To w i n g eye , f r o n t
Prior to towing the vehicle with all wheels on the
ground, make certain that the key is in steering
lock position 2.
P88.20-2160-26
Page 725 of 4133
258
Towing
Te ch n ica l
data
Instruments
and controls Operation Driving
Instrument
cluster display Practical hints
Car care Index
To be certain to avoid additional damage to the vehicle
powertrain, however you should d o the following:
• With damage to front axle, raise front axle. Remove
flexible drive shaft between rear axle and transfer
case
• With damage to rear axle, raise rear axle and tow
vehicle with wheel lift or dolly placed under front
wheels.
• With damage to transfer case, remove flexible drive
shafts to the drive axles.
Note:
Always install new self-locking nuts when reinstalling
the flexible drive shaft. Caution!
If the vehicle is towed with the front axle raised, the
engine must be shut off (key in steering lock position 1).
Otherwise, the 4-ETS+ may become engaged which may
cause loss of towing control. Switch off the tow-away
alarm (see page 36) as well as the ESP (see page 207).
Note:
To signal turns while being towed with hazard warning
flasher in use, turn key in steering lock to position 2
and activate combination switch for left or right turn
signal in usual manner. Now deactivate the hazard
warning flasher, only the selected turn signal will
operate. Upon canceling the turn signal, the hazard
warning flasher must be activated again.
Wa r n i n g !
With the engine not running, there is no power
assistance for the braking and steering systems. In
this case, it is important to keep in mind that a
considerably higher degree of effort is necessary to
brake and steer the vehicle.
Page 744 of 4133
277
Contents - Vehicle care
Te ch n ica l
data
Instruments
and controls Operation Driving
Instrument
cluster display Practical hints
Car care Index
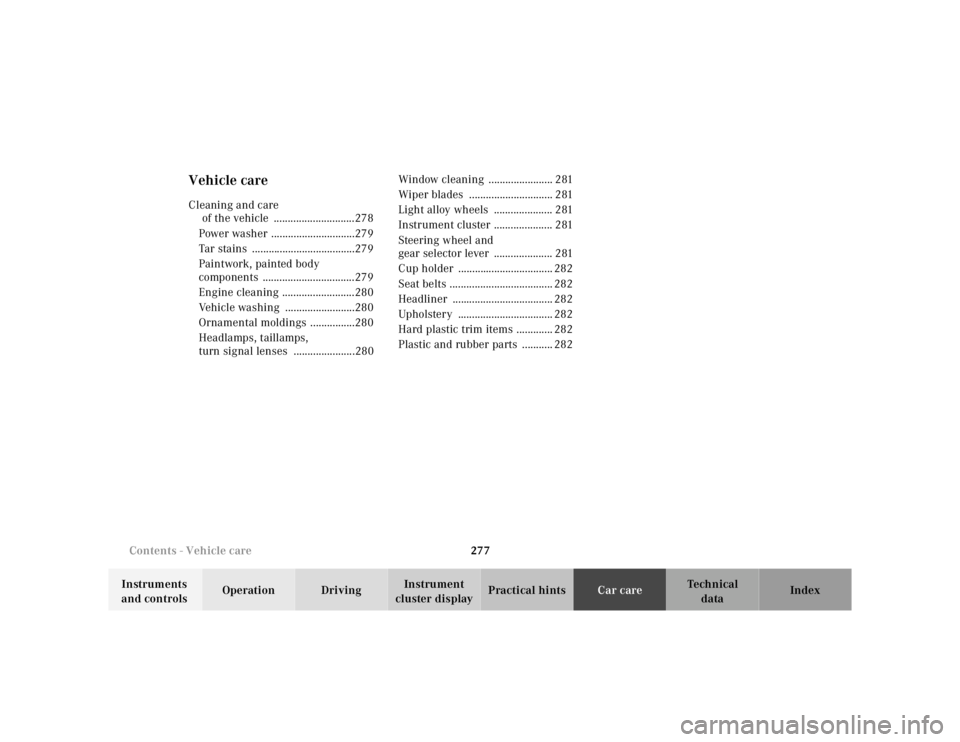
Vehicle careCleaning and care
of the vehicle .............................278
Power washer ..............................279
Tar stains .....................................279
Paintwork, painted body
components .................................279
Engine cleaning ..........................280
Vehicle washing .........................280
Ornamental moldings ................280
Headlamps, taillamps,
turn signal lenses ......................280 Window cleaning ....................... 281
Wiper blades .............................. 281
Light alloy wheels ..................... 281
Instrument cluster ..................... 281
Steering wheel and
gear selector lever ..................... 281
Cup holder .................................. 282
Seat belts ..................................... 282
Headliner .................................... 282
Upholstery .................................. 282
Hard plastic trim items ............. 282
Plastic and rubber parts ........... 282
Page 748 of 4133
281
Cleaning and care of the vehicle
Te ch n ica l
data
Instruments
and controls Operation Driving
Instrument
cluster display Practical hints
Car care Index
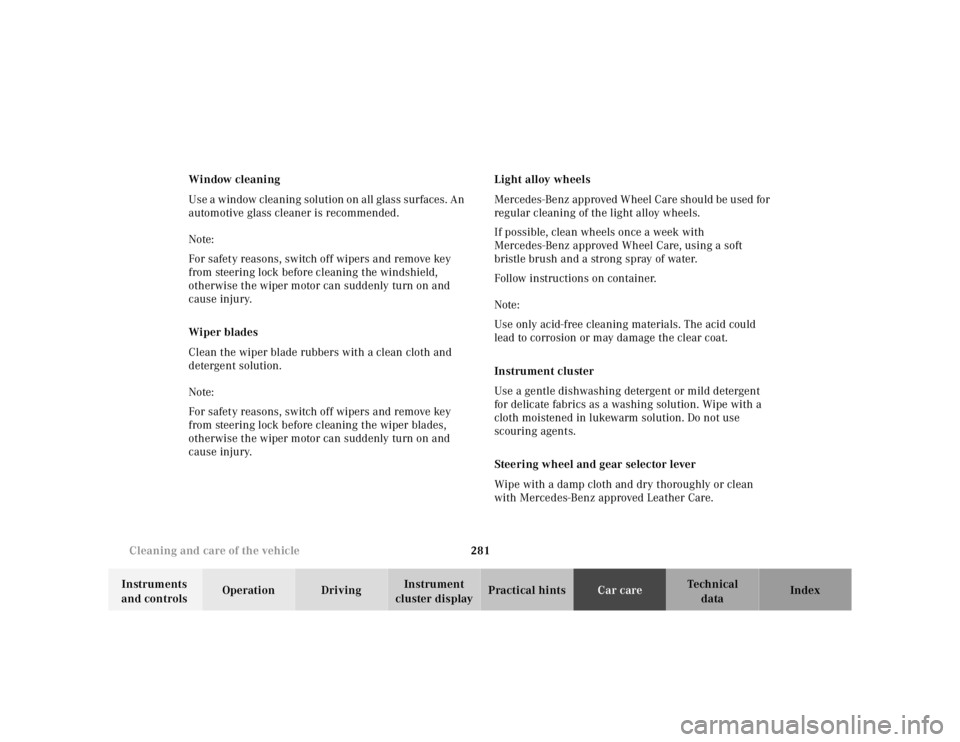
Window cleaning
Use a window cleaning solution on all glass surfaces. An
automotive glass cleaner is recommended.
Note:
For safety reasons, switch off wipers and remove key
from steering lock before cleaning the windshield,
otherwise the wiper motor can suddenly turn on and
cause injury.
Wiper blades
Clean the wiper blade rubbers with a clean cloth and
detergent solution.
Note:
For safety reasons, switch off wipers and remove key
from steering lock before cleaning the wiper blades,
otherwise the wiper motor can suddenly turn on and
cause injury. Light alloy wheels
Mercedes-Benz approved Wheel Care should be used for
regular cleaning of the light alloy wheels.
If possible, clean wheels once a week with
Mercedes-Benz approved Wheel Care, using a soft
bristle brush and a strong spray of water.
Follow instructions on container.
Note:
Use only acid-free cleaning materials. The acid could
lead to corrosion or may damage the clear coat.
Instrument cluster
Use a gentle dishwashing detergent or mild detergent
for delicate fabrics as a washing solution. Wipe with a
cloth moistened in lukewarm solution. Do not use
scouring agents.
Steering wheel and gear selector lever
Wipe with a damp cloth and dry thoroughly or clean
with Mercedes-Benz approved Leather Care.
Page 759 of 4133
292
Fuels, coolants, lubricants etc. - capacities
Te ch n ica l
data
Instruments
and controls Operation Driving
Instrument
cluster display Practical hints Car care Index
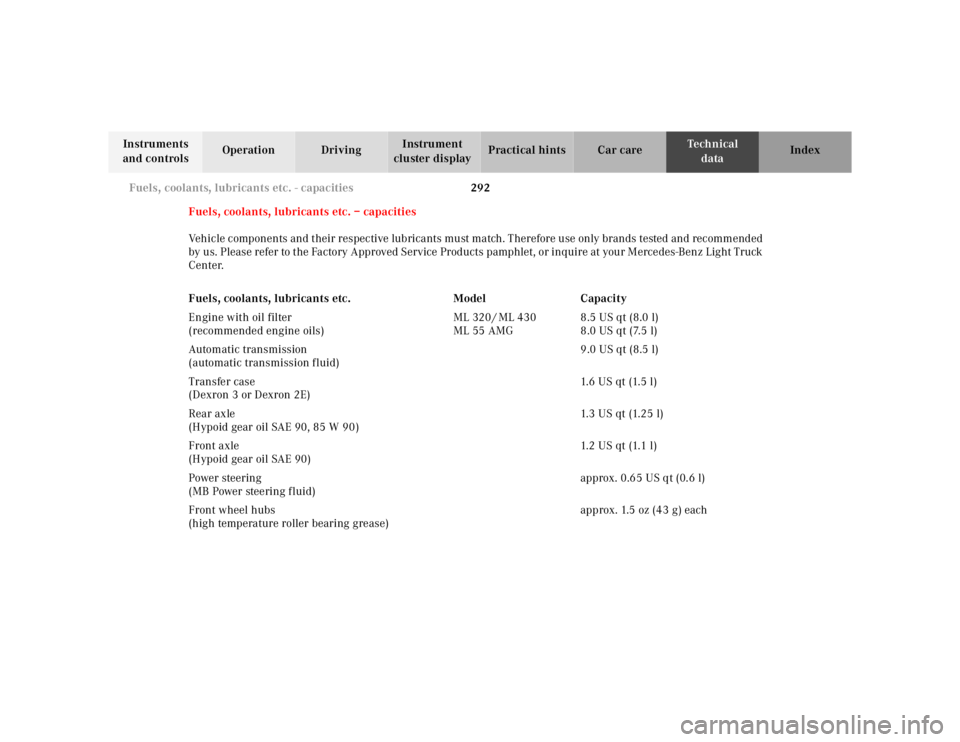
Fuels, coolants, lubricants etc. – capacities
Vehicle components and their respective lubricants must match. Therefore use only brands tested and recommended
by us. Please refer to the Factory Approved Service Products pamphlet, or inquire at your Mercedes-Benz Light Truck
Center.
Fuels, coolants, lubricants etc. Model Capacity
Engine with oil filter
(recommended engine oils) ML 320 / ML 430
ML 55 AMG 8.5 US qt (8.0 l)
8.0 US qt (7.5 l)
Automatic transmission
(automatic transmission fluid) 9.0 US qt (8.5 l)
Transfer case
(Dexron 3 or Dexron 2E) 1. 6 U S q t (1. 5 l )
Rear axle
(Hypoid gear oil SAE 90, 85 W 90) 1.3 US qt (1.25 l)
Front axle
(Hypoid gear oil SAE 90) 1. 2 U S q t (1. 1 l )
Power steering
(MB Power steering fluid) approx. 0.65 US qt (0.6 l)
Front wheel hubs
(high temperature roller bearing grease) approx. 1.5 oz (43 g) each
Page 767 of 4133
300
Index
Te ch n ica l
data
Instruments
and controls Operation Driving
Instrument
cluster display Practical hints Car care
Index
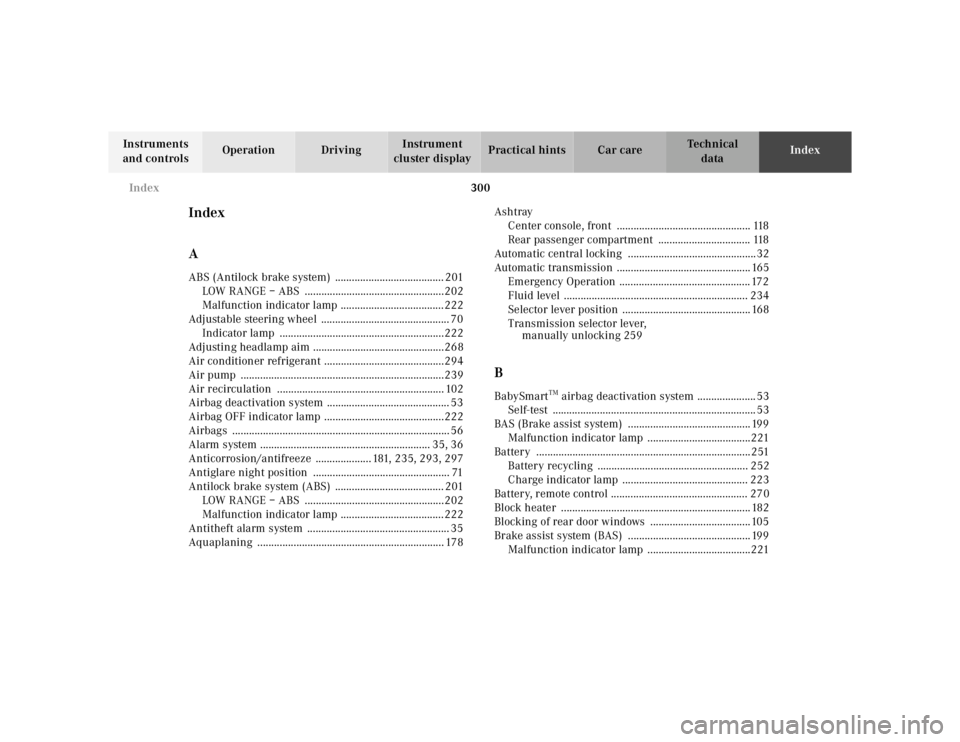
Index
AABS (Antilock brake system) ....................................... 201 LOW RANGE – ABS ..................................................202
Malfunction indicator lamp .....................................222
Adjustable steering wheel .............................................. 70 Indicator lamp ...........................................................222
Adjusting headlamp aim ...............................................268
Air conditioner refrigerant ...........................................294
Air pump .........................................................................239
Air recirculation ............................................................ 102
Airbag deactivation system ............................................ 53
Airbag OFF indicator lamp ...........................................222
Airbags .............................................................................. 56
Alarm system ............................................................. 35, 36
Anticorrosion/antifreeze .................... 181, 235, 293, 297
Antiglare night position ................................................. 71
Antilock brake system (ABS) ....................................... 201 LOW RANGE – ABS ..................................................202
Malfunction indicator lamp .....................................222
Antitheft alarm system ................................................... 35
Aquaplaning ................................................................... 178 Ashtray
Center console, front ................................................ 118
Rear passenger compartment ................................. 118
Automatic central locking ..............................................32
Automatic transmission ................................................ 165 Emergency Operation ............................................... 172
Fluid level .................................................................. 234
Selector lever position .............................................. 168
Transmission selector lever, manually unlocking 259
BBabySmart
TM airbag deactivation system ..................... 53
Self-test ......................................................................... 53
BAS (Brake assist system) ............................................ 199 Malfunction indicator lamp .....................................221
Battery .............................................................................251 Battery recycling ...................................................... 252
Charge indicator lamp ............................................. 223
Battery, remote control ................................................. 270
Block heater .................................................................... 182
Blocking of rear door windows ....................................105
Brake assist system (BAS) ............................................ 199 Malfunction indicator lamp .....................................221