1997 MERCEDES-BENZ ML350 odometer
[x] Cancel search: odometerPage 275 of 4133

225 Malfunction and indicator lamps
Te ch n ica l
data Instruments
and controlsOperation DrivingInstrument
cluster displayPractical hints Car care Index Brake pad wear indicator lamp
With the key in steering lock position 2, the
indicator lamp comes on and goes out when
the engine is running.
If the indicator lamp lights up during braking, this
indicates that the brake pads are worn down.
Have the brake system checked at your authorized
Mercedes-Benz Light Truck Center as soon as possible.FSS indicator
FSS indicator (Service A), see page 87.
FSS indicator (Service B), see page 87.
The symbols appear in the main odometer display field
prior to the next suggested service. Depending on
operating conditions throughout the year, the next
service is calculated and displayed in days or distance
remaining. See page 87 for notes on the flexible service
system (FSS).
Page 357 of 4133
307 Index
Te ch n ica l
data Instruments
and controlsOperation DrivingInstrument
cluster displayPractical hints Car careIndex
OObtaining replacement keys .......................................... 25
Odometer/Trip odometer ................................................ 80
Off-Road driving ............................................................. 183
On-board diagnostic system ......................................... 218
Operator’s manual ............................................................. 8
Outside temperature indicator ...................................... 82
Overhead control panel ................................................... 21PPanic button ...................................................................... 28
Parking .............................................................................176
Parking brake ....................... 118, 173, 175, 176, 219, 245
Partition net .................................................................... 133
Poly-V-belt
Layout .........................................................................286
Power assistance ............................................................ 175
Power seats, front ............................................................ 40
Memory ........................................................................ 42
Memory recalling ....................................................... 42
Memory storing ........................................................... 42Power windows ...............................................................104
Blocking of rear door windows ............................... 105
Express opening of front door windows ................ 105
Problems with your vehicle ............................................ 15
Product information .......................................................... 7
RRadio transmitters ......................................................... 146
Rain sensor
See windshield wiper/washer switch ......................95
Rear quarter windows ...................................................106
Rear seat bench ..............................................................120
Easy entry/exit feature ............................................123
Head restraints ..........................................................124
Rear seat head restraints ..............................................124
Adjusting ....................................................................125
Removal ......................................................................125
Rear view mirrors
Exterior ......................................................................... 73
Inside ............................................................................ 71
Rear window defroster .................................................. 103
Rear window wiper/washer ...........................................96
Page 360 of 4133

310 Index
Te ch n ica l
data Instruments
and controlsOperation DrivingInstrument
cluster displayPractical hints Car careIndex
Tires
Driving instructions ................................................. 177
Rims and tires ...........................................................288
Rotating wheels ......................................................... 241
Tire inflation pressure .............................................250
Tire replacement .......................................................240
Winter driving instructions .................................... 180
Tow-away alarm ................................................................ 36
Switching off ................................................................ 36
Towing the vehicle .........................................................255
Stranded vehicle .......................................................259
Transmission selector lever, manually unlocking 259
Trailer operation ............................................................ 198
Trailer towing ................................................................. 190
Transmission .................................................................. 165
Transmission control - LOW RANGE mode ...............209
Transmission fluid level ...............................................234
Transmission selector lever, manually unlocking ....259
Traveling abroad ............................................................ 182
Trip computer ................................................................... 83
Trip odometer ................................................................... 80
Trunk ................................................................................. 34
Opening ........................................................................ 28
Trunk lamp ...................................................................... 111Turn signal failure ........................................................... 91
Turn signal lamp, side .................................................. 266
Turn signals ......................................................................90
UUnlocking the vehicle ...................................................... 27VVanity mirrors ................................................................ 113
Vehicle jack .................................................................... 237
Vehicle keys ......................................................................24
Ve h i c l e t o o l s
Screwdriver ............................................................... 237WWarranty coverage ........................................................ 284
Washing the vehicle ..................................................... 280
What you should know at the gas station .................. 212
Wheel bolt wrench ........................................................ 237
Wheels ............................................................................ 240
Changing wheels ...................................................... 245
Page 492 of 4133
25
Central locking system
Te ch n ica l
data
Instruments
and controls Operation
Driving Instrument
cluster display Practical hints Car care Index
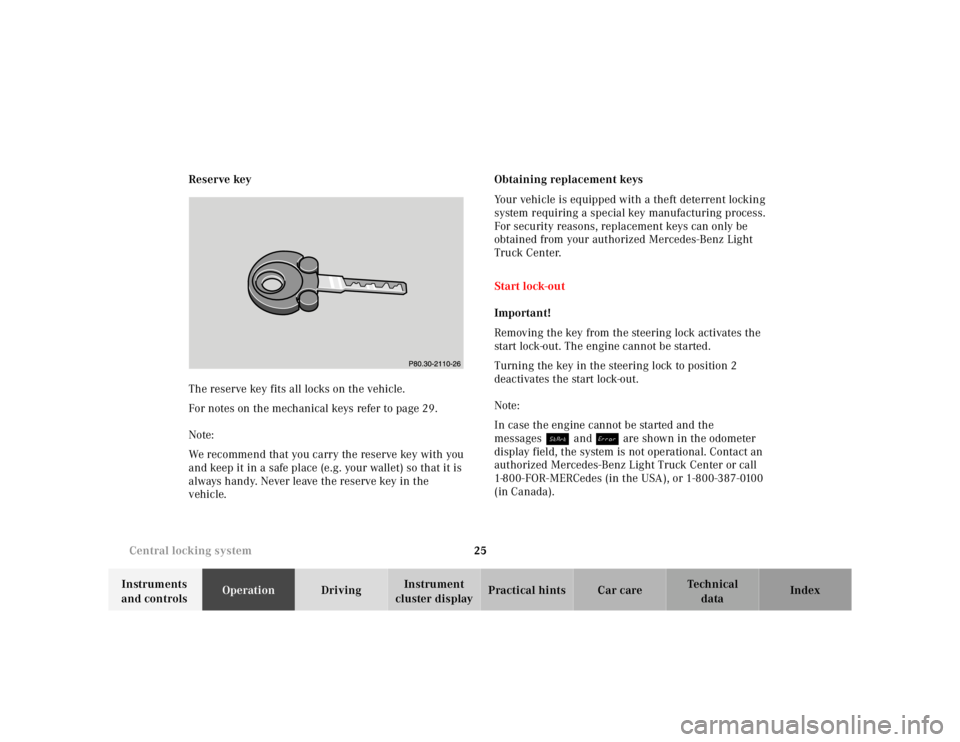
Reserve key
The reserve key fits all locks on the vehicle.
For notes on the mechanical keys refer to page 29.
Note:
We recommend that you carry the reserve key with you
and keep it in a safe place (e.g. your wallet) so that it is
always handy. Never leave the reserve key in the
vehicle. Obtaining replacement keys
Your vehicle is equipped with a theft deterrent locking
system requiring a special key manufacturing process.
For security reasons, replacement keys can only be
obtained from your authorized Mercedes-Benz Light
Truck Center.
Start lock-out
Important!
Removing the key from the steering lock activates the
start lock-out. The engine cannot be started.
Turning the key in the steering lock to position 2
deactivates the start lock-out.
Note:
In case the engine cannot be started and the
messages Á and î are shown in the odometer
display field, the system is not operational. Contact an
authorized Mercedes-Benz Light Truck Center or call
1-800-FOR-MERCedes (in the USA), or 1-800-387-0100
(in Canada).
Page 544 of 4133
77
Instrument cluster
Te ch n ica l
data
Instruments
and controls Operation
Driving Instrument
cluster display Practical hints Car care Index
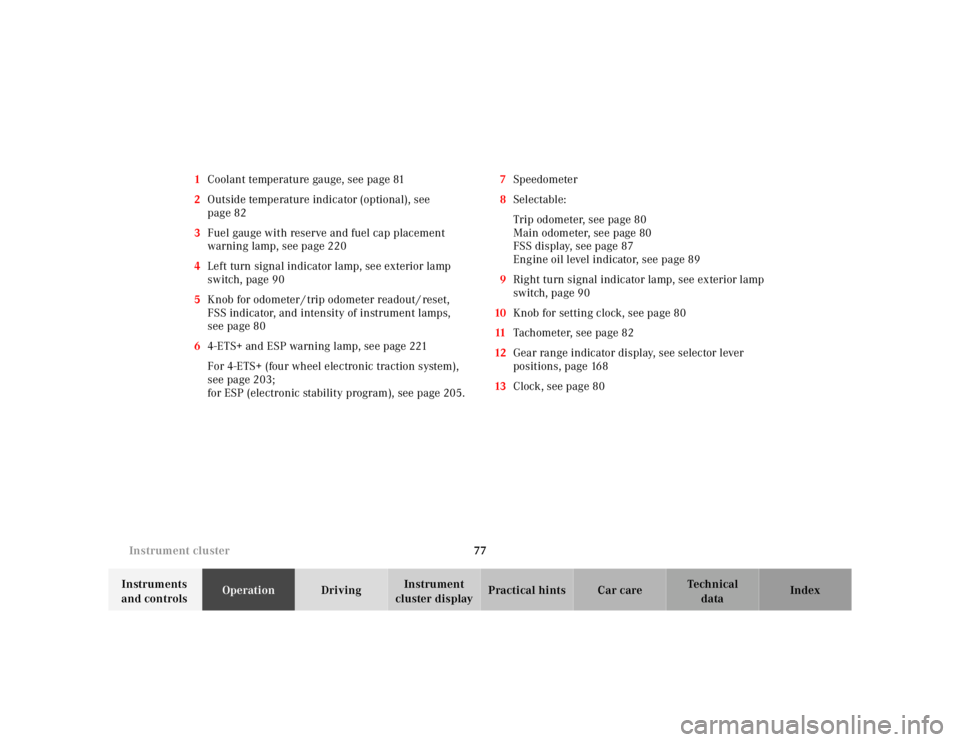
1
Coolant temperature gauge, see page 81
2 Outside temperature indicator (optional), see
page 82
3 Fuel gauge with reserve and fuel cap placement
warning lamp, see page 220
4 Left turn signal indicator lamp, see exterior lamp
switch, page 90
5 Knob for odometer / trip odometer readout / reset,
FSS indicator, and intensity of instrument lamps,
see page 80
6 4-ETS+ and ESP warning lamp, see page 221
For 4-ETS+ (four wheel electronic traction system),
see page 203;
for ESP (electronic stability program), see page 205. 7
Speedometer
8 Selectable:
Trip odometer, see page 80
Main odometer, see page 80
FSS display, see page 87
Engine oil level indicator, see page 89
9 Right turn signal indicator lamp, see exterior lamp
switch, page 90
10 Knob for setting clock, see page 80
11 Tachometer, see page 82
12 Gear range indicator display, see selector lever
positions, page 168
13 Clock, see page 80
Page 546 of 4133
79
Instrument cluster
Te ch n ica l
data
Instruments
and controls Operation
Driving Instrument
cluster display Practical hints Car care Index
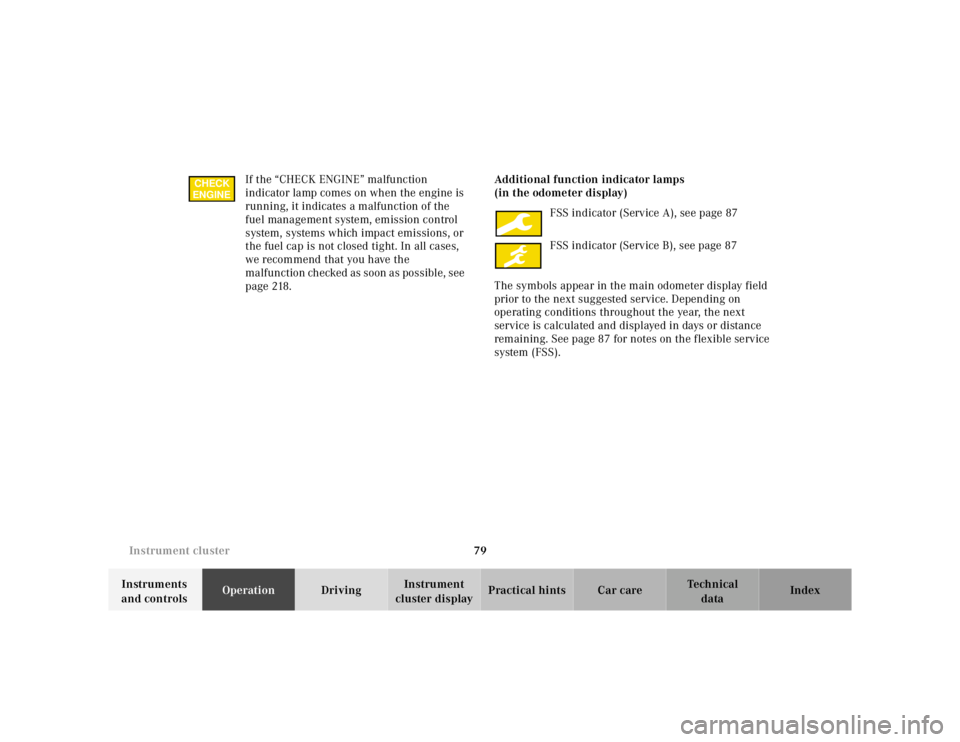
If the “CHECK ENGINE” malfunction
indicator lamp comes on when the engine is
running, it indicates a malfunction of the
fuel management system, emission control
system, systems which impact emissions, or
the fuel cap is not closed tight. In all cases,
we recommend that you have the
malfunction checked as soon as possible, see
page 218. Additional function indicator lamps
(in the odometer display)
FSS indicator (Service A), see page 87
FSS indicator (Service B), see page 87
The symbols appear in the main odometer display field
prior to the next suggested service. Depending on
operating conditions throughout the year, the next
service is calculated and displayed in days or distance
remaining. See page 87 for notes on the flexible service
system (FSS).
CHECK
ENGINE
Page 547 of 4133
80
Instrument cluster
Te ch n ica l
data
Instruments
and controls Operation
Driving Instrument
cluster display Practical hints Car care Index
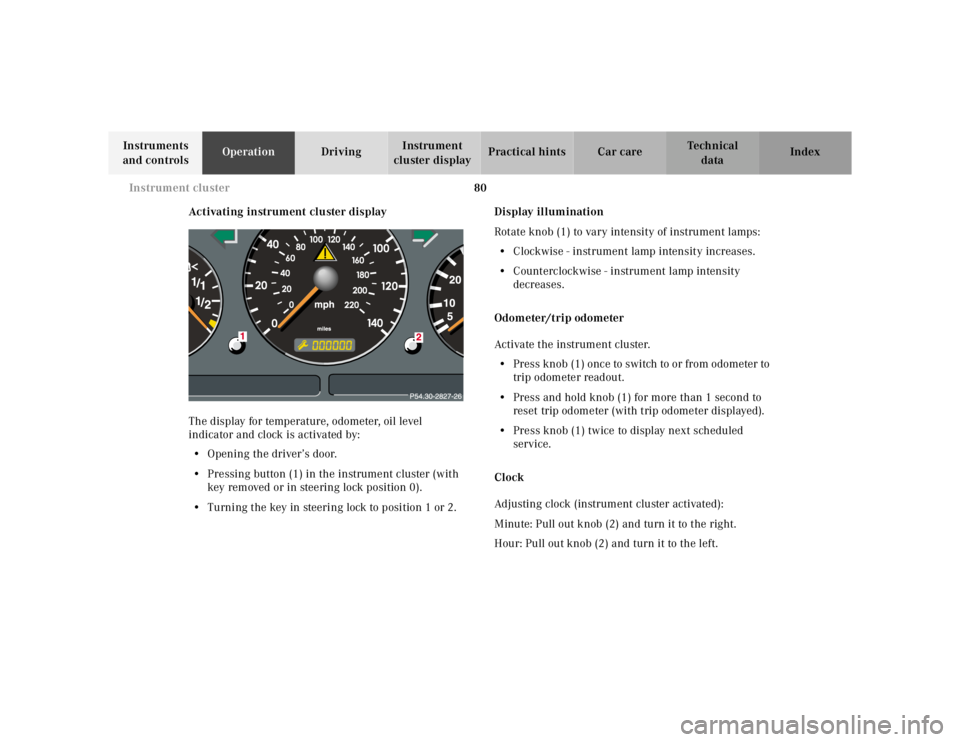
Activating instrument cluster display
The display for temperature, odometer, oil level
indicator and clock is activated by:
• Opening the driver’s door.
• Pressing button (1) in the instrument cluster (with
key removed or in steering lock position 0).
• Turning the key in steering lock to position 1 or 2. Display illumination
Rotate knob (1) to vary intensity of instrument lamps: • Clockwise - instrument lamp intensity increases.
• Counterclockwise - instrument lamp intensity
decreases.
Odometer/trip odometer
Activate the instrument cluster. • Press knob (1) once to switch to or from odometer to
trip odometer readout.
• Press and hold knob (1) for more than 1 second to
reset trip odometer (with trip odometer displayed).
• Press knob (1) twice to display next scheduled
service.
Clock
Adjusting clock (instrument cluster activated):
Minute: Pull out knob (2) and turn it to the right.
Hour: Pull out knob (2) and turn it to the left.
Page 554 of 4133
87
Flexible service system
Te ch n ica l
data
Instruments
and controls Operation
Driving Instrument
cluster display Practical hints Car care Index
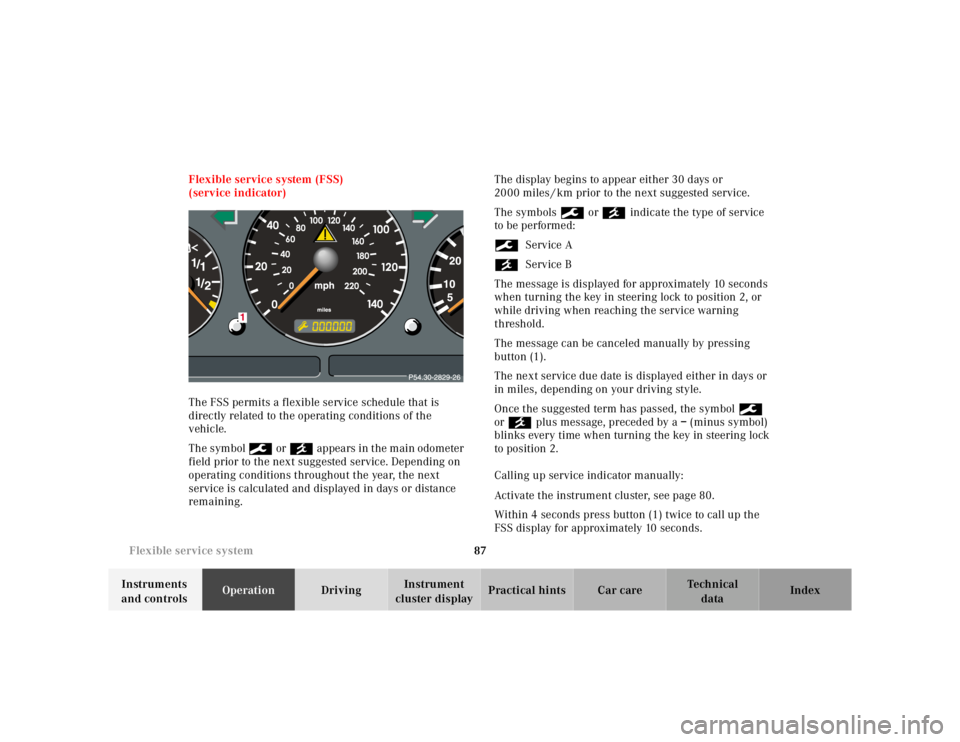
Flexible service system (FSS)
(service indicator)
The FSS permits a flexible service schedule that is
directly related to the operating conditions of the
vehicle.
The symbol 9 or ´ appears in the main odometer
field prior to the next suggested service. Depending on
operating conditions throughout the year, the next
service is calculated and displayed in days or distance
remaining. The display begins to appear either 30 days or
2000 miles / km prior to the next suggested service.
The symbols 9 or ´ indicate the type of service
to be performed:
9 Service A
´ Service B
The message is displayed for approximately 10 seconds
when turning the key in steering lock to position 2, or
while driving when reaching the service warning
threshold.
The message can be canceled manually by pressing
button (1).
The next service due date is displayed either in days or
in miles, depending on your driving style.
Once the suggested term has passed, the symbol 9
or ´ plus message, preceded by a – (minus symbol)
blinks every time when turning the key in steering lock
to position 2.
Calling up service indicator manually:
Activate the instrument cluster, see page 80.
Within 4 seconds press button (1) twice to call up the
FSS display for approximately 10 seconds.