Page 2397 of 4133
Model 203, 170 with
Engine 112.
Model 163 with Engine
112, 113.AP15.10-P-1580GH
Model 215, 220 with
Engine 137.AP15.10-P-1580L
Model 230.474/475, 211,
220 with Engine 112, 113AP15.10-P-1580AB
Model 240 with Engine
285.AP15.10-P-1580H
Model 463 with Engine
112,113AP15.10-P-1580GA
4Position piston of
cylinder to be tested to
ignition TDC Crank the engine at the
center bolt of the crankshaft
in the direction of rotation
of engine.
5Connect cylinder leak
tester (04) Calibrate cylinder
leakage tester (04) and
screw the connection hose
into the spark plug bore
Cylinder leak tester
*WH58.30-Z-1015-05A
6Remove the oil filler cap
(3)
Inspection
7Apply compressed air to
the cylinder, read off
pressure loss on the
cylinder leakage tester
(04) and determine the
cause if there is an
increased pressure lossCylinder leaktightness
permissible loss total
indication*BE01.00-P-1001-02Z
Cylinder leaktightness
permissible losses at valves
and cylinder head gasket*BE01.00-P-1002-02Z
Cylinder leaktightness
permissible losses at pistons
and piston rings*BE01.00-P-1003-02Z
If the crankshaft rotates: ?
Engine 112, 113, 137.
Install retaining lock for
crankshaft
AR03.30-P-5000B
Engine 285.
Lock crankshaft with
counterholder.
Retainer
Fig. 31
8Conduct the test of the
other cylinders in the
firing order of the engine AR01.00-P-1300-03HA
9Install in the reverse
2001 Mercedes-Benz ML320
1998-2005 ENGINE Complete engine - 163 Chassis
me
Saturday, October 02, 2010 3:17:56 PMPage 41 © 2006 Mitchell Repair Information Company, LLC.
Page 2398 of 4133
Cylinder leakage
Fig. 31: Identifying Counterholder (112 589 00 40 00)
Commercially available tools
DISCONNECTING AND CONN ECTING ENGINE WIRING HARNESS - AR01.00-P-2410V
ENGINE 112.942 in MODEL 163.154
ENGINE 112.970 in MODEL 163.157
ENGINE 113.942 in MODEL 163.172
ENGINE 113.981 in MODEL 163.174
ENGINE 113.965 in MODEL 163.175
Shown on Model 163.154
order
NumberDesignationAll Engines
BE01.00-P-1001-02ZCylinder leakage
permissible loss total
indication%< or = 25
BE01.00-P-1002-02ZCylinder leakage
permissible losses at valves
and cylinder head gasket%< or = 10
BE01.00-P-1003-02ZCylinder leakage
permissible losses at
pistons and piston rings%< or = 20
NumberDesignation
WH58.30-Z-1015-05ACylinder leakage testing unit
2001 Mercedes-Benz ML320
1998-2005 ENGINE Complete engine - 163 Chassis
me
Saturday, October 02, 2010 3:17:56 PMPage 42 © 2006 Mitchell Repair Information Company, LLC.
Page 2399 of 4133
Fig. 32: Identifying Engine Wiring Harness - Shown On Model 163.154
Fig. 33: Identifying Ground Strap Of Engine/Body
- Shown On Model 163.154
Shown on Model 163.154
2001 Mercedes-Benz ML320
1998-2005 ENGINE Complete engine - 163 Chassis
me
Saturday, October 02, 2010 3:17:56 PMPage 43 © 2006 Mitchell Repair Information Company, LLC.
Page 2400 of 4133
Fig. 34: Identifying Motor Electronics Control Module - Shown On Model 163.154
Shown on Model 163.154
Fig. 35: Identifying Connector Of Engine Compartment And Engine
- Shown On Model 163.154
Shown on Model 163.154
Remove/Install
1Disconnect ground of battery
(W10)
Installation: After connecting, read out fault memory,
encode radio and normalize power windows.
Vehicles with stationary he ater: adjust time display on
stationary heater.
AR54.10-
P-0003A
2Remove cover of fuse module
(1)
3Remove cover of relay module
(2)
Remove electronics ground of
2001 Mercedes-Benz ML320
1998-2005 ENGINE Complete engine - 163 Chassis
me
Saturday, October 02, 2010 3:17:56 PMPage 44 © 2006 Mitchell Repair Information Company, LLC.
Page 2401 of 4133
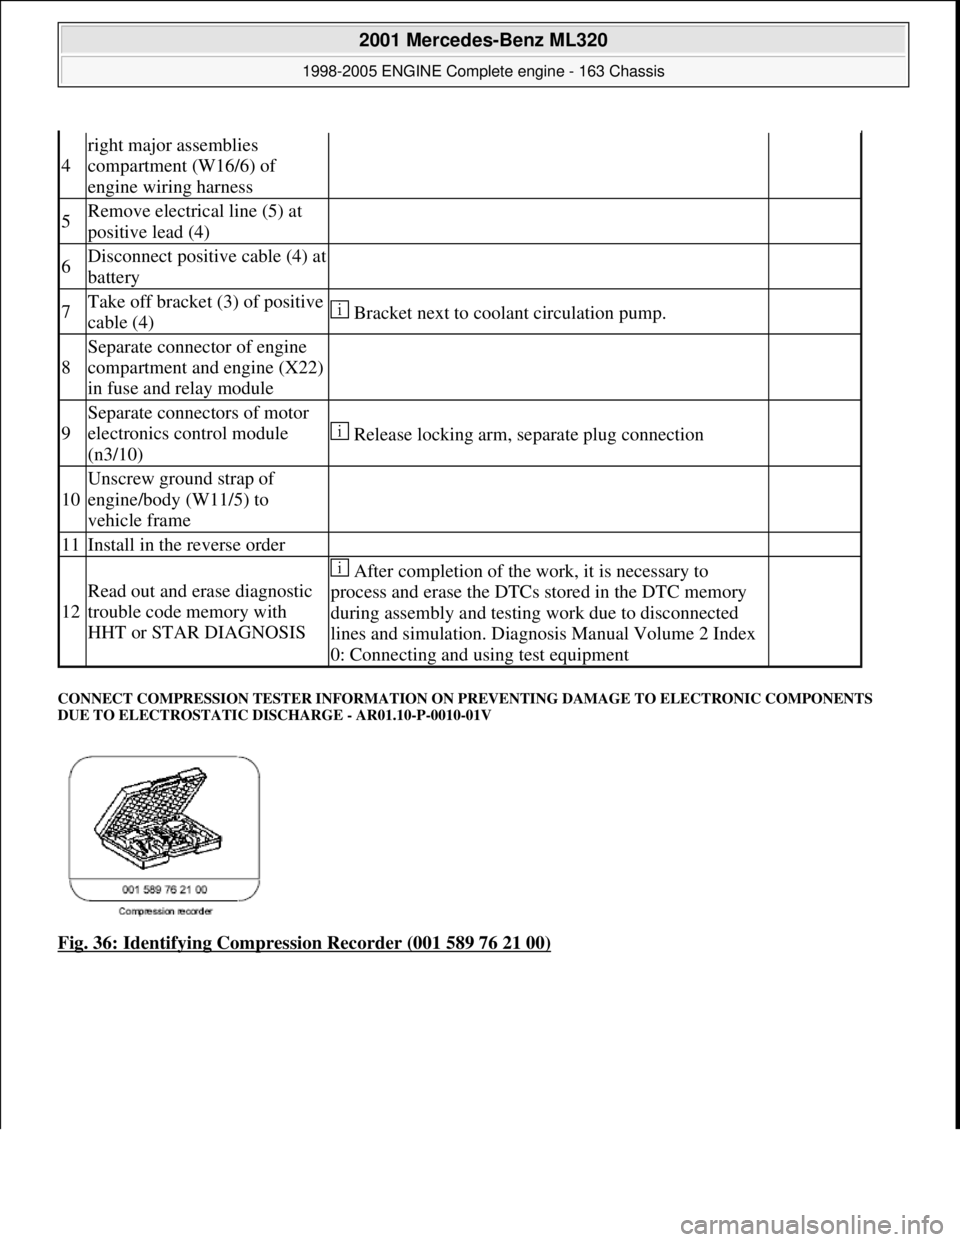
CONNECT COMPRESSION TESTER INFORMATION ON PR EVENTING DAMAGE TO ELECTRONIC COMPONENTS
DUE TO ELECTROSTATIC DI SCHARGE - AR01.10-P-0010-01V
Fig. 36: Identifying Compression Recorder (001 589 76 21 00)
4
right major assemblies
compartment (W16/6) of
engine wiring harness
5Remove electrical line (5) at
positive lead (4)
6Disconnect positive cable (4) at
battery
7Take off bracket (3) of positive
cable (4) Bracket next to coolant circulation pump.
8
Separate connector of engine
compartment and engine (X22)
in fuse and relay module
9
Separate connectors of motor
electronics control module
(n3/10)
Release locking arm, separate plug connection
10
Unscrew ground strap of
engine/body (W11/5) to
vehicle frame
11Install in the reverse order
12
Read out and erase diagnostic
trouble code memory with
HHT or STAR DIAGNOSIS
After completion of the work, it is necessary to
process and erase the DTCs stored in the DTC memory
during assembly and testing work due to disconnected
lines and simulation. Diagnosis Manual Volume 2 Index
0: Connecting and using test equipment
2001 Mercedes-Benz ML320
1998-2005 ENGINE Complete engine - 163 Chassis
me
Saturday, October 02, 2010 3:17:56 PMPage 45 © 2006 Mitchell Repair Information Company, LLC.
Page 2402 of 4133
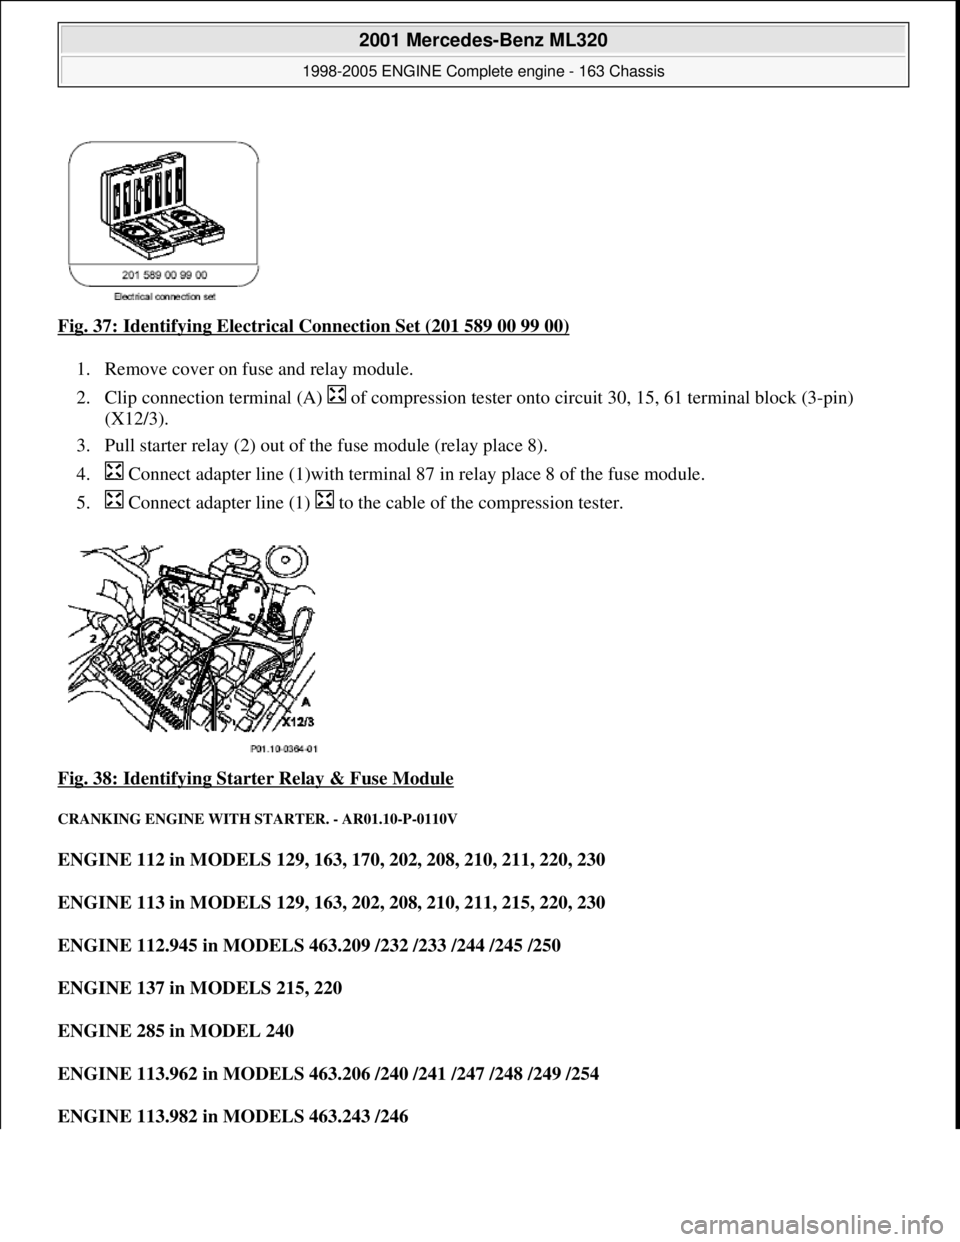
Fig. 37: Identifying Electrical Connection Set (201 589 00 99 00)
1. Remove cover on fuse and relay module.
2. Clip connection terminal (A) of compression tester onto circuit 30, 15, 61 terminal block (3-pin)
(X12/3).
3. Pull starter relay (2) out of the fuse module (relay place 8).
4. Connect adapter line (1)w ith terminal 87 in relay place 8 of the fuse module.
5. Connect adapter line (1) to the cable of the compression tester.
Fig. 38: Identifying Star ter Relay & Fuse Module
CRANKING ENGINE WITH STARTER. - AR01.10-P-0110V
ENGINE 112 in MODELS 129, 163, 170, 202, 208, 210, 211, 220, 230
ENGINE 113 in MODELS 129, 163, 202, 208, 210, 211, 215, 220, 230
ENGINE 112.945 in MODELS 463.209 /232 /233 /244 /245 /250
ENGINE 137 in MODELS 215, 220
ENGINE 285 in MODEL 240
ENGINE 113.962 in MODELS 463.206 / 240 /241 /247 /248 /249 /254
ENGINE 113.982 in MODELS 463.243 /246
2001 Mercedes-Benz ML320
1998-2005 ENGINE Complete engine - 163 Chassis
me
Saturday, October 02, 2010 3:17:56 PMPage 46 © 2006 Mitchell Repair Information Company, LLC.
Page 2403 of 4133
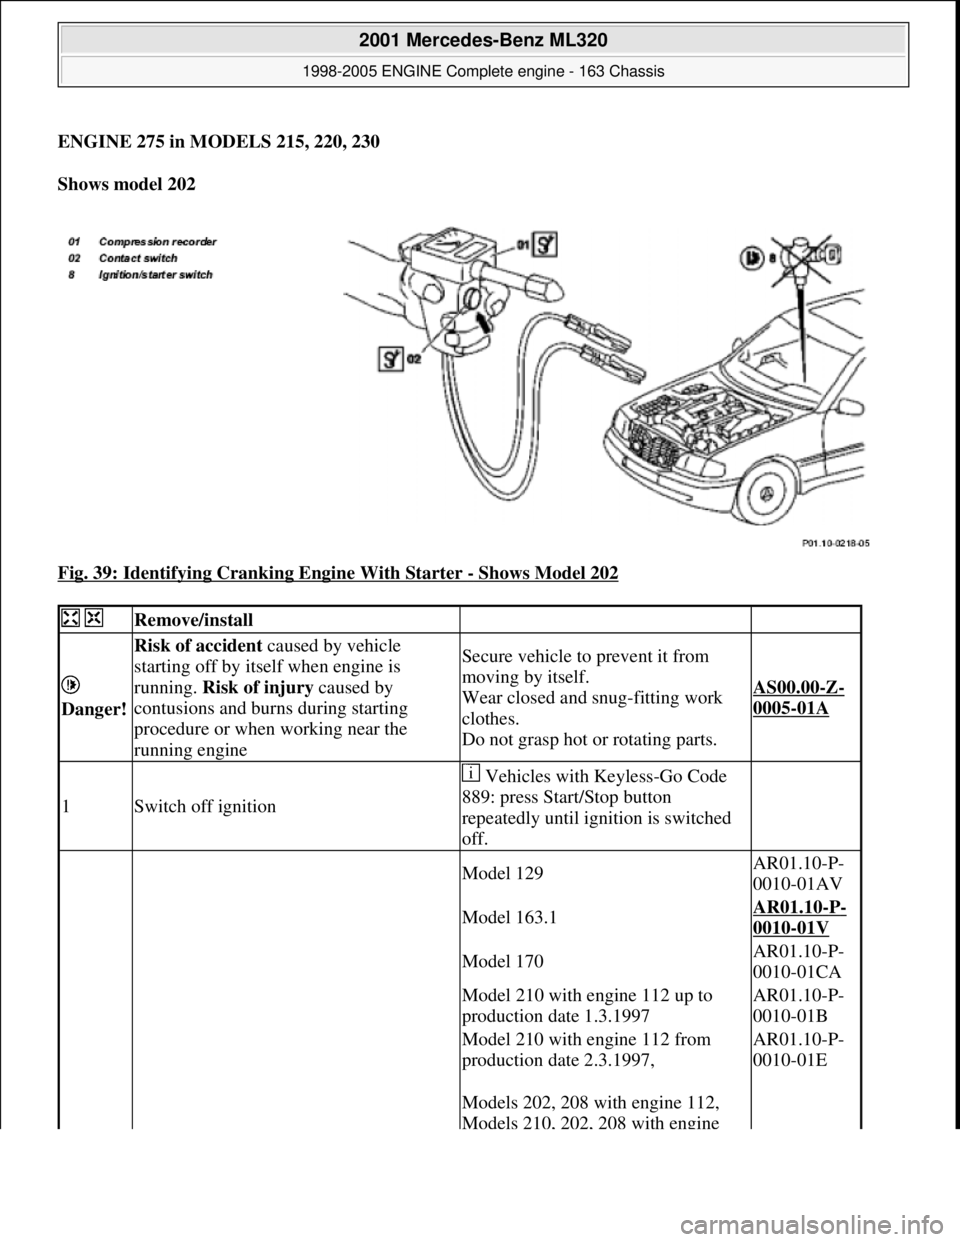
ENGINE 275 in MODELS 215, 220, 230
Shows model 202
Fig. 39: Identifying Cranking Engine With Starter
- Shows Model 202
Remove/install
Danger!
Risk of accident caused by vehicle
starting off by itself when engine is
running. Risk of injury caused by
contusions and burns during starting
procedure or when working near the
running engineSecure vehicle to prevent it from
moving by itself.
Wear closed and snug-fitting work
clothes.
Do not grasp hot or rotating parts.
AS00.00-Z-
0005-01A
1Switch off ignition
Vehicles with Keyless-Go Code
889: press Start/Stop button
repeatedly until ignition is switched
off.
Model 129AR01.10-P-
0010-01AV
Model 163.1AR01.10-P-
0010-01V
Model 170AR01.10-P-
0010-01CA
Model 210 with engine 112 up to
production date 1.3.1997AR01.10-P-
0010-01B
Model 210 with engine 112 from
production date 2.3.1997,AR01.10-P-
0010-01E
Models 202, 208 with engine 112,
Models 210, 202, 208 with engine
2001 Mercedes-Benz ML320
1998-2005 ENGINE Complete engine - 163 Chassis
me
Saturday, October 02, 2010 3:17:56 PMPage 47 © 2006 Mitchell Repair Information Company, LLC.
Page 2404 of 4133
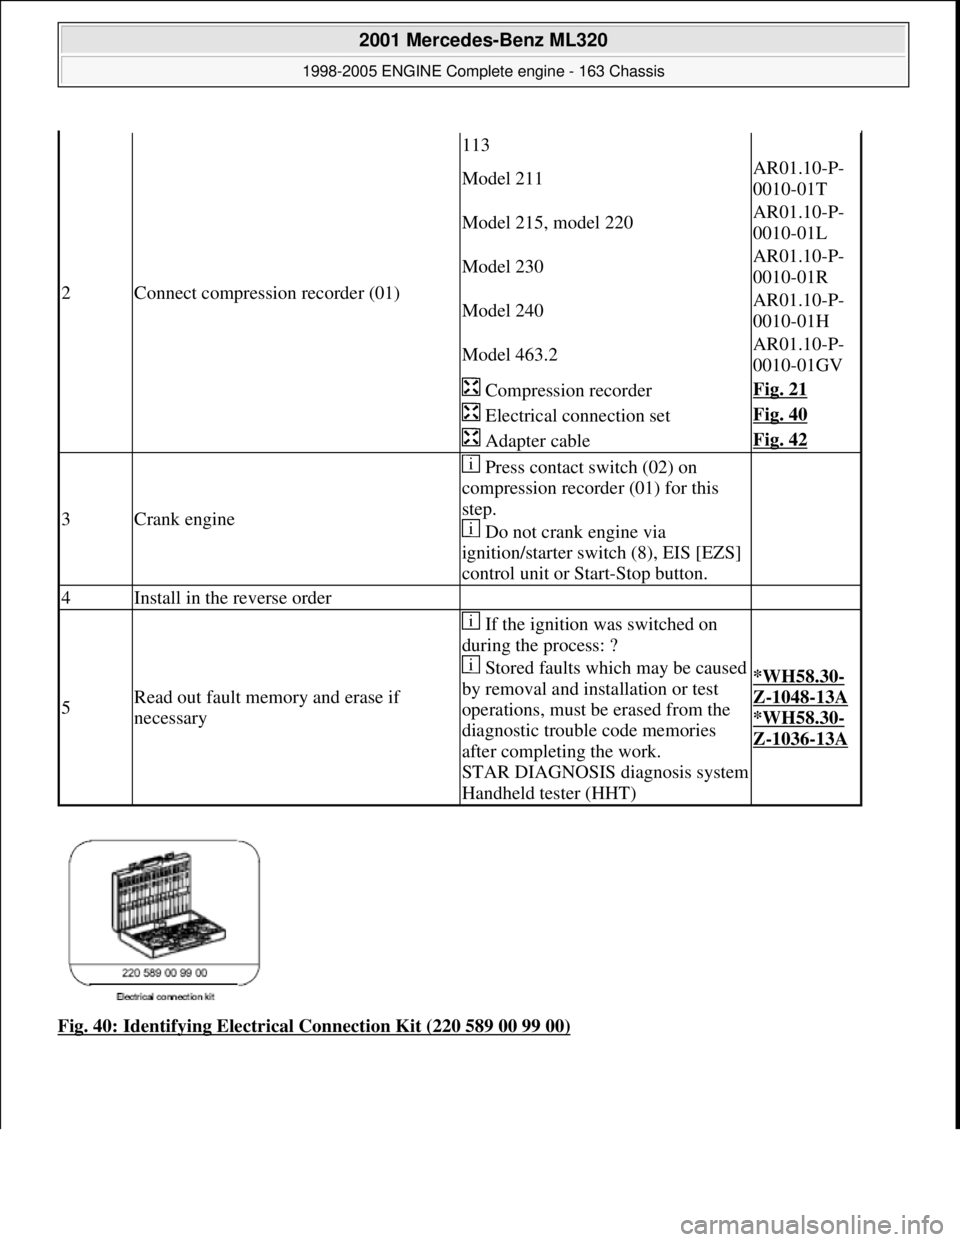
Fig. 40: Identifying Electrical Connection Kit (220 589 00 99 00)
2Connect compression recorder (01)
113
Model 211AR01.10-P-
0010-01T
Model 215, model 220AR01.10-P-
0010-01L
Model 230AR01.10-P-
0010-01R
Model 240AR01.10-P-
0010-01H
Model 463.2AR01.10-P-
0010-01GV
Compression recorderFig. 21
Electrical connection setFig. 40
Adapter cableFig. 42
3Crank engine
Press contact switch (02) on
compression recorder (01) for this
step.
Do not crank engine via
ignition/starter switch (8), EIS [EZS]
control unit or Start-Stop button.
4Install in the reverse order
5Read out fault memory and erase if
necessary
If the ignition was switched on
during the process: ?
Stored faults which may be caused
by removal and installation or test
operations, must be erased from the
diagnostic trouble code memories
after completing the work.
STAR DIAGNOSIS di agnosis system
Handheld tester (HHT)
*WH58.30-
Z-1048-13A
*WH58.30-
Z-1036-13A
2001 Mercedes-Benz ML320
1998-2005 ENGINE Complete engine - 163 Chassis
me
Saturday, October 02, 2010 3:17:56 PMPage 48 © 2006 Mitchell Repair Information Company, LLC.