1997 MERCEDES-BENZ ML320 automatic transmission
[x] Cancel search: automatic transmissionPage 637 of 4133
170
Automatic transmission
Te ch n ica l
data
Instruments
and controls Operation
Driving Instrument
cluster display Practical hints Car care Index
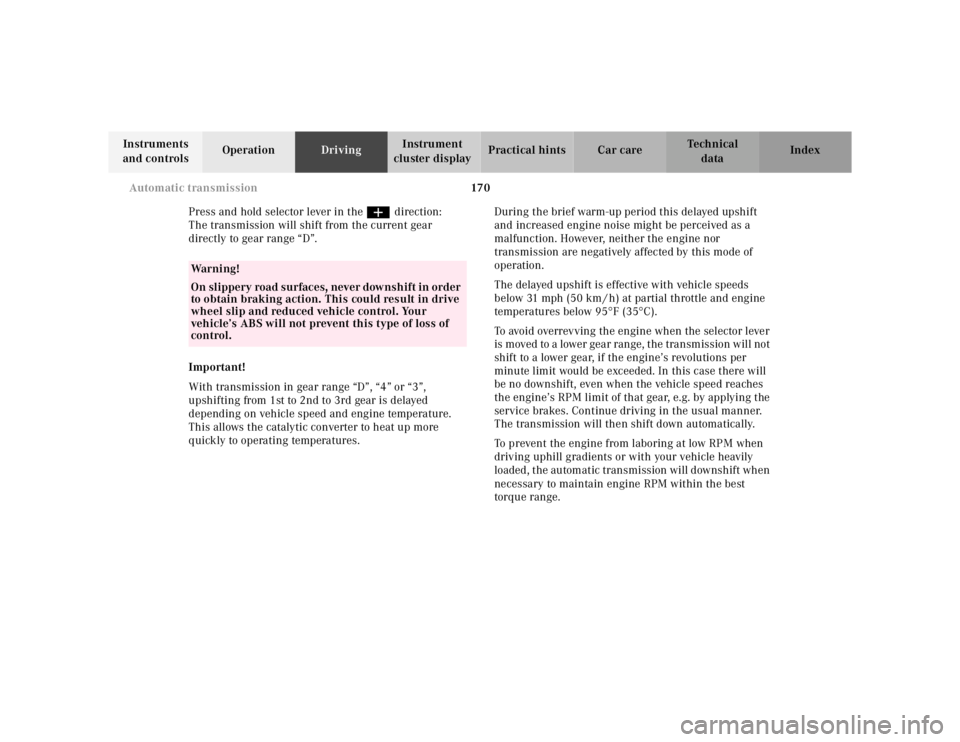
Press and hold selector lever in the ædirection:
The transmission will shift from the current gear
directly to gear range “D”.
Important!
With transmission in gear range “D”, “4” or “3”,
upshifting from 1st to 2nd to 3rd gear is delayed
depending on vehicle speed and engine temperature.
This allows the catalytic converter to heat up more
quickly to operating temperatures. During the brief warm-up period this delayed upshift
and increased engine noise might be perceived as a
malfunction. However, neither the engine nor
transmission are negatively affected by this mode of
operation.
The delayed upshift is effective with vehicle speeds
below 31 mph (50 km / h) at partial throttle and engine
temperatures below 95 °F (35 °C).
To avoid overrevving the engine when the selector lever
is moved to a lower gear range, the transmission will not
shift to a lower gear, if the engine’s revolutions per
minute limit would be exceeded. In this case there will
be no downshift, even when the vehicle speed reaches
the engine’s RPM limit of that gear, e.g. by applying the
service brakes. Continue driving in the usual manner.
The transmission will then shift down automatically.
To prevent the engine from laboring at low RPM when
driving uphill gradients or with your vehicle heavily
loaded, the automatic transmission will downshift when
necessary to maintain engine RPM within the best
torque range.
Wa r n i n g !
On slippery road surfaces, never downshift in order
to obtain braking action. This could result in drive
wheel slip and reduced vehicle control. Your
vehicle’s ABS will not prevent this type of loss of
control.
Page 638 of 4133
171
Automatic transmission
Te ch n ica l
data
Instruments
and controls Operation
Driving Instrument
cluster display Practical hints Car care Index
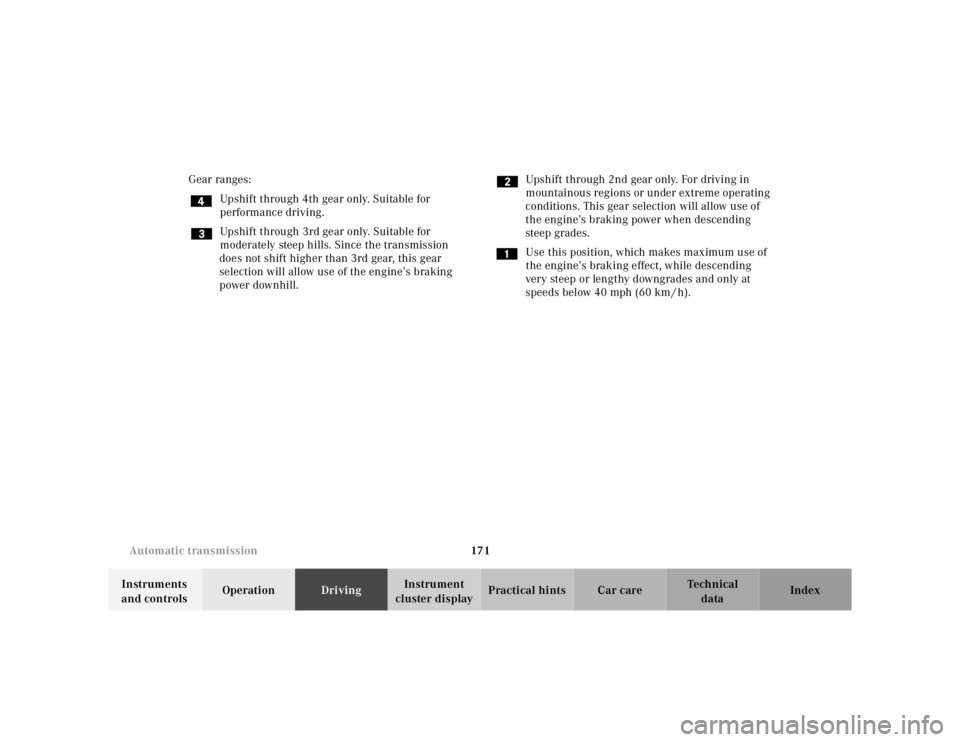
Gear ranges:
Upshift through 4th gear only. Suitable for
performance driving.
Upshift through 3rd gear only. Suitable for
moderately steep hills. Since the transmission
does not shift higher than 3rd gear, this gear
selection will allow use of the engine’s braking
power downhill. Upshift through 2nd gear only. For driving in
mountainous regions or under extreme operating
conditions. This gear selection will allow use of
the engine’s braking power when descending
steep grades.
Use this position, which makes maximum use of
the engine’s braking effect, while descending
very steep or lengthy downgrades and only at
speeds below 40 mph (60 km / h).
Page 639 of 4133
172
Automatic transmission
Te ch n ica l
data
Instruments
and controls Operation
Driving Instrument
cluster display Practical hints Car care Index
Emergency operation (Limp home mode)
If vehicle acceleration worsens or the transmission no
longer shifts, the transmission is most likely operating
in Limp home mode which engages when there is a
malfunction of the transmission. This condition may be
accompanied by the “CHECK ENGINE” malfunction
indicator lamp in the instrument cluster coming on.
In this mode only the 2nd gear or reverse gear can be
activated. To engage 2nd gear or reverse:
1. Sto p t h e v e h i c l e .
2. Move selector lever to position “P”.
3. Turn off the engine.
4. Wait approximately 10 seconds.
5. Restart the engine.
6. Move selector lever to position “D” (for 2nd gear), or move selector lever to position “R” (for reverse gear).
Have the transmission checked at your authorized
Mercedes-Benz Light Truck Center as soon as possible.
Page 652 of 4133
185
Driving instructions
Te ch n ica l
data
Instruments
and controls Operation
Driving Instrument
cluster display Practical hints Car care Index
Driving on embankments, slopes and other steep
inclines should only be done straight up or downhill, i.e.
in the line of gravity.
Do not drive along the side of a slope (danger of vehicle
rollover). If in doing so, the vehicle begins to show a
tendency to roll, immediately steer into a line of gravity
(straight up or downhill).
To help avoid the vehicle rolling over, never turn it
around on steep inclines. If the vehicle cannot complete
the attempted climb, back it down in reverse gear.
Utilize the engine’s braking power when descending a
slope, observe the engine speed (do not overrev the
engine). Apply the service brake as needed.
Check the brakes after a lengthy downgrade drive.
Notes:
Avoid excessive engine speeds – drive with moderate
engine speeds (max. 3000 RPM).
Select gear range “2” or “1” on the automatic
transmission, see page 165. Traction in steep terrain:
Be easy on the accelerator and watch for continuous
wheel traction when driving in steep terrain.
The 4-ETS+ helps greatly when starting out on a steep
incline. The front wheels have then the tendency to slip
due to the weight reduction over the front axle. The ETS
recognizes the situation and limits the torque for the
front wheels by braking them. Simultaneously the
torque for the rear wheels is increased.
See page 203 for four wheel electronic traction system
(4-ETS+).
Driving across a hilltop:
To prevent the vehicle from speeding up too much after
climbing a hill, decelerate just ahead of a hilltop (do not
select gear range “N”). Use the momentum of the
vehicle to drive across the hilltop. Driving in this
manner prevents the vehicle from jumping across the
hilltop and thus loosing its forward momentum.
Page 653 of 4133
186
Driving instructions
Te ch n ica l
data
Instruments
and controls Operation
Driving Instrument
cluster display Practical hints Car care Index
Driving downhill:
Select gear range “1” on the automatic transmission,
see page 165.
Drive downhill observing the same rules as driving
uphill.
Driving on embankments, slopes and other steep
inclines should only be done straight up or downhill, i.e.
in the line of gravity.
Do not drive along the side of a slope (danger of vehicle
rollover). If in doing so, the vehicle begins to show a
tendency to roll, immediately steer into a line of gravity
(straight up or downhill). Utilize the engine’s braking power when descending a
slope, observe the engine speed (do not overrev the
engine). Apply the service brake as needed.
The special low range ABS setting allows for precise and
brief (cyclical) blocking of the front wheels, permitting
them to dig into loose ground. Remember that the front
wheels when stopped, slide across a surface, thus loose
their ability to steer the vehicle.
Check the brakes after a lengthy downgrade drive.
Important!
Only apply the service brake if the vehicle travels
straight downhill, i.e. in the line of gravity.
Page 655 of 4133
188
Driving instructions
Te ch n ica l
data
Instruments
and controls Operation
Driving Instrument
cluster display Practical hints Car care Index
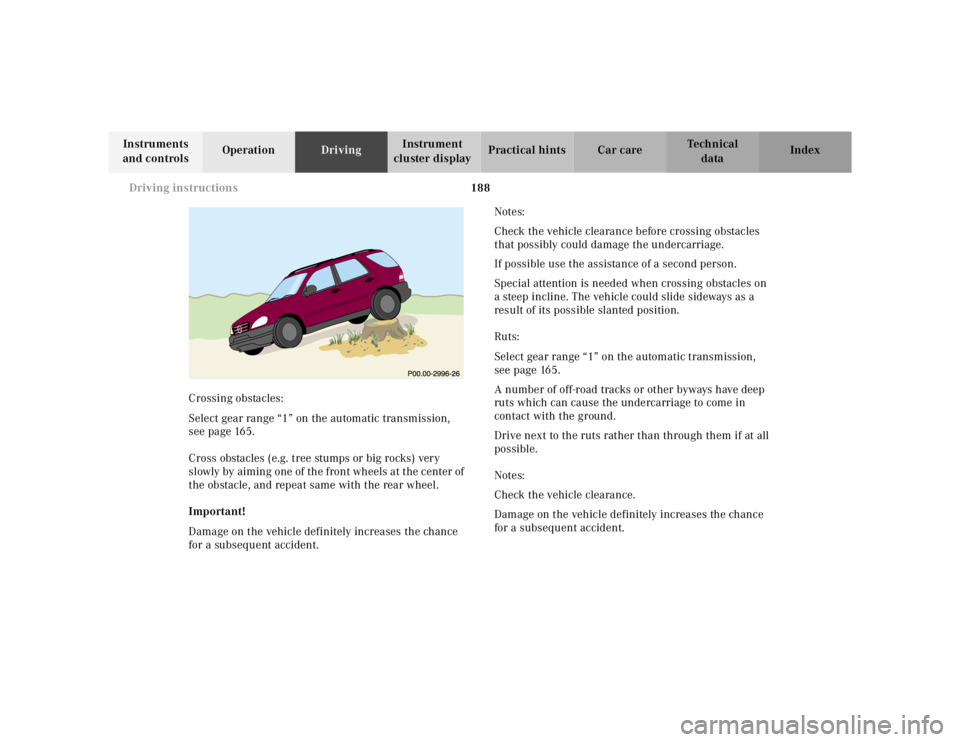
Crossing obstacles:
Select gear range “1” on the automatic transmission,
see page 165.
Cross obstacles (e.g. tree stumps or big rocks) very
slowly by aiming one of the front wheels at the center of
the obstacle, and repeat same with the rear wheel.
Important!
Damage on the vehicle definitely increases the chance
for a subsequent accident. Notes:
Check the vehicle clearance before crossing obstacles
that possibly could damage the undercarriage.
If possible use the assistance of a second person.
Special attention is needed when crossing obstacles on
a steep incline. The vehicle could slide sideways as a
result of its possible slanted position.
Ruts:
Select gear range “1” on the automatic transmission,
see page 165.
A number of off-road tracks or other byways have deep
ruts which can cause the undercarriage to come in
contact with the ground.
Drive next to the ruts rather than through them if at all
possible.
Notes:
Check the vehicle clearance.
Damage on the vehicle definitely increases the chance
for a subsequent accident.
Page 665 of 4133
198
Driving systems
Te ch n ica l
data
Instruments
and controls Operation
Driving Instrument
cluster display Practical hints Car care Index
Notes:
If the engine does not brake the vehicle sufficiently
while driving on a downgrade, the speed you set on the
cruise control may be exceeded. In this case the
automatic transmission shifts down (max. to 3rd gear)
to maintain the set cruise control speed by using the
engine’s braking power.
As soon as the grade eases, the automatic transmission
shifts up again dependent on the selector lever position.
Nevertheless, in some cases you may have to step on the
b ra ke pe dal to slow d own. In t his case t he cruise control
is switched off.
Use the lever to resume the previously set speed. Transmission in LOW RANGE mode
The cruise control should not be activated during off-
road driving in the LOW RANGE mode. Doing so could
reduce driving comfort.
Trailer operation
When towing a trailer, do not allow engine speed to drop
too low on inclines. Select a lower range (“3”, “2” or “1”)
in time, depending on the degree of the incline. This is
also valid with cruise control activated.
At extreme inclines switch to LOW RANGE mode, see
page 209.
Note:
For detailed information see trailer towing on page 190.
Page 694 of 4133
227
Contents - Practical hints
Te ch n ica l
data
Instruments
and controls Operation Driving
Instrument
cluster display Practical hints
Car care Index
Practical hintsFirst aid kit .....................................228
Fuses ................................................228
Electrical outlet ..............................230
Stowing things in the vehicle ......230
Hood ................................................. 231
Checking engine oil level .............233
Automatic transmission fluid level ...................................234
Engine oil consumption ................234
Coolant level ...................................234 Adding coolant ...........................235
Windshield washer/headlamp cleaning system .........................236
Windshield and
headlamp washer fluid
mixing ratio ................................237 Vehicle jack, wheel bolt
wrench and screwdriver ......... 237
Air pump ......................................... 239
Wheels ............................................ 240 Tire replacement ....................... 240
Rotating wheels ......................... 241
Spare wheel .................................... 242
Changing wheels ........................... 245
Tire inflation pressure ................. 250
Battery ............................................. 251
Jump starting ................................. 253
Towing the vehicle ........................ 255 Transmission selector lever,
manually unlocking .................. 259
Stranded vehicle ............................ 259 Exterior lamps ................................260
Headlamp assembly ................... 261
Taillamp assemblies ..................265
Adjusting headlamp aim ...............268
Remote control battery replacement .................270
Synchronizing
remote control ............................ 271
Emergency operation of sliding/pop-up roof ...................272
Emergency operation of Skyview Top ...............................273
Manual release for fuel filler flap ............................. 274
Replacing wiper blades .................275
Roof rack ......................................... 276