1997 MERCEDES-BENZ ML320 automatic transmission
[x] Cancel search: automatic transmissionPage 545 of 4133
78
Instrument cluster
Te ch n ica l
data
Instruments
and controls Operation
Driving Instrument
cluster display Practical hints Car care Index
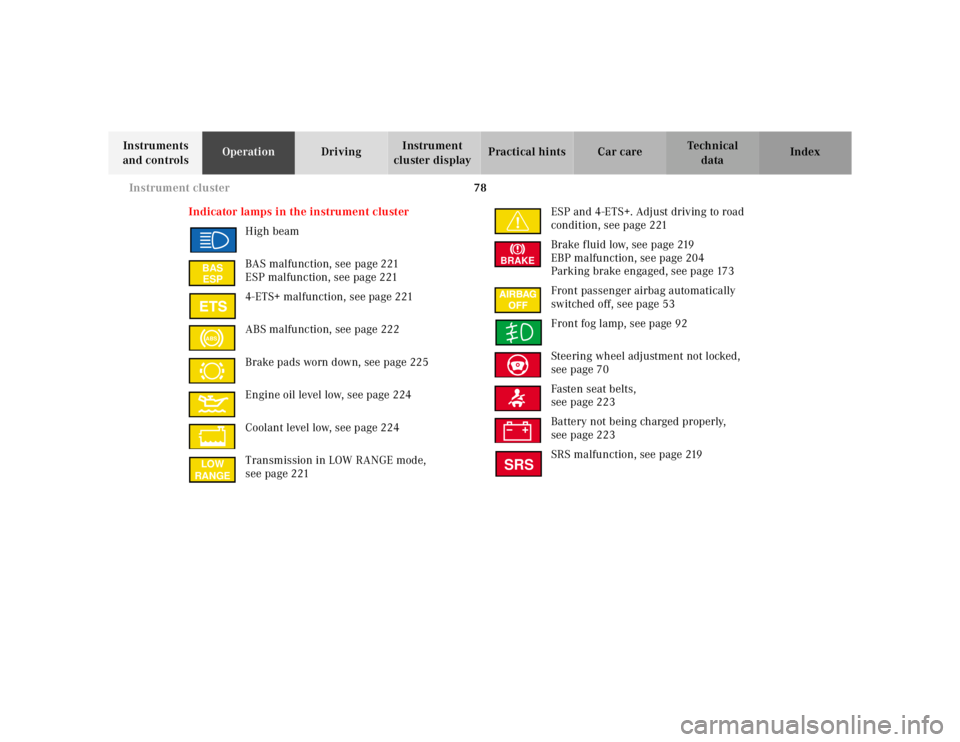
Indicator lamps in the instrument cluster High beam
BAS malfunction, see page 221
ESP malfunction, see page 221
4-ETS+ malfunction, see page 221
ABS malfunction, see page 222
Brake pads worn down, see page 225
Engine oil level low, see page 224
Coolant level low, see page 224
Transmission in LOW RANGE mode,
see page 221 ESP and 4-ETS+. Adjust driving to road
condition, see page 221
Brake fluid low, see page 219
EBP malfunction, see page 204
Parking brake engaged, see page 173
Front passenger airbag automatically
switched off, see page 53
Front fog lamp, see page 92
Steering wheel adjustment not locked,
see page 70
Fasten seat belts,
see page 223
Battery not being charged properly,
see page 223
SRS malfunction, see page 219
BAS ESPABSLOW
RANGE
BRAKESRS
Page 612 of 4133
145
Contents - Driving
Te ch n ica l
data
Instruments
and controls Operation
Driving Instrument
cluster display Practical hints Car care Index
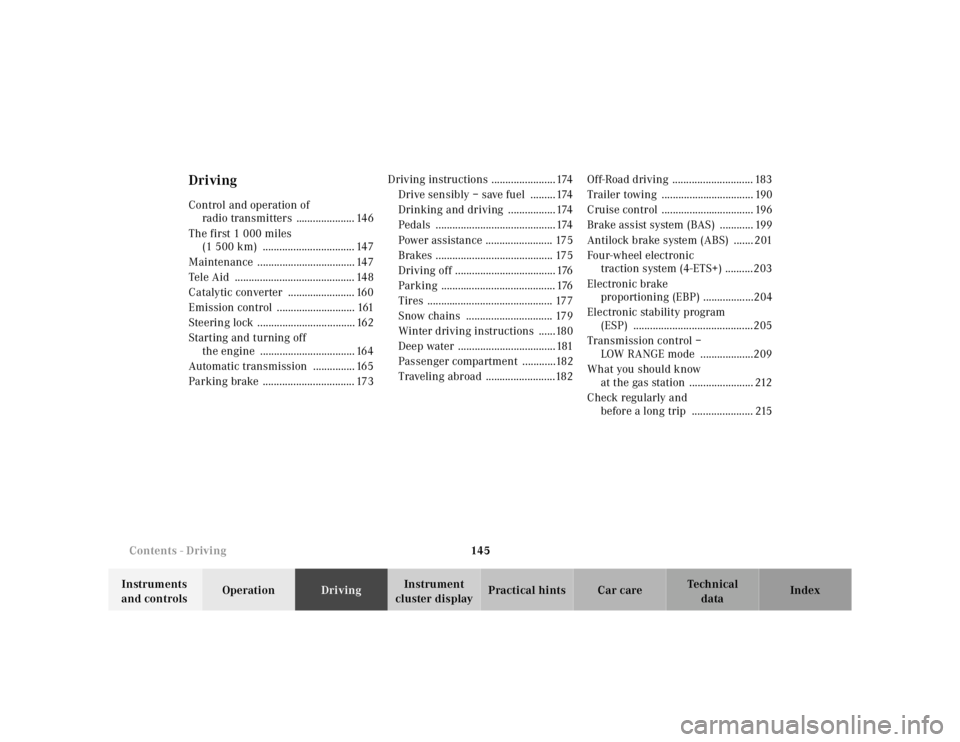
DrivingControl and operation of
radio transmitters ..................... 146
The first 1 000 miles (1 500 km) ................................. 147
Maintenance ................................... 147
Tele Aid ........................................... 148
Catalytic converter ........................ 160
Emission control ............................ 161
Steering lock ................................... 162
Starting and turning off the engine .................................. 164
Automatic transmission ............... 165
Parking brake ................................. 173 Driving instructions .......................174
Drive sensibly – save fuel .........174
Drinking and driving .................174
Pedals ...........................................174
Power assistance ........................ 175
Brakes .......................................... 175
Driving off .................................... 176
Parking ......................................... 176
Tires ............................................. 177
Snow chains ............................... 179
Winter driving instructions ......180
Deep water ...................................181
Passenger compartment ............182
Traveling abroad .........................182 Off-Road driving ............................. 183
Trailer towing ................................. 190
Cruise control ................................. 196
Brake assist system (BAS) ............ 199
Antilock brake system (ABS) ....... 201
Four-wheel electronic traction system (4-ETS+) ..........203
Electronic brake proportioning (EBP) ..................204
Electronic stability program (ESP) ...........................................205
Transmission control – LOW RANGE mode ...................209
What you should know at the gas station ....................... 212
Check regularly and before a long trip ...................... 215
Page 623 of 4133
156
Tele Aid
Te ch n ica l
data
Instruments
and controls Operation
Driving Instrument
cluster display Practical hints Car care Index
Important!
If the indicator lamps do not start flashing after
pressing one of the buttons or remain illuminated (in
red) at any time, the Tele Aid system has detected a fault
or the service is not currently active, and may not
initiate a call. Visit your Mercedes-Benz Light Truck
Center and have the system checked or contact the
Response Center at 1-800-756-9018 (in the USA) or
1-888-923-8367 (in Canada) as soon as possible. Upgrade Signals
Tele Aid system processes calls using the following
priority.
• Automatic emergency – First priority
• Manual emergency – Second priority
• Roadside assistance – Third priority
• Information – Fourth priority
Should a higher priority call be initiated while you are
connected, an upgrade (alternating) tone will be heard,
and the appropriate indicator lamp will flash. If certain
information such as vehicle identification number or
client information is not available, the operator may
need to retransmit. During this time you will hear a
chirp and voice contact will be interrupted. Voice
contact will resume once the retransmission is
completed. Once a call is concluded, a chirp will be
heard and the appropriate indicator lamp will stop
flashing. The MCS system operation will resume.
Page 632 of 4133
165
Automatic transmission
Te ch n ica l
data
Instruments
and controls Operation
Driving Instrument
cluster display Practical hints Car care Index
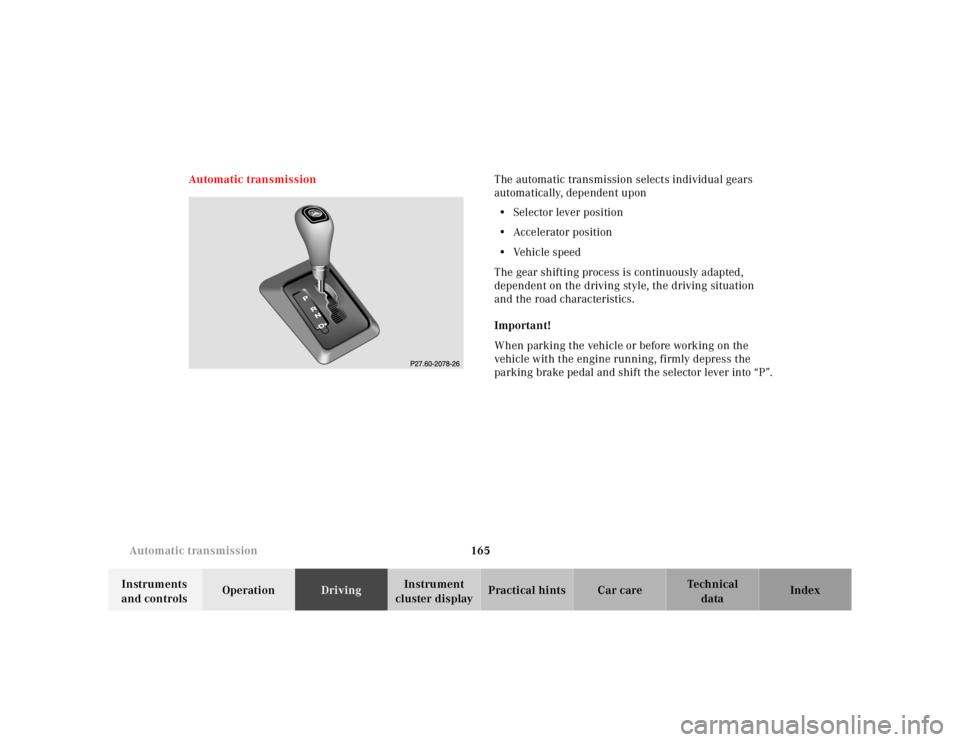
Automatic transmission
The automatic transmission selects individual gears
automatically, dependent upon
• Selector lever position
• Accelerator position
• Vehicle speed
The gear shifting process is continuously adapted,
dependent on the driving style, the driving situation
and the road characteristics.
Important!
When parking the vehicle or before working on the
vehicle with the engine running, firmly depress the
parking brake pedal and shift the selector lever into “P”.
Page 633 of 4133
166
Automatic transmission
Te ch n ica l
data
Instruments
and controls Operation
Driving Instrument
cluster display Practical hints Car care Index
Driving
The selector lever is automatically locked while in
position “P”. To move the selector lever out of
position “P”, the service brake pedal must be firmly
depressed before the shift lock will release.
Shift selector lever to the desired position only when the
engine is idling normally and the service brake is
applied. Do not release the brake until ready to drive.
The vehicle may otherwise start creeping when the
selector lever is in drive or reverse position. Important!
After selecting any driving position from “N” or “P”,
wait a moment to allow the gear to fully engage before
accelerating, especially when the engine is cold.
Accelerator position
Partial throttle = early upshifting = normal acceleration
Full throttle = later upshifting = rapid acceleration
Kickdown (depressing the accelerator beyond full
throttle) = downshifting to a lower gear = maximum
acceleration. Once the desired speed is attained, ease up
on the accelerator – the transmission shifts up again.
Stopping
For brief stops, e.g. at traffic lights, leave the
transmission in gear and hold vehicle with the service
brake.
For longer stops with the engine idling, shift into “N”
or “P” and hold the vehicle with the service brake.
When stopping the vehicle on an uphill gradient, do not
hold it with the accelerator, use the brake. This avoids
unnecessary transmission heat build up.
Wa r n i n g !
It is dangerous to shift the selector lever out of “P”
or “N” if the engine speed is higher than idle speed.
If your foot is not firmly on the brake pedal, the
vehicle could accelerate quickly forward or in
reverse. You could lose control of the vehicle and
hit someone or something. Only shift into gear
when the engine is idling normally and when your
right foot is firmly on the brake pedal.
Page 634 of 4133
167
Automatic transmission
Te ch n ica l
data
Instruments
and controls Operation
Driving Instrument
cluster display Practical hints Car care Index
Maneuvering
To maneuver in tight areas, e.g. when pulling into a
parking space, control the vehicle speed by gradually
releasing the brakes. Accelerate gently and never
abruptly step on the accelerator.
To rock a vehicle out of soft ground (mud or snow),
alternately shift from forward to reverse, while applying
slight partial throttle.
Rocking a vehicle free in this manner may cause the
ABS or traction system malfunction indicator lamp to
come on. Turn off and restart the engine to clear the
malfunction indication. Towing a trailer
If the transmission hunts between gears on inclines,
manually shift to a lower gear (select “4”, “3”, “2”
or “1”). A lower gear and reduction of speed reduces the
chance of engine overloading and / or overheating.
At very steep inclines, not manageable with selector
lever in position “1”, switch transfer case to LOW
RANGE, see page 209 for instructions on how to engage
LOW RANGE.
For instructions on trailer towing refer to page 190.
Wa r n i n g !
Getting out of your vehicle with the selector lever
not fully engaged in position “P” is dangerous.
Also, when parked on an incline, position “P” alone
may not prevent your vehicle from moving,
possibly hitting people or objects.Always set the parking brake in addition to shifting
to position “P”, see page 173 for parking brake. When parked on an incline, also turn front wheel
against curb.
Wa r n i n g !
When leaving the vehicle always remove the key
from the steering lock, and lock the vehicle. Do not
leave children unattended in the vehicle, or with
access to an unlocked vehicle. Children could move
the gear selector lever from position “P”, which
could result in an accident or serious injury.
Page 635 of 4133
168
Automatic transmission
Te ch n ica l
data
Instruments
and controls Operation
Driving Instrument
cluster display Practical hints Car care Index
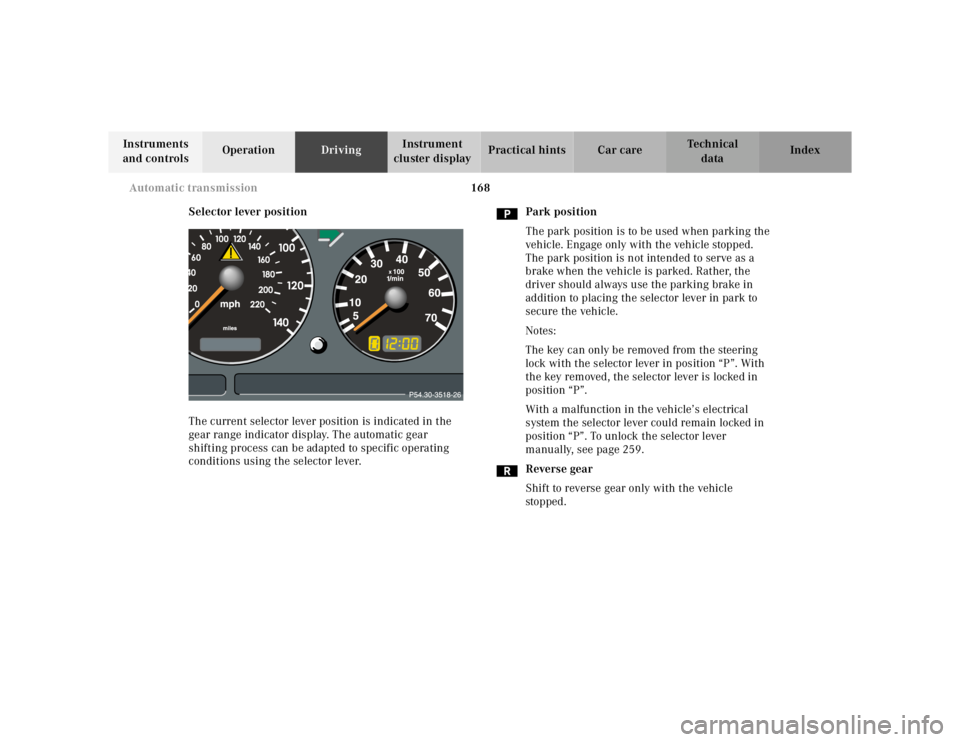
Selector lever position
The current selector lever position is indicated in the
gear range indicator display. The automatic gear
shifting process can be adapted to specific operating
conditions using the selector lever. Park position
The park position is to be used when parking the
vehicle. Engage only with the vehicle stopped.
The park position is not intended to serve as a
brake when the vehicle is parked. Rather, the
driver should always use the parking brake in
addition to placing the selector lever in park to
secure the vehicle.
Notes:
The key can only be removed from the steering
lock with the selector lever in position “P”. With
the key removed, the selector lever is locked in
position “P”.
With a malfunction in the vehicle’s electrical
system the selector lever could remain locked in
position “P”. To unlock the selector lever
manually, see page 259.
Reverse gear
Shift to reverse gear only with the vehicle
sto p ped .
Page 636 of 4133
169
Automatic transmission
Te ch n ica l
data
Instruments
and controls Operation
Driving Instrument
cluster display Practical hints Car care Index
Neutral
No power is transmitted from the engine to the
drive axle. When the brakes are released, the
vehicle can be moved freely (pushed or towed). Do
not engage “N” while driving except to coast
when the vehicle is in danger of skidding (e.g. on
icy roads, see winter driving instructions on
page 180).
Important!
Coasting the vehicle, or driving for any other
reason with selector lever in “N” can result in
transmission damage that is not covered by the
Mercedes-Benz Limited Warranty.
The transmission automatically upshifts through
5th gear. Position “D” provides optimum driving
characteristics under all normal operating
conditions. Gear selection for special circumstances
The transmission gear ranges for special circumstances
can be selected by pressing the selector lever to the
right or the left with the selector lever in position “D”.
The gear range currently selected is indicated in the
instrument cluster display.
Briefly press selector lever in the çdirection:
The transmission downshifts, one gear at a time, in the
order “4”, “3”, “2”, “1”.
Press and hold selector lever in the çdirection:
The selector lever position display will switch to the
gear range currently selected by the automatic
transmission.
The transmission will only shift down one gear if the
gear range currently selected has already shifted to its
highest possible gear.
Briefly press selector lever in the ædirection:
The transmission will shift from the current gear range
to the next higher gear range. If the transmission is
already in gear range “D”, an additional upshift of one
gear is possible.