Page 17 of 315
124. If the level is low, add only as much oil as
necessary before you start the engine again. Do
not overfill. Do not operate the engine if the
light is on, regardless of the oil level. Contact
your nearest dealer for further service actions.
For more information about adding oil, seeAdding
engine oilin theMaintenance and Carechapter.
Traction ControlHActive Light
(If equipped)This light comes on when the Traction ControlH
system begins applying and releasing the brakes and
adjusting the engine characteristics to limit a
wheelspin condition.
It will be lit for a minimum of six seconds or for
the duration of the Traction ControlHevent.
For more information aboutTraction Controlrefer
to theDrivingchapter.
File:03fnis8.ex
Update:Thu Jun 27 10:00:37 1996
Page 26 of 315

21
Vehicle Settings MenuA press of the VEHICLE SETTINGS control causes
the Message Center to display the menu features
which affect the vehicle regardless of which driver
personality profile is currently selected. Repeated
pressing of the VEHICLE SETTINGS control allows
quick cycling through the menu features. The
displayed feature can be toggled on or off, or reset
by pressing the RESET control as specifically noted
below. If a vehicle setting is changed, the display
stops automatically cycling through the menu
options and exits the vehicle settings menu, unless
the VEHICLE SETTINGS control is pressed again.
q
TRACTION CONTROLÐ This system helps
prevent wheel spin to improve tire traction. The
reset button will toggle this feature on or off.
This feature defaults to the ON state after each
key cycle. Note: The Traction Control System is
an optional feature, and this menu option will
not appear in vehicles without this option.
q
ENGLISH/METRICÐ This menu option
allows the Message Center and Automatic
Temperature Control readings to be displayed in
English or Metric units. The modes can be
toggled by using the RESET control.
q
AUTOLAMP DELAY STATUSÐ This option
displays the current autolamp delay setting.
Note: To change the delay setting you must
rotate the HEADLAMP CONTROL.
File:03fnis8.ex
Update:Thu Jun 27 10:00:37 1996
Page 75 of 315
70The automatic temperature control system
To turn your EATC on, push the AUTOMATIC
button or any of the six override buttons along the
bottom of the control.
To turn your EATC off, press the OFF button.
When the system is off, the display window will be
blank (dark).
If you select AUTOMATIC, the system will
automatically determine fan speed and airflow
location. If an override button is selected, your
selection determines airflow location only. Fan
speed remains automatic unless you override it by
rotating the vertical thumbwheel located at the
extreme right of the control panel.
To change the temperature in the display window,
select any temperature between65ÊF(18ÊC) and
85ÊF(29ÊC)using the BLUE (cooler) or RED
(warmer) buttons. The Electronic Automatic
Temperature Control will do the rest.
File:05fncf8.ex
Update:Thu Jun 27 10:02:20 1996
Page 76 of 315

71
If you want continuous maximum cooling, push the
BLUE button until60ÊF(16ÊC) isshown in the
display window. Your EATC will cool at maximum
and disregard the60ÊF(16ÊC)setting until you
select a warmer temperature with the RED button.
If you want continuous maximum heating, push the
RED button until90ÊF(32ÊC) isshown in the
display window. Your EATC will provide maximum
heat regardless of the90ÊF(32ÊC)setting until you
select a cooler temperature with the BLUE button.
The display window tells you how the system is
operating. It will indicate the selected temperature
and the operating function you have chosen; AUTO
or one of the six manual overrides. It will also
indicate manual (thumbwheel) control of the fan
speed with the
Hsymbol. The display window
with all possible displays and their positions are
shown here. Normally not all are shown at the
same time but are included here to familiarize you
with the names and symbols.
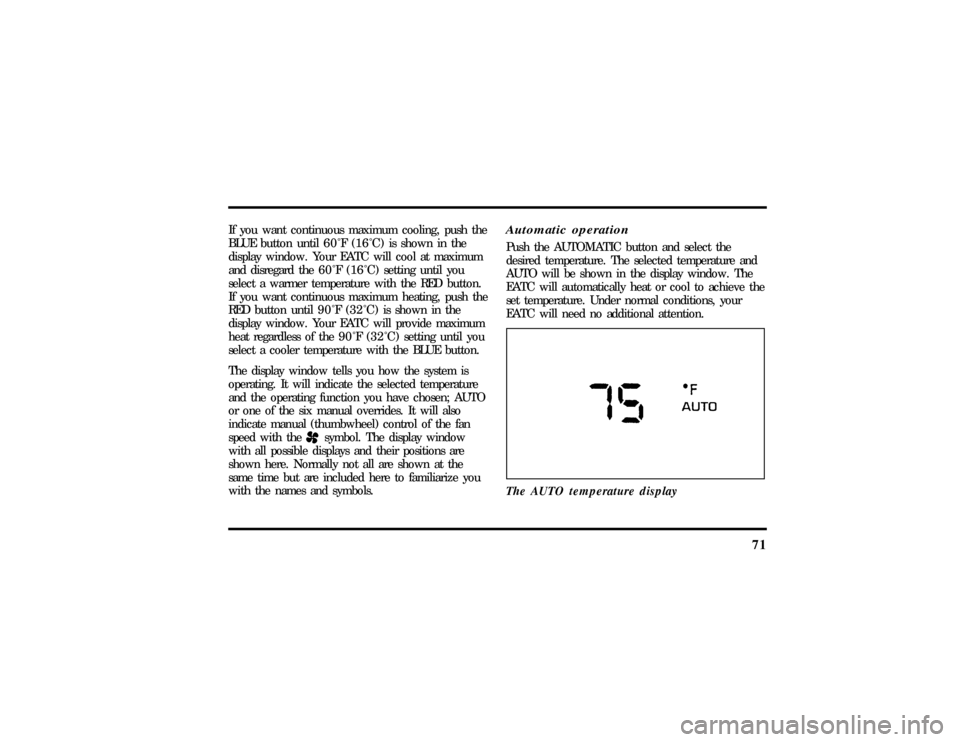
Automatic operationPush the AUTOMATIC button and select the
desired temperature. The selected temperature and
AUTO will be shown in the display window. The
EATC will automatically heat or cool to achieve the
set temperature. Under normal conditions, your
EATC will need no additional attention.
The AUTO temperature display
File:05fncf8.ex
Update:Thu Jun 27 10:02:20 1996
Page 77 of 315

72When in AUTOMATIC and weather conditions
require heat, air will be sent to the floor. But, a
feature is included in your EATC to prevent
blowing cold air to the floor if the engine coolant is
not warm enough to allow heating. In 3-1/2
minutes or less, the fan speed will start to increase
and the airflow will change to the floor area.
If unusual conditions exist (i.e., window fogging,
etc.), the six manual override buttons allow you to
select special air discharge locations. A thumbwheel
allows you to adjust the fan speed to suit your
needs.
Temperature selectionThe RED and BLUE buttons at the upper left of the
Control are for temperature selection. The RED
Button will increase the set temperature and the
BLUE Button will lower the set temperature.
Pressing a button and releasing it will change the
set temperature one degree. Holding either button
in will rapidly change the temperature setting in
one degree increments to either65ÊF(18ÊC)
(BLUE) or85ÊF(29ÊC)(RED). Then, the set
temperature will jump 5 Ê and stop at either60ÊF
(16ÊC)which is maximum cooling or90ÊF(32ÊC)
which is maximum heating. When you select60ÊF
(16ÊC) or90ÊF(32ÊC), the fanwill go to HI speed
for maximum air flow.
The average temperature range used is between
68ÊF(20ÊC) and78ÊF(26ÊC).Changing the
temperature setting by several degrees outside this
range or overriding to60ÊF(16ÊC) or90ÊF(32ÊC)
will not speed up the heating or cooling process.
File:05fncf8.ex
Update:Thu Jun 27 10:02:20 1996
Page 78 of 315
73
Fan speed and thumbwheelYour EATC automatically adjusts the fan speed to
the existing conditions. You must push
AUTOMATIC for automatic fan speed operation. To
control the fan speed yourself, use the thumbwheel
which will cancel the automatic fan speed control.
The thumbwheel is located at the extreme rightside of the EATC control panel. It is a vertical
control marked with a fan symbol. Rotate up for HI
and down for LO speeds.
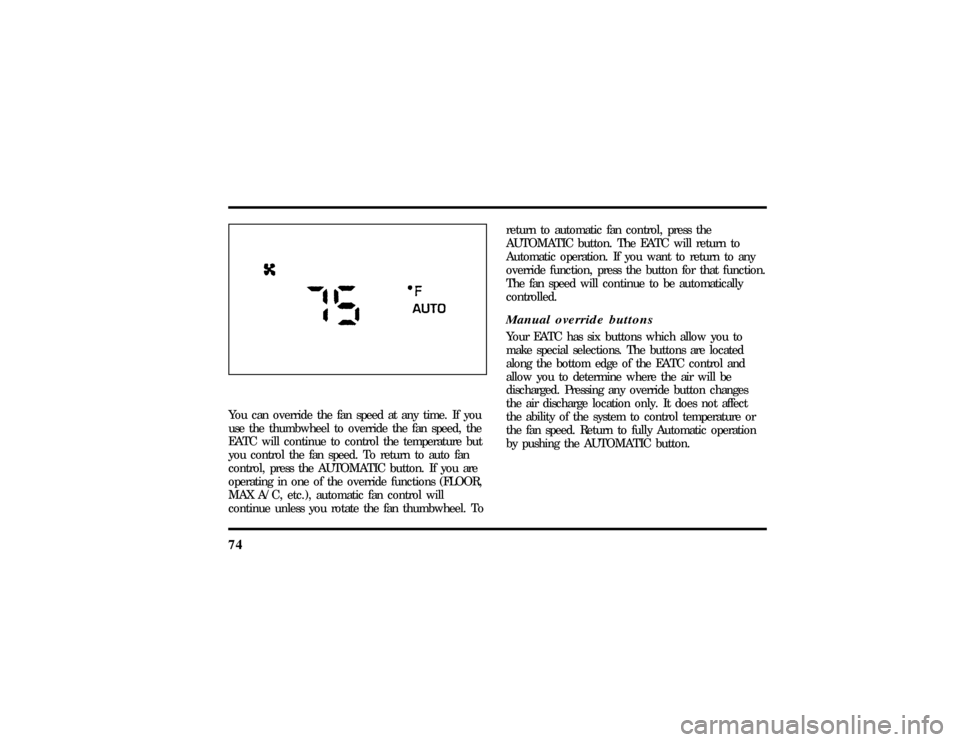
When you move the thumbwheel, the fan speed
will go to manual control. The display window will
show the
Hsymbol in the upper left corner along
with the selected temperature and operating
function.
File:05fncf8.ex
Update:Thu Jun 27 10:02:20 1996
Page 79 of 315

74You can override the fan speed at any time. If you
use the thumbwheel to override the fan speed, the
EATC will continue to control the temperature but
you control the fan speed. To return to auto fan
control, press the AUTOMATIC button. If you are
operating in one of the override functions (FLOOR,
MAX A/C, etc.), automatic fan control will
continue unless you rotate the fan thumbwheel. Toreturn to automatic fan control, press the
AUTOMATIC button. The EATC will return to
Automatic operation. If you want to return to any
override function, press the button for that function.
The fan speed will continue to be automatically
controlled.
Manual override buttonsYour EATC has six buttons which allow you to
make special selections. The buttons are located
along the bottom edge of the EATC control and
allow you to determine where the air will be
discharged. Pressing any override button changes
the air discharge location only. It does not affect
the ability of the system to control temperature or
the fan speed. Return to fully Automatic operation
by pushing the AUTOMATIC button.
File:05fncf8.ex
Update:Thu Jun 27 10:02:20 1996
Page 86 of 315

81
3. Rotate the headlamp control counterclockwise
from the OFF position.
NOTE:The Message Center will display the
amount of time that has been set for the autolamp
to turn off the headlamps after turning the key to
off.
4. The autolamp will automatically turn the lamps
on and off for you.
Do not put any articles on top of the photocell that
is located in the top right corner of the instrument
panel. This photocell controls the autolamp. If you
cover it, the photocell reacts as if it is nighttime,
and the lamps turn on.
To turn the autolamp off, rotate the headlamp
control clockwise to the OFF position.
To turn the autolamp off, rotate the headlamp
control clockwise to the OFF position. The message
center will display ªAUTOLAMP OFFº message.
q
The further you rotate the headlamp switch
counterclockwise, the longer the lamps will stay
on after you leave your vehicle. Similarly, if you
rotate the control only slightly, the headlamps
stay on for only a short time after you turn
your vehicle off.
Turning On Interior Lights/Instrument
Panel IlluminationWith the light control in the parking lamps or the
headlamps position, you can brighten or dim the
lights in the instrument panel. To do this, use the
thumbwheel to the left of the steering wheel. This
wheel also turns on the interior lights with the light
control on or off.
File:05fncf8.ex
Update:Thu Jun 27 10:02:20 1996