1997 LINCOLN CONTINENTAL warning lights
[x] Cancel search: warning lightsPage 14 of 321

10The following warning lights and gauges are on the
instrument cluster. All of the warning lights and
gauges alert you to possible problems with your
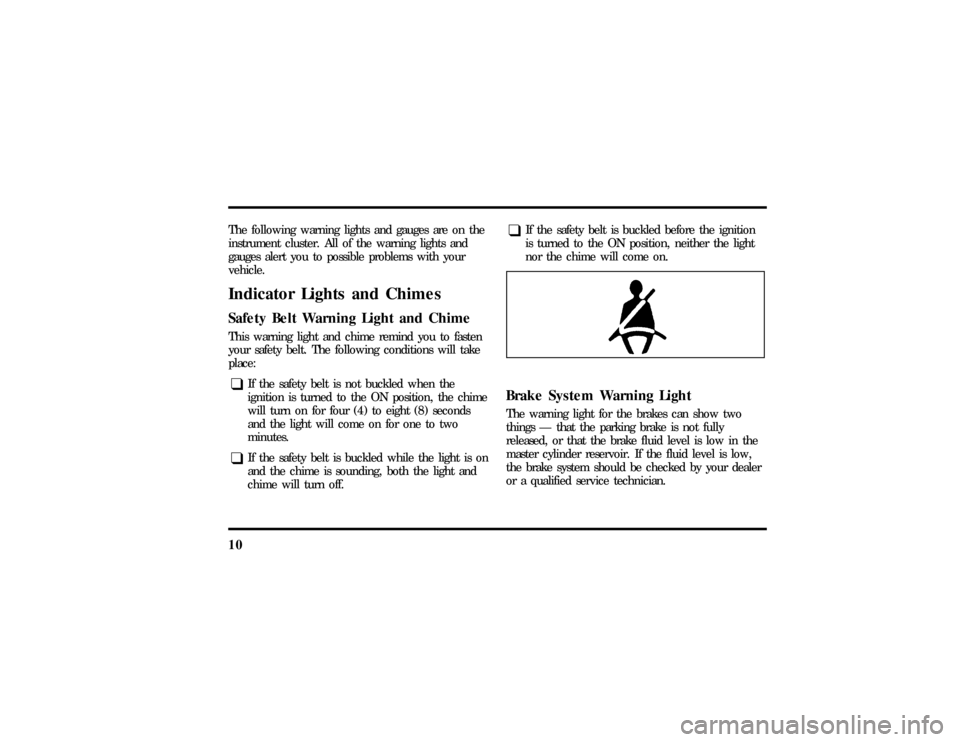
vehicle.Indicator Lights and ChimesSafety Belt Warning Light and ChimeThis warning light and chime remind you to fasten
your safety belt. The following conditions will take
place:q
If the safety belt is not buckled when the
ignition is turned to the ON position, the chime
will turn on for four (4) to eight (8) seconds
and the light will come on for one to two
minutes.
q
If the safety belt is buckled while the light is on
and the chime is sounding, both the light and
chime will turn off.
q
If the safety belt is buckled before the ignition
is turned to the ON position, neither the light
nor the chime will come on.
Brake System Warning LightThe warning light for the brakes can show two
things Ð that the parking brake is not fully
released, or that the brake fluid level is low in the
master cylinder reservoir. If the fluid level is low,
the brake system should be checked by your dealer
or a qualified service technician.
File:03fnisc.ex
Update:Mon Jun 17 14:14:40 1996
Page 18 of 321

14This light illuminates every time you turn the
ignition to the ON or START position (engine off).
The light should go off when the engine starts and
the alternator begins to charge.
If the light stays on or illuminates when the engine
is running, have the electrical system checked as
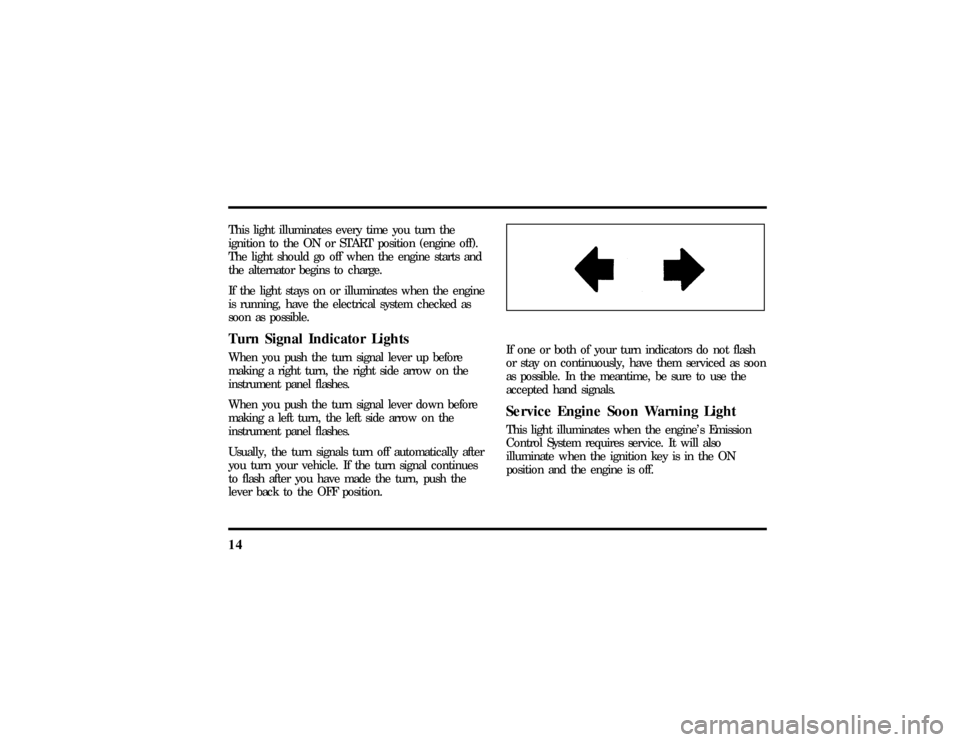
soon as possible.Turn Signal Indicator LightsWhen you push the turn signal lever up before
making a right turn, the right side arrow on the
instrument panel flashes.
When you push the turn signal lever down before
making a left turn, the left side arrow on the
instrument panel flashes.
Usually, the turn signals turn off automatically after
you turn your vehicle. If the turn signal continues
to flash after you have made the turn, push the
lever back to the OFF position.
If one or both of your turn indicators do not flash
or stay on continuously, have them serviced as soon
as possible. In the meantime, be sure to use the
accepted hand signals.Service Engine Soon Warning LightThis light illuminates when the engine's Emission
Control System requires service. It will also
illuminate when the ignition key is in the ON
position and the engine is off.
File:03fnisc.ex
Update:Mon Jun 17 14:14:40 1996
Page 20 of 321

16If the light fails to illuminate, continues to flash,
remains on, or you hear a beeping sound, have the
system serviced at your Ford or Lincoln-Mercury
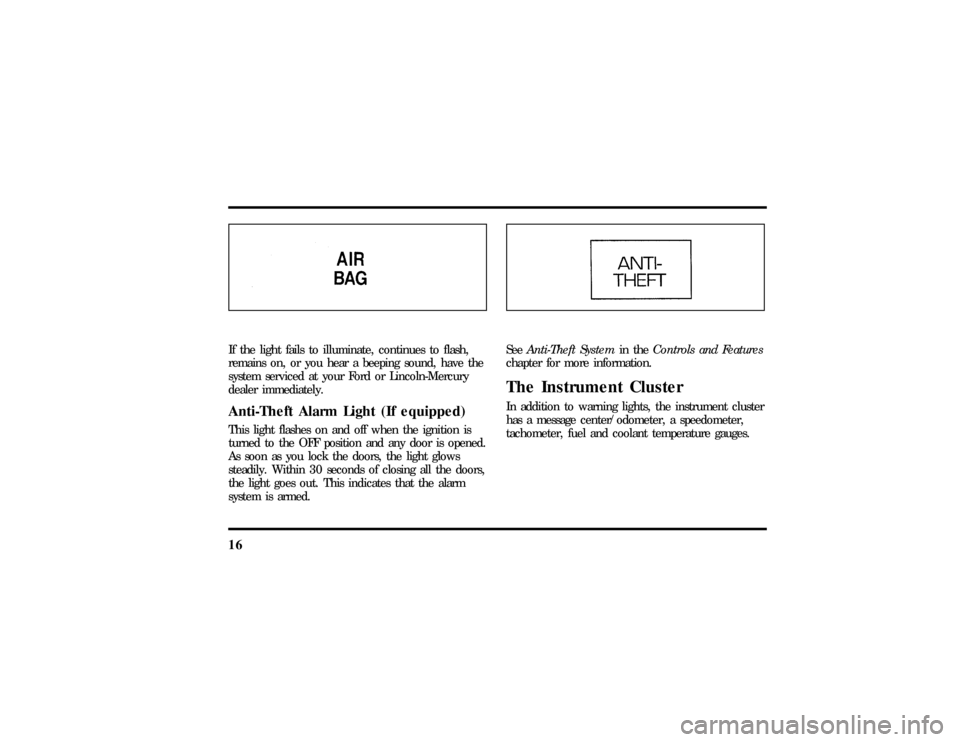
dealer immediately.Anti-Theft Alarm Light (If equipped)This light flashes on and off when the ignition is
turned to the OFF position and any door is opened.
As soon as you lock the doors, the light glows
steadily. Within 30 seconds of closing all the doors,
the light goes out. This indicates that the alarm
system is armed.
SeeAnti-Theft Systemin theControls and Features
chapter for more information.The Instrument ClusterIn addition to warning lights, the instrument cluster
has a message center/odometer, a speedometer,
tachometer, fuel and coolant temperature gauges.
File:03fnisc.ex
Update:Mon Jun 17 14:14:40 1996
Page 69 of 321

65
Turn SignalsMove the lever up to signal a right turn. Move it
down to signal a left turn. The corresponding
indicator light in the instrument cluster will flash.
If the turn signal stays on after you turn, move the
lever back to the center (off) position. A warning
chime will sound after approximately one-half mile
(one kilometer) of driving if you do not return the
lever to off.
For lane changes, move the lever far enough to
signal but not to latch. The lever will return to the
off position when you release it.
NOTE:The flash rate of the turn signal will speed
up considerably if the Lighting Control Module
detects a left or right turn lamp bulb (front or rear)
is burned out.
High BeamsTo turn on the high beams, turn the headlamp
control switch to the headlamp ON position (or
activate the autolamp feature) and push the turn
signal lever away from you until it latches. When
the high beams are ON, the high beam indicator
light on the instrument cluster comes on.
To turn off the high beams, pull the lever toward
you until it latches. The high beam indicator light
turns off.Flashing the LightsTo flash the headlamps, pull the lever toward you
for a moment and then release it. The headlamps
will flash whether the headlamp knob is in the on
or off position.
File:05fncfc.ex
Update:Fri Sep 6 14:53:57 1996
Page 168 of 321

1663. Make sure that the gearshift is in P (Park) and
the parking brake is set before you turn the
key.
Before you start your vehicle, you should test the
warning lights on the instrument panel to make
sure that they work. Refer to theInstrumentation
chapter.Starting Your EngineTo start your engine:
1. Follow the steps underPreparing to Start Your
Vehicleat the beginning of this section.
2. Turn the ignition key to the ON position.
3. DO NOT depress the accelerator pedal when
starting your engine. DO NOT use the
accelerator while the vehicle is parked.4. Turn the key to the START position (cranking)
until the engine starts. Allow the key to return
to the ON position after the engine has started.
If you have difficulty in turning the key, rotate
the steering wheel slightly because it may be
binding.
For a cold engine:
q
At temperatures10ÊF(-12ÊC) andbelow:If
the engine does not start infifteen (15)
secondson the first try, turn the key to OFF,
wait approximately ten (10) seconds so you do
not flood the engine, then try again.
q
At temperaturesabove10ÊF(-12ÊC):If the
engine does not start infive (5) secondson
the first try, turn the key to OFF, wait
approximately ten (10) seconds so you do not
flood the engine, then try again.
File:08fntoc.ex
Update:Mon Jun 17 14:19:30 1996
Page 174 of 321

172Do not drive with your foot resting on the brake
pedal; you will wear out the linings and increase
your vehicle's stopping distance. Brake rotor damage
may also eventually occur.
NOTE:If you are driving down a long or steep hill,
shift to a lower gear and do not apply your brakes
continuously. If you apply your brakes continuously,
they may overheat and become less effective.
Occasional brake squeal during light to moderate
stops does not affect the function of the brake
system and is normal. However, if the squeal
becomes louder or more frequent, have your brakes
inspected by your dealer or a qualified service
technician.
Ford Motor Company has not found any
detrimental effects of popular mobile radio
transmitting equipment installed on vehicles with
the anti-lock brake system, if the equipment is
installed according to the manufacturer's
instructions. However, if mobile radio transmittingequipment is installed in your vehicle and, if either
the anti-lock brake system cycles or the ANTI-LOCK
light comes on at any time other than right after
you turn the key to the ON position or during a
sudden stop, have your mobile radio dealer inspect
the installation.
Parking BrakeThe parking brake should be used whenever
you park your vehicle.
The parking brake is suspended just below the
lower left corner of the instrument panel.
To set the parking brake:
1. Move the gearshifter to P (Park).
2. Push the parking brake pedal down firmly and
fully with your left foot.
The Brake System Light in the warning lights will
glow once the parking brake is set.
File:09fngfc.ex
Update:Fri Sep 6 08:48:49 1996
Page 310 of 321

312
checking and adding......... 227
check oil warning light........ 12
dipstick............... 227
disposal............220, 240
engine oil pressure warning light.... 12
filter, specifications.......... 271
low oil warning light......... 12
refill capacities............ 272
specifications.........226, 273
synthetic oil............. 226
viscosity.............. 226
F
Fan.................. 221
engine fan, avoiding injury...... 221
Flashers, hazard............ 68
Flashing the lights........... 65
Flat tire................ 205
Fluid refill capacities.......... 272
Ford Dispute Settlement Board...... 280
Ford Motor Company of Canada..... 284
Ford of Canada CustomerAssistance Centre........... 284
Foreign registration........... 286
French owner guides, how to obtain.... 3
Fuel................. 251
calculating fuel economy....... 256
capacity............... 272
choosing the right fuel........ 253
comparisons with EPA fuel
economy estimates......... 257
filling your vehicle with fuel...... 251
filter, specifications.......... 271
fuel filler door release lever...... 251
fuel gauge.............. 18
octane rating............ 253
quality............... 253
running out of fuel.......... 256
safety information relating to
automotive fuels.......... 255
storing your vehicle......... 275
treating emergencies......... 255
Fuel cap................ 251
removing.............. 251
File:fnixc.ex
Update:Tue Sep 17 08:28:54 1996
Page 312 of 321

314
calculating............. 184
definition.............. 183
driving with a heavy load....... 183
location............... 183
H
Hazard flashers............. 68
Headlamps
aiming............... 264
autolamp system........... 57
checking alignment.......... 261
cleaning.............. 261
daytime running lights........ 56
flashing............... 65
high beam............. 65
replacing bulbs........... 261
turning on and off.......... 57
warning chime............ 15
Head restraints............. 131
Heated mirrors............. 112
Heating
electronic automatic temperature control
system.............. 45High beams
indicator light............ 15
operation............ 56,65
Hood................. 223
latch location............ 223
lubrication specifications....... 273
release lever............. 223
working under the hood....... 221
Horn................. 69
I
Idle, relearning..........216, 221
Ignition
chime............... 63
positions of the ignition........ 62
removing the key.......... 63
Indicator lights and chimes (see Lights) . . . 7
Infant seats (see Safety seats)....148, 149
Instrument panel............. 7
cleaning............... 269
Interval wipers............. 66
File:fnixc.ex
Update:Tue Sep 17 08:28:54 1996