Page 11 of 321
7
InstrumentationThe instrument panel (dashboard) on your vehicle is
divided into several different sections. The
illustrations on the following pages show the major
parts of the instrument panel that are described in
this chapter. Some items shown may not be on all
vehicles.
The main controls for the climate control system,
clock, and radio are on the instrument panel.If you have radio transmitting equipment in your
vehicle, be aware that it can interfere with your
vehicle's electrical system and may cause the
instrumentation and/or convenience products to
have temporary, abnormal operation.
NOTE:Any cleaner or polish that increases the
gloss (shine) of the upper part of the instrument
panel should be avoided. The dull finish in this area
is to help protect the driver from undesirable
windshield reflection.
File:03fnisc.ex
Update:Mon Jun 17 14:14:40 1996
Page 12 of 321
8Instrument panel
File:03fnisc.ex
Update:Mon Jun 17 14:14:40 1996
Page 18 of 321

14This light illuminates every time you turn the
ignition to the ON or START position (engine off).
The light should go off when the engine starts and
the alternator begins to charge.
If the light stays on or illuminates when the engine
is running, have the electrical system checked as
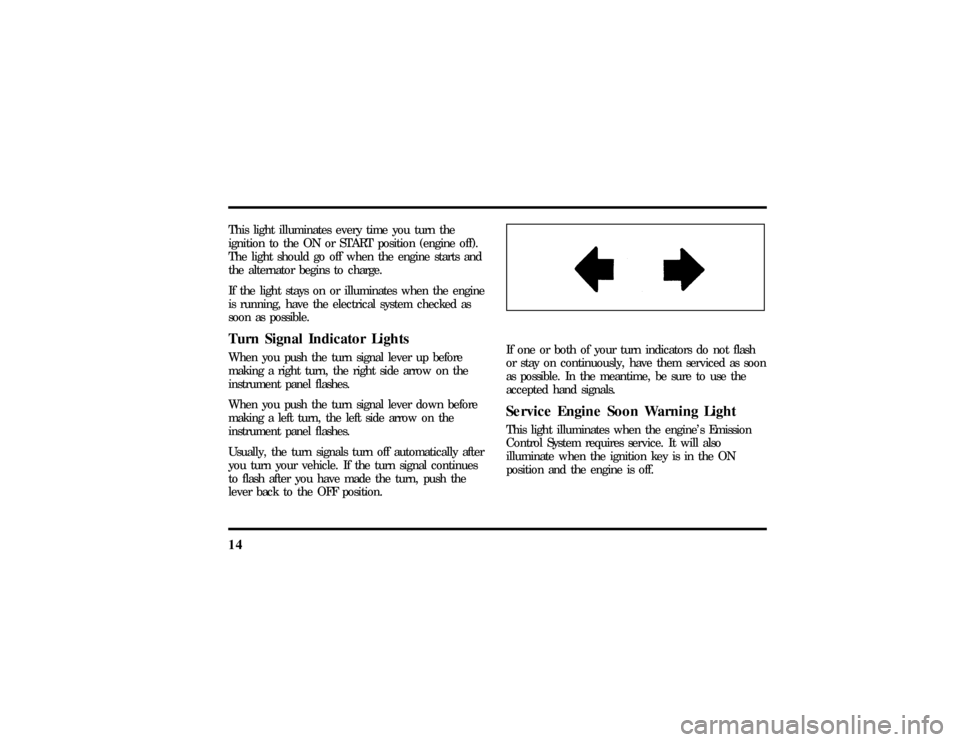
soon as possible.Turn Signal Indicator LightsWhen you push the turn signal lever up before
making a right turn, the right side arrow on the
instrument panel flashes.
When you push the turn signal lever down before
making a left turn, the left side arrow on the
instrument panel flashes.
Usually, the turn signals turn off automatically after
you turn your vehicle. If the turn signal continues
to flash after you have made the turn, push the
lever back to the OFF position.
If one or both of your turn indicators do not flash
or stay on continuously, have them serviced as soon
as possible. In the meantime, be sure to use the
accepted hand signals.Service Engine Soon Warning LightThis light illuminates when the engine's Emission
Control System requires service. It will also
illuminate when the ignition key is in the ON
position and the engine is off.
File:03fnisc.ex
Update:Mon Jun 17 14:14:40 1996
Page 49 of 321
45
Controls and FeaturesThe Climate Control SystemElectronic Automatic Temperature
Control SystemThe Electronic Automatic Temperature Control
(EATC) module is located at the center of the
instrument panel and operates only when the key is
in the ON position.The EATC feature maintains the temperature you
select and automatically controls the airflow for
your comfort. It also allows you to override the
automatic operation with manual override buttons.
File:05fncfc.ex
Update:Fri Sep 6 14:53:57 1996
Page 55 of 321

51
return to automatic fan control, press the
AUTOMATIC button. The EATC will return to
Automatic operation. If you want to return to any
override function, press the button for that function.
The fan speed will continue to be automatically
controlled.Manual override buttonsYour EATC has six buttons which allow you to
make special selections. The buttons are located
along the bottom edge of the EATC control and
allow you to determine where the air will be
discharged. Pressing any override button changes
the air discharge location only. It does not affect
the ability of the system to control temperature or
the fan speed. Return to fully Automatic operation
by pushing the AUTOMATIC button.MAX A/C button
The MAX A/C feature allows for faster cooling
because air is drawn from inside the vehicle. Using
inside air causes the fan to sound louder which is
normal for this selection. The Display window will
change to indicate60ÊF(16ÊC) and MAXA/C. The
fan will run and the airflow will be from the
instrument panel registers. To exit and return to the
previous temperature, push AUTOMATIC or any of
the other five override buttons.
VENT button
Push this button to select outside air through the
instrument panel registers. The display window will
show the set temperature and VENT to the lower
right of the temperature. Your EATC will heat the
air if the temperature you have selected is warmer
than the outside air coming into the vehicle.
However, the air will NOT be cooled regardless of
the temperature setting.
File:05fncfc.ex
Update:Fri Sep 6 14:53:57 1996
Page 56 of 321

52PNL&FLR button
Push this button to get air from the floor and
instrument panel registers at the same time. The
display will show the set temperature and the
words PNL and FLR. Depending on the selected
temperature, the air will be automatically heated or
cooled.
FLOOR button
Airflow will be to the floor when the FLOOR
button is pressed. The display window will show
the set temperature and FLR to the left of the
temperature. The air cannot be cooled in the FLR
position, only heated. Fan speed will be automatic
unless manually controlled. If you override the fan
speed and wish to return to automatic fan control,
push AUTOMATIC. Then, again select FLOOR for
airflow to the floor.FLR&DEF button
Push this button to get air to the floor and
windshield defrosters at the same time. The display
will show the set temperature, FLR and the Defrost
symbol. If the outside temperature is about50ÊF
(10ÊC) andabove, the air will be dehumidified to
remove moisture. This will help to prevent fogging
in humid weather.
DEF button
Press the Defrost Button to obtain maximum airflow
to the windshield. Adjust the temperature setting as
required for defrosting. The Display window will
show the temperature setting with the Defrost
symbol to the left of the temperature. When the
outside temperature is about50ÊF(10ÊC) and
above, the air will be dehumidified to remove
moisture. This will help prevent fogging in humid
weather.
File:05fncfc.ex
Update:Fri Sep 6 14:53:57 1996
Page 59 of 321
55
Rear Window Defroster and
Heated Sideview MirrorsThe rear window and heated outside mirrors
defroster switch activates the defroster for the rear
window to clear frost, fog, or thin ice from both
the inside and outside of the rear window and
activates the heated outside rearview mirrors.
The button for the rear window and heated outside
mirrors defroster is on the instrument panel to the
right of the steering column.
The button that controls the rear window
defroster and heated outside rearview mirrors
Before using the defroster, clear away any snow
that is on the rear window and outside rearview
mirrors. With the engine running, push the
defroster button.
File:05fncfc.ex
Update:Fri Sep 6 14:53:57 1996
Page 62 of 321

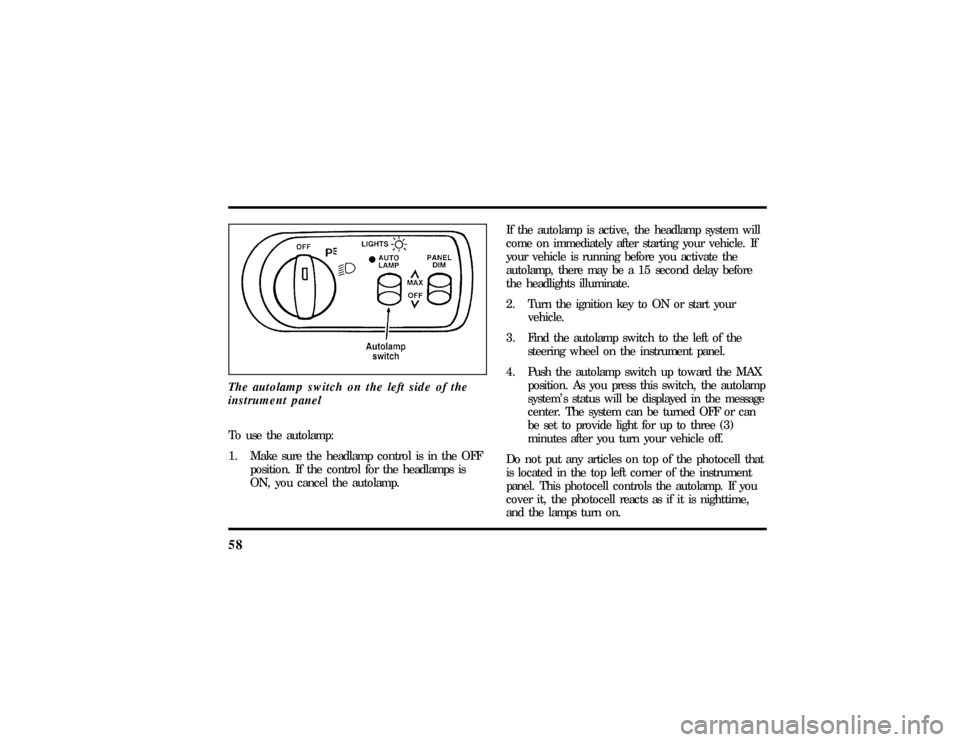
58The autolamp switch on the left side of the
instrument panelTo use the autolamp:
1. Make sure the headlamp control is in the OFF
position. If the control for the headlamps is
ON, you cancel the autolamp.If the autolamp is active, the headlamp system will
come on immediately after starting your vehicle. If
your vehicle is running before you activate the
autolamp, there may be a 15 second delay before
the headlights illuminate.
2. Turn the ignition key to ON or start your
vehicle.
3. Find the autolamp switch to the left of the
steering wheel on the instrument panel.
4. Push the autolamp switch up toward the MAX
position. As you press this switch, the autolamp
system's status will be displayed in the message
center. The system can be turned OFF or can
be set to provide light for up to three (3)
minutes after you turn your vehicle off.
Do not put any articles on top of the photocell that
is located in the top left corner of the instrument
panel. This photocell controls the autolamp. If you
cover it, the photocell reacts as if it is nighttime,
and the lamps turn on.
File:05fncfc.ex
Update:Fri Sep 6 14:53:57 1996