1997 GMC JIMMY hood open
[x] Cancel search: hood openPage 78 of 410

Engine Coolant Heater (Option)
In very cold weather. 0°F
(- 18°C) or colcfer. the
engine coolant heater
can help. Plugging the cord into an ungrounded outlet
could cause an electrical shock. Also, the wrong
kind
of extension cord could overheat and cause
a fire. You could be seriously injured. Plug the
cord into
a properly grounded three-prong
110-volt
AC outlet. If the cord won't reach, use
heavy-duty three-prong extension cord rated for
at least
15 amps.
You'll get easier starting and better file1 economy during
engine wa1-tm-up. Usually, the coolant heater should be
plugged
in a tnini~num of four hours prior to starting
your vehicle.
To Use the Coolant Heater
1. Turn off the engine.
2. Open the hood and unwrap the electrical cord.
3. Pl~lg it into a nol-r.nal, grounded 1 IO-volt AC outlet.
4. Before starting the engine. be s~11-e to unplug and
store the cord as it was before to keep it away
from moving engine parts. If you clon't. it could
be da111~1ged.
How long should you keep the coolant heater plugged
in? The answer depends on the outside temperature. the
kind
of oil you have, and solne other things. Instead of
trying to list everything here. we ask that ~OLI contact
yoc~r
GM dealer in the area where you'll be parking your
vehicle. The dealer can gi\:e you the best advice for that
particular area.
2-17
Page 147 of 410

Ventilation System
For mild outside temperatures when little heating or
cooling
is needed, use VENT to direct outside air
through your vehicle. Airflow
is through the instrument
panel outlets.
Your vehicle’s ventilation system
supplies outside air to
the inside of your vehicle when
it is moving. When the
vehicle is not moving, you can get outside air
to flow
through by selecting any mode and any fan speed. You
can move
the outlets to direct the flow of air, or
close the outlets altogether. When you close
an outlet, it
will increase the tlow of air coming out of any outlets
that are open.
Ventilation Tips
Keep the hood and front air inlet free of ice, snow or
any other obstruction (such as leaves). The heater
and defroster
will work far better, reducing the
chance
of fogging the inside of your windows.
When you enter a vehicle in cold weather, move the
fan control
to HI for 2.1 few moments before driving
off. This helps clear the intake ducts of snow and
moisture, and reduces the chance of fogging the
inside of your windows.
0 Keep the air path under the front seats clear of
objects. This helps air to circulate throughout
your vehicle.
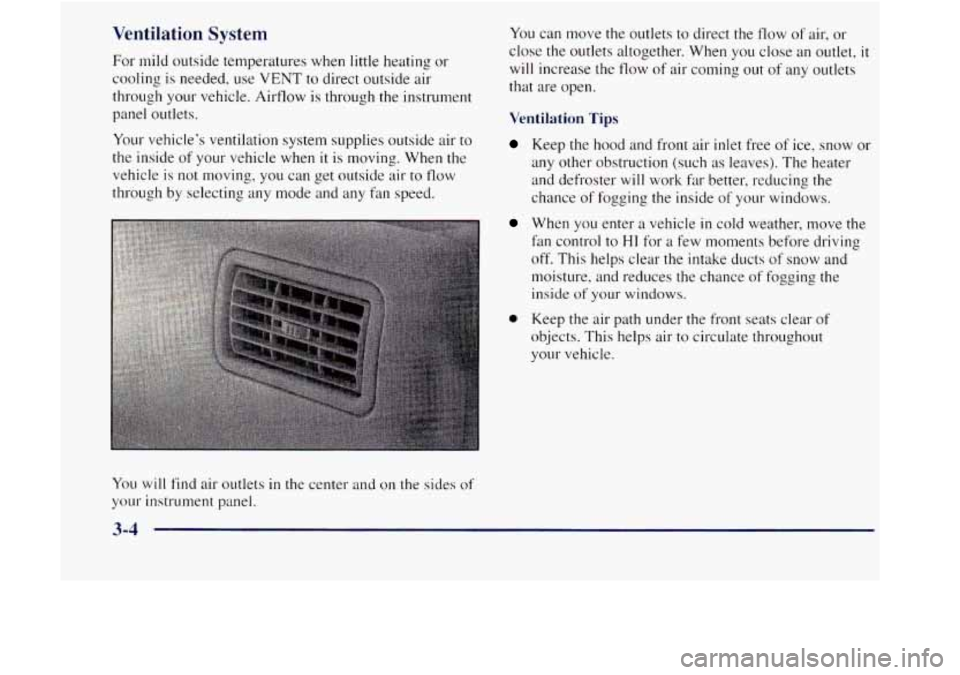
You will find air outlets in the center and on the sides of
your instrument panel.
Page 233 of 410

Engine Overheating
You will find a coolant temperature gage on your
vehicle's instrument panel.
If Steam Is C . - g I; - ___I Your Engine
Steam from an overheated engine can burn you
badly, even if you just open the hood. Stay away
from the engine
if you see or hear steam coming
from it. Just turn it off and get everyone
away
from the vehicle until it cools down. Wait until
there
is no sign of steam or coolant before you
open the hood.
If you keep driving when your engine is
overheated, the liquids in it can catch fire,
You or
others could be badly burned.
Stop your engine if
it overheats, and get out of the vehicle until the
engine
is cool.
NOTICE:
If your engine catches fire because you keep
driving with no coolant, your vehicle can
be
badly damaged. The costly repairs would not be
covered by your warranty.
5-12
Page 234 of 410

If No Steam Is Coming From Your Engine
If you zet the overheat warning but see or hear no
steam. the problem may not be too serious. Sometimes
the engine can get
a little too hot when you:
0 Climb a long hill on a hot day.
Stop after high-speed driving.
Idle for long periods in traffic.
Tow a trailer. See "Driving on Grades" in the Index.
If you get the overheat warning with no sign of steam,
try this for a minute
or so:
2. T~11-11 on yo~~r heater to full hot at the highest fan
speed and open the window as necessary.
3. If you're in a traffic jam. shift to NEUTRAL (N):
otherwise, shift to the highest gear \vhile
driving -- AUTOMATIC OVERDRIVE ((33) or
DRIVE (D) for automatic transmissions.
If you no longer have the overheat warning. you
can drive. Just
to be safe. drive slower for about
10 minutes. If the warning doesn't come back on.
you can drive norrnally.
If the warning continues. pull over, stop, and park your
vehicle right away.
If there's still no sign of steam. push the accelerator until
the engine speed is about twice as fast as normal idle
speed. Bring the engine speed back
to normal idle speed
after two or three minutes. Now see
if the warning stops.
But then, if you still have the warning, rum ogtlw
eugine
c~l got el?er;\.olw out oftlw \vl~iclc. until it
cools down.
You
may decide not to lift the hood but to get service
help right
away.
5-13
Page 265 of 410

Be careful not to spill gasoline. Clean gasoline from
painted surfaces as soon as possible. See “Cleaning the
Outside of Your Vehicle” in the Index.
When you put the cap back on, turn it to the right
(clockwise) until you hear a clicking sound. Make sure
you fully install the cap. The diagnostic system can
determine if the fuel cap has been left off or improperly
installed. This would allow fuel to evaporate into the
atmosphere. See “Malfunction Indicator Lamp’’ in
the Index.
______
NOTICE:
If you need a new cap, be sure to get the right
type. Your dealer can get one for you.
If you get
the wrong type, it may not fit properly. This may
cause your malfunction indicator lamp to light
and your fuel tank and emissions system may be
damaged. See “Malfunction Indicator Lamp” in
the Index.
Checking Things Under the Hood
To open the hood, first pull
the handle inside the vehicle
on the lower driver’s side of
the instrument panel.
Then go to the front of
the vehicle and release the
secondary hood release.
6-6 I I I
Page 296 of 410

Taillamps
1. Open the endgate.
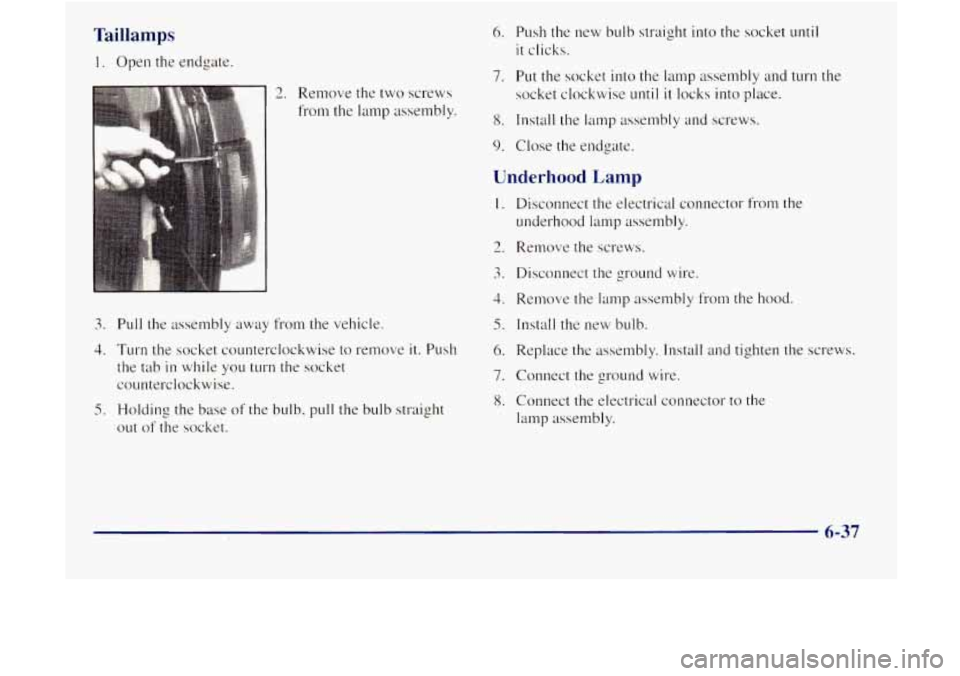
2. Remove the two screws
from the lamp assembly.
3. Pull the assembly away from the vehicle.
4. Turn the socket counterclockwise to remove it. Push
the tab in while you turn the socket
counterclockwise.
5. Holding the base of the bulb, pull the bulb straight
out of the socket.
6. Push the new bulb straight into the socket until
it clicks.
7. Put the socket into the lamp assembly and turn the
socket clockwise
until it locks into place.
8. Install the lamp assembly and screws.
9. Close the endgate.
Underhood Lamp
1. Disconnect the electrical connector from the
underhood lamp assembly.
2. Remove the screws.
3. Disconnect the ground wire.
4. Remove the lamp assembly from the hood.
5. Install the new bulb.
6. Replace the assembly. Install and tighten the screws.
7. Connect the ground wire.
8. Connect the electrical connector to the
lamp assembly.
6-37
Page 398 of 410

Garage Door Opener ............................ 2-5 1
GasCap ....................................... 6-5
Gate Ajar Light ................................ 2-81
GAWR ....................................... 4-43
Gear Positions
................................. 2- 18
GIov~ BOX .................................... 2-50
Gross Axle Weight Rating
........................ 4-43
Gross Vehicle Weight Rating
...................... 4-42
Guide en Franqais
11
GVWR ....................................... 4-42
.. .................................
Halogen Bulbs ................................ 6-33
Hazard Warning Flashers
.......................... 5-2
Head Restraints ................................. 1-6
Headlamps .................................... 2-35
Bulb Replacement ............................ 6-33
High/Low Beam Changer
...................... 2-39
On Reminder
................................ 2-46
Wiring
..................................... 6-59
Hearing Impaired. Customer Assistance .............. 8-4
Heating ........................................ 3-3
Highway Hypnosis .............................. 4-35
Hill and Mountain Roads
......................... 4-35
Hitches. Trailer
................................. 4-48
Horn
......................................... 2-37
Hydraulic Clutch
............................... 6- I9
Hydroplaning .................................. 4-3 I
Hood .......................................... 6-6
Check
...................................... 7-47 Ignition
Positions ..............................
Brake System ................................
Suspension .................................. 7-50
Throttle Linkage
.............................. 7-50
Transfer Case
................................ 7-51
Instrurnent Panel
............................... 2-67
Cleaning
.................................... 6-52
Cluster ..................................... 2-69
Interior Lamps
................................. 2-47
Exhallst
Systems
............................. 7-50
Steering
.................................... 7-50
F~seBlock
.................................. 6-59
Jacking Equipment
............................. 5-26
Jump Starting
................................... 5-3
Key
in the I.ylilion ............................. 2-12
Key Lock Cylinders Service ...................... 7-47
Key Release Burton
............................. 2-15
Keyless Entry System ............................ 2-6
Keys .......................................... 2-2
9-5