Page 75 of 224

3. Pull on the seatback while lifting
the handle to lift the seat into the
upright position.
The levers mounted to your
second row seats have multiple
functions which, if the seat levers
are used while the vehicle is in
motion, could cause a condition
where the seat is not properly
latched. This condition could cause
serious injuries in a collision.
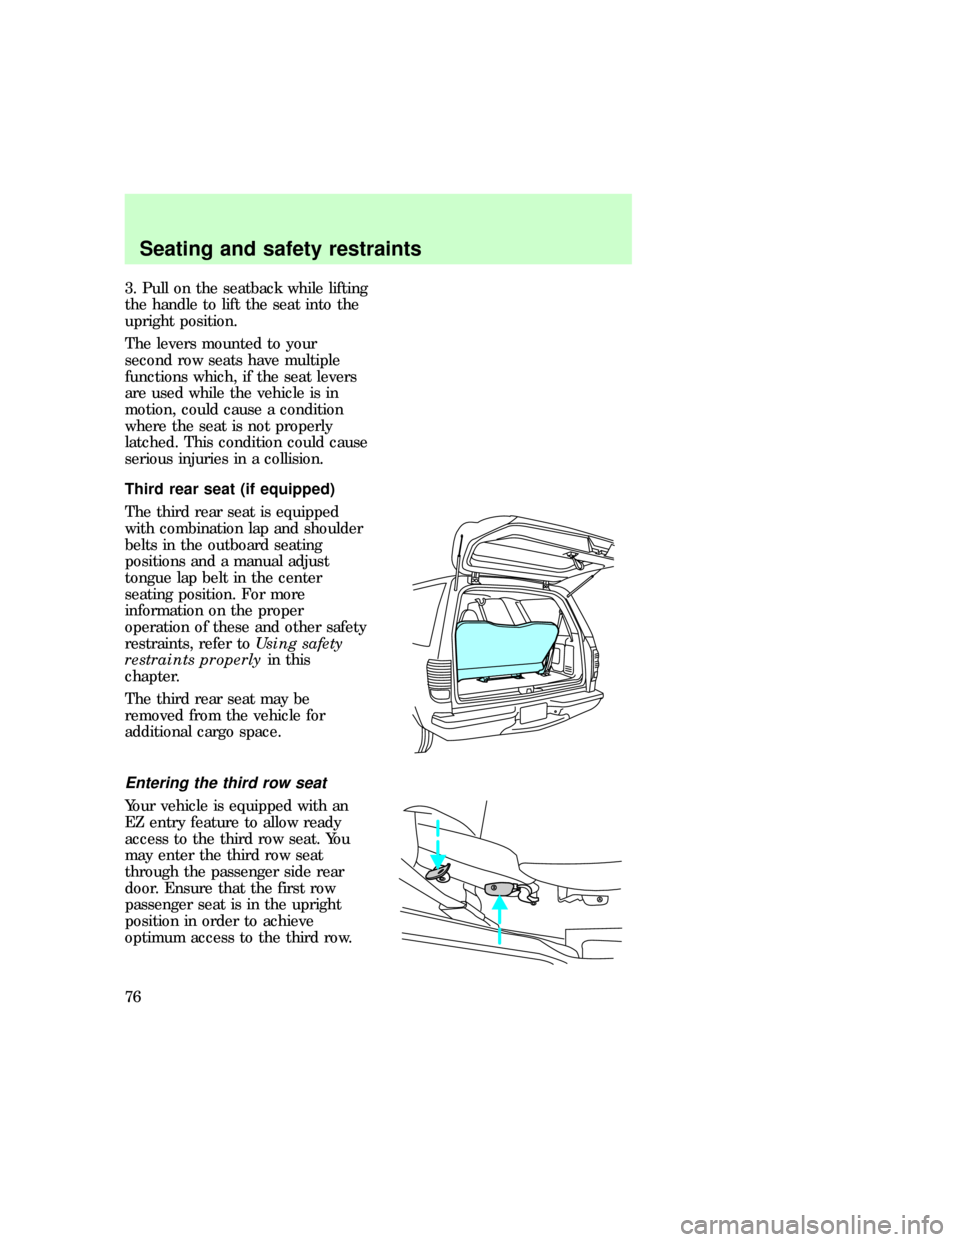
Third rear seat (if equipped)
The third rear seat is equipped
with combination lap and shoulder
belts in the outboard seating
positions and a manual adjust
tongue lap belt in the center
seating position. For more
information on the proper
operation of these and other safety
restraints, refer toUsing safety
restraints properlyin this
chapter.
The third rear seat may be
removed from the vehicle for
additional cargo space.
Entering the third row seat
Your vehicle is equipped with an
EZ entry feature to allow ready
access to the third row seat. You
may enter the third row seat
through the passenger side rear
door. Ensure that the first row
passenger seat is in the upright
position in order to achieve
optimum access to the third row.
exd_third_seat
Seating and safety restraints
76
Page 80 of 224
It is extremely dangerous
to ride in a cargo area,
inside or outside of a vehicle. In
a collision, people riding in these
areas are more likely to be
seriously injured or killed. Do not
allow people to ride in any area
of your vehicle that is not
equipped with seats and safety
belts. Be sure everyone in your
vehicle is in a seat and using a
safety belt properly.
USING SAFETY RESTRAINTS
PROPERLY
Combination lap and shoulder
belts
Insert the tongue into the slot in
the buckle to fasten.
Push the red release button and
remove the tongue from the slot to
unfasten.
The outboard safety restraints in
the vehicle are combination lap
and shoulder belts. The front
passenger and rear seat passenger
outboard safety belts have two
types of locking modes.
exd_proper_use
exd_combo_lap_shoulder
exd_emergency_locking
Seating and safety restraints
81
Page 81 of 224

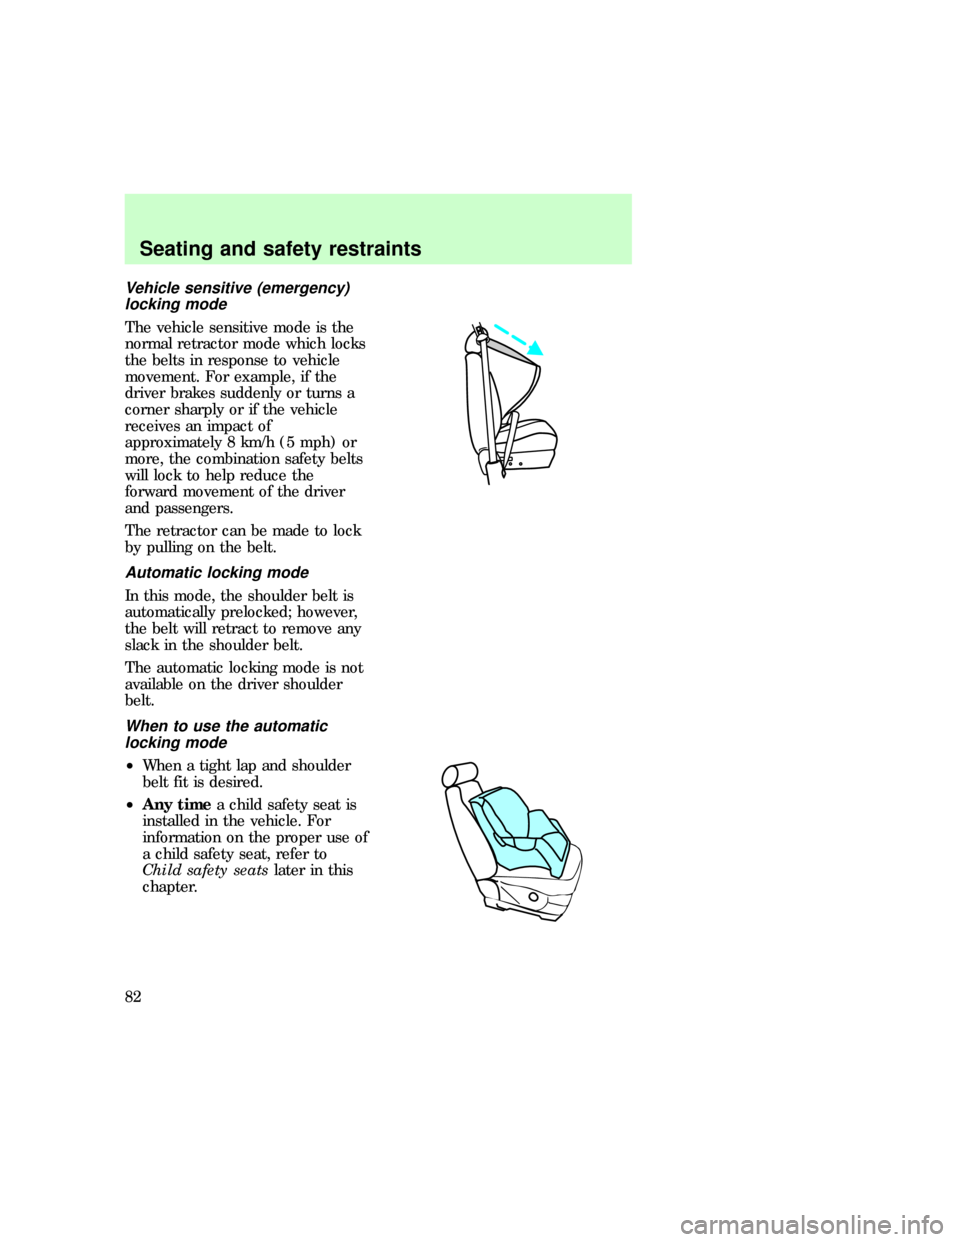
Vehicle sensitive (emergency)
locking mode
The vehicle sensitive mode is the
normal retractor mode which locks
the belts in response to vehicle
movement. For example, if the
driver brakes suddenly or turns a
corner sharply or if the vehicle
receives an impact of
approximately 8 km/h (5 mph) or
more, the combination safety belts
will lock to help reduce the
forward movement of the driver
and passengers.
The retractor can be made to lock
by pulling on the belt.
Automatic locking mode
In this mode, the shoulder belt is
automatically prelocked; however,
the belt will retract to remove any
slack in the shoulder belt.
The automatic locking mode is not
available on the driver shoulder
belt.
When to use the automatic
locking mode
²When a tight lap and shoulder
belt fit is desired.
²Any timea child safety seat is
installed in the vehicle. For
information on the proper use of
a child safety seat, refer to
Child safety seatslater in this
chapter.
exd_automatic_locking_mode
exd_when_to_use_almode
exd_using_auto_locking_mode
Seating and safety restraints
82
Page 96 of 224
7. Pull the lap belt portion across
the child seat toward the buckle
and pull up on the shoulder belt
while pushing down with knee on
the child seat.
8. Allow the safety belt to retract
to remove any slack in the belt.
9. Before placing the child in the
seat, forcibly tilt the seat forward
and back to make sure the seat is
securely held in place.
10. Try to pull the belt out of the
retractor to make sure the
retractor is in the automatic
locking mode (you should not be
able to pull more belt out). If the
retractor is not locked, unbuckle
the belt and repeat steps two
through nine.
Check to make sure the child seat
is properly secured before each
use.
com_safety_seats.01
Seating and safety restraints
97
Page 201 of 224
3. Remove the electrical connector
from the bulb by grasping the wire
and pulling it rearward.
4. Remove bulb retainer ring by
turning it counterclockwise about
1/4 turn, then slide the ring off the
plastic base.
5. Without turning, carefully pull
bulb assembly out of parking lamp
assembly.
6. Insert the glass end of the new
bulb into the parking lamp
assembly socket. When the grooves
in the plastic base are aligned,
push the bulb into the socket until
the plastic base contacts the rear
of the socket.
7. Slip bulb retaining ring over the
plastic base and lock the ring into
the socket by turning it clockwise
until you feel a ªstop.º
8. Push the electrical connector
into the rear of the plastic base
until it ªsnaps.º
9. Align top and bottom ribs of
parking lamp assembly with
corresponding slots on front of
vehicle.
10. Push gently until parking lamp
assembly seats (you will hear a snap).
11. Replace screw removed in step 1.
exd_foglamps
Maintenance and care
202
Page 210 of 224
Cleaning the instrument panel
Clean instrument panel with a
damp cloth, then dry with a dry
cloth.
Any cleaner or polish that
increases the gloss of the upper
portion of the instrument panel
should be avoided. The dull finish
in this area is to help protect the
driver from undesirable windshield
reflection.
Cleaning the interior fabric
Remove dust and loose dirt with a
whisk broom or a vacuum cleaner.
Remove fresh spots immediately.
Follow the directions that come
with the cleaner.
Cleaning leather seats (if
equipped)
For routine cleaning, wipe the
surface with a soft, damp cloth.
For more thorough cleaning, wipe
the surface with a leather and
vinyl cleaner or a mild soap.
com_int_fabric_cleaning.01
com_leather_seats_cleaning.01
exd_cleaning_safety_belts
Maintenance and care
211