Page 17 of 224
refer to trip computer information
in theControls and features
chapter.
Selectable features
English/metric display
Press the E/M control to change to
message center display from
metric to English units or vice
versa.
Compass
Press the mode control once for
compass only display.
Fuel range
Press the mode control to display
the approximate number of
kilometers (miles) left to drive
before the fuel tank is empty.
The indicated distance to empty
may be inaccurate with sustained,
drastic changes in fuel economy
(e.g. towing with a trailer), but will
eventually recover.
E/M
MODE
exd_select_features_head
exd_metric_english_select exd_compass_display
exd_fuel_range_select
exd_economy_fuel_select
Instrumentation
18
Page 18 of 224
Fuel economy
Press the mode control to display
your vehicle's average fuel
economy in liters/100 kilometers
(miles/gallon).
Press the mode control to display
the instantaneous fuel economy of
your running vehicle.
Distance to empty display may be
inaccurate if the vehicle is started
while parked on an incline.
Fuel fills of less than 22.7 liters
(six gallons) may not be detected
by the trip computer.
Off
Press the mode control a final time
to turn the trip computer display
off.
exd_off_mc
Instrumentation
19
Page 31 of 224
Air conditioning
Select A/C for air conditioned air
to flow through these vents:
The A/C mode directs outside air
conditioned air to flow through the
instrument panel vents. The A/C
mode can be used for heating,
ventilating and defogging the
windows or air conditioning. The
A/C system only functions if the
outside temperature is above 10ÉC
(50ÉF).
Select MAX A/C for air to flow
through these vents:
The MAX A/C mode recirculates
the cabin air and directs it to flow
through the instrument panel
vents. This mode is noisier but
more economical than the A/C
mode. The air conditioning system
only functions if the outside
temperature is above 10ÉC (50ÉF).
PHI LOOFF*A/C*MAX
A/CREW
1FF
2SIDE 1-2
3FM 1STVOL – PUSH ON
AM
FMBASS TREBBAL FADE
AUTO
SET CLKSEEKTUNE
DISCSSCAN4DOLBY SYSTEMEJTAPE CDCOMP5SHUFFLE
6
d
PHI LOOFF*A/C*MAX
A/CREW
1FF
2SIDE 1-2
3FM 1STVOL – PUSH ON
AM
FMBASS TREBBAL FADE
AUTO
SET CLKSEEKTUNE
DISCSSCAN4DOLBY SYSTEMEJTAPE CDCOMP5SHUFFLE
6
d
Controls and features
32
Page 47 of 224
Overdrive control
Activating overdrive
D(Overdrive) is the normal
drive position for the best fuel
economy.
The overdrive function allows
automatic upshifts to second, third
and fourth gear.
Deactivating overdrive
Press the transmission control
switch on the end of the gearshift
lever. The transmission control
indicator light (TCIL) (OFF) will
illuminate on the end of the
gearshift lever.
Transmission will operate in gears
one through three. To return to
normal overdrive mode, press the
transmission control switch again.
The TCIL (OFF) will no longer be
illuminated.
When you shut off and re-start
your vehicle, the transmission will
OVERDRIVE OFF
exd_deactivating_overdrive
Controls and features
48
Page 52 of 224
1. Start the vehicle.
2. Locate compass sensor mounted
at base of mirror.
3. Insert a paperclip into the small
hole on the bottom of the compass
sensor. Hold down until ZONE
appears in the trip computer
display Continue to hold down
until ZONE disappears and CAL is
displayed.
4. Press and hold the MODE
control until CAL appears in the
display (approximately eight
seconds) and release.
5. Drive the vehicle slowly (less
than 5 km/h [3 mph] in circles until
CAL indicator turns off (4±5
complete circles).
6. The compass is now calibrated.
Trip computer (if equipped)
This component displays a variety
of system displays. The appearance
of the component in the overhead
console may vary according to
your vehicle's equipment package.
For more information on the
operation and functions of the trip
computer, refer toTrip computer
in theInstrumentationchapter.
exd_message_center
exd_lamps_overhead_title
Controls and features
53
Page 97 of 224

Child and infant or child safety
seats
Carefully follow all of the
manufacturer's instructions
included with the safety seat you
put in your vehicle. If you do not
install and use the safety seat
properly, the child may be
injured in a sudden stop or
collision.
Ford recommends the use of a
child safety seat having a top
tether strap. Install the child safety
seat in a seating position which is
capable of providing a tether
anchorage. For more information
on top tether straps seeAttaching
safety seats with tether strapsin
this chapter.
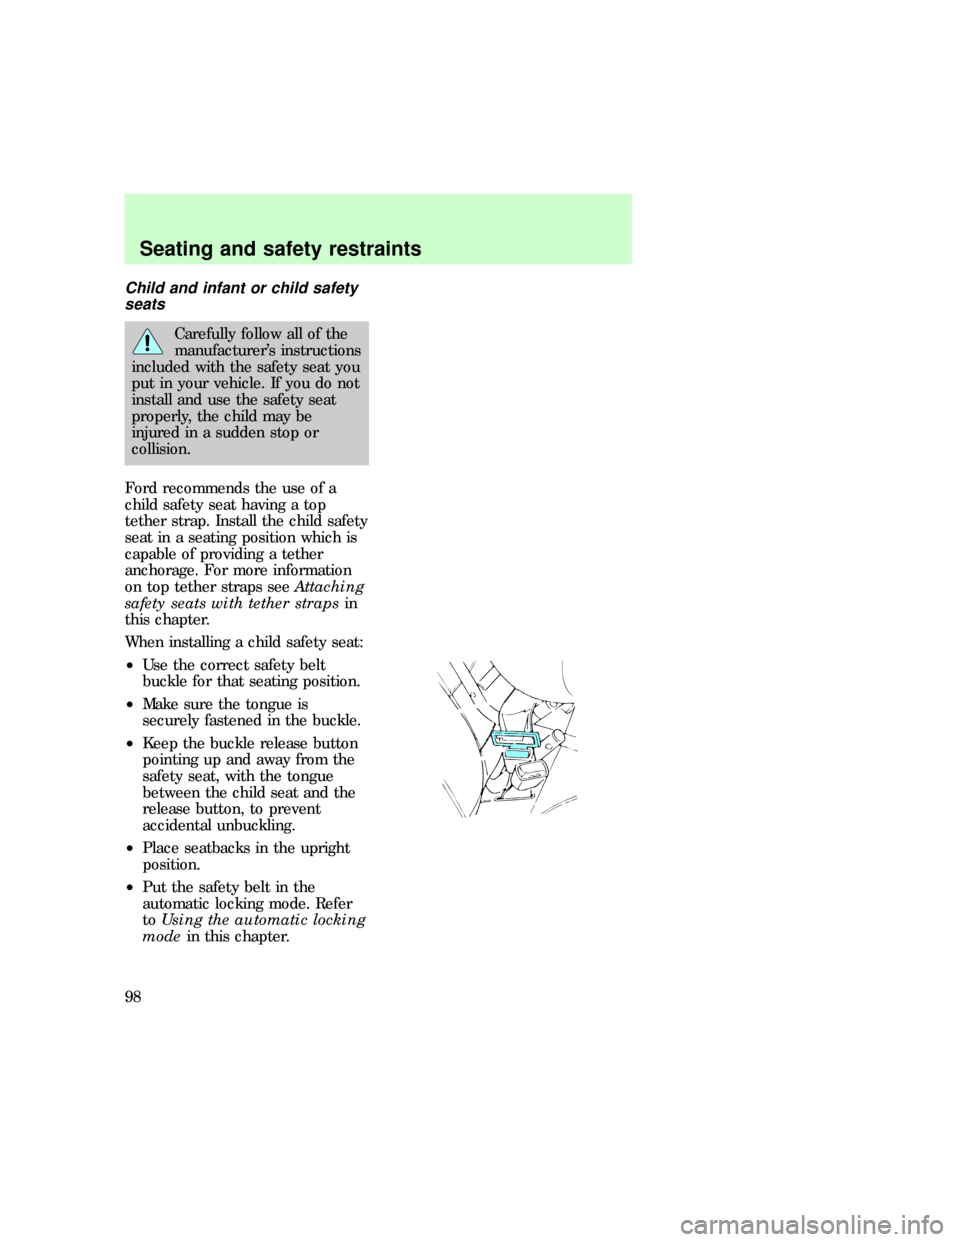
When installing a child safety seat:
²Use the correct safety belt
buckle for that seating position.
²Make sure the tongue is
securely fastened in the buckle.
²Keep the buckle release button
pointing up and away from the
safety seat, with the tongue
between the child seat and the
release button, to prevent
accidental unbuckling.
²Place seatbacks in the upright
position.
²Put the safety belt in the
automatic locking mode. Refer
toUsing the automatic locking
modein this chapter.
exd_using_tether
Seating and safety restraints
98
Page 115 of 224

D(Overdrive)Ð The normal
driving position for the best fuel
economy. Transmission operates in
gears one through four.
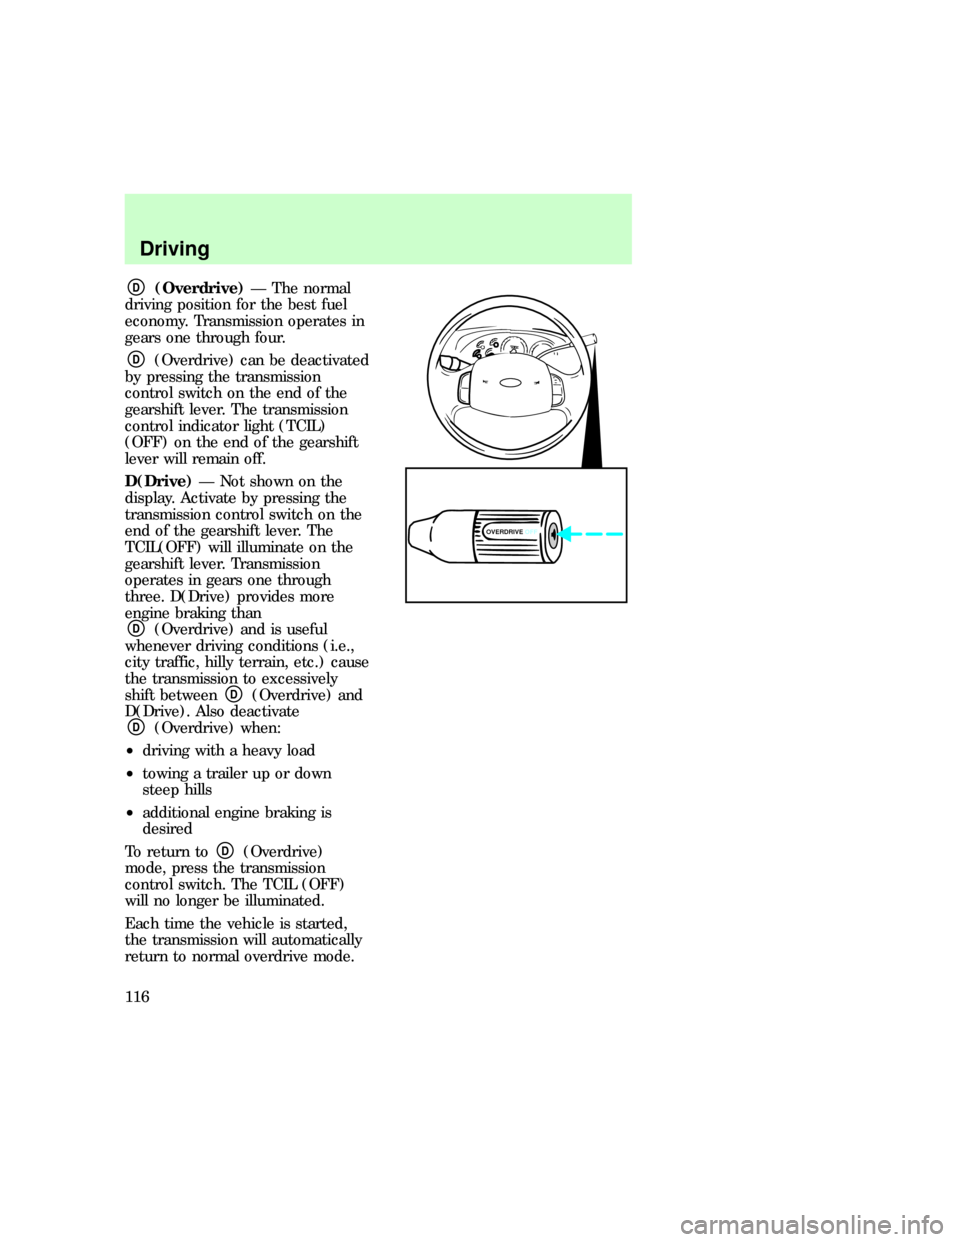
D(Overdrive) can be deactivated
by pressing the transmission
control switch on the end of the
gearshift lever. The transmission
control indicator light (TCIL)
(OFF) on the end of the gearshift
lever will remain off.
D(Drive)Ð Not shown on the
display. Activate by pressing the
transmission control switch on the
end of the gearshift lever. The
TCIL(OFF) will illuminate on the
gearshift lever. Transmission
operates in gears one through
three. D(Drive) provides more
engine braking than
D(Overdrive) and is useful
whenever driving conditions (i.e.,
city traffic, hilly terrain, etc.) cause
the transmission to excessively
shift between
D(Overdrive) and
D(Drive). Also deactivate
D(Overdrive) when:
²driving with a heavy load
²towing a trailer up or down
steep hills
²additional engine braking is
desired
To return to
D(Overdrive)
mode, press the transmission
control switch. The TCIL (OFF)
will no longer be illuminated.
Each time the vehicle is started,
the transmission will automatically
return to normal overdrive mode.
OVERDRIVE OFF
Driving
116
Page 151 of 224
Connecting the jumper cables
1. Position the vehicles so that
they do not touch one another.
2. Switch off the engine. Switch off
any unnecessary electrical
equipment.
3. Connect the positive (+)
terminal of the discharged battery
(1) to the positive (+) terminal of
the booster battery (2).
4. Connect one end of the second
lead to the negative (-) terminal of
the booster battery (3) and the
other end to a metal part of the
engine to be started (4), not to the
negative (-) terminal of the
discharged battery.
5. Make sure that the jump leads
are clear of moving parts of the
engine.
Do not connect the end of
the second cable to the
negative ([-]) terminal of the
battery to be jumped. A spark
may cause an explosion of the
gases that surround the battery.
Jump starting
1. Start the booster vehicle and
run the engine at moderately
increased speed.
2. Start the engine of the vehicle
with the discharged battery.
+–
+–
3
2
1
4
com_jump_starting.01
Roadside emergencies
152